Introduction
Perler bead art is a delightful form of crafting that uses small, colorful plastic beads to create stunning designs and patterns. Known for their versatility and ease of use, Perler beads allow crafters of all ages to express their creativity in fun and engaging ways. From simple beginner projects to more intricate designs, Perler bead art offers endless possibilities for bringing your imagination to life.
In this article, we will explore a variety of creative ideas for Perler bead art projects. We will discuss techniques, tips, and patterns that can inspire you to create vibrant pieces and share the joy of crafting with friends and family. Whether you’re looking for a weekend project or want to explore new techniques, this guide will provide you with the tools you need to succeed.
The Basics of Perler Bead Art
1. What Are Perler Beads?
Perler beads, also known as fuse beads, are small plastic beads that come in various colors. They are designed to be arranged on pegboards to create specific patterns. After arranging the beads, they are fused together using heat, which creates a durable and colorful design.
- Types of Perler Beads: Available in various colors, sizes, and even glow-in-the-dark options, you can find beads that fit any project. The classic size is 5mm, which is perfect for intricate designs.
2. Required Materials
To get started with Perler bead art, you will need a few essential materials.
- Beads: Choose a variety of colors to expand your creative possibilities.
- Pegboards: These come in various shapes, such as squares, circles, and themed shapes, which help guide your designs.
- Ironing Paper: This special paper protects the beads during the heating process. It prevents them from sticking to the iron or getting ruined.
- Iron: A simple household iron is used to melt the beads together, creating a solid piece.
3. Safety Considerations
While Perler bead art is generally safe, there are a few safety tips to keep in mind.
- Supervision: If children are crafting, ensure adult supervision when using the iron to melt beads. This step requires attention and care to avoid burns or accidents.
- Workspace: Set up a clean, organized workspace to avoid losing beads and to minimize mess. Using a dedicated crafting area can help streamline the process.
Exploring Fun and Colorful Perler Bead Art Projects
1. Simple Designs for Beginners
If you’re new to Perler bead art, starting with simple designs is a great way to build your skills.
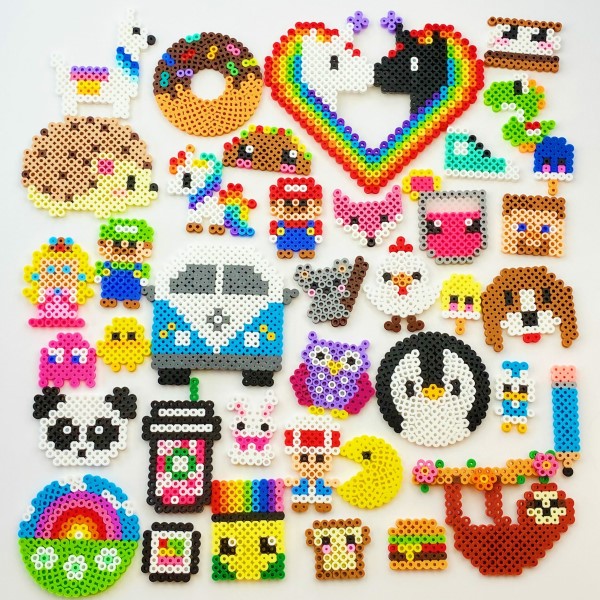
- Classic Shapes: Begin by creating basic shapes such as stars, hearts, or geometric patterns. These projects are easy to complete and allow newcomers to practice arranging beads without overwhelming them.
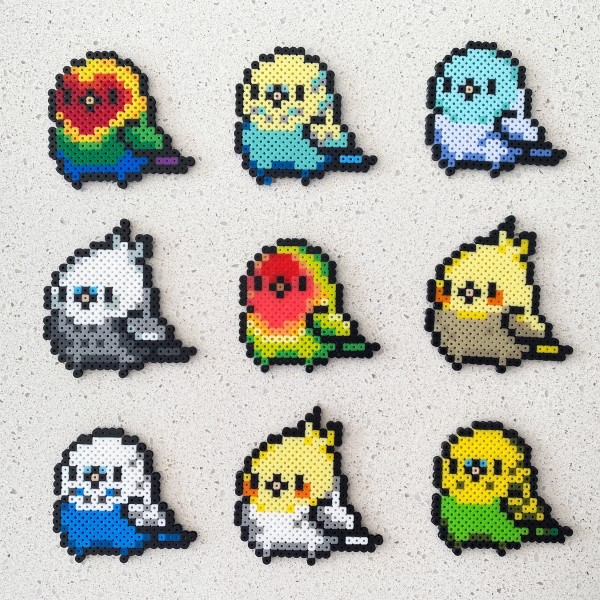
- Animal Patterns: Consider simple animals like butterflies, ladybugs, or fish. Find beginner patterns online or in crafting books that guide you through the design process step by step.
2. Intermediate Projects for Skill Development
Once you’re comfortable with basic patterns, challenge yourself with more intricate designs.
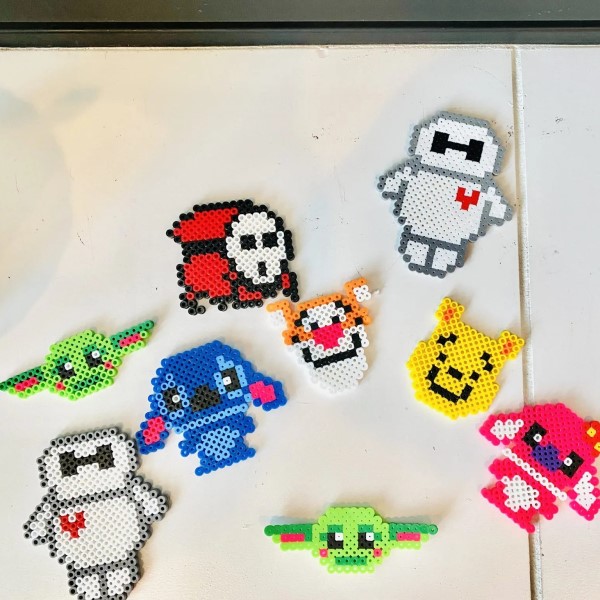
Cartoon Characters
- Selecting Your Favorites: Start by choosing your favorite cartoon characters. Whether it’s a beloved classic like Mickey Mouse or a modern favorite like Elsa from Frozen, selecting a character you love will keep you motivated throughout the crafting process.
- Finding Patterns: Look for Perler bead patterns or templates that match your chosen character. Online resources, crafting books, or communities dedicated to Perler bead art can provide a wealth of ideas and designs. Utilize these resources to find accurate color schemes and layouts.
- Color Changes and Techniques: Be prepared to work with multiple colors as you recreate your character. Arranging a variety of beads will enhance color transitioning techniques. As you switch between colors, pay attention to the placement to create smooth transitions. This practice can significantly improve your skills in color blending and design composition.
- Building Complexity: As you gain confidence, you can take on more complex designs. Experimenting with shading and highlights can add depth to your character, making them more visually appealing. By fine-tuning the colors and patterns, you can create a truly unique representation of your chosen character.
- Fusing Your Design: Once you have arranged all the beads on your pegboard, make sure to carefully follow the melting instructions. Use ironing paper and an iron to fuse the beads together securely. This step is essential to ensure your cartoon character holds its shape.
Seasonal Decor
- Reflecting the Seasons: Utilizing Perler beads to create seasonal decorations is a fun way to celebrate the changes throughout the year. Consider designing specific pieces that represent the essence of each season, such as snowflakes, pumpkins, flowers, and leaves.
- Winter Snowflakes: For winter, crafting snowflakes can be an excellent project. Using white, light blue, and transparent Perler beads, you can create intricate patterns that mimic the beauty of real snowflakes. These designs can be hung in windows or used as ornaments during the holiday season.
- Spring Flowers: As spring approaches, consider making vibrant flower designs. Use bright colors like pinks, yellows, and greens to represent the lively and blossoming nature of the season. Flowers can be designed in various shapes and sizes, allowing for creativity in both the arrangement and color choices.
- Seasonal Skills Practice: Creating seasonal decor not only helps you enhance your crafting skills but also allows for experimentation with new techniques. For example, you can try layering colors for added texture, or create patterns that require more intricate placement of beads.
- Home Decoration: Once you’ve crafted your seasonal pieces, display them proudly in your home. You can hang snowflakes around your living space, create a spring centerpiece with flowers for your dining table, or use different designs to set the mood for various holidays throughout the year.
- Gifting Seasonal Decor: Seasonal Perler bead art also makes for thoughtful gifts. Consider creating designs tailored to friends or family members for holidays or special occasions. These personalized decorations can be cherished for years and add a touch of handmade charm to any celebration.
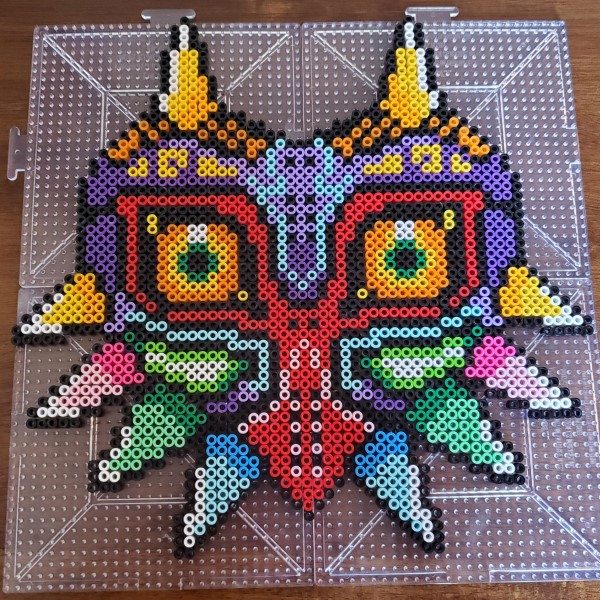
3. Advanced Designs for Experienced Crafters
For those looking to push their creativity further, advanced projects can be incredibly rewarding.
- 3D Designs: Expand beyond flat designs by creating 3D objects like cubes or animals in standing positions. Use multiple pegboards to create intricate shapes that stack together beautifully.
- Personalized Art: Design custom pieces that feature your initials, favorite quotes, or themed collages. These projects let you express your personality while developing your unique style within Perler bead art.
Techniques for Fusing Perler Beads
1. The Melting Process
Fusing Perler beads together requires precision for successful results.
- Ironing at the Right Temperature: Set your iron to medium heat and always use ironing paper. Gently press down in a circular motion to evenly distribute heat across the design.
- Monitor the Melting: Keep an eye on the beads as they melt. You want them to fuse together without becoming overly flat. After about 10-20 seconds, lift the iron to check if the beads have fused sufficiently.
2. Ensuring Strong Adhesion
- Cooling Period: After fusing your beads, let the design cool thoroughly before touching it. This is crucial to ensure the beads hold together properly, preventing any breakage.
- Check for Gaps: After cooling, inspect your design for gaps where beads may not have fused together. If you find any, you can reapply heat to those areas by covering them with ironing paper and pressing the iron for a few seconds.
Displaying Your Perler Bead Art
1. Creative Ways to Showcase Your Designs
Once your Perler bead art projects are complete, it’s time to display them!
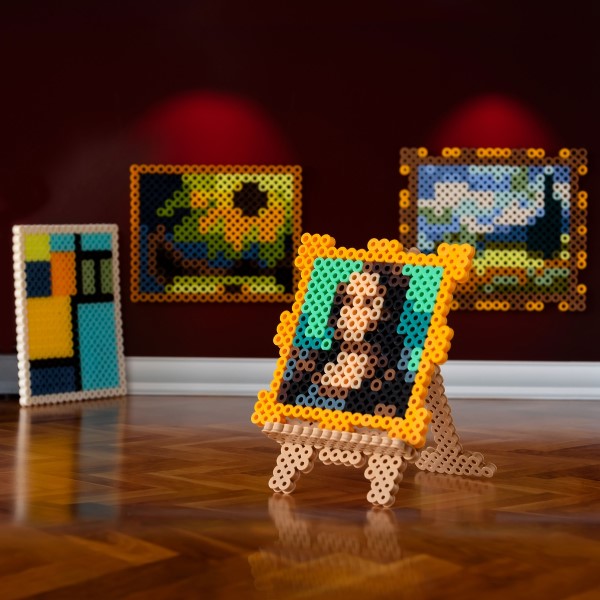
- Framed Artwork: Consider framing your favorite pieces. This not only protects them but also turns your creations into beautiful wall art that adds character to your living space.
- Ornaments and Decorations: Transform your bead art into ornaments for the holidays or decorations for your home. Simply add a string or ribbon to hang them.
2. Gifting Custom Creations
Handmade Perler bead art makes for thoughtful gifts.
- Seasonal Gifts: Create themed pieces tailored for friends and family, especially during holidays or special occasions. Custom designs reflect thoughtfulness and creativity.
- Keychains and Accessories: Use mini designs to create keychains, bag tags, or other small accessories. These make excellent gifts or personal items to showcase your love for crafting.
FAQs
How to do Perler bead art?
To create Perler bead art, arrange your desired beads on a pegboard, cover them with ironing paper, and apply heat with an iron to fuse the beads.
How do you melt Perler beads perfectly?
Melt Perler beads by setting your iron to medium heat, using ironing paper for protection, and applying gentle pressure in a circular motion. Monitor the beads closely to avoid over-fusion.
What is Perler art?
Perler art involves creating designs using small plastic beads that can be fused together with heat. The beads can be arranged into various patterns and shapes, allowing for creative expression.
Can you fuse Perler beads without an iron?
Yes, you can use alternative methods such as a heat gun or a hairdryer set to low heat. However, these methods may require more attention to prevent uneven melting or burning.
Conclusion
In conclusion, Perler bead art provides an engaging and rewarding crafting experience for lovers of all ages. From simple patterns to intricate designs, the possibilities are virtually endless. Each creative project you undertake enhances your skills and allows for self-expression while bringing joy to the process.
By exploring the colorful world of Perler bead art, you can create vibrant pieces that reflect your creativity and passion for crafting. So gather your materials, dive into new designs, and embrace the joy of making. Let your imagination soar as you transform Perler beads into wonderful works of art that can be cherished, displayed, or gifted. Happy crafting!