Introduction
The festive season brings joy, celebration, and a wonderful opportunity for creativity. One of the cherished symbols of Christmas is the bell. Its vibrant sound announces the arrival of holiday cheer and signifies the spirit of giving. In this article, we will guide you through a detailed, step-by-step tutorial on creating a beautiful Christmas bell drawing. Whether you are an experienced artist or a beginner, this Christmas bell drawing is a great way to add festive decor to your home and spread holiday cheer. Grab your drawing materials, and let’s get started on this creative journey!

Gathering Your Materials
Essential Drawing Supplies
Before jumping into the drawing process, it’s essential to gather your materials. Here’s a list of supplies you’ll need:
- Drawing Paper: Use high-quality drawing paper that can handle various mediums. You can use sketch paper as a starting point.
- Pencils: Get a range of pencils, including HB for light sketches and darker pencils like 2B or 4B for bold lines.
- Eraser: An essential tool for correcting mistakes and refining your drawing.
- Fine-tip Markers or Pens: For outlining, fine-tip markers can add precision and clarity to your final piece.
- Colored Pencils or Markers: Optional, but great for adding color and life to your Christmas bell drawing.
- Ruler: If you prefer crisp, straight lines for the bell’s body, a ruler will be helpful.
Setting Up Your Workspace
Creating a comfortable workspace is crucial for an enjoyable drawing experience. Choose a well-lit area where you can easily spread out your materials. Ensure your chair and table are at a comfortable height to prevent strain. A clear workspace allows you to focus and express your creativity without distractions.
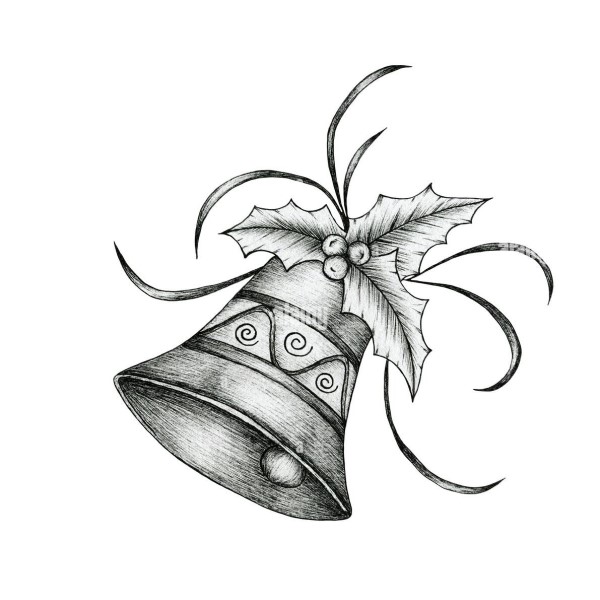
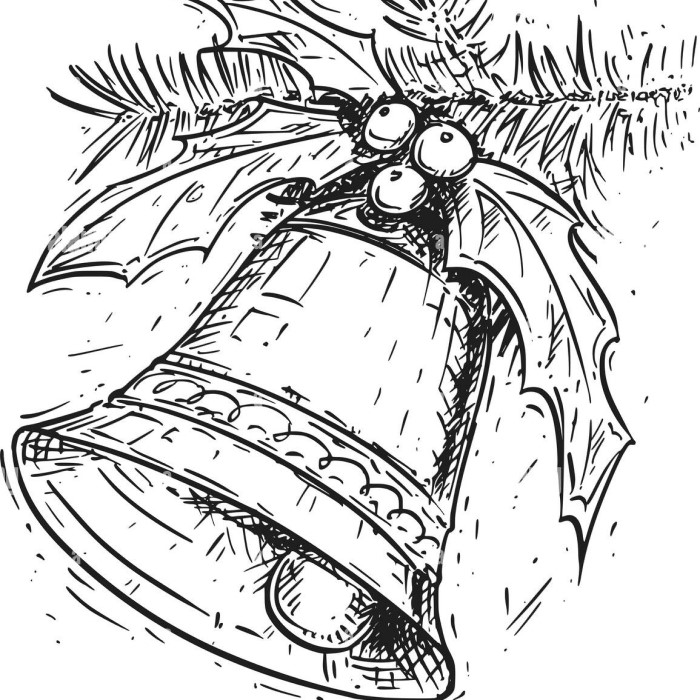
Step 1: Sketching the Basic Shape of the Bell
Creating the Outline
Begin by lightly sketching the basic shape of the Christmas bell. Start with a rounded rectangle at the top of your drawing paper. This will form the body of the bell.
- Top Curve: For the top section of the bell, draw a gentle curve that will taper down into the rectangular shape.
- Bottom Shape: As you approach the bottom, create a more pronounced curve, allowing the bell to appear bell-shaped rather than a simple rectangle.
- Bell Handle: At the top of the bell, sketch a small handle. This handle can be drawn as a loop or a simple protruding shape, depending on your artistic vision.
Refining the Outline
Once the basic shape is sketched, use your eraser to clean up any unnecessary lines. Round out the edges of the bell’s body to give it a more three-dimensional look. It’s important to maintain a light hand during this process to avoid deep pencil marks that could be hard to erase later on.
Step 2: Adding Details to Your Christmas Bell Drawing
Design Elements
Now that you have the basic outline in place, it’s time to add details that make your bell unique and festive:
- Ribbons: Draw a flowing ribbon around the bell’s handle. This adds a festive touch and enhances the overall aesthetic.
- Decorative Patterns: You can embellish the body of the bell with patterns such as stars, swirls, or festive decorations. These details bring life to your drawing and help capture the holiday spirit.
- Clapper: Don’t forget to add the clapper inside the bell. This can be a small oval shape that connects to the bottom of the bell, suggesting movement and sound.
Finalizing Your Bell Design
Once you are satisfied with the details, go over your pencil lines with a fine-tip marker or pen. This will prepare your drawing for coloring and give it a polished appearance. Let the ink dry before erasing any remaining pencil lines to avoid smudging.
Step 3: Coloring Your Christmas Bell
Choosing Your Color Palette
When coloring your Christmas bell drawing, think about the colors commonly associated with the festive season. Traditional colors include red, green, gold, and silver. Selecting a harmonious color palette will create a beautiful and vibrant finished product.
Base Color
- Choosing the Right Base Color: Begin the process of drawing the Christmas bell by selecting a base color that reflects its shimmering quality. Using yellow or gold as your primary color will effectively simulate the appearance of shiny, polished metal.
- Applying Even Strokes: When applying the base color, use even strokes to ensure a smooth and consistent finish. This creates a solid foundation before you add additional layers and details.
- Consider Color Variations: Depending on your style, you might consider mixing a hint of orange or white with your gold or yellow base. This variation can introduce warmth and a realistic sheen to the bell.

Adding Dimension
- Creating Shadows: Once your base color is applied, it’s essential to add dimension to your drawing. Use darker shades, such as deep gold or a muted brown, to create shadows on the bell. This will give your drawing a three-dimensional feel.
- Shadow Placement: Focus on areas where the bell would naturally have shadows, particularly where it curves or where it connects to the clapper. Adding shadows in these spots enhances the realism of the bell.
- Tapping Technique for Depth: A tapping or stippling technique can be particularly effective for this step. By gently tapping your brush or pencil on the darker areas, you produce a soft transition that mimics the play of light and shadow.
- Adding Highlights: To further enhance the dimensionality of the bell, apply lighter colors in strategic places to create highlights. Use shades like bright gold or even white sparingly to mimic reflected light on the surface.
- Highlight Placement: Typically, highlights appear on the parts of the bell that would catch the most light, such as the top and edges. Carefully observe where light would naturally fall to determine the best spots for your highlights.
- Blending for Realism: Use blending techniques, whether with a soft brush or blending stump, to smooth the transition between highlights and base colors. This creates a more realistic metallic appearance.
Ribbons and Decorations
- Choosing Ribbon Colors: Once the bell is complete, turn your attention to the ribbons that will adorn it. Select vibrant colors such as red or green to create a cheerful contrast against the gold or yellow of the bell.
- Applying Bold Strokes: Use bold strokes when coloring the ribbons to ensure they stand out effectively. Vivid colors will draw the eye and enhance the overall festive feel of your drawing.
- Adding Texture to Ribbons: To suggest a shiny texture on the ribbons, include highlights using lighter hues or even white.
- Highlighting Techniques: Similar to the bell, apply highlights along the curves and folds of the ribbons. This not only adds depth but also gives the illusion that the ribbons are smoothly draped and reflect light.
- Shadowing the Ribbons: Don’t forget to add shadows to the ribbons as well. Use slightly darker shades of the ribbon color, particularly in areas where the ribbons overlap or are tucked behind the bell. This will further enhance the sense of dimension and realism.
Final Touches
Once you finish adding color, step back and assess your drawing. Adding splashes of glitter, stickers, or additional decorative elements can enhance the festive look. Feel free to experiment and let your creativity flow!
Displaying Your Christmas Bell Drawing
Showcasing Your Artwork
After completing your Christmas bell drawing, it’s time to showcase your masterpiece. Here are a few creative ways to display your artwork:
- Framing: Frame your drawing to protect it and make it an attractive focal point. Choose a frame that complements the colors in your drawing.
- Holiday Cards: Use your Christmas bell drawing as the cover for holiday cards. This personal touch will impress friends and family during the festive season.
- Decorative Wall Art: Hang your drawing in your home as part of your holiday decorations. This will create a warm atmosphere and showcase your artistic talent.
- Gift Tags: Cut out sections of the drawing to create unique gift tags for presents. Personal touches are always appreciated during the holidays.
Importance of Art During Christmas
Encouraging Creativity
Engaging in artistic activities, like drawing, allows individuals to express their creativity during the holiday season. It can serve as a stress relief and offers a lovely way to connect with loved ones.
Spreading Joy and Happiness
Art can evoke feelings of joy and happiness. Creating festive artworks allows individuals to share their creations and spread cheer among family and friends. It transforms simple decorations into heartfelt expressions of love and joy.

Conclusion
In conclusion, learning how to create a Christmas bell drawing can enhance your festive decor and inspire creativity in both children and adults. Following our step-by-step guide, you can craft a beautiful piece of art that captures the essence of the holiday season. Remember to enjoy the process and let your imagination flow as you bring your Christmas bell to life. The final result can become a cherished decoration, a thoughtful gift, or a unique way to celebrate the spirit of Christmas. So, gather your materials and get started on your Christmas bell drawing today!