Introduction: The Importance of Organization in Scrapbooking
Scrapbooking is a cherished hobby for many individuals who love to preserve memories creatively. It allows crafters to express themselves through the intricate designs and layouts that capture special moments. However, as the passion for scrapbooking grows, so does the collection of supplies, especially scrapbook paper. The more supplies you have, the greater the need for an effective scrapbook paper organizer. An organized workspace enhances productivity, reduces stress, and ultimately leads to a more enjoyable crafting experience. This article will explore various efficient solutions for organizing scrapbook supplies, allowing you to focus on your creativity without the headaches of clutter.
The Benefits of an Organized Craft Space
- Increased Productivity: Having a clean and organized workspace allows you to find materials quickly. When everything has a designated place, searching through piles of paper becomes a thing of the past. As a result, you can devote more time to creating rather than hunting for supplies.
- Enhanced Creativity: An organized environment fosters creativity. When your materials are neatly arranged, it sparks inspiration and encourages experimentation. Plus, seeing your supplies beautifully organized can ignite new ideas for projects you may not have thought of otherwise.
- Reduced Stress: Crafting should be a joyful and relaxing experience. A cluttered and chaotic workspace can lead to feelings of frustration and anxiety. By maintaining an orderly crafting environment, you can create a calming space that invites creativity and innovation.
Choosing the Right Scrapbook Paper Organizer
- Types of Organizers: Consider the various types of scrapbook paper organizers available. Each has its strengths, depending on your needs:
- Binders: Use binders with plastic sleeves for easy access to scrapbook paper. Binders allow you to categorize sheets by color, theme, or size. They are portable, making them ideal for crafters who like to take their supplies to workshops or classes.
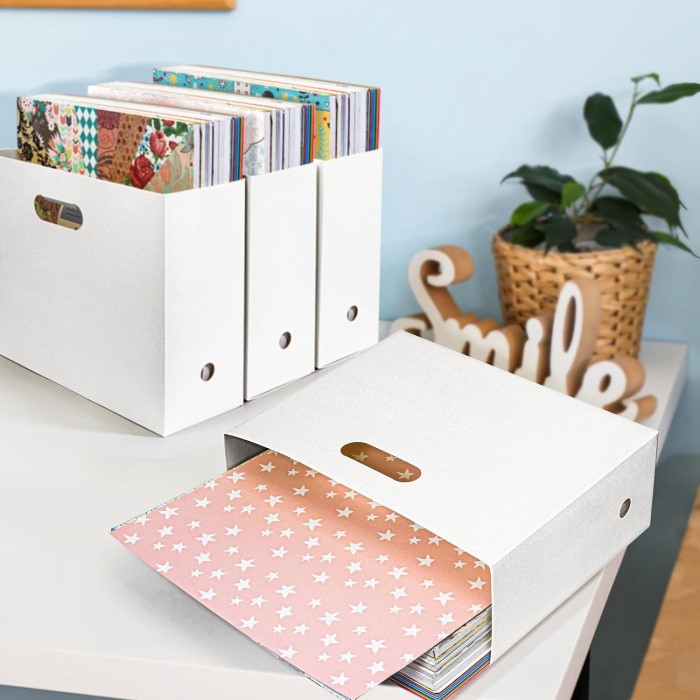
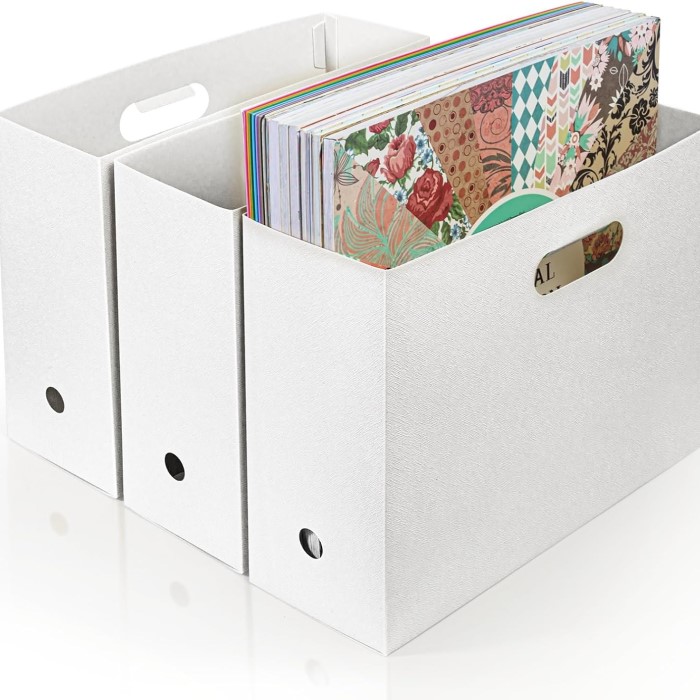
- Storage Boxes: Utilize sturdy storage boxes for storing other materials, such as stickers and embellishments. Consider clear boxes to quickly identify contents at a glance.
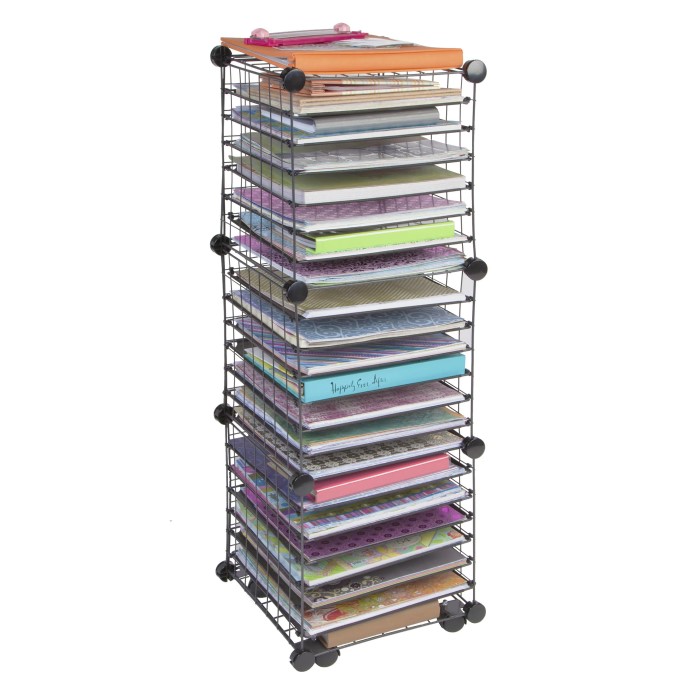
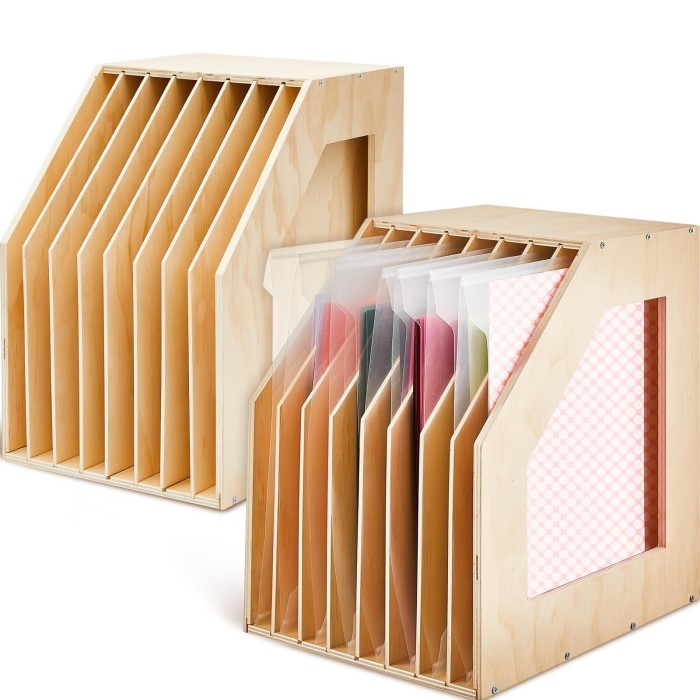
- Vertical Organizers: Vertical organizers can help maximize space by storing paper vertically. This method keeps the materials organized and easily viewable without taking up too much room.
- Assessing Your Needs: Before purchasing an organizer, assess your crafting habits. Do you primarily work with larger sheets of paper, or do you often use scraps? Determine how much space you have available and what type of scrapbook paper organizer best fits your lifestyle.
Storage Solutions for Scrapbook Paper
- Vertical Storage Solutions: Vertical storage helps you fully utilize your available space. Consider using scrapbook paper organizer and tote bins that allow paper to stand upright, providing an easy overview. Customize the sections for various sizes, ensuring everything stays tidy and easily accessible.
- Rolling Carts: A rolling cart is an adaptable storage solution, particularly for scrapbook paper and tools. You can move it wherever needed, keeping your materials near your workspace but still allowing space for organization. Choose carts with multiple drawers to separate papers by category.
- Clear Plastic Bins: Clear bins not only keep your materials protected but also allow you to see what you have. Use them to categorize scrapbook paper, embellishments, and tools. Make sure to label the bins to create a streamlined experience.
Creative DIY Scrapbook Paper Organizer Ideas
Customized Binders
- Creating Your Binders: Start your organization project by selecting binders specifically designed for scrapbook paper. Look for binders with sturdy construction to ensure they last through multiple crafting sessions. Choose sizes that fit your needs, whether you prefer standard 1-inch binders or larger options for extensive collections.
- Decorative Covers: Personalize the exterior of your binders by using colorful paper covers. Choose designs, patterns, or colors that resonate with you and reflect your style. You can use scrapbook paper, fabric, or contact paper to create vibrant covers. Including your name or a motivating quote can make them feel inviting.
- Inspiring Stickers and Designs: Enhance your binders by decorating them with stickers, washi tape, or embellishments. These additions not only make your binders visually appealing but also inspire creativity every time you reach for them. Consider using themed stickers that relate to your scrapbook projects for cohesiveness.
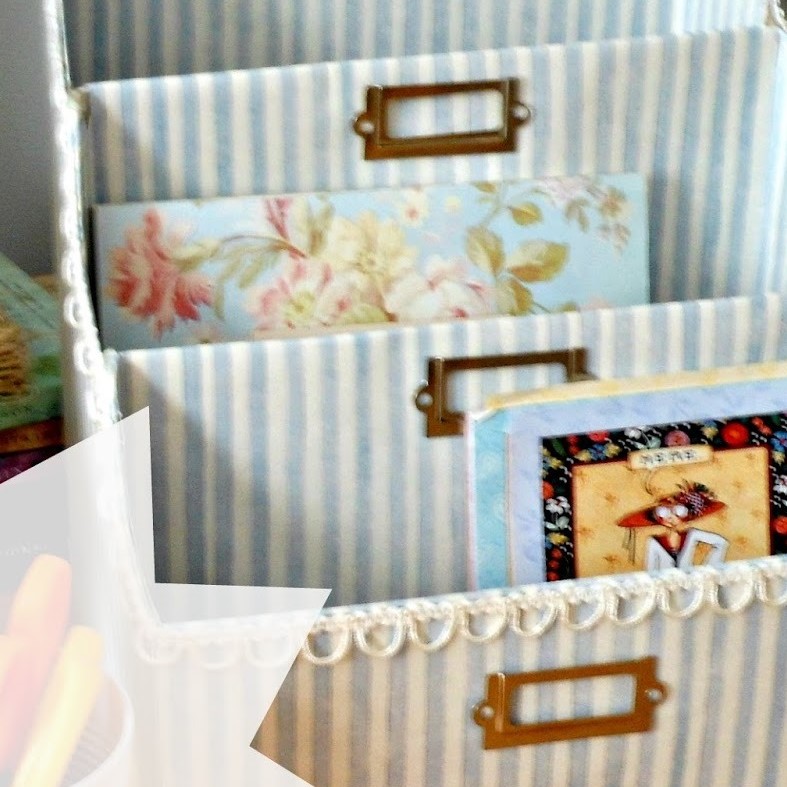
- Organizing with Tab Dividers: To make accessing your papers easier, use tab dividers within each binder. Opt for sturdy dividers that can hold your scrapbook sheets securely. Label each tab according to themes, colors, or occasions, such as “Weddings,” “Vacations,” or “Holidays,” providing clarity when searching for materials.
Repurpose Household Items
- Searching for Organizers: Take a moment to look around your home for items that can be repurposed as storage solutions. This not only helps you save money but also encourages creativity by thinking outside the box. Items that you may not use often can find new life as organizers.
- Using Old Shoeboxes: Old shoeboxes are versatile and perfect for organizing scrapbook materials. Cover them with colorful scrapbook paper to transform them into stylish storage solutions. Choose designs that match your craft room aesthetic or are fun and vibrant to keep the creative spirit alive.
- Functional Mason Jars: Mason jars can serve multiple purposes in a crafting space. Use them to hold scissors, glue sticks, and other tools. You can organize small items like buttons, sequins, or brads by using multiple jars and labeling each one. This not only keeps tools handy but also adds a rustic charm to your decor.
- Utilizing a Pegboard: Consider installing a pegboard in your crafting area to enhance organization. Pegboards provide flexibility in how you display and store your supplies. Hang hooks for ribbons, create spaces for scissors, and use small baskets for embellishments. The pegboard keeps everything visible and easily accessible, promoting productivity.
Pegboards for Display and Storage
- Setting Up the Pegboard: Installing a pegboard is a straightforward process that can significantly improve your crafting space. Choose a location that is convenient for your workflow, such as above your workbench or near your main supplies. Ensure the pegboard is securely mounted to handle the weight of your items.
- Hanging Tools and Supplies: Once the pegboard is in place, start hanging your tools and supplies using hooks and clips. Arrange items based on frequency of use or size; for example, hang larger items like scissors at eye level for easy access while placing smaller items further down.
- Creative Use of Hooks: Use a variety of hooks for different purposes. Consider S-shaped hooks for ribbons, which allow them to hang neatly and stay untangled. Clips work well for hanging papers or small notes, while sturdy hooks can hold heavier tools like rotary cutters or rulers.
- Adding Baskets for Organization: Incorporate baskets or containers on your pegboard for smaller supplies. These holders can be used for items such as washi tape, twine, or miscellaneous embellishments. Baskets help maintain order and can easily be removed when you need to reach a specific item, making your crafting space more efficient.
- Aesthetic Appeal: Beyond maximizing functionality, pegboards can add a decorative touch to your workspace. Use colorful hooks and containers to create an attractive display. Consider incorporating framed art or inspirational quotes on the pegboard to inspire your creativity while you craft.
Maintaining an Organized Workspace
- Regular Clean-Up Schedule: Develop a regular clean-up routine to keep clutter at bay. After finishing a crafting session, spend a few minutes putting supplies back in their designated spots. Regularly reassessing your space helps identify areas that may need a bit of tidying.
- Categorizing Your Supplies: An effective way to maintain organization is by categorizing supplies by type, color, or theme. By grouping like items together, you’ll find it easier to locate materials quickly. This system also allows you to identify what you have at a glance, reducing excess purchases.
- Utilizing Checklists: Create a checklist of your supplies to maintain oversight of what you need and what you already have. It simplifies shopping trips and helps ensure you’re not buying duplicates. A checklist can also be beneficial when planning specific projects.
Conclusion: Embrace the Art of Organization
In conclusion, an efficient scrapbook paper organizer is essential for enhancing your crafting experience and maximizing creativity. By choosing the right storage solutions, maintaining an organized workspace, and utilizing practical DIY ideas, you can create an environment that fosters productivity and enjoyment.
Embrace innovative organizational methods that suit your style. Whether you prefer binders, rolling carts, or creative repurposing, there are numerous options to keep your supplies neat and accessible.
This holiday season, take the opportunity to revamp your crafting space, making it a sanctuary for creativity. The more organized you are, the more you’ll look forward to diving into new projects and capturing your cherished memories in scrapbook form! Remember: a well-organized crafting space is the key to unleashing your creativity and enjoying every moment of your artistic journey. Happy crafting!