Crafting with Watercolors: A Joyful Holiday Tradition
Creating DIY watercolor Christmas cards is not merely a craft; it’s a joyful tradition that adds a heartfelt touch to your holiday greetings. In the spirit of the season, crafting handmade cards can also serve as a wonderful bonding activity for families and friends. It allows you to express your creativity while connecting with loved ones through personalized messages. Whether you aim to impress friends or spread cheer to family, watercolor cards provide a beautiful way to share your wishes during the festive season.
In this article, we will explore the various aspects of making stunning watercolor cards, from gathering supplies to mastering techniques and ultimately designing unique cards that capture the magic of Christmas. By the end of this guide, you’ll have the necessary skills and inspiration to create your own lovely DIY watercolor Christmas cards.
Gathering Your Supplies
Before diving into the creative process of making your cards, it’s essential to gather all the necessary supplies. The right materials can make a significant difference in the outcome of your designs. Here’s a concise list of what you’ll need:
- Watercolor Paper: Choose thick, heavyweight paper that can handle moisture without warping. The texture and weight are vital for vibrant colors and ease of painting.
- Watercolor Paints: You can use several types including pan watercolors, tube paints, or watercolor pencils. Each type offers different effects, so select what resonates with your style.
- Brushes: Invest in a variety of brushes in different sizes. Flat brushes are excellent for broad washes, while finer round brushes are perfect for detailed work, such as painting intricate designs.
- Water Container and Paper Towels: You’ll need a container for rinsing brushes and paper towels for absorbing excess water and paint.
- Pencil and Eraser: Lightly sketch your desired design on the paper before you start painting. This will guide your brush strokes.
- Envelopes: Once your cards are made, you’ll need envelopes for mailing or gifting them.
By gathering these supplies in advance, you can focus more on the creative and enjoyable aspects of painting rather than rushing to find materials.
Exploring Watercolor Techniques
Watercolor painting offers a myriad of techniques that can enhance the beauty of your DIY Christmas cards. Understanding these methods will enrich your artistic experience and improve your skill set. Here are several effective techniques that you can utilize:
- Wet-on-Wet Technique: In this method, wet paint is applied to wet paper, allowing colors to blend softly. This technique is ideal for backgrounds, skies, or creating a dreamy effect, mimicking winter’s magical charm.
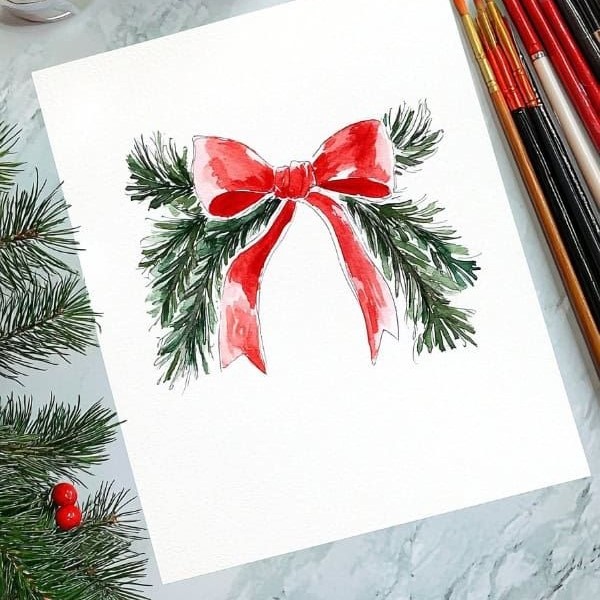
- Wet-on-Dry Technique: This involves applying wet paint to dry paper for sharper edges and more defined details. Utilize this method for painting ornaments, holly leaves, or snowflakes—important symbols of the Christmas season.
- Salt Texture Technique: By sprinkling salt onto wet paint, you can create unique textures that resemble frost or snow. As the salt absorbs moisture, it leaves behind striking patterns that can add depth to your designs.
- Layering Colors: Start with lighter washes and slowly build up darker shades. This technique adds richness and complexity to your artwork, making it visually stunning.
- Masking Fluid: Use this fluid to protect white areas while painting. It can be particularly useful for snowflakes or the outlines of Christmas ornaments that you want to keep unpainted.
Mastering these techniques will not only enhance your ability to create beautiful designs but also make your experience enjoyable and fulfilling.
Designing Your Cards
With your supplies ready and an understanding of various watercolor techniques, it’s time to brainstorm and design your Christmas cards. Here are a few design concepts that can spark your creativity:
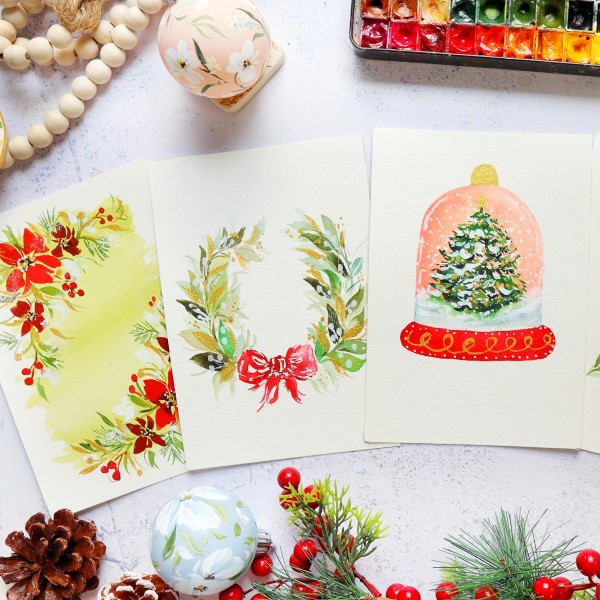
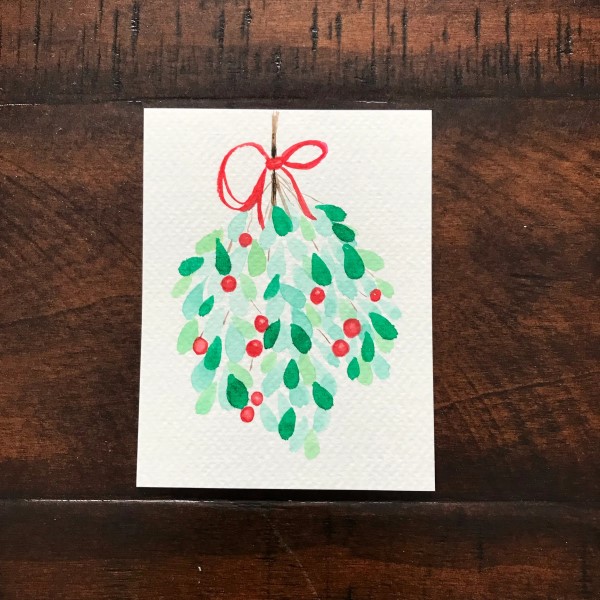
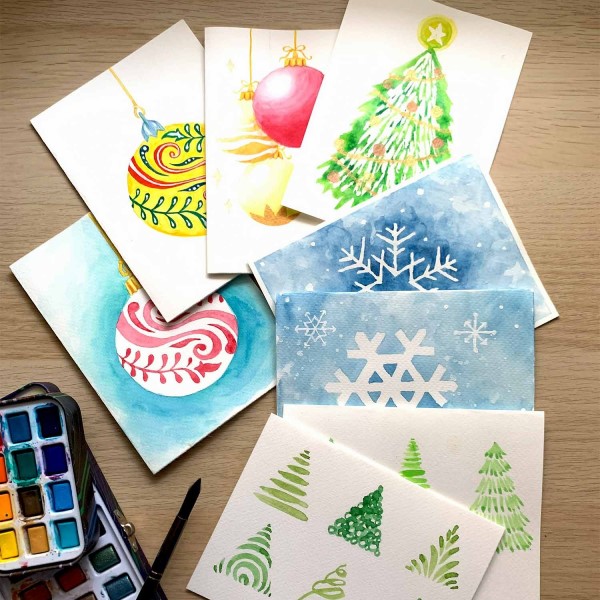
- Nature Scenes: Capture the beauty of winter by painting serene snowy landscapes, tall pine trees, or whimsical winter animals. These natural elements, rendered in watercolor, create a peaceful atmosphere perfect for the holiday season.
- Christmas Symbols: Incorporate festive symbols into your designs. Think of ornaments, stars, stockings, or Santas. These elements are not only festive but can also be stylized easily with watercolor.
- Quotes and Greetings: Consider incorporating heartfelt messages or holiday quotes into your card designs. Using a brush to write in beautiful calligraphy can elevate your card and make it more personal.
- Mix and Match Designs: You’re not limited to one design per card. Feel free to combine multiple elements—create a winter scene on one side, and a festive message on the other. This adds variety and charm.
- Add Personal Touches: Think about the recipient while designing. Add elements that reflect their interests or shared memories, ensuring a unique card that resonates with them.
These design concepts allow you to create DIY watercolor Christmas cards that will leave a lasting impression, bringing joy to your loved ones during the holiday season.
Step-by-Step Guide to Creating Your Cards
Now that you have a clear design vision, let’s dive into a straightforward step-by-step guide to create your watercolor Christmas cards. Following these instructions will help you produce beautiful, heartfelt cards:
- Sketch Your Design: Begin by lightly sketching your chosen design onto the watercolor paper. This gives you a guide to follow as you apply paint.
- Prepare Your Workspace: Create a clean and well-lit area for painting. Have your water container, paints, brushes, and paper towels within reach to streamline your process.
- Start with the Background: Using the wet-on-wet technique, apply a light wash for your background. Allow it to dry before adding your main design. This initial layer sets the overall tone for your card.
- Layer Your Main Elements: Once your background is dry, layer in more detailed elements with the wet-on-dry technique. Be mindful of blending colors and creating depth.
- Add Final Details: After the main painting is complete, switch to finer brushes for intricate details. Use masking fluid where needed and remove it once the paint is dry.
- Let It Dry Completely: Before moving on to the final touches, allow your cards to dry thoroughly. This step is vital, especially if you want to erase pencil marks without smudging.
- Finish Up: Once dry, go over any pencil marks with an eraser, and your cards are ready to be adorned with messages and placed in envelopes.
This step-by-step process ensures that you have a clear path to creating personalized, artistic cards that showcase your creativity.

Creating a Personal Connection
One of the most significant benefits of DIY watercolor Christmas cards is the personal connection they foster. In an age dominated by digital communication, a handmade card stands out, providing a tangible representation of thoughtfulness and care. Taking the time to create something unique shows your loved ones that you value them.
When writing inside your card, offer genuine wishes for a joyous holiday season. Share memorable moments from the past year that will make them smile. A handwritten message adds an extra layer of warmth, making the recipient feel special and appreciated.
Remember, the effort put into crafting your cards not only produces beautiful artwork but undergoes a part of yourself that is shared with others.
Sharing Your Creations
After completing your stunning DIY watercolor Christmas cards, it’s time to share your artwork with your loved ones. Here are a few ways to do that:
- Send Through Mail: It’s classic yet effective! Place your cards in envelopes and mail them out to disperse some holiday cheer. Just remember to affix the proper postage.
- Social Media Share: Share your creations on social media platforms such as Instagram, Facebook, or Pinterest. Use hashtags like #DIYChristmasCards to inspire others and connect with a community of fellow crafters.
- Host a Crafting Night: Invite friends and family over for a fun night of card-making. Share ideas, techniques, and laughter while creating holiday cards together.
- Give As Gifts: Consider presenting a beautifully crafted pack of your watercolor cards as a gift. It allows your loved ones to experience your artistic flair while sending their own greetings.
By sharing your creations, you not only enhance your holiday spirit but also inspire those around you to engage in their own creative endeavors.
Conclusion: Embrace the Craft of Watercolor
DIY watercolor Christmas cards allow you to spread joy and creativity during the holiday season. By gathering the necessary supplies, mastering various watercolor techniques, and crafting beautiful designs, you create unique cards that your loved ones will treasure.
The joy of crafting these cards lies not only in the final product but also in the thoughtful time you invest in creating something meaningful. So grab your watercolors, unleash your inner artist, and start designing! Your DIY watercolor Christmas cards are sure to light up the holiday season for you and those you care about.
Through this fulfilling activity, you embrace creativity, strengthen connections, and celebrate the joy of giving during the most wonderful time of the year. Whether it’s a simple greeting or an elaborate design, your artistic efforts will undoubtedly leave a lasting impression and spread warmth and cheer this holiday season.