Introduction
Creating a DIY wooden Christmas tree is an enriching craft project that brings joy and individuality to your holiday decorations. As more people seek to customize their festive decor, crafting a wooden Christmas tree has gained popularity. This project allows you to infuse your personal style into your holiday setup while also providing a fun activity for family and friends to enjoy together.
In this guide, we will walk you through the steps to create a beautiful wooden Christmas tree. You will learn about the materials needed, essential tools, and techniques for assembling your tree. This project is simple and can easily be adjusted based on your preferences, making it a great choice for beginners and seasoned crafters alike.
Why Choose a DIY Wooden Christmas Tree?
There are many reasons to opt for a wooden Christmas tree, ranging from aesthetic appeal to sustainability.
Unique Aesthetic
- Originality: A DIY wooden Christmas tree stands out compared to traditional plastic or metal trees. You can personalize it with paint, decorations, and embellishments that match your home’s decor.
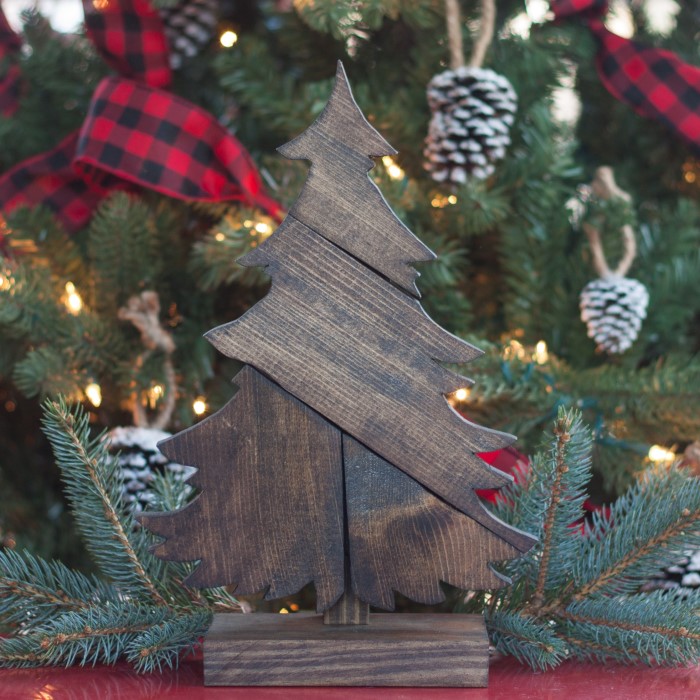
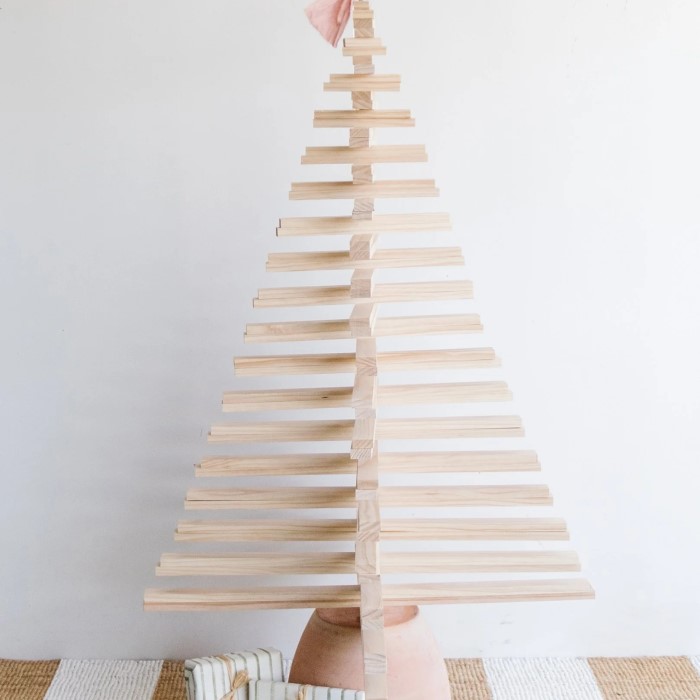
- Natural Look: Wood offers a rustic charm that can enhance your holiday atmosphere. Its natural textures and colors can create a warm and inviting feel, making your space feel cozy during the festive season.
Sustainability
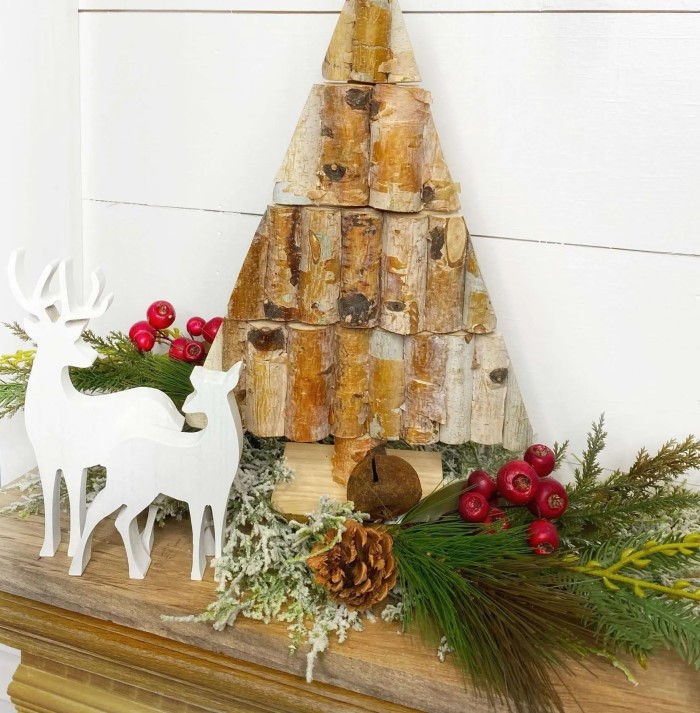
- Eco-Friendly Option: By making your own wooden Christmas tree, you engage in a sustainable practice. You can use reclaimed wood or environmentally friendly materials, reducing waste and your carbon footprint.
- Durability: A wooden tree can last for years when treated and maintained properly. Unlike disposable decorations, a handmade wooden tree is a long-term investment you can bring out year after year.
Materials Required
Before starting your project, gather all necessary materials to ensure you have everything on hand for a smooth crafting experience.
Basic Supplies
- Wooden Boards: Select wooden boards or planks for your tree structure. You can use pine, plywood, or reclaimed wood, depending on the desired appearance and finish.
- Wood Glue or Screws: Depending on your construction method, gather wood glue or screws to assemble the tree. Wood glue is great for a seamless look, while screws provide additional strength.
- Sandpaper: Use sandpaper to smooth the edges and surfaces of your wooden pieces, ensuring a polished finish that is safe to handle.
Decorative Elements
- Paint or Stain: Choose whether you’d like to paint or stain your wooden tree. This gives you control over the color and finishes, allowing you to match your decor style.
- Ornaments and Lights: Gather ornaments, ribbons, and string lights for decorating your wooden Christmas tree. These accents will add a festive touch, making your tree unique.
Step-by-Step Guide
Now that you have collected your materials, let’s dive into creating your DIY wooden Christmas tree with these easy-to-follow steps.
Planning Your Design
- Decide on Dimensions: Determine the size of your wooden tree. Consider where you will display it—such as on a tabletop or as a floor decoration—and measure accordingly.
- Sketch Your Design: Before cutting any wood, sketch a rough design of your tree. Decide whether you want a traditional tree shape or something more abstract, like a minimalist triangle.
Cut the Wood
- Cut the Wooden Pieces: Using a saw, cut the wooden boards into your desired shapes. For a classic tree look, you can create a triangular shape with a base for stability.
- Safety First: When using power tools, always prioritize safety. Wear protective gear like goggles and gloves, and ensure you are working in a well-ventilated area.
Assemble the Tree
- Join Pieces Together: Assemble the cut wooden pieces using wood glue or screws. If you choose glue, clamp the pieces for a more secure bond while they dry.
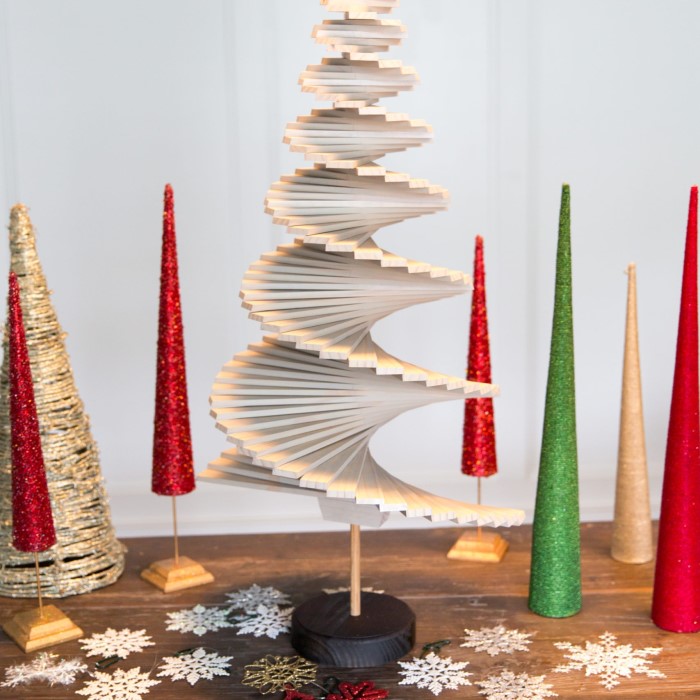
- Create Layers: If you want a more dimensional tree, consider creating layers by attaching multiple pieces at different heights, mimicking the look of branches.
Sand and Finish
- Smooth Edges: Use sandpaper to smooth any rough edges and surfaces. This step is crucial to prevent splinters and give your tree a finished look.
- Apply Paint or Stain: Apply paint or stain to your assembled tree. You can choose vibrant holiday colors or natural wood stains, depending on your design vision.
Decorate Your Tree
- Add Ornaments: Once the paint or stain is dry, start decorating your tree. Use any ornaments, ribbons, and embellishments you have collected. Be creative; let your imagination guide you!
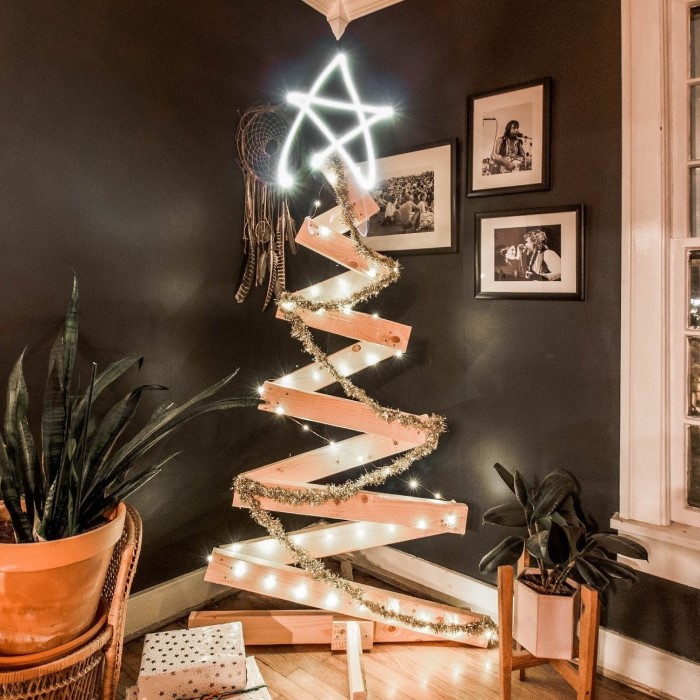
- Add Lights: Incorporate string lights to enhance the festive ambiance. Carefully wrap them around the tree, ensuring that the lights are evenly distributed for a balanced appearance.
Creative Ideas
To make your tree truly special, consider these creative ideas for decoration that can complement your DIY project perfectly.
1. Themed Decorations
- Color Themes: Choose a specific color scheme that reflects your style or complements your home decor. Whether you go for pastels, jewel tones, or classic red and green, a consistent theme will create a visually appealing tree.
- Nature-Inspired Accents: Use natural materials like pinecones, dried oranges, or cinnamon sticks for decorations. These organic elements can bring a rustic charm to your wooden tree.
2. Personalized Elements
- Family Ornaments: Create or purchase ornaments that represent family members and their interests. This personal touch can make the tree more meaningful and unique.
- Handmade Items: Encourage family members to contribute handmade decorations. This inclusion can turn the tree into a family project that reflects everyone’s creativity.
3. Interactive Features
- Message Tags: Attach small tags with messages or wishes for each family member. This interactive aspect can enhance the experience of gathering around the tree.
- Light-Up Features: Incorporate battery-operated LED lights that can be switched on and off easily. This feature makes your tree versatile and allows you to set the mood with or without lights.
Tips for a Successful DIY Wooden Christmas Tree Experience
To ensure your DIY wooden Christmas tree project is enjoyable and successful, keep these considerations in mind.
Plan Ahead
- Gather Materials Early: Before starting, gather all your materials to avoid frustration later. Having everything prepared allows you to focus on crafting without interruptions.
- Set Up a Comfortable Workspace: Create an organized space where you can work comfortably. Adequate lighting and space are crucial for creativity and efficiency during the crafting process.
Enjoy the Crafting Process
- Take Breaks: If you find yourself getting frustrated or stuck during any part of the process, take a break. Stepping away for a moment can help clear your mind and inspire new ideas.
- Celebrate Your Creativity: Remember that the process of making your tree is just as important as the final product. Celebrate your creativity and enjoy every step of the journey!
Frequently Asked Questions
How to make a simple and easy Christmas tree?
To make a simple Christmas tree, start with a triangular piece of wood as your base. Stack additional wooden pieces in increasingly smaller sizes to create layers. Paint or decorate as desired.
What kind of wood is used for Christmas trees?
Pine and plywood are popular choices due to their availability and workability. Alternatively, reclaimed wood adds character and an eco-friendly element to your project.
How to make a Christmas tree out of wood with lights?
To incorporate lights, choose a wooden frame and secure it with wire. After constructing your wooden tree, wrap string lights around the branches, ensuring they’re evenly spaced for an attractive display.
How to make a cheap Christmas tree look expensive?
Use high-quality paint or stains for a polished finish. Add thoughtful decorations like ribbons, coordinated colors, or elegant ornaments to elevate the appearance of your wooden tree without breaking the bank.
Conclusion
In conclusion, crafting a DIY wooden Christmas tree is a wonderful way to celebrate the holiday season while expressing your creativity. With the ability to customize your tree according to personal preferences, you can create something unique that will adorn your home for many Christmases to come. The benefits of making your own tree extend beyond decoration; they include sustainability, cost-effectiveness, and the opportunity to create cherished family memories.
As you embark on this creative journey, remember to enjoy the process and incorporate your style into the final product. Gather your materials, invite family or friends to join, and make this a holiday tradition that brings joy, laughter, and warmth to your celebrations. Your DIY wooden Christmas tree will not only enhance your holiday decor but also serve as a timeless symbol of your holiday spirit and creativity!