Introduction: A New Dimension in Crafting
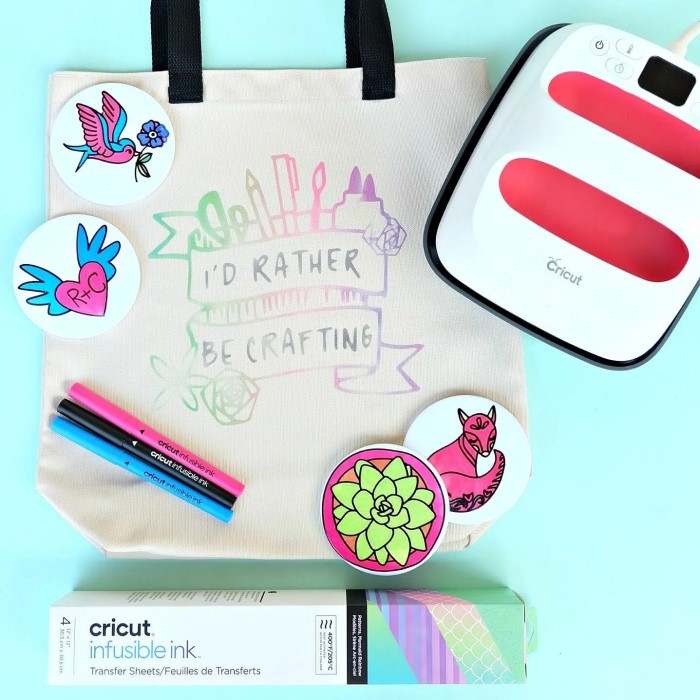
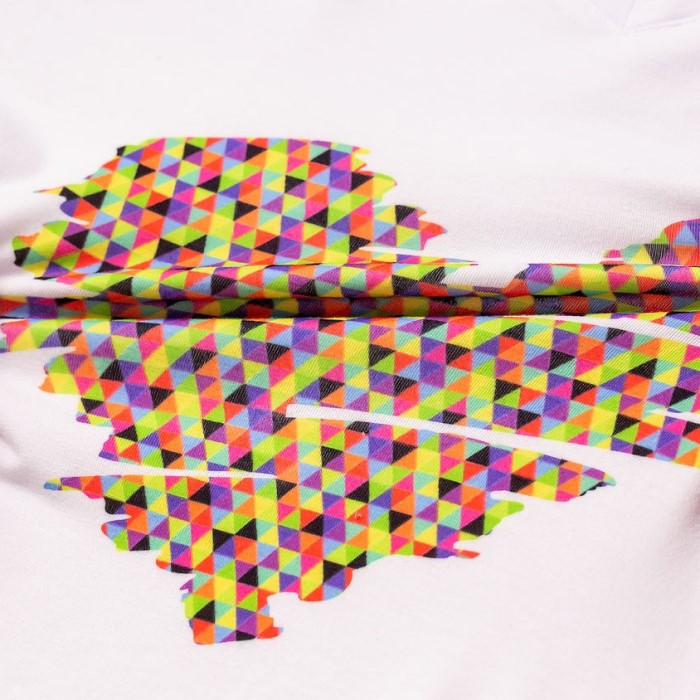
Infusible ink is revolutionizing the way we think about fabric and design projects. If you’re looking to unlock your creative potential, now is the time to explore how to use infusible ink in your crafting endeavors. Unlike traditional iron-on materials, infusible ink offers designs that are embedded into the fabric fibers, resulting in vibrant, long-lasting colors that do not fade or peel. This article delves deep into everything you need to know to harness the power of infusible ink, from the basics to advanced techniques.

What is Infusible Ink?
Infusible ink is a unique type of ink used primarily with Cricut cutting machines. It’s specifically designed to be used for heat transfer projects and works with compatible substrates. The magic lies in the fact that infusible ink becomes part of the fabric, resulting in seamless designs that are vibrant and durable.
- How It Works: Infusible ink is transferred onto a variety of surfaces using heat and pressure. When exposed to high temperatures, the ink transforms from a solid to a gas, embedding itself into the material. This process creates designs that are resistant to cracking and fading.
- Materials Compatible: This ink can be used on a variety of surfaces, including polyester, polyester-coated materials, and specially designed Cricut blanks. It is important to check that the fabric you are using contains at least 65% polyester for optimal results.
- Varieties: Infusible ink comes in various formats, including transfer sheets and pens. Transfer sheets are great for larger designs, while pens allow for more detailed work.
Preparing Your Materials
Before diving into the fun part of creating with infusible ink, proper preparation is key. Here’s how to prepare your materials effectively:
Creating with infusible ink opens up a world of possibilities for personalized crafts. Here’s an expanded explanation of each essential step to ensure that your projects turn out beautifully:
1. Select Your Project
- Identify Your Craft: Begin by determining which project you would like to create. Popular options include personalized t-shirts, mugs, tote bags, or even decorative pillows. Each project type has its unique appeal and serves various purposes.
- Choose Compatible Substrates: It is critical to select substrates that are compatible with infusible ink. Look for items specifically labeled as “infusible ink compatible” or those made from at least 65% polyester. This ensures that the ink can properly bond with the fabric or surface, resulting in a vibrant, long-lasting design.
- Consider Project Size: Think about the dimensions of your final product. Not all substrates are created equal; therefore, be mindful of the size limitations when selecting your project. For example, a small mug may not work well with large designs.
2. Pre-Wash Fabrics
- Remove Sizing and Chemicals: If your project involves fabric, pre-washing is an important step. Most fabrics come with sizing applied, which can interfere with the ink absorption process. Washing the fabric removes these chemicals, allowing the ink to bond more effectively.
- Use No Fabric Softeners: It’s crucial to avoid using fabric softeners during the washing process. Softeners can leave a residue on the fabric that might hinder ink adhesion and lead to unsatisfactory results.
- Dry the Fabric: After washing, dry the fabric according to its care instructions. For most items, tumble drying works well, but always check the heat setting to prevent shrinking.
3. Gather Your Tools
- Essential Equipment: Before starting your project, make sure you have all the necessary tools at hand. Key items include:
- Cricut Cutting Machine: This machine will help you accurately cut your designs from the infusible ink transfer sheets.
- Cricut EasyPress or Heat Press: These are essential for applying heat and pressure during the transfer process, ensuring that the ink adheres beautifully to the substrate.
- Scissors: Useful for trimming excess material from your designs if needed, enhancing the final outcome.
- Lint Roller: A lint roller is important for removing dust, lint, or debris from your fabric surface. Any small particles can interfere with ink absorption, so be diligent about cleaning the area before applying your design.
4. Design and Cut
- Using Cricut Design Space: Access Cricut Design Space to create your unique design. This user-friendly software enables you to customize shapes, fonts, and images to match your project’s theme.
- Check Size and Orientation: Ensure that your design’s size is appropriate for the selected substrate. It’s important to consider how the design will fit on the item you are decorating.
- Mirror Your Images: If you are using iron-on settings, remember to mirror your images in Cricut Design Space. Mirroring ensures that your design appears correctly when transferred to the fabric, as it will be flipped when applied.
- Cut the Design: Once your design is ready and properly sized, load the infusible ink transfer sheet into the Cricut machine. Follow the cutting instructions, ensuring that you select the correct material setting for infusible ink to achieve a precise cut.
The Step-by-Step Process
Now that you have your materials ready, it’s time to figure out how to use infusible ink. Below is a detailed step-by-step guide:
Step 1: Prepare Your Design
Design your project using Cricut Design Space. Choose your colors and finalize the layout. If you’re using images or text, remember to mirror the design for proper alignment when transferring.
Step 2: Cut Your Design
Once the design is finalized, cut it using your Cricut machine. Place the ink transfer sheet face down on the cutting mat. Use the appropriate setting for ink to ensure an accurate cut.
Step 3: Weed Your Design
After cutting, carefully weed out the excess material. This means removing any areas of the design that you do not want to transfer. A weeding tool can help in getting into intricate areas without damaging your design.
Step 4: Prepare the Surface
Use a lint roller to clean your substrate. This ensures there are no particles that could interfere with the transfer.
Step 5: Position and Press
Place your weeded design face down on the substrate in the desired position. Using the Cricut EasyPress or a heat press, follow the recommended temperature and time settings for your specific material. Typically, ink requires a temperature of around 385°F for about 40 seconds.
Step 6: Let It Cool
After pressing, allow the project to cool completely before peeling off the transfer sheet. This ensures that the design has fully embedded into the material.
Step 7: Care Instructions
To maintain the vibrancy and integrity of your design, wash your items inside out and avoid using bleach. Additionally, air-drying is recommended to prolong the life of your inked creations.
Creative Project Ideas
Infusible ink opens up a world of creative possibilities. Here are some fun project ideas that you can try:
- Customized Apparel: Design t-shirts, hoodies, or even socks using ink. Personalize them with names, quotes, or fun graphics.
- Home Decor Items: Use ink to create custom pillows, tea towels, or blankets that can add a personal touch to your living space.
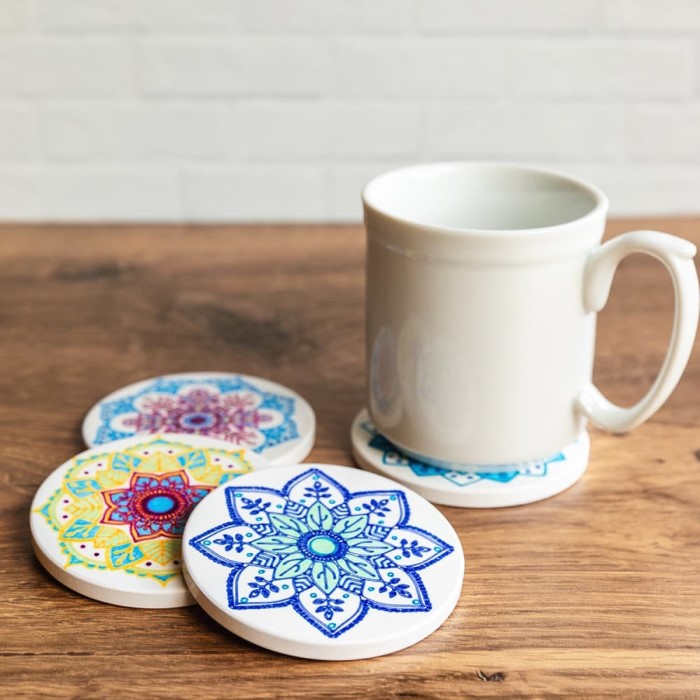
- Mugs and Coasters: Infusible ink works beautifully on ceramic and can be used to create personalized coffee mugs and coasters, perfect for gifts or special occasions.
- Bags and Accessories: Design tote bags or pouches that showcase your unique style. This is also a great way to make practical items that demonstrate your creativity.
- Gifts for Special Occasions: Infusible ink creations make for thoughtful gifts. Consider making personalized items for birthdays, weddings, or holidays. Customized gifts can leave a lasting impression and show how much you care.
Common Questions
What side of infusible ink goes down?
The printed side of the infusible ink transfer sheet should be placed face down onto the substrate. This ensures that the design transfers correctly and adheres properly during the heat process.

Can I use infusible ink on any fabric?
No, infusible ink works best on fabrics that contain at least 65% polyester or are specifically designed for infusible ink applications. Using fabric not compatible with ink may result in poor adhesion and faded designs.
How long do I heat infusible ink?
Infusible ink typically requires heating at around 385°F for 40 seconds, but always refer to the specific instructions provided with your substrate and ink product. This ensures optimal results and the longevity of your design.
Conclusion: Unlock Your Creative Potential
In conclusion, understanding how to use infusible ink can open new avenues for creativity and self-expression. With its unique ability to create vibrant, lasting designs on fabric and various surfaces, infusible ink is an excellent choice for both beginners and experienced crafters.
By following the steps and precautions outlined in this guide, you can master the craft of infusible ink and produce stunning projects that showcase your personality and style. Whether you’re crafting thoughtful gifts or personalizing your wardrobe, infusible ink offers endless possibilities. Embrace this exciting medium and start creating today!