Introduction
Creating Disney-themed chalk art is a fun, creative activity you can do at home. Whether you’re a seasoned artist or a novice, easy Disney chalk art allows you to express your love for your favorite characters while enjoying family time. In this post, we’ll explore various simple designs, provide helpful tips, and outline step-by-step tutorials that will make your chalk art experience magical. By the end of this article, you’ll be ready to create enchanting chalk art that everyone can admire!
Why Choose Chalk Art?
Chalk art is a versatile and accessible medium, making it perfect for people of all ages. Here are a few reasons why you should consider this art form:
- Easy to Learn: Unlike painting, which requires careful brushwork, chalk art can be quickly applied with just a few strokes. As a result, both children and adults can create delightful designs in no time.
- Temporary Fun: Chalk art is temporary, allowing you to express yourself without the commitment of permanent artwork. If you make a mistake, simply wipe it away and start over.
- Creative Outlet: Engaging in chalk art is a wonderful way to foster creativity. You’ll discover a new hobby while teaching your kids about colors, shapes, and characters.
- Family Bonding: Creating chalk art together is an excellent way to spend quality time with family. You can collaborate on larger pieces or each create your own unique designs.
Getting Started
To begin your chalk art journey, you’ll need a few essential supplies. Here’s a simple list to help you start:
- Chalk: Choose vibrant chalk colors that will stand out against your drawing surface. Both chalk sticks and chalk markers can work well.
- Surface: You can draw on sidewalks, blackboards, or chalkboards. If you want a more controlled area, consider using a chalkboard in a designated art space.
- Paper and Templates: For practice, it’s helpful to have paper nearby. Additionally, using Disney character templates can guide your drawings.
- Chalk Art Accessories: Items like erasers, chalk holders, and cleaning cloths can enhance your experience. They will allow you to make corrections while keeping your workspace tidy.
- Water Bottle: While not essential, staying hydrated during your creative process keeps your energy up.
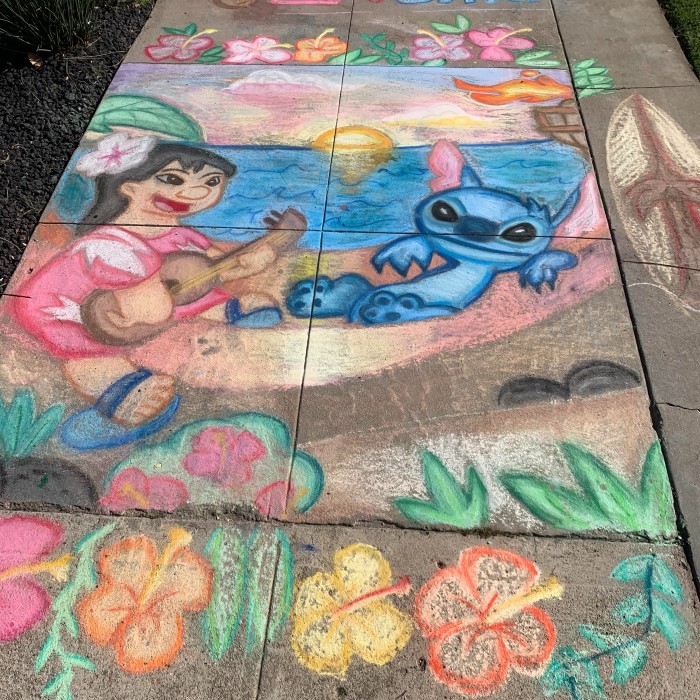
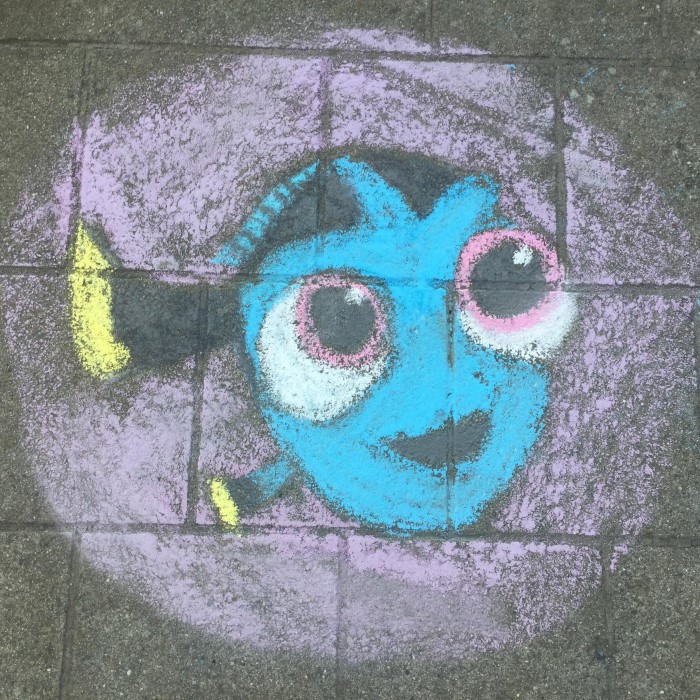
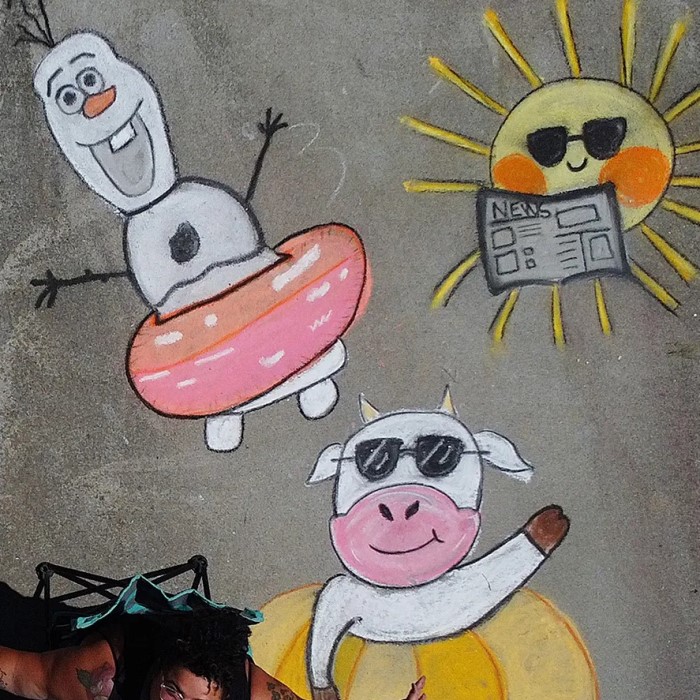
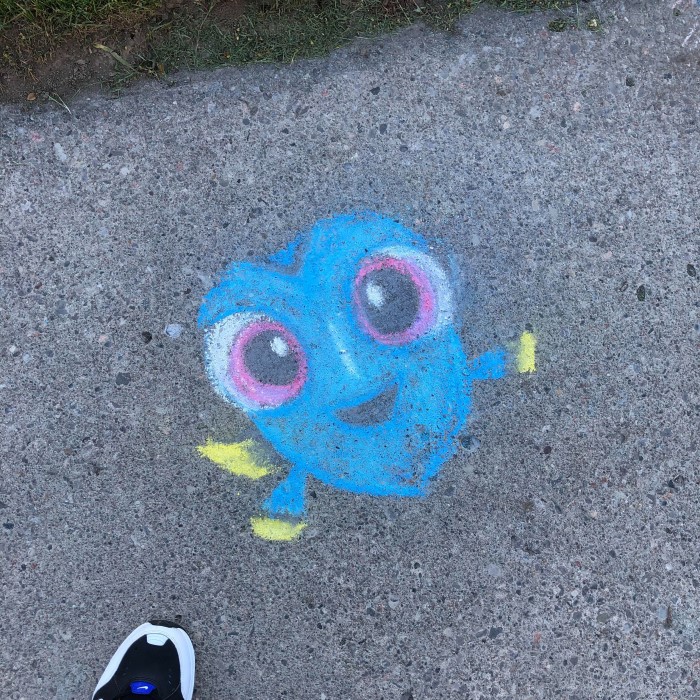
Designs to Try
Once you’ve gathered your materials, it’s time to dive into some easy designs! Below are several popular Disney characters you can create with step-by-step instructions.
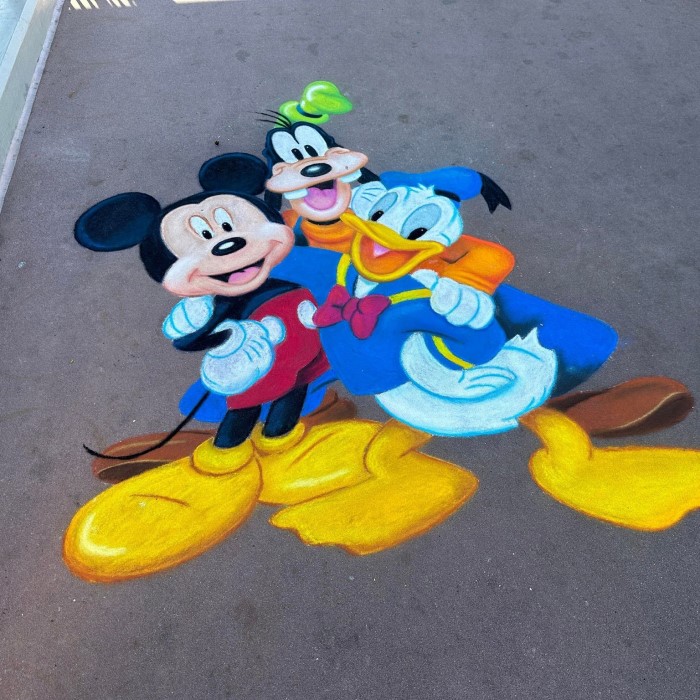
Mickey Mouse
- Step 1: Begin by sketching a large circle for Mickey’s head.
- Step 2: Next, add two smaller circles on top for the ears.
- Step 3: Draw Mickey’s face by adding two oval eyes, a small nose, and a smiling mouth.
- Step 4: Fill in the character using black for his head and red for his shorts.
Cinderella
- Step 1: Start with a basic oval shape for Cinderella’s head.
- Step 2: Add flowing lines for her hair and dress.
- Step 3: Include facial features like eyes, eyebrows, and a smile.
- Step 4: Finally, color her hair blonde and dress in a light blue shade.
Buzz Lightyear
- Step 1: Draw a basic outline of Buzz’s head, which features a space helmet.
- Step 2: Add two antenna-like shapes at the top of his helmet.
- Step 3: Draw his eyes, a determined mouth, and the iconic suit details.
- Step 4: Use various colors such as green and white for Buzz’s suit.
Tips for Successful Chalk Art
To enhance your chalk art experience, consider the following tips:
Practice Makes Perfect
- Emphasizing the Learning Process: It’s essential to understand that mastery in chalk art, like any other skill, takes time. Don’t feel discouraged if your initial designs don’t meet your expectations.
- Value of Practice: Regular practice is crucial for honing your chalk art skills. The more you draw, the more you will learn about techniques, styles, and your personal preferences.
- Start Small: Consider beginning with simple shapes or characters to build your confidence. As you become more comfortable, gradually progress to more complex designs.
- Sketching on Paper: Before moving to the sidewalk or your preferred surface, consider sketching on paper. This practice allows you to refine your designs and experiment with layouts without the pressure of permanence.
Use Bright Colors
- Choosing the Right Palette: The right colors can significantly affect the visual impact of your chalk art. Vibrant, contrasting colors will draw attention and make your artwork stand out.
- Color Theory Basics: Familiarize yourself with color theory basics to choose complementary hues. For example, pairing warm colors like red and orange with cool colors such as blue can create a more visually attractive effect.
- Enhancing Visibility: Bright colors not only grab attention but also improve visibility from a distance. This is especially important in outdoor settings where chalk art might compete with environmental elements.
- Experimenting with Shades: Don’t hesitate to experiment with different shades and combinations. Mixing colors can add depth and dimension to your characters, enhancing overall appeal.
Take Breaks
- Recognizing Fatigue: Pay attention to how you feel while creating art. If you start to feel tired or frustrated, it’s a sign that you might benefit from a break.
- Importance of Stepping Away: Taking short breaks allows your mind to reset. This timeout can help you return to your work with fresh eyes and renewed energy, potentially leading to better outcomes.
- Encouraging Reflection: Use breaks as moments to reflect on your progress. Consider what you like about your work and what areas could use improvement.
- Engaging in Different Activities: During your breaks, engage in different activities, such as stretching, walking, or simply enjoying a refreshing drink. This variety can stimulate your creativity and recharge your motivation.
Collaborate
- Inviting Others: Consider inviting friends or family to join your chalk art sessions. Collaboration can make the experience more enjoyable and enhance the creative process.
- Sharing Ideas: When you work with others, you can exchange ideas and inspiration that you may not have thought of on your own. Fresh perspectives can lead to exciting designs.
- Creating Together: Collaborating allows you to work on larger projects together, such as a mural or a chalkboard drawing. This teamwork fosters communication and teamwork skills.
- Building Memories: Beyond just creating art, collaborating with others can create lasting memories. The shared experiences, laughter, and stories will enhance your enjoyment of the process and enrich your relationships.
Cleaning Up and Preservation
After enjoying your chalk art creations, it’s important to clean up your workspace. Although chalk art is temporary, here are a few tips for ensuring a neat area:
Wipe Away Excess Chalk
- Importance of Cleaning Up: Maintaining a clean workspace after creating chalk art is essential for both aesthetics and safety. Excess chalk residue can create a messy environment and might cause slips or stains.
- Using a Damp Cloth: To effectively clean up chalk residue, use a damp cloth rather than a dry one. A damp cloth is more effective at capturing the fine particles and preventing them from scattering.
- Wiping Technique: Gently wipe the surface in one direction to avoid smudging the remaining designs. It’s best to work from the edges toward the center, which helps contain the chalk dust and makes for a neater cleanup.
- Frequency of Cleaning: Consider wiping away excess chalk throughout your chalk art session, especially if you’re working on a larger area. This approach prevents the accumulation of chalk dust and helps maintain clarity in your designs.
Remove Art If Desired
- Deciding to Remove Chalk Art: If you’ve completed your chalk art project and wish to clear the surface, it’s easy to do. Maybe you’re preparing for a new piece, or simply want to refresh the space.
- Simple Water Rinse: To remove chalk art, a simple water rinse will suffice. You can use a bucket of clean water or a spray bottle filled with water for convenience.
- Technique for Removal: Spray or apply water to the chalked area and gently wipe with a cloth or sponge. Avoid using abrasive materials, as they can scratch the surface underneath.
- Timing for Removal: It’s best to remove chalk art soon after it’s created. The longer it sits, the more likely it is to adhere to the surface, making it slightly more challenging to clean.
Store Leftover Chalk
- Importance of Organization: After your chalk art session, proper organization of your art supplies is important for future projects. Keeping leftover chalk organized will save you time and hassle next time you’re ready to create.
- Dedicated Container or Bag: Invest in a dedicated container, box, or bag specifically for chalk and related supplies. This can be a small plastic tub, a zipper pouch, or even a recycled storage box.
- Sorting Supplies: If you have multiple colors of chalk, consider sorting them by color in separate sections of your container. This makes it easier to find the colors you need for your next project.
- Check for Condition: Before storing leftover chalk, check for any pieces that may have broken or been damaged. Discard any unusable pieces to keep your supply fresh.
Keep Templates Handy
- Utilizing Templates: If you used templates to guide your chalk art, storing them properly ensures they remain in good condition for your next project. Templates help create precise designs and can be reused multiple times.
- Store Them Flat: To prevent creasing, store templates flat. Avoid folding or rolling them up, as this can lead to permanent bends that affect their usability.
- Use a Portfolio or Binder: Consider placing templates in a portfolio or binder designed for artwork. This method keeps them organized and easy to access.
- Labeling: If you have multiple templates, labeling them can be beneficial. You can quickly identify which templates correspond to certain characters or designs, saving you time when you want to use them again.
Conclusion: Embrace Easy Disney Chalk Art
Creating easy Disney chalk art is a delightful way to express your creativity and bond with family. With a variety of characters to choose from and simple techniques to follow, you can bring your favorite Disney scenes to life right at home. Whether you want to create a cheerful Mickey Mouse or a stunning Cinderella, the options are endless. Collect your materials, gather your loved ones, and let your imagination run wild with chalk art!