Introduction
Participating in a science fair is an exciting opportunity for students. It allows them to showcase their scientific knowledge and creativity. One key element that can make or break a project is the science fair display board. This board serves as the visual centerpiece that presents the project and engages both judges and peers. In this article, we will delve into numerous ideas and tips for crafting an impressive science fair display board, ensuring each student can achieve success.
Choosing the Right Display Board
A well-chosen display board sets the stage for your science fair project. It needs to be sturdy, practical, and visually appealing. The choice of board can create a lasting impression on judges and viewers.
Types of Boards Available
Several types of science fair display boards are available:
- Tri-fold boards: These are the most popular option. They feature three panels that fold, allowing for easy setup and transport.
- Foam boards: Foam boards provide durability and a smooth surface. They are great for heavy decorations or glued items.
- Corrugated cardboard boards: These boards are lightweight and affordable, but less durable than foam boards.
- Customized boards: Some participants opt for custom-made boards for unique designs and advanced presentations.
Each type has its pros and cons, and the choice will depend on your project needs and budget.
Factors to Consider When Selecting a Board
When choosing a science fair display board, keep the following factors in mind:
- Size: Ensure it meets science fair guidelines and is large enough for your content.
- Material: Choose a board strong enough to support your decorations and information.
- Portability: Select a board that is easy to carry and assemble.
- Budget: Balance quality and cost to meet your financial constraints.
- Color: Neutral colors, like white or black, work well as they make text and images pop.
Selecting the right display board ensures your project looks professional and attracts attention while staying practical.
Designing an Eye-Catching Layout
A compelling layout grabs attention and communicates your science fair project effectively. Thoughtful design ensures that judges remember your display.
Importance of Visual Appeal
Visual appeal is critical for making your science fair display board stand out. A neat, colorful, and well-organized board attracts the viewer’s eye. Use bold headlines and consistent fonts to make key points noticeable. Add vibrant colors to highlight sections, but avoid overpowering the overall design.
Consider using images, graphs, or charts to display data visually. They make complex information easier to understand. Stick to clean lines and avoid clutter for a professional look.
Balancing Text, Images, and White Space
Balance is essential when arranging text, images, and white space on your display board. Too much text can overwhelm the viewer, while too many images can distract them.
- Text: Keep descriptions short and readable. Use bullet points for quick understanding.
- Images: Include pictures of your experiment or diagrams. Ensure they support your content.
- White Space: Leave space between sections for clarity. It helps the board look organized and polished.
A well-balanced layout ensures your science fair display board is visually appealing, easy to read, and professional.
Organizing Information Effectively
A well-organized display board communicates your science fair project clearly and professionally. Arrange your content thoughtfully to guide viewers seamlessly through your work.
Sections to Include on Your Board
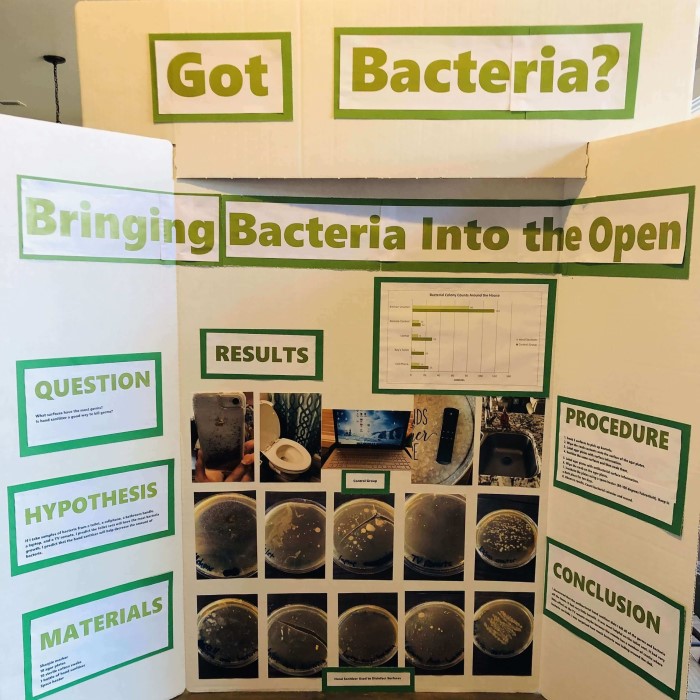
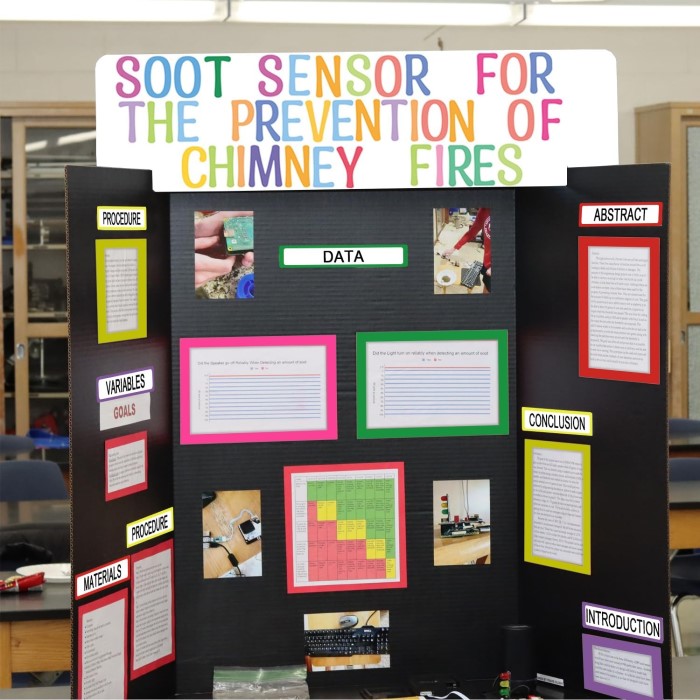
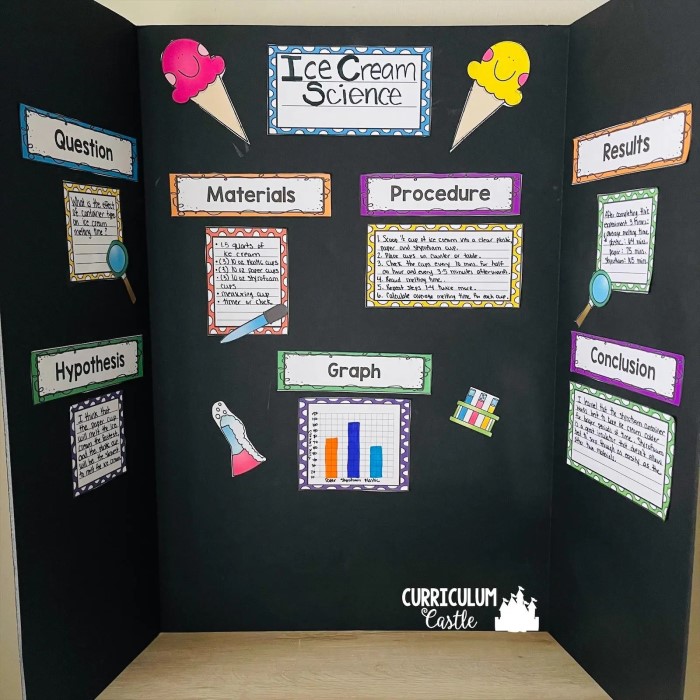
A good science fair display board contains clear and logical sections. Here’s what to include:
- Title: Place your project title prominently at the top. Use bold and large fonts.
- Introduction: Briefly explain your project’s purpose and background information.
- Hypothesis: State your hypothesis in clear, simple terms.
- Materials and Methods: List the materials used and describe the steps followed for your experiment.
- Results: Present your findings using tables, graphs, or charts.
- Conclusion: Summarize the outcomes and insights of your project.
- Acknowledgments: Thank people who helped with your project.
- References: List sources you consulted during your work.
Arrange these sections in a logical flow. This helps judges understand your project step-by-step.
Making Data Easy to Understand
Presenting data clearly ensures your board makes an impact. Use the following tips:
- Graphs and Charts: Display numeric data visually. Choose simple bar graphs or pie charts for clarity.
- Headings and Labels: Use bold headings and clear labels on graphs and images.
- Bullet Points: Break information into concise bullet points for quick reading.
- Images or Diagrams: Add pictures of your experiment or flowcharts to explain processes.
- Consistent Formatting: Keep text alignment, font styles, and colors consistent throughout.

Avoid cramming too much information into one section. Allow space for each element to stand out. Simplify complex ideas to ensure ease of understanding for viewers.
Creative Decoration and Customization Tips
A well-decorated science fair display board can make your project memorable and engaging. Strategic use of design elements can captivate judges and viewers, enhancing your project’s professional appeal.
Using Colors and Fonts Strategically
Colors and fonts play a major role in making your board visually appealing. Here are tips:
- Color Selection: Use bright but not overwhelming colors. Choose a consistent color scheme for a polished look.
- Background and Text Contrast: Select colors that contrast well to ensure readability. Dark text on light backgrounds works best.
- Highlight Key Sections: Use bold colors like red or yellow sparingly to emphasize headlines or key points.
- Font Choice: Use easy-to-read fonts like Arial or Times New Roman for body text. Avoid cursive or overly decorative fonts.
- Font Size: Ensure headings are large and noticeable, while body text remains readable from a distance.
Consistent use of colors and fonts will make your display look harmonious and professional.
Adding Unique Elements to Stand Out
To make your board unique, consider adding elements that grab attention:
3D Features
- Incorporate Raised Elements: Use foam letters or raised shapes to spell out key terms or highlight important components of your project. This tactile element not only attracts attention but also invites viewers to interact.
- Small Models: Consider adding small models that relate directly to your project. For example, if your project is about ecosystems, including miniature trees or animals can create a more immersive experience.
Lights
- LED Borders: Utilize LED strip lights along the edges of your display board. This not only helps frame your project but also draws the viewer’s eye to the overall presentation.
- Highlight Specific Areas: Strategically position LED lights to illuminate particular sections or diagrams. This added light can emphasize important findings or visuals, making them stand out.
Interactive Elements
- Movable Parts: Create sections of your board that can be opened or closed, such as flaps or sliding panels. This encourages viewers to engage more deeply with the content.
- Spinning Diagrams: Incorporate elements that can spin or rotate to explain concepts, such as diagrams that demonstrate the phases of a process or cycle. This movement captures attention and enhances understanding.
- Small Interactive Pieces: Add items that can be manipulated, like buttons to press or levers to pull. These tactile interactions can make your project more memorable and educational.
Relevant Themes
- Design Consistency: Ensure that all visuals on your board reflect the theme of your project. Using colors and icons that relate directly to the subject matter helps create a cohesive narrative.
- Scientific Illustrations: For projects in fields such as biology or chemistry, choose illustrations that accurately depict relevant concepts, like cellular structures or chemical reactions. This adds authenticity and clarity to your display.

Borders and Frames
- Artistic Borders: Create neat and attractive borders around different sections of your board. These can be made from colored paper, washi tape, or even painted directly on the board for a polished look.
- Clear Organization: Use frames to separate distinct parts of your project. This organization not only enhances visual appeal but also makes it easier for viewers to follow your information logically.
Personal Touch
- Hand-Drawn Illustrations: Add your unique flair by including hand-drawn elements throughout your board. This personal touch shows effort and creativity, distinguishing your project from others.
- Creative Sketches: Incorporate sketches that relate to your project theme. For example, if your science fair project is about renewable energy, consider drawing creative representations of solar panels or wind turbines to enhance your presentation visually.
By combining thoughtful color choices, legible fonts, and unique design elements, your science fair display board can leave a lasting impression.
Common Mistakes to Avoid
Avoiding common mistakes ensures your science fair display board is effective and appealing. Here are two major pitfalls and how to sidestep them.
Overcrowding the Board
Packing too much information on your board overwhelms viewers. Follow these tips to prevent overcrowding:
- Only include essential data that communicates your project’s key points.
- Use bullet points instead of lengthy paragraphs to shorten text.
- Limit visuals and images to those directly supporting your content.
- Group related information into neatly labeled sections for easy navigation.
- Leave white space between elements to improve readability and clarity.
A clean design ensures your board looks organized and makes your message clear to judges.
Ignoring Readability and Spelling Errors
Poor readability and typos can ruin your board’s professionalism. To avoid this, focus on:
- Using simple fonts like Arial or Times New Roman for easy reading.
- Ensuring a consistent font size for titles, headings, and body text.
- Choosing high-contrast colors for text and background to maximize visibility.
- Reviewing content multiple times to eliminate spelling and grammar errors.
- Asking someone to proofread your display for mistakes you might miss.
By keeping your board polished and readable, you enhance its reliability and visual appeal.
Display Board Accessories and Add-Ons
Enhancing your science fair display board with accessories and add-ons can elevate your presentation to the next level. These tools can help make your board more interactive, visually appealing, and functional.
Useful Tools for Enhancing Your Presentation
Include these tools to make your display board stand out:
- Push Pins and Velcro Strips: Use these to attach items securely to your board.
- Rulers and Stencils: These ensure precise lines, labels, and borders for a polished look.
- Labels and Stickers: Ready-made labels can organize sections and highlight key information effectively.
- Display Stands: Use small stands to showcase models or props related to your project.
- LED Lights: Lights can draw attention and emphasize important sections on your board.
- Magnetic Accessories: Magnetic boards allow for easy repositioning and rearrangement of content.
These tools improve the visual appeal and organization of your science fair display board.
Incorporating Interactive Features
Interactive features engage viewers and make your board memorable. Consider these ideas:
- Movable Parts: Add spinning diagrams or sliding mechanisms for visual interaction.
- QR Codes: Include QR codes for viewers to access additional information digitally.
- Touch-and-Feel Elements: Integrate textured materials or components for tactile engagement.
- Small Models: Display models or replicas related to your experiment.
- Buttons and Switches: Create simple circuits or triggers to demonstrate project concepts live.
- Video Screens: Incorporate a small screen playing a short presentation or experiment highlight.
Interactive elements make your science fair display board innovative and unforgettable for judges and viewers.
Science Fair Success Tips
Presenting Your Board Confidently
The way you present your display board can greatly impact how your project is received. Practice explaining your project clearly and confidently. Keep these tips in mind:
- Know Your Content: Be familiar with every section of your board. Anticipate questions judges might ask.
- Practice Delivery: Rehearse your explanation multiple times to ensure clarity and flow.
- Keep Eye Contact: Engage with your audience by maintaining eye contact during the presentation.
- Speak Clearly: Use simple words and speak at a steady pace. Avoid using jargon.
- Use Hand Gestures: Point to relevant sections of your board as you explain them.
- Stay Positive: Smile and show enthusiasm about your project.
Practicing beforehand will help you present with confidence and make a lasting impression.
Engaging Judges with Your Display
Judges evaluate not just your project but also how effectively you engage with them. These strategies will keep them interested:
- Tell a Story: Share the journey of your project, from idea to conclusion. Make it relatable.
- Highlight Key Points: Emphasize your hypothesis, findings, and what makes your project unique.
- Encourage Questions: Be willing to answer questions patiently and thoughtfully.
- Demonstrate Enthusiasm: Show excitement about your discoveries and their implications.
- Use Visual Aids: Refer to charts, images, or models during the discussion.
- Be Honest: If you don’t know an answer, admit it respectfully and explain how you plan to find out.
By actively engaging judges, you not only showcase your project but also your dedication and knowledge.
Conclusion
In conclusion, the right science fair display board can significantly enhance your project. By utilizing creative ideas, adhering to best practices, and avoiding common mistakes, students can showcase their scientific efforts effectively. Remember, engaging visuals and clear organization can capture attention and communicate information effortlessly. As you prepare your board, let your creativity shine, and enjoy the process. With the right tools and mindset, success at your science fair is within reach!