Introduction
Embossing powder is a fantastic tool in the world of crafting, known for its ability to add stunning dimension and texture to various projects. Whether you’re crafting handmade cards, scrapbooking, or creating unique art pieces, understanding how to use embossing powder can elevate your work significantly. This versatile medium allows crafters to achieve professional-looking finishes while being relatively easy to use. In this article, we will explore the complete process of using embossing powder, the tools you’ll need, tips for effective application, and answers to common questions about embossing.
What is Embossing Powder?
Before jumping into the use of embossing powder, it helps to understand what it is and how it functions.
1. Definition and Composition
- Embossing Powder: This is a fine powder made primarily from synthetic resin and is used in a craft technique called embossing. When heated, it melts to create a raised, glossy texture on various surfaces.
- Types of Embossing Powder: There are different types of embossing powders available, including:
- Regular Powder: This is the traditional type of embossing powder that produces a smooth and raised finish.
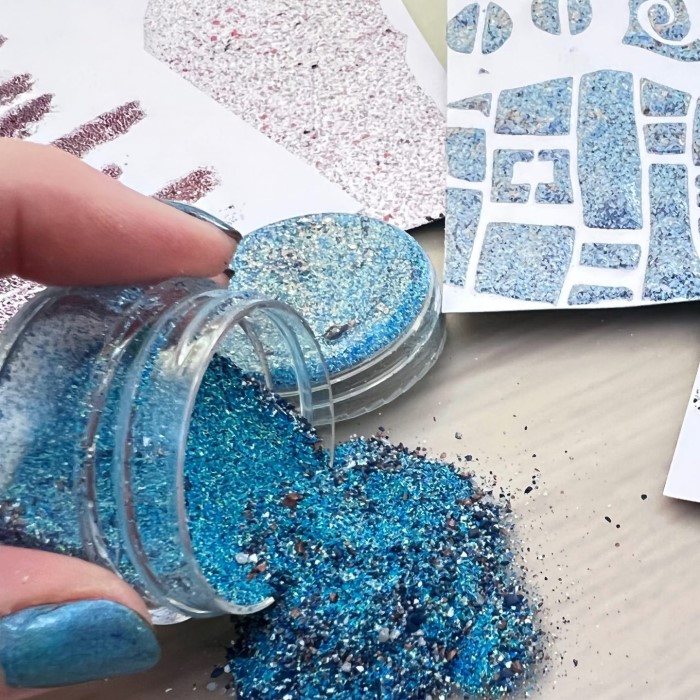
- Glitter Powder: This type includes sparkling glitter for added shimmer and shine.
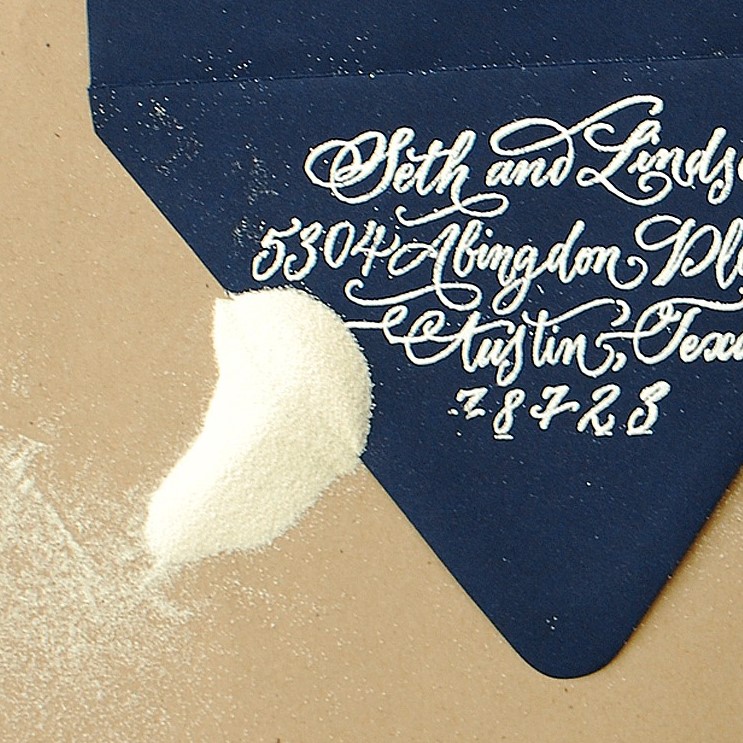
- Metallic Powder: Provides a metallic, reflective finish, great for a more elegant look.
- Translucent Powder: This allows the underlying colors to show through, suitable for layered techniques.
2. The Science Behind Embossing
- Heat Activation: The magic of embossing powder lies in its reaction to heat. When heated, the powder melts and fuses to the substrate (often cardstock or paper), creating the desired texture. It’s important to allow the powder to cool after heating, as it solidifies again to form a durable and visually appealing surface.

Essential Materials for Using Embossing Powder
Proper materials and tools are crucial for a successful embossing project.
1. Basic Tools Required
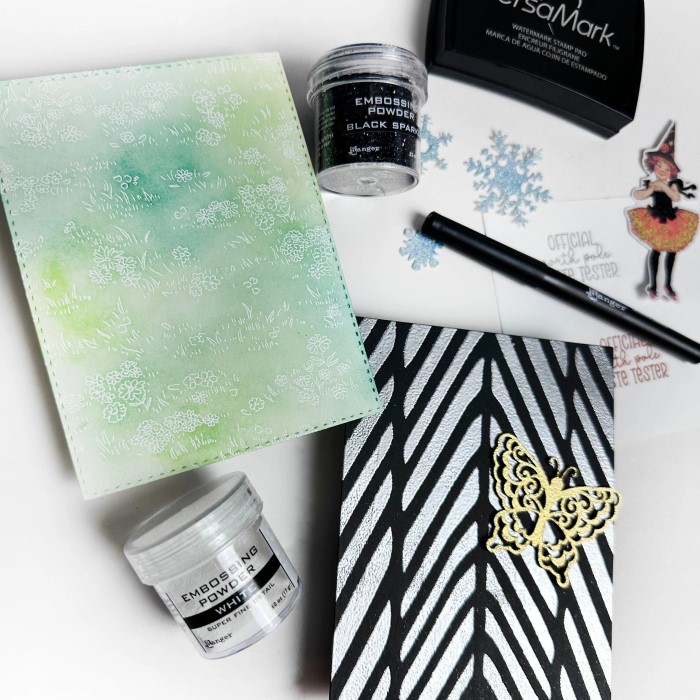
- Embossing Powder: Choose from an array of colors and finishes based on your project needs. For beginners, starting with classic colors like black, white, or gold can be beneficial.
- Heat Gun: A specialized heat gun is ideal for embossing, providing a concentrated source of heat. Avoid using a hairdryer, as it does not generate enough heat for effective embossing.
- Stamp Pad: A clear embossing ink pad is the key to ensuring the embossing powder will adhere properly to your project.
2. Additional Supplies
Cardstock or Paper
- Quality Matters: Choosing high-quality paper or cardstock is fundamental for successful embossing projects. The quality of the paper influences the clarity of the embossed design and the overall durability of the final product.
-
Thickness and Durability: Thicker paper is generally preferred for embossing because it can withstand the heating process more effectively. High-quality cardstock can handle the pressure and thermal exposure without warping or tearing, ensuring a clean imprint.
- Heat Resistance: When selecting paper for embossing, consider its heat resistance. Papers specifically designed for crafting often have coatings or finishes that enhance their ability to endure the heat from embossing tools without distortion.
- Texture Considerations: The texture of the paper can also impact the embossing process. Smooth surfaces allow for cleaner designs, while textured surfaces may create more dramatic effects. Therefore, it is critical to experiment with various types of paper to achieve the desired outcome.
- Color Selection: Color can play a significant role in the appearance of an embossed design. Light-colored cardstock is often recommended, as it provides a stark contrast against the embossed area, enhancing its visibility.

Anti-Static Powder
- Purpose of Anti-Static Powder: Anti-static powder is essential in the embossing process to prevent excess static cling. This cling can cause embossing powder to stick to unintended areas on the paper, leading to messy results.
- How It Works: When sprinkled lightly over the surface of the paper before embossing, the powder neutralizes static electricity. This creates a clean surface that allows the embossing powder to adhere only to the stamped impressions.
- Application Technique: It is advisable to apply anti-static powder with a soft cloth or a dedicated pouch to ensure even coverage. Gently tap or rub the powder over the area to eliminate static without damaging the paper’s surface.
- Preventing Waste: By using anti-static powder, the risk of wasting embossing powder is reduced. This not only saves materials but also decreases cleanup time, creating a more efficient workflow.
Tweezers and Brushes
- Importance of Tweezers: Tweezers are an invaluable tool for handling small pieces of hot paper or embossed elements. They provide a stable grip, allowing for precise placement without direct contact, thus avoiding burns or fingerprints.
- Safety Considerations: When working with heated materials, using tweezers helps maintain safety. They reduce the chance of injuries or accidents associated with directly handling hot surfaces, ensuring a safer crafting environment.
- Role of Brushes: Brushes are particularly useful for cleaning up stray embossing powder. A soft brush allows you to gently sweep away unwanted powder without disturbing the embossed design, maintaining a clean and professional appearance.
- Variety of Brush Types: Different brushes can be used for various applications, such as fan brushes for larger areas or detail brushes for intricate designs. Choosing the right size can greatly affect the efficiency of your cleanup process.
- Ensuring Longevity: Both tools need regular cleaning and maintenance. Keeping tweezers and brushes in good condition ensures their longevity and effectiveness in future embossing and crafting projects.
Step-by-Step Guide on How to Use Embossing Powder
Now, let’s walk through the detailed process of using embossing powder, from preparation to finishing touches.
1. Setting Up Your Workspace
- Clean Up: Start by ensuring your workspace is tidy. Lay down some scrap paper or a work mat to catch any excess powder and make cleanup easier.
- Gather Materials: Position all your tools and materials within reach. Having everything organized will streamline the process.
2. Stamping Your Design
- Inking the Stamp: Use a clear embossing ink pad to thoroughly ink the surface of your stamp. Make sure to apply even pressure during inking to avoid uneven results.
- Stamping Technique: Firmly press the stamp onto your cardstock or paper. Applying even pressure ensures a clean and detailed impression.
3. Applying Anti-Static Powder
- Preventing Static Cling: After stamping, lightly dust the area with anti-static powder. This crucial step prevents extra powder from sticking to unwanted areas, ensuring a clean embossing result.
- How to Apply: Use a small brush or a powdered puff to apply the anti-static powder evenly over the stamped image.
4. Adding Embossing Powder
- Sprinkling the Powder: While the ink is still wet, generously sprinkle embossing powder over the stamped image. The goal is to cover the entire design adequately.
- Removing Excess Powder: Gently tilt the cardstock to shake off any unwanted powder, allowing it to fall back into the container. You can also lightly tap the cardstock to help dislodge excess powder.
5. Heating the Powder
- Heating Process: Hold the heat gun a few inches above the cardstock. Move it in circular motions to distribute heat evenly. This prevents scorching the paper.
- Watching for Melting: Take note as the powder begins to melt; it will change from a dull, matte finish to a shiny, smooth surface. This process usually takes a few seconds.
6. Cooling and Finishing
Letting It Cool
- Importance of Cooling: After heating your embossed design, it’s crucial to allow it to cool completely before touching it. This cooling period is essential for ensuring the melted embossing powder solidifies properly.
- Setting the Design: As the embossed area cools down, it hardens and sets into a durable, raised texture. Handling the design while it is still warm can distort or ruin the embossing effect, leading to unsatisfactory results.
- Waiting Time: Generally, the cooling process takes only a few minutes. However, it’s best not to rush this step, as patience will provide the best outcome for your project.
- Visual Indicators: You can visually assess whether the design has cooled by observing the change in texture. The shiny, molten appearance will transition to a solid, raised surface.
Final Touches
- Post-Cooling Inspection: Once the embossed design has completely cooled, inspect it closely. Look for any stray embossing powder particles that may have clung to the edges or surrounding areas during the application process.
- Cleaning Loose Powder: If you notice any excess powder, gently brush it away using a soft brush. A fine, soft-bristled brush is ideal for this purpose, as it won’t scratch or damage the embossed surface.
- Maintaining a Clean Finish: Ensuring that the edges are free from loose powder enhances the overall appearance of the design. A clean finish will give your piece a polished look, reflecting your attention to detail.
- Final Verification: After brushing away any stray particles, take one last look at the embossed design. Confirm that the texture and color are as intended, and ensure that no additional loose particles remain, ready for the next steps in your crafting project.
Creative Techniques for Using Embossing Powder
Once you are comfortable with the basics, consider exploring various creative techniques to enhance your projects.
1. Layered Embossing
- Creating Depth: You can layer different colors of embossing powder by repeating the stamping and heating process. Start with the lightest color as the base and finish with darker shades for a striking look.
- Multi-Colored Effects: Using translucent powders over colored inks can give a beautiful depth to your designs.
2. Experiment with Textures
- Combining Powders: Mixing different types of embossing powders, such as glitter and metallic, gives a unique finish.
- 3D Effects: For dramatic textures, apply multiple layers of the same powder, heating each layer individually.
3. Using Stencils and Masks
- Stenciling with Embossing Powder: Secure a stencil over your cardstock and apply clear ink using a sponge. Then proceed with sprinkling embossing powder over it. This technique creates intricate designs that pop.
- Masking Techniques: Use masking tape to create clean edges and patterns. Masking allows for sharp lines and interesting shapes within your embossing.
FAQ: Answers to Common Embossing Questions
How to Do Embossing for Beginners?
- Start Small: As a beginner, choose simple designs and practice with basic shapes. Familiarize yourself with the heat gun and try different powders to see how each reacts.
How Do You Get Embossing Powder to Stick?
- Use Clear Ink: The key to making the embossing powder adhere is a sticky, clear ink. Ensure the surface is fully coated with this ink before applying the powder.
Does Embossing Powder Need to Be Heated?
- Heat Activation: Yes, embossing powder must be heated to melt and adhere to the surface. Without this heating process, the powder will remain loose and ineffective.
Conclusion
In conclusion, learning how to use embossing powder is a rewarding endeavor that can enhance your crafting projects significantly. From creating elegant cards to adding texture to your artwork, embossing opens a world of creative possibilities. By following this comprehensive guide and utilizing the tips provided, you can achieve stunning results that impress and inspire. Embrace the versatility of embossing powder, and take your crafting skills to new heights with this magical technique. It’s time to get started on your next project and create beautiful embossed designs that showcase your creativity!