Introduction
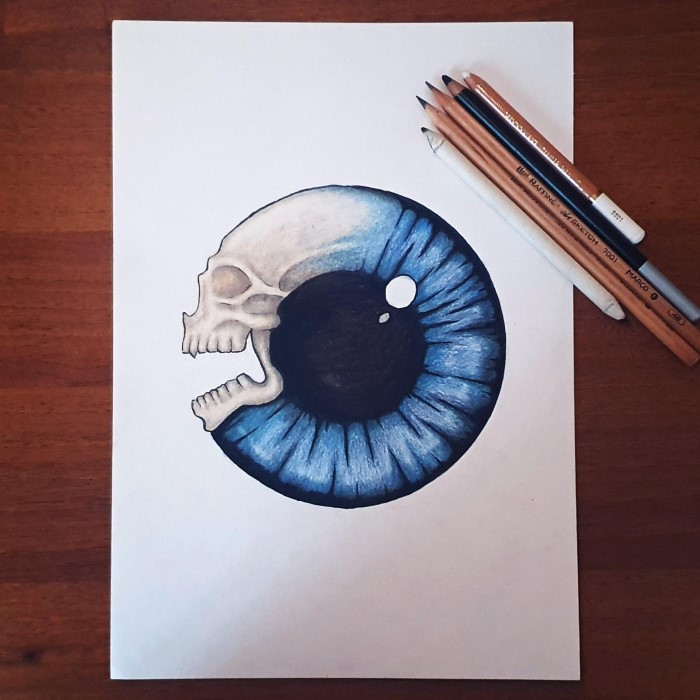
Color pencil drawing is a versatile and enjoyable art form. It allows artists to produce detailed, vibrant, and richly textured works. Whether you’re a beginner or an experienced artist, mastering this medium opens up endless possibilities for creative expression. Let’s start by exploring what makes it special and what tools you’ll need to begin.
What Makes Color Pencil Drawing Unique?
Color pencils are accessible yet capable of creating professional-grade artwork. They offer precision and control, making them ideal for detailed pieces. Their portability makes them convenient for on-the-go art. Additionally, they provide endless layering and blending opportunities, allowing for intricate textures and depth. Unlike wet media, color pencils do not require extensive setup or drying time, which simplifies the creative process.
Another unique quality is the ability to work on a wide range of surfaces. From smooth paper to textured sketchbooks, this medium adapts easily. The vibrant hues and blendability of colored pencils make them perfect for realistic and abstract styles alike. These features have earned colored pencils a loyal following among artists of all skill levels.
Essential Tools and Materials for Beginners
Starting with color pencil drawing doesn’t require a massive investment. Here’s a list of essential supplies:
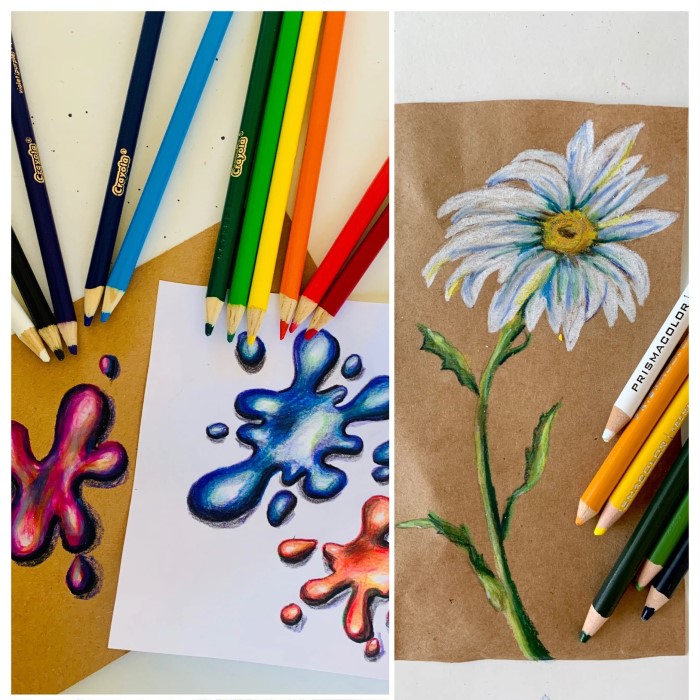
- Color Pencils: Opt for high-quality brands like Prismacolor, Faber-Castell, or Derwent. These offer excellent pigmentation.
- Paper: Use smooth or slightly textured paper. Examples include Bristol board or mixed-media paper.
- Erasers: Invest in kneaded and vinyl erasers for precision corrections.
- Sharpeners: A good hand-held sharpener or electric one keeps your pencils ready to use.
- Blending Tools: Blending stumps, tissues, or even a soft paintbrush help create smooth transitions.
- Fixative Spray: This locks your work in place and prevents smudges or fading.
Having the right tools ensures a smoother learning experience. Prioritize quality over quantity for consistent results.
Getting Started with Basic Techniques
Mastering basic techniques in color pencil drawing is crucial for creating impressive artwork. These foundational skills will improve your control, precision, and ability to bring your creative ideas to life.
How to Hold and Control Color Pencils
How you hold your pencil affects the quality and style of your strokes. Use these tips to improve control:
- Traditional Grip: Hold the pencil like you would for writing. This grip gives you control for details.
- Overhand Grip: Hold the pencil loosely from the top for broad, light strokes. This method works well in shading.
- Adjust Pressure: Practice varying your grip strength to control line thickness and depth.
- Experiment with Angles: A steeper angle creates sharper lines, while a shallow angle offers softer shading.
Hold your pencil in a way that feels natural and aligns with the result you want.
Understanding Pressure and Layering
Pressure is essential for adjusting color intensity and texture. Layering builds depth and richness in your drawings. Here’s how to manage both:
- Light Pressure for Underlayers: Start with soft, light strokes to build a smooth base layer.
- Gradual Build-Up: Apply more pressure gradually as you add layers for richer colors.
- Avoid Overbearing Pressure: Pressing too hard too soon can damage your paper and limit layering.
- Cross-Hatching and Circling: Use varied patterns like cross-hatching or circular strokes for blending or texture.
By mastering pressure and layering, you can create vibrant, multidimensional works of art.
Blending Techniques for Smooth Transitions
Blending unifies colors and gives your artwork a polished appearance. Try these effective blending methods:
- Pencil Blending: Use light overlapping strokes to blend colors directly with your pencils.
- Blending Tools: Use blending stumps, tissues, or cotton swabs for smooth transitions.
- Burnishing: Apply heavy pressure with a light-colored pencil to blend shades seamlessly.
- Solvents: Use solvent-based tools like odorless mineral spirits for professional blending effects.
Experiment with blending techniques to find what works best for your style. Smooth transitions make your drawings more realistic.
Choosing the Right Colors
Color selection is crucial for impactful and expressive artwork. Picking the right colors enhances emotions, realism, and artistic intent. It requires a thoughtful approach and a deep understanding of color relationships.
How to Build a Color Palette
A well-structured color palette simplifies your process and guarantees harmony in your drawings. Follow these steps:
- Start with Primary Colors: Use red, blue, and yellow to form the base of your palette.
- Add Complementary Colors: Pair opposites on the color wheel, like blue and orange, for balance.
- Incorporate Neutral Tones: Include gray, beige, or white to soften bright colors and add realism.
- Limit the Number of Colors: Keep your palette focused with 5-10 colors to avoid overwhelming compositions.
- Test Before Using: Swatch your colors on paper to ensure they blend and complement each other.
Planning your color palette helps you stay consistent and streamline your creative workflow.
The Role of Color Theory in Drawing
Color theory helps you understand how colors interact and the emotions they convey. Key concepts include:
- Hue, Value, and Saturation: Hue defines a color type, value its lightness, and saturation its intensity.
- Warm and Cool Colors: Warm tones like red evoke energy, while cool tones like blue suggest calmness.
- Contrast and Harmony: High contrast adds drama, while harmony ensures colors work well together.
- Color Psychology: Choose colors based on the mood you want your artwork to convey.
- Using the Color Wheel: Learn complementary or analogous color combinations to create unity.
Understanding color theory gives your drawings depth and evokes feelings in viewers. Mastering it expands creative possibilities.
Step-by-Step Guide to Creating a Drawing
Creating a striking color pencil drawing involves carefully following key steps. These include sketching the initial design, laying base colors, enhancing with detailed layering, and adding final touches. Each step plays a crucial role in achieving a balanced, vivid, and professional-looking artwork.
Sketching the Foundation
Start by lightly sketching the foundation of your drawing using a graphite pencil. Keep the strokes clean and precise to establish clear outlines. Focus on creating accurate proportions and shapes. Avoid heavy pressure to prevent leaving deep marks on your paper. If errors occur, gently erase them without damaging the paper. This initial sketch is the backbone of your artwork.
Adding Base Colors
Once the foundation is ready, lay down the base colors with light strokes. Choose colors that match your planned palette. Apply the colors evenly and softly to avoid patchiness. Use light pressure to ensure future layers blend seamlessly. Base colors serve as the groundwork and should create smooth transitions.
Enhancing with Layers and Shadows
Build depth by layering additional colors over the base layer. Gradually increase pressure for more vibrant areas. Introduce shadows by using darker tones in specific sections. Shadows add dimension and realism to your work. Experiment with cross-hatching and circular strokes for texture effects. Blend layers using stumps or tissues for smooth transitions.
Adding Final Details
The final details bring life and polish to your drawing. Use sharp pencils for precise highlights and textures. Incorporate fine lines or intricate patterns for added realism. Consider emphasizing reflective areas or contours to enhance depth. Review your piece and make small adjustments for balance and contrast. Your finished artwork will reflect your dedication and skill.
Tips for Achieving Realistic Effects
Realistic effects bring life and authenticity to your color pencil drawings. Achieving them requires mastering specific techniques and paying attention to details. Textures, depth, light, and shadows all play vital roles in creating lifelike artwork. Let’s break down the essential steps and methods to achieve these effects.
How to Create Texture and Depth
Texture and depth give your artwork dimension and realism. Use these techniques to create them effectively:
- Vary Your Strokes: Alternate between short, long, and circular strokes to mimic natural textures.
- Layer for Depth: Build multiple layers using light strokes to create richness and dimension.
- Use Contrast: Combine light and dark tones to emphasize raised or recessed areas.
- Incorporate Patterns: For textures like fur or wood, use repetitive patterns for authenticity.
- Experiment with Tools: Try blending stumps, paper towels, or even erasers to enhance textures.
Always observe real-life textures for inspiration and replicate them in your work.
Capturing Light and Shadows Effectively
Light and shadows define form and set the mood of your piece. Here’s how to master them:
- Light Source Awareness: Identify the direction and strength of your light source before starting.
- Build Gradual Shadows: Use soft, layered strokes to transition smoothly between light and dark areas.
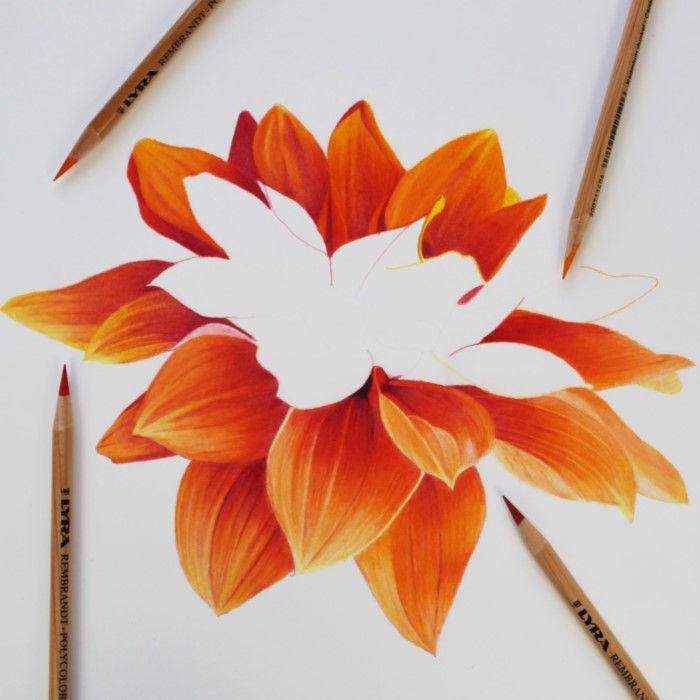
- Highlight Strategically: Leave parts of your drawing uncolored or use white pencils for highlights.
- Blend Edges: Blur the dividing lines between light and shadow for softer transitions.
- Experiment with Reflective Light: Add subtle light reflections to create a three-dimensional effect.
Practicing these tips will make your drawings more dynamic and lifelike. Pay attention to how light interacts with objects in reality and translate that into your art.
Common Mistakes and How to Avoid Them
Even experienced artists can make mistakes with color pencil drawing. Avoiding these will improve your artwork and preserve your materials.
Overworking the Paper
Overworking the paper can damage its texture and reduce the quality of your drawing. Here’s how to prevent it:
- Apply Light Layers: Start with light strokes and build layers gradually. This preserves the paper’s surface.
- Limit Pressure: Use moderate pressure to maintain smoothness and avoid tearing the paper.
- Avoid Excess Erasing: Frequent erasing weakens the paper and leaves unwanted marks.
- Let the Paper Rest: Pause between layers to prevent oversaturation and wear on the paper.
Take breaks during your drawing process to assess and preserve the paper’s condition.
Misusing Colors or Lacking Contrast
Mismanaging colors or failing to add contrast reduces the impact of your artwork. Follow these tips:
- Choose Colors Mindfully: Plan a palette that complements your subject and theme.
- Add Depth with Shadows: Use darker tones to make objects stand out and feel realistic.
- Highlight Strategically: Brighten specific areas to balance your composition and create focus.
- Avoid Overwhelming Color Use: Limit bright colors to ensure visual harmony and avoid clutter.
Balance vivid and neutral tones for engaging and professional-looking drawings.
Advanced Techniques for Experienced Artists
For seasoned artists, taking color pencil drawing to the next level involves advanced techniques. These methods enhance your skills, allowing you to create more intricate and professional artwork.
Experimenting with Mixed Media
Adding mixed media to your color pencil artwork can unleash creative possibilities. Here’s how to integrate various mediums effectively:
- Watercolors: Use as a base layer. They cover large areas quickly and create vibrant underlayers.
- Ink: Add fine outlines or details with ink to enhance precision and contrast.
- Pastels: Blending pastel over color pencil layers adds soft textures and smooth transitions.
- Gel Pens: Use white gel pens to highlight or add intricate patterns on darker areas.
- Acrylic Paint: Combine with pencils to achieve bold, vibrant highlights or expressive backgrounds.
Test mixed media combinations on spare paper. This ensures compatibility with your chosen surface.
Adding Fine Details and Intricacies
Detailed work makes your drawing stand out and appear lifelike. Follow these steps to perfect details:
- Use Sharp Pencils: Ensure your pencils are sharp for crisp, precise lines and textures.
- Magnify Small Areas: Use magnifying tools to focus on intricate spots without straining your eyes.
- Apply Fine Strokes: Mimic features like fur, hair, or fabric using delicate lines and layered strokes.
- Highlight Tiny Details: Stress reflection points and small highlights with a lighter pencil or gel pen.
- Include Intricate Patterns: Add tiny, repeating motifs for ornamental or decorative effects.
Practice patience and precision. Detailed work often requires extra time but yields extraordinary results.
Showcasing and Preserving Your Artwork
Properly showcasing and preserving your color pencil drawings enhances their longevity and appeal. Careful handling ensures your artwork remains vibrant and intact for years. Let’s explore how to protect and display your masterpieces effectively.
How to Protect Your Drawing
Protecting your color pencil drawings is crucial to avoid damage and fading over time. Here are some tips:
- Use Fixative Spray: Apply a fixative to prevent smudging and lock in layers. Choose one designed for color pencils.
- Store in Acid-Free Sleeves: Store drawings in acid-free sleeves or folders to prevent yellowing.
- Avoid Direct Sunlight: Keep your artwork away from direct sunlight, which can cause colors to fade.
- Handle with Care: Always handle your drawings with clean hands or wear gloves to avoid stains.
- Frame Under Glass: Protect fragile works with a frame featuring UV-protective glass.
Taking these steps ensures long-lasting artwork while maintaining its brilliance and fine details.
Framing and Displaying Your Work
Framing and displaying your drawings can enhance their beauty and protect them. Follow these guidelines:
- Choose a Complementary Frame: Pick a frame color and style that matches your artwork’s mood and palette.
- Use a Mat Board: A mat board prevents the drawing from touching the glass, reducing the risk of damage.
- Consider Lighting: Use soft, indirect lighting for display to minimize glare and fading.
- Place in a Safe Area: Hang the frame in a stable, humidity-free area, away from heat sources.
- Rotate Displayed Pieces: Avoid keeping the same artwork exposed for too long; rotate them periodically.
Displaying your drawings thoughtfully both showcases your skill and protects your hard work. These practices enhance both visual presentation and preservation.