Introduction: Understanding Oil Paint Drying Times
Oil painting is a cherished art form, known for its rich colors and textures. However, one common question that many artists have is, “How long does it take for oil paint to dry?” The drying time for oil paint can vary significantly based on several factors. Understanding these variables is essential for artists who want to manage their workflow and achieve desired results. In this article, we will explore the drying times associated with oil paint, the factors that affect these times, and tips to accelerate the drying process.
Factors That Influence Oil Paint Drying Times
Oil paint drying times vary based on several factors. Understanding these factors helps in managing drying.
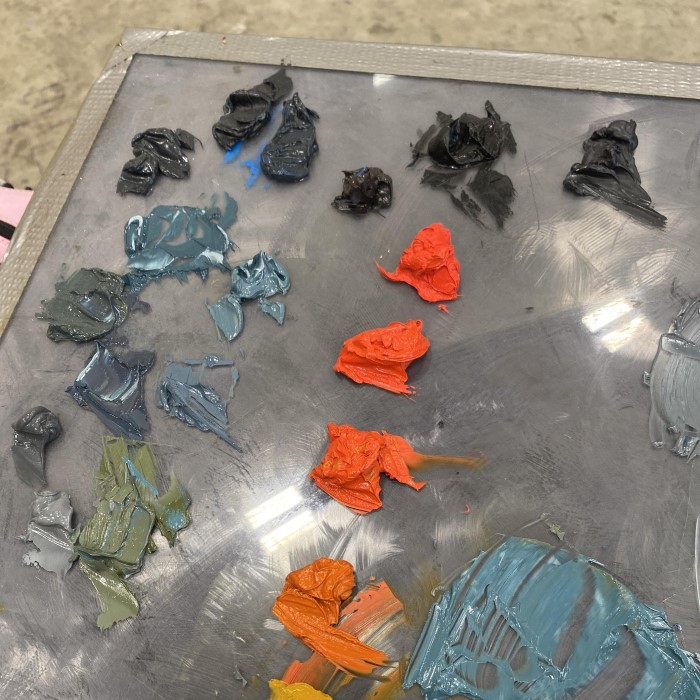
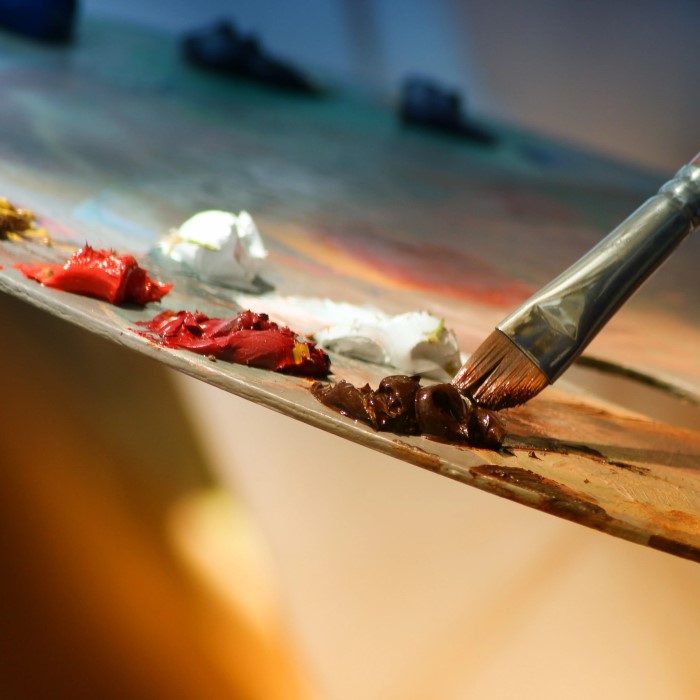
Composition of the Paint
The ingredients of oil paint affect its drying time. Paints with natural oils dry slower. Linseed oil-based paints dry faster than safflower or poppy oil-based ones. Pigments also play a role; some colors dry quicker than others.
Environmental Conditions
Temperature and humidity greatly influence drying. Warm and dry conditions speed up the process. Cool and humid environments slow it down. Ventilation helps to reduce drying time. Avoid painting in extreme cold or moisture.
Surface and Absorbency
The surface you paint on impacts drying. Absorbent surfaces like untreated canvas soak oil and dry faster. Non-absorbent surfaces, such as metal or glass, take longer. The texture of the surface matters too. Rough surfaces can lead to quicker drying compared to smooth ones.
Use of Mediums and Additives
Mediums and additives can modify drying times. Fast-drying mediums, such as alkyd resin, reduce drying time. Solvents like turpentine also accelerate drying. However, using too many additives can affect the paint’s consistency and finish.
Typical Drying Times for Oil Paint
Oil paint drying times can vary greatly depending on several factors. Understanding these average timelines helps in managing your painting process effectively.
Thin Layers vs. Thick Layers
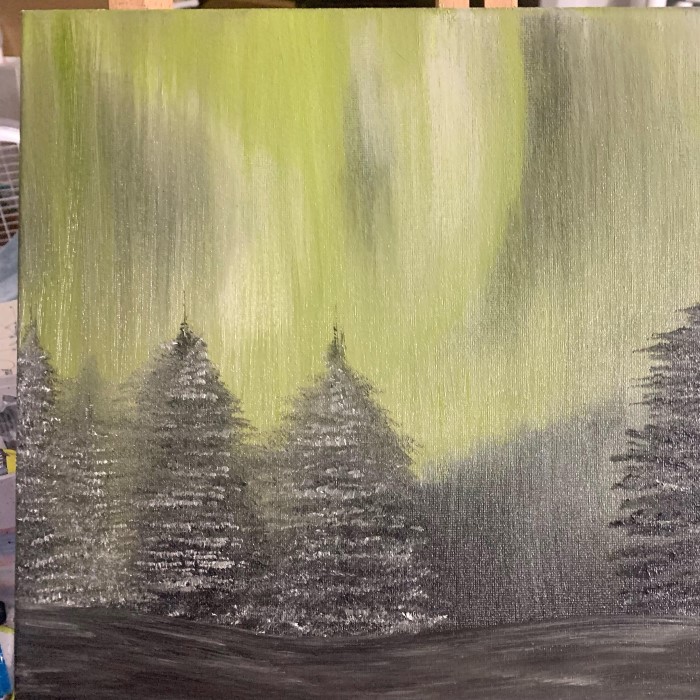
Thin layers of oil paint dry faster than thicker ones. A thin layer may take 1-2 days to become touch-dry. Thick layers, especially those applied impasto-style, may stay wet for several weeks. Layers with higher oil content generally dry slower compared to paint mixed with fast-drying mediums. Always plan your work based on the specific thickness of your layers.
Different Brands and Formulations
Different paint brands and formulations significantly affect drying times. Paints from brands focusing on fast-drying properties may dry within 24 hours. Traditional formulations, especially those rich in natural oils, may take longer—sometimes days or weeks. Check the label or instructions provided by the manufacturer to understand the expected drying time for your chosen brand and formulation. Using safflower or poppy oil-based paints from certain brands can increase drying time drastically compared to linseed oil-based ones.
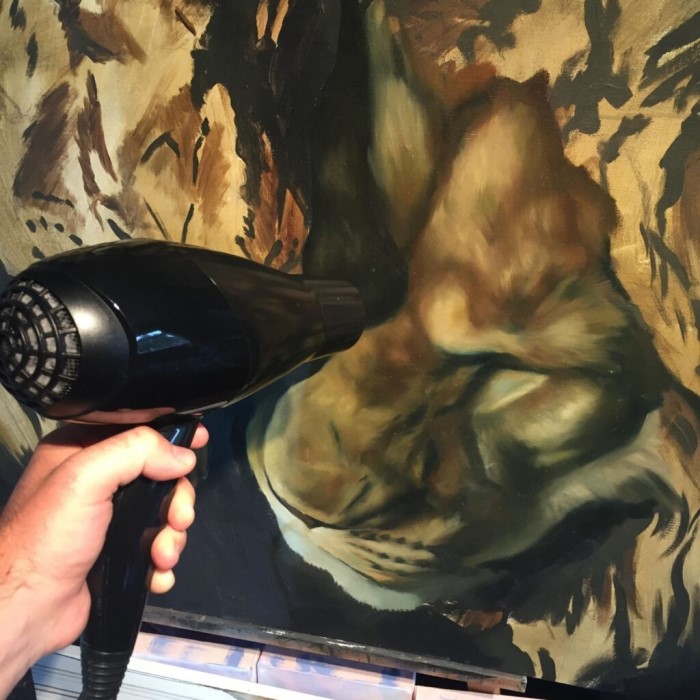
Fast-Drying Techniques for Oil Paint
How long does it take for oil paint to dry? Drying oil paint quickly requires some thoughtful techniques. Here are the most effective methods to speed up the process:
Using Fast-Drying Mediums
Fast-drying mediums are one of the easiest ways to reduce drying time. Products like alkyd resin can significantly quicken the process. Solvents like turpentine also help paints dry faster. When mixing, use these additives sparingly to maintain good paint consistency. Avoid overuse, as it might affect the finish or durability.
Adjusting Room Temperature and Humidity
Environmental control plays a huge role in drying oil paint. Keep the room temperature warm for quicker drying. Aim for a consistent range of 70–80°F (21–27°C). Reduce humidity by using a dehumidifier or air conditioning. Good ventilation helps remove moisture from the air, speeding up the process. Avoid painting in cold or damp areas.
Layering Techniques for Quicker Results
Using thin layers instead of thick ones can make a big difference. Thin layers dry faster, often within 1–2 days. Wait for each layer to dry before applying the next. Add fast-drying mediums to the base layers for even quicker results. Skipping thick, impasto-style layers ensures more predictable drying times. This method is great for detailed projects or time-sensitive work.
Challenges of Drying Oil Paint Quickly
Drying oil paint quickly comes with several challenges. These can impact the quality and longevity of your artwork. Here are two major issues to consider:
Risk of Cracking or Uneven Drying
Quick-drying techniques can cause the surface to dry faster than the layers beneath. This creates tension between the layers, leading to cracks or peeling over time. Uneven drying might result in some areas remaining sticky while others dry fully. Applying fast-drying mediums in excessive amounts increases this risk. To avoid issues, balance drying speed with proper application techniques.
Impact on Texture and Finish
Speeding up drying may alter the paint’s texture or surface appearance. The finish could become dull or uneven as additives dry differently than natural oils. Fast-drying mediums might also reduce flexibility, leading to a brittle surface. This change could detract from the intended artistic effect. Proper planning and testing of mediums can help maintain the desired finish.
How to Test If Oil Paint is Fully Dry
Testing whether oil paint is fully dry is crucial for the next steps in your artwork. Using the right methods ensures you don’t damage your painting during handling or storage.
Touch Method vs. Chemical Testing
The touch method involves gently pressing the surface with your finger. If it feels sticky, it’s not dry yet. However, “dry to the touch” doesn’t mean the layers beneath are fully dry. This method is simple but not always reliable for thick layers or detailed work.
Chemical testing offers a more precise approach. Apply a small amount of solvent, such as turpentine, to a discreet area. If the paint softens or smudges, it hasn’t completely dried. This method is better suited for verifying deep layer drying. Use caution to avoid damaging your artwork.
Time Guidelines for Safe Handling
Drying times vary but follow these general rules for safe handling. Thin layers may feel dry within 1–2 days. However, these layers often require up to a week for solid drying. Thick applications, especially in impasto techniques, could take weeks or even months for full curing. Fast-drying mediums and environmental controls can speed up these times.
Before applying varnish or framing, ensure the paint is fully cured. Curing may take 6–12 months, depending on paint thickness, mediums, and environmental conditions. Rushing this process might lead to issues like cracking or uneven surfaces later.
Knowing how to test for dryness ensures your artwork stays intact during every stage of its life.
Professional Tips for Managing Oil Paint Drying Times
Managing oil paint drying times requires careful planning and handling during your projects. These professional tips provide clear strategies to optimize your workflow and protect your artwork.
Planning Projects to Accommodate Drying Times
Understand the Layers
- Thin vs. Thick Layers: It’s essential to recognize that thin layers of oil paint will dry significantly faster than thicker layers. Thin applications can dry within hours or days, while thick layers may take several weeks or even months to fully dry. This difference is crucial for planning your painting sessions effectively.
- Planning Accordingly: Given the variance in drying times, artists should consider how the thickness of each layer will affect their overall project timeline. Proper planning involves knowing the thickness of the paint you intend to use and estimating the appropriate drying time needed before applying additional layers.
Set Time Buffers
- Allocating Extra Time: Always set aside extra time for the drying process, particularly when working on complex or highly detailed pieces. This strategy prevents delays in your workflow and ensures that each layer has adequate time to dry properly before you proceed.
- Expect the Unexpected: Factors like humidity, temperature, and air flow can influence drying times. Therefore, allowing buffer time accommodates any unforeseen changes in conditions that might extend the drying process.
Choose Fast-Drying Paints
- Opt for Fast-Drying Formulations: When selecting oil paints, consider brands that offer fast-drying formulations. These paints are specially designed to reduce drying times while maintaining quality.
- Reduce Waiting Times: Using fast-drying paints can help expedite your projects, allowing you to progress quicker, especially if the project demands multiple layers or rapid completion.
Use Test Samples
- Conducting Small Tests: Before diving into a major work, conduct small tests using the same paint and application techniques. This method helps predict how long the layers will take to dry.
- Assessing Drying Behavior: Observing the drying times of test samples can give valuable insights into how your main project will behave. This knowledge allows you to tailor your approach and timeline to better suit your needs.
Schedule Painting Phases
- Breaking Down Projects: Divide your overall project into manageable phases. For example, complete one section before moving on to the next. This method allows you to focus on drying times, ensuring each layer has enough time to properly dry before further applications.
- Allowing for Proper Layering: By scheduling your painting in phases, you ensure that you’re using your time effectively and preserving the quality of your work. It also helps keep your workflow organized and reduces stress.
Account for Final Drying
- Including Curing Time: After completing your painting, include adequate time for curing before varnishing or framing. Curing is an essential part of the drying process and involves the full chemical hardening of the paint.
- Avoiding Surface Issues: Rushing to varnish or frame a painting before it has fully cured can lead to surface issues, such as smudging, uneven texture, or reactions with the varnish. Therefore, always allocate a sufficient drying period before finishing touches.
Storing and Protecting Paint During Drying
Use Dust-Free Areas
- Clean Environment: Always select a clean, dust-free area for drying your artwork. This minimizes the risk of dust and debris settling on the wet paint, which can compromise the finish and clarity of the piece.
- Limit Airborne Particles: Choose spaces with minimal foot traffic and well-maintained surfaces to reduce the likelihood of airborne particles disrupting your drying process.
- Ventilation Considerations: While ensuring cleanliness, consider areas with good ventilation to help with drying without introducing additional dust or contaminants.
Avoid Direct Sunlight
- Consistent Drying: Direct exposure to sunlight can lead to uneven drying, creating patches where some areas dry faster than others, potentially ruining the overall appearance of the artwork.
- Surface Protection: Excessive sunlight can also damage the surface of the artwork, especially for certain mediums like acrylics or watercolors that can warp or fade over time.
- Use Indirect Light: Instead of sunlight, opt for indirect lighting or shaded areas that provide adequate visibility while allowing the artwork to dry evenly and safely.
Create Stable Conditions
- Consistent Environment: It’s essential to maintain a stable temperature and humidity level during the drying process. Fluctuations can affect how the paint dries and may lead to cracking or bubbling.
- Ideal Conditions: Aim for a moderate climate, ideally between 60-75°F (15-24°C) with humidity levels around 40-50%. This helps the paint cure properly while preventing adverse effects caused by extreme conditions.
- Monitor Changes: Use humidity and temperature meters to monitor changes in conditions, ensuring that the artwork remains in an environment conducive to optimal drying.
Elevate Artwork
- Prevent Floor Contact: To enhance air circulation, keep your artwork elevated off the floor by utilizing stands or easels. This ensures that air can circulate around all sides of the piece, facilitating even drying.
- Protect from Contaminants: Elevating artwork helps prevent contact with dust, dirt, or moisture that may be present on the floor, safeguarding the integrity of your work.
- Accessibility: Using an easel or stand not only aids in drying but also makes it easier for artists to view and assess their work from different angles during the drying process.
Protect Edges and Corners
- Vulnerable Areas: The edges and corners of artwork are often more susceptible to scratches and dents during the drying phase. Protecting these areas is crucial for maintaining the overall quality of the piece.
- Light Wrapping: Utilize light wraps or protective materials (such as bubble wrap or soft cloth) to cover these sensitive parts, providing a barrier against accidental contact or movement.
- Prevention of Damage: By safeguarding these areas, you help ensure that the artwork remains free from minor damages that can detract from its visual impact and overall value.
Handle Precautions
- Hands-Off Approach: Avoid touching any areas of the artwork that are still partially dried. Contact can easily result in unsightly marks, smudges, or fingerprints that can ruin the finished product.
- Use Tools If Necessary: If adjustments are required while the piece is drying, consider using tools like brushes or palette knives instead of fingers to minimize direct contact.
- Patience is Key: Allow the artwork ample time to dry fully before handling or moving it, ensuring that the integrity and appearance of the piece are preserved throughout the entire drying process.
Adopting these strategies can ensure better results in both drying and preserving your work, making the process smoother and stress-free.
Common Myths About Oil Paint Drying Times
Understanding common myths about oil paint drying times can help improve your painting process. Misleading information often leads to mistakes and frustration. Here’s what you need to know.
Misconceptions About Overnight Drying
Many people assume oil paint dries overnight. This is not usually the case. Thin layers may feel dry within 24 hours, but they are not fully cured. Thick layers, especially impasto styles, can take weeks or months to dry. This misconception arises from comparing oil paint to faster-drying paints like acrylics. Oil paint requires time for proper chemical curing. Rushing the process can result in cracking or uneven textures. Always plan extra time for drying and ensure patience during your project’s timeline.
Clarifications on Dry to the Touch vs. Fully Cured
“Dry to the touch” doesn’t mean your oil paint is fully cured. Paint is only considered fully dry when deep layers are no longer wet. Thin layers may be touch-dry in a couple of days, but complete curing can take weeks or months. This distinction matters when framing or varnishing your artwork. Handling artwork before complete curing risks long-term damage like peeling or cracking. Use touch methods or chemical tests cautiously to verify drying progress. Always wait for full curing before treating your painting as finished.
Knowing the truth behind these myths ensures better results and helps protect your artwork.
Conclusion: Final Thoughts on Oil Paint Drying Times
In summary, knowing how long does it take for oil paint to dry is essential for every oil painter. Various factors, including the type of paint, layer thickness, environmental conditions, and surface types, all contribute to the drying process. By adopting best practices and optimizing their workflow, artists can effectively manage drying times and achieve desired artistic results. Patience and careful planning remain crucial to mastering oil painting, leading to stunning and durable works of art.