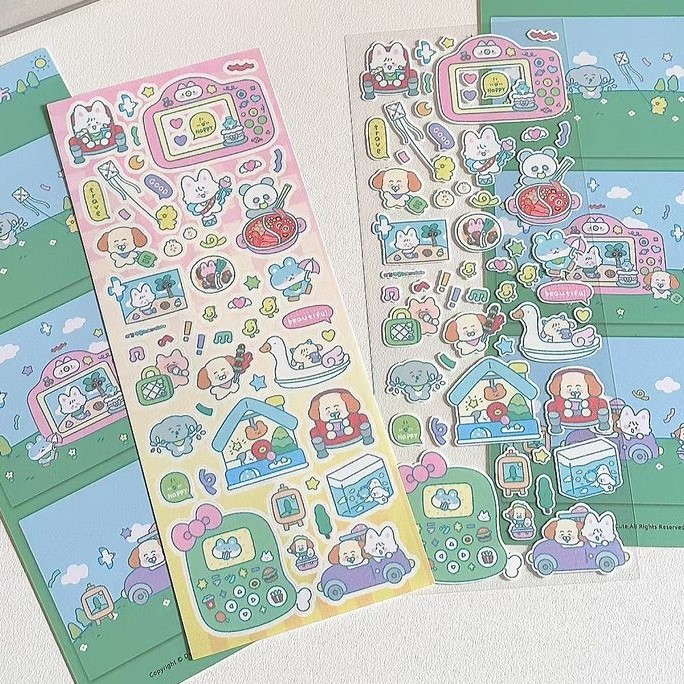
Introduction to DIY Stickers
DIY stickers are personalized and handmade stickers you create at home. They allow creativity and customization, making them unique and special. People use them for decoration, gifts, crafts, and business branding. DIY sticker can be made with various tools, depending on skill and resources.
What are DIY Stickers?
DIY stickers are self-made stickers designed for personal or professional use. These stickers can feature hand-drawn art, digital designs, or photos. They are versatile and can stick on notebooks, walls, laptops, and much more. Making DIY stickers empowers you to design exactly what suits your needs and style.
Benefits of Creating Your Own Stickers
There are many benefits to making your own stickers:
- Cost-Effective: Creating them at home saves money compared to buying pre-made stickers.
- Customizable: DIY stickers allow limitless designs, colors, and sizes based on your preferences.
- Creative Expression: Designing stickers offers a fun way to express personal or artistic ideas.
- Perfect for Gifting: Handmade stickers make thoughtful, personalized gifts for friends and family.
- Eco-Friendly: Using recycled paper or biodegradable materials can reduce environmental impact.
Whether for fun or function, DIY stickers are a rewarding and versatile craft.
Materials Needed for DIY Sticker Making
Making DIY stickers at home requires specific materials. Preparing the right tools saves time and ensures great results. Below are the essential supplies and options for choosing paper and adhesive.
Essential Tools and Supplies
To make your own stickers, gather these basic tools and materials:
- Drawing Tools: Use markers, pens, or pencils for hand-drawn designs.
- Printer: A color inkjet or laser printer is needed for digital sticker designs.
- Design Software: Use tools like Canva or Photoshop to create digital illustrations.
- Cutting Tools: Scissors or a craft knife works well; cutting machines like Cricut offer precision.
- Clear Laminate Sheets: Protect your stickers and make them more durable.
- Adhesive Options: Double-sided tape, glue sticks, or sticker paper with adhesive backing.
- Ruler and Cutting Mat: Ensure straight cuts and protect your workspace.
Having these essentials ensures a smooth DIY sticker-making process.
Choosing the Right Paper and Adhesive
Selecting the correct paper and adhesive is critical for desired results. Here’s how to choose wisely:
- Sticker Paper: Choose matte, glossy, or vinyl sticker paper depending on your design preference.
- Matte Paper: Ideal for a natural, non-shiny look.
- Glossy Paper: Provides a vibrant and professional finish.
- Vinyl Paper: Offers high durability and is water-resistant.
- Adhesive Strength: Ensure the adhesive suits your intended use.
- Permanent Adhesive: Best for items like laptops or walls.
- Removable Adhesive: Great for temporary uses, such as planners or calendars.
Good quality paper and adhesive ensure your stickers last and adhere well. Always test materials before making large batches.
Different Techniques for Making DIY Sticker
Creating DIY stickers offers flexibility with different techniques. Choose a method that matches your style and tools.
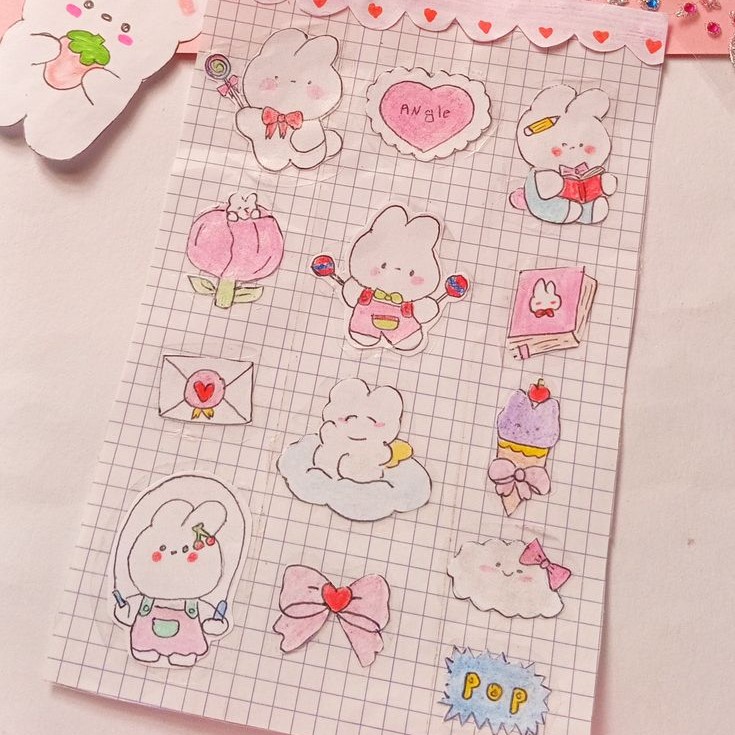
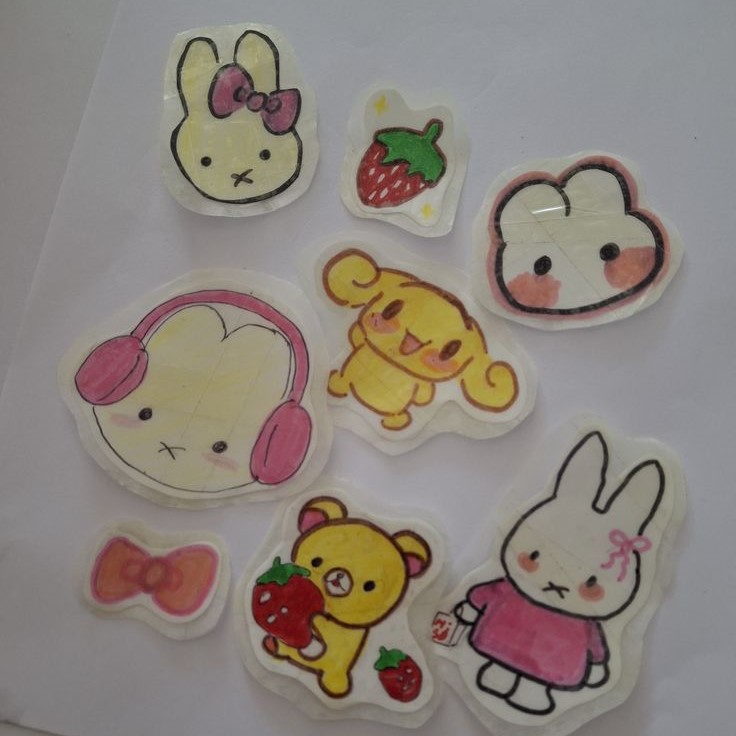
Hand-Drawn Designs
Hand-drawn designs are perfect for creating unique and artistic DIY sticker. Follow these steps:
- Sketch Your Design: Use pencils to draw your ideas lightly on paper.
- Outline: Trace your sketch with markers or pen for bold lines.
- Add Colors: Use colored markers, crayons, or paints to bring your design to life.
- Laminate for Protection: Cover the design with clear laminate sheets for durability.
- Cut it Out: Carefully trim the sticker with scissors or a craft knife.
This technique allows personalization and is ideal for artistic projects or kids’ crafts.
Printing Digital Illustrations
For a polished look, print digital designs. Here’s how you can make digital DIY stickers:
- Create Your Design: Use software like Photoshop, Canva, or Procreate for custom illustrations.
- Print on Sticker Paper: Use high-quality sticker paper to print your designs.
- Apply a Laminate Layer: Add a clear laminate to protect and enhance colors.
- Cut Precisely: Use scissors, craft knives, or a cutting machine for clean edges.
Printed digital illustrations offer vibrant colors and professional results. Perfect for business or decor use.
Using Cutting Machines for Precision
Cutting machines like Cricut or Silhouette make DIY sticker-making efficient and precise. Follow these steps:
- Upload Your Design: Create or upload your design in the cutting machine software.
- Choose Sticker Settings: Select the proper paper and cut settings for your design.
- Print and Align: Print your design on sticker paper and align it on the machine mat.
- Cut Shapes: Let the machine cut detailed shapes and designs accurately.
- Peel and Stick: Remove the finished stickers and enjoy.
This technique is perfect for advanced crafters or creating stickers in bulk with consistent quality.
Experiment with these techniques to discover your favorite style for making DIY sticker.
Creative Ideas for DIY Sticker Designs
Unleash your creativity by designing unique DIY sticker. These ideas inspire fun and functional sticker projects.
Custom Stickers for Gifts and Events
Create personalized stickers to make gifts and events special. Design stickers featuring:
- Names or Initials: Perfect for labeling gifts or party favors.
- Custom Artwork: Draw something meaningful related to the occasion.
- Event Themes: Match the colors or motifs of birthdays, weddings, or baby showers.
- Messages or Quotes: Add thoughtful words or sayings for a personal touch.
Handmade stickers add charm, making your gifts unforgettable.
Personalized Notebook and Journal Stickers
DIY stickers can elevate notebooks and journals. Craft designs tailored to:
- Inspirational Quotes: Motivate yourself with uplifting words.
- Colorful Icons: Brighten pages with fun shapes and symbols.
- Mood Trackers: Use stickers to visualize emotions or progress.
- Decorative Borders: Frame journal entries for a stylish look.
These stickers blend function and personality, making any notebook unique.
Seasonal and Holiday-Themed Designs
Celebrate seasons and holidays with customized sticker designs. Try these ideas:
- Winter Themes: Create snowflakes, mittens, or cozy drink stickers.
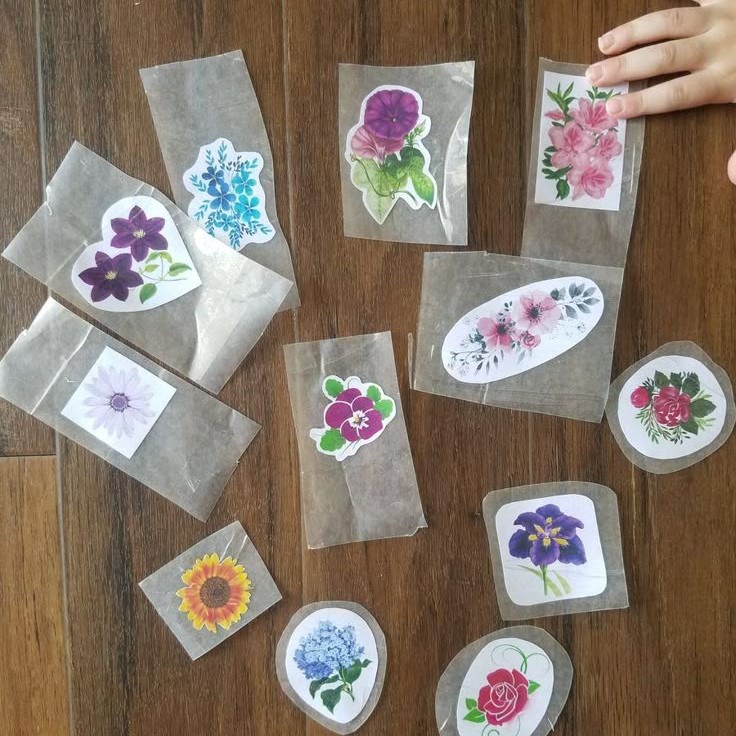
- Spring Designs: Draw flowers, butterflies, or pastel patterns.
- Halloween Fun: Incorporate pumpkins, ghosts, or spooky characters.
- Festive Christmas: Make Santa hats, ornaments, or tree decorations.
Seasonal stickers keep your decor and crafts in tune with the times.
Explore these ideas to design stickers that highlight your style and creativity.
Step-by-Step Guide to Making Sticker
Learn how to create DIY stickers using a clear and simple process. This guide breaks it into manageable steps, ensuring amazing results.
Preparing Your Design
- Choose a Style: Select a theme or look for your stickers, such as patterns or icons.
- Sketch or Design: Create hand-drawn sketches or use software for digital illustrations.
- Refine: Edit designs to ensure clean lines and appealing colors.
- Size and Layout: Decide on the size and shape of your stickers. Arrange designs efficiently.
- Test Print: Print a small draft to check colors and design alignment.
Start with a clear vision to make the design phase easy and enjoyable.
Printing and Cutting Your Stickers
- Select Materials: Use high-quality sticker paper suitable for either inkjet or laser printers.
- Print Designs: Use recommended printer settings for vibrant and precise output.
- Cut Stickers: Trim using scissors, craft knives, or cutting machines for clean and sharp edges.
- Shape Options: Create rectangular, circular, or custom cuts based on your design.
- Check Edges: Smooth out imperfections after cutting for polished stickers.
Accurate printing and cutting ensure your stickers look professional and stunning.
Adding Laminates for Durability
- Choose Laminate Type: Pick a clear laminate sheet or spray based on your preference.
- Apply Evenly: Cover the stickers evenly to avoid air bubbles or wrinkles.
- Seal Edges: Ensure coverage to protect against dust, moisture, or tearing.
- Test Strength: Rub or scratch the sticker lightly to check its durability.
Adding laminates boosts sticker strength and maintains their charm over time.
Tips for Perfect Sticker
Creating flawless DIY stickers requires attention to detail and proper techniques. These tips will help ensure your stickers look professional and last long.
How to Avoid Common Mistakes
To achieve great results, avoid these common sticker-making mistakes:
- Use Proper Adhesives: Choose adhesives compatible with your sticker paper for strong bonding.
- Check Printer Settings: Always set printer settings to high-quality resolution for sharp prints.
- Trim Carefully: Cut stickers precisely to avoid uneven edges or shapes.
- Test Materials: Test the chosen paper and adhesive to ensure they suit your design needs.
- Prevent Smudging: Allow printed designs to dry completely before applying laminate or cutting.
Being mindful of these points helps create polished and attractive stickers.
Making Your Stickers Waterproof
Waterproofing enhances sticker durability, especially for outdoor or humid use. Follow these steps:
- Use Vinyl Paper: Opt for waterproof vinyl sticker paper for long-lasting results.
- Seal with Laminate: Apply a clear laminate sheet to shield stickers from moisture.
- Add Sealant Spray: Use waterproof sealant spray for extra protection and glossy finish.
- Dry Thoroughly: Allow stickers to dry for several hours before applying or exposing to water.
Waterproofing ensures your stickers resist damage and stay vibrant over time.
Storing and Organizing Your Sticker Collection
Keeping your DIY stickers organized is key to preserving their quality. Here’s how:
- Use Storage Boxes: Store stickers in labeled boxes or containers for easy access.
- Separate Types: Group similar stickers by theme, size, or material for better organization.
- Avoid Sunlight: Keep stickers away from direct sunlight to prevent fading.
- Protect from Moisture: Store stickers in a dry location to avoid damage.
- Stick on Backing: Store them on original backing paper to preserve adhesive strength.
Well-organized storage keeps your stickers intact and ready for use whenever needed.
Inspiration and Trends
Explore the latest trends and themes in DIY stickers. Use these ideas to inspire your creativity and make unique designs.
Popular Themes and Styles
Popular DIY sticker themes and styles include:
- Nature-Inspired Designs: Stickers featuring plants, flowers, animals, or natural patterns are always trendy.
- Minimalistic Styles: Simple designs with clean lines and neutral colors are perfect for modern aesthetics.
- Retro and Vintage Looks: Create stickers with old-school fonts, polaroid effects, or nostalgic color schemes.
- Pop Culture References: Design stickers based on movies, books, games, or TV shows that resonate with today’s trends.
- Abstract Art: Incorporate geometric shapes, splashes of color, or artistic patterns for unique visuals.
- Inspirational Quotes: Stickers with positive words or motivational phrases are a hit for planners or journals.
Exploring these styles helps you keep your sticker designs fresh and eye-catching.
Where to Find Design Ideas Online
Find endless inspiration for DIY sticker online:
- Pinterest: Search DIY sticker boards for endless themes, tutorials, and step-by-step guides.
- Instagram: Follow sticker artists or crafting influencers for trending designs and techniques.
- Etsy: Explore handmade stickers for creative design ideas and unique art styles.
- Graphic Design Platforms: Use sites like Canva or Dribbble to browse artwork and design templates.
- Design Communities: Join forums like Behance or Reddit for feedback and suggestions.
- YouTube Tutorials: Watch videos covering step-by-step DIY sticker-making processes.
These resources keep your ideas flowing and your designs aligned with current trends.
How to Use DIY Sticker Effectively
DIY stickers are versatile and enhance various aspects of your daily life. From adding charm to your home to supporting your business and hobbies, they are practical and creative tools.
Decorating Items Around Your Home
Transform your living space with DIY sticker in simple and artistic ways:
- Labeling Containers: Use stickers to organize jars, canisters, and storage boxes.
- Wall Art: Decorate walls with custom designs, quotes, or patterns to create a personal touch.
- Furniture Accents: Add stickers to furniture, like dressers or tables, for a unique statement.
- Kitchen and Bathroom: Beautify tiles, mirrors, or appliances with waterproof stickers.
- Kids’ Rooms: Create fun themes with animal, cartoon, or nature-inspired stickers.
By decorating with stickers, you can refresh your home without expensive upgrades.
Using Stickers for Branding or Business
DIY stickers are excellent tools for promoting your business or brand:
- Custom Packaging: Add stickers with your logo to boxes or bags for a professional touch.
- Event Giveaways: Hand out branded stickers at trade shows or community events.
- Product Labels: Create eye-catching labels for handmade or retail products.
- Online Store Add-Ons: Include decorative stickers as freebies to delight customers.
- Marketing Promotions: Use themed stickers for limited-time sales or collaborations.
Personalized stickers help build brand recognition and foster customer loyalty.
Enhancing Crafts and Scrapbooking Projects
Elevate your creative projects with the charm of DIY sticker:
- Photo Albums: Add decorative stickers to frame photos and captions.
- Greeting Cards: Use stickers to embellish handmade cards for birthdays or holidays.
- Planners and Journals: Organize tasks with functional and decorative stickers.
- Gift Wraps: Seal wrapping paper with festive or custom designs.
- Crafts: Highlight handmade items like candles, jars, or bookmarks with themed stickers.
DIY stickers unlock endless possibilities to enrich hobbies and gifts alike.
With these ideas, you can use DIY sticker effectively in various aspects of your life. Practical, fun, and versatile, they are tools for endless creativity.