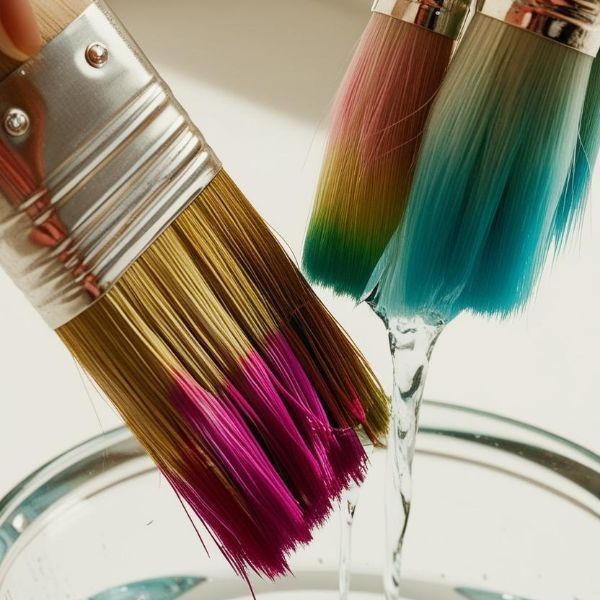
Why Proper Brush Cleaning Matters
Cleaning oil paint brushes is essential for maintaining their quality and extending their lifespan. Many artists make mistakes when they clean their brushes, which can lead to damaged bristles, dried-out paint, and even ruined brushes. Understanding the right way to clean oil paint brushes helps protect your investment and ensures better results in your artwork.
First, it’s important to clean your brushes as soon as you finish painting. Leaving oil paint on the bristles for too long can cause the paint to dry and harden, making it harder to remove later. Additionally, using the wrong cleaning products can harm the brush’s structure and reduce its performance over time.
Another reason why proper cleaning matters is that it prevents the buildup of old paint. This buildup can affect the flow of new paint and create uneven strokes. By keeping your brushes clean, you maintain a smooth and consistent painting experience.
Moreover, regular cleaning helps preserve the integrity of the bristles. If you neglect this step, the bristles may become stiff, lose their shape, or even fall out. This not only affects the quality of your work but also increases the cost of replacing brushes.
Finally, knowing how to clean oil paint brushes correctly saves time and money in the long run. It allows you to reuse your brushes more often and reduces the need for frequent replacements.
Common Mistakes When Cleaning Oil Paint Brushes
Many painters make mistakes when they clean oil paint brushes, which can damage their tools and affect their artwork. One of the most common errors is using water instead of the right solvent. Water does not dissolve oil paint, so it can leave residue behind, leading to hardened bristles and poor performance.
Another mistake is not cleaning the brushes thoroughly. Some artists rush through the process, leaving small amounts of paint stuck between the bristles. Over time, this can cause the bristles to stiffen and lose their flexibility.
Using too much pressure while cleaning is another issue. Applying too much force can bend or break the bristles, especially if they are soft or delicate. It’s important to be gentle and use the right technique to avoid damaging the brush.
Some people also skip the rinsing step after using a solvent. This can leave a film on the bristles, which affects how the brush holds paint. Always rinse the brush with clean solvent or soap to ensure all residues are removed.
Lastly, many forget to store the brushes properly after cleaning. Leaving them in a wet state or placing them in a messy area can lead to mold, mildew, or other issues. It’s crucial to dry them completely and keep them in a safe place.
What Is the Best Thing to Clean Oil Paint Brushes With?
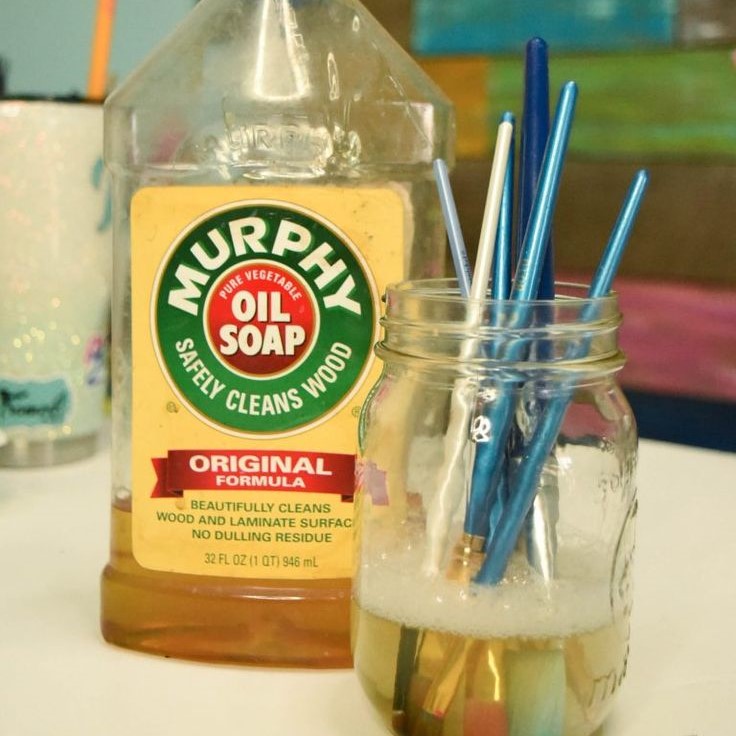
Choosing the right cleaning product is essential for keeping your oil paint brushes in good condition. The best thing to clean oil paint brushes with is a high-quality brush cleaner or mineral spirits. These products are specifically designed to dissolve oil-based paints without damaging the bristles.
You can also use dish soap mixed with warm water as an alternative. While it’s not as effective as commercial cleaners, it works well for light cleaning and is more affordable. However, make sure to rinse the brush thoroughly after using soap to avoid any residue buildup.
Another option is to use a dedicated brush wash. These products are formulated to remove stubborn paint while preserving the brush’s shape and texture. They are especially useful for brushes that have been used with thick or heavy oil paints.
If you’re looking for a natural solution, some artists use olive oil or baby oil to soften bristles. However, these should be used sparingly and followed by a thorough rinse with a proper cleaner.
It’s important to avoid using harsh chemicals or abrasive materials, as they can damage the bristles and shorten the life of your brushes. Stick to gentle, specialized products for the best results.
How Do You Clean an Oil Painting Without Damaging It?
Cleaning an oil painting requires careful attention to avoid damaging the artwork. First, always use a soft cloth or a microfiber towel to gently wipe away excess paint. Avoid using paper towels or rough materials, as they can scratch the surface of the painting.
Next, use a mild solvent like mineral spirits or a specialized oil paint thinner. Apply it to a clean cloth and gently dab the painted surface. Never rub the painting directly, as this can cause smudging or wear on the paint layers.
If there are areas that need more attention, use a soft-bristled brush to apply the solvent. Be careful not to press too hard, as this can damage the paint or cause it to lift off the canvas.
After cleaning, allow the painting to dry completely before applying any additional layers or varnish. This helps prevent any unwanted reactions between the cleaning solution and the paint.
Finally, store the painting in a cool, dry place away from direct sunlight. This protects it from fading or cracking over time.
By following these steps, you can clean an oil painting safely and preserve its quality for years to come.
Can You Wash Oil Paint Down the Sink?
Washing oil paint down the sink is not recommended. Oil-based paints contain harmful chemicals that can damage your plumbing and pollute the environment. These substances can clog pipes, create blockages, and harm aquatic life in water systems.
Instead of washing oil paint down the sink, use a proper disposal method. Many local waste facilities offer services for disposing of hazardous materials, including oil-based paints. Check with your local government or waste management company for guidelines on safe disposal.
You can also use a paint thinner or a dedicated brush cleaner to remove excess paint from your brushes. Afterward, dispose of the used solvent according to local regulations. Never pour it into drains, sewers, or natural water sources.
If you’re unsure about the best way to dispose of oil paint, consult a professional or look up local recycling programs. Taking the right steps ensures that you protect both your home and the environment.
Avoiding improper disposal not only keeps your plumbing safe but also helps reduce pollution and environmental harm.
How Do You Make Oil Paint Brushes Soft Again?
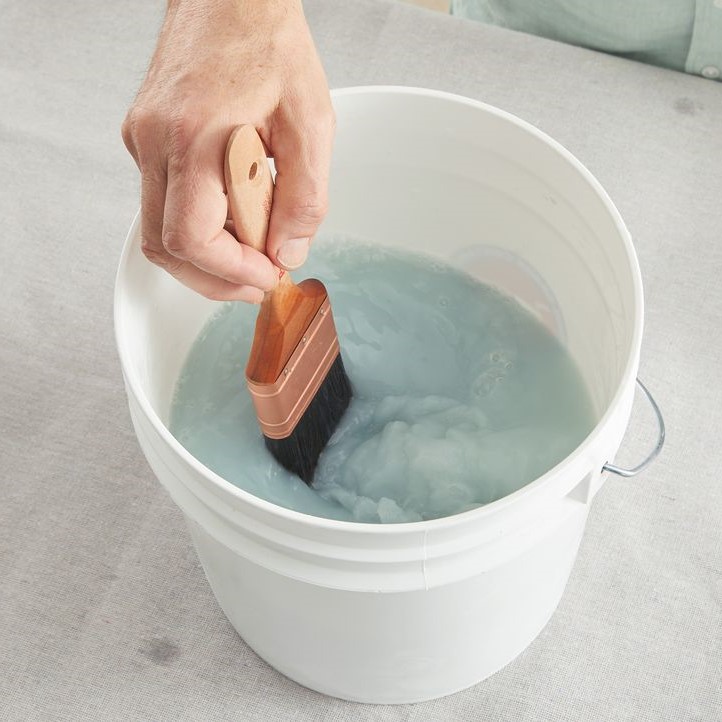
Over time, oil paint brushes can become stiff and difficult to use. To make them soft again, start by soaking the bristles in a brush cleaner or mineral spirits. This helps loosen any dried paint and restore flexibility to the bristles.
After soaking, gently squeeze the bristles to remove excess liquid. Then, use a soft cloth or paper towel to wipe away any remaining paint. Be careful not to twist or pull the bristles, as this can cause damage.
If the bristles are still stiff, try using a small amount of olive oil or a brush conditioning product. Apply it to the bristles and let it sit for a few minutes before rinsing with clean solvent. This can help soften the bristles and improve their performance.
Once the brush is clean and soft, dry it thoroughly before storing. Keep the brush upright in a holder to maintain its shape and prevent the bristles from bending.
Regular maintenance and proper cleaning are key to keeping your oil paint brushes in good condition. By taking care of them, you can extend their lifespan and enjoy better results in your artwork.
Tips for Maintaining Your Oil Paint Brushes
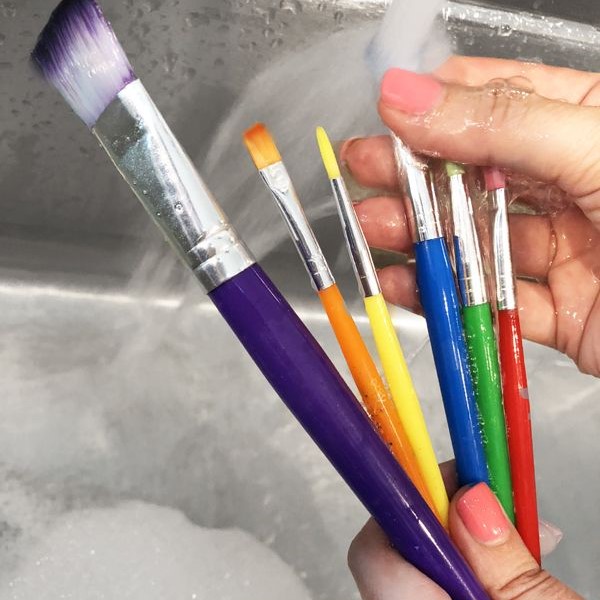
Maintaining your oil paint brushes is essential for their longevity and performance. Start by cleaning them immediately after each use. This prevents paint from drying on the bristles and makes the cleaning process easier.
Use the right cleaning products for oil paint brushes. A good brush cleaner or mineral spirits will remove paint without damaging the bristles. Avoid using water alone, as it doesn’t dissolve oil paint effectively.

Rinse the brush thoroughly after cleaning. Any leftover solvent or paint can affect the brush’s performance and lead to stiffness over time. Dry the brush completely before storing it.
Store your brushes in a cool, dry place. Avoid leaving them in a wet or damp environment, as this can cause mold or mildew to form. Use a brush holder or stand to keep them upright and maintain their shape.
Inspect your brushes regularly for signs of wear. If the bristles are bent, broken, or frayed, it’s time to replace the brush. Regular checks help you catch problems early and avoid further damage.
By following these tips, you can keep your oil paint brushes in excellent condition and get the most out of your art supplies.
Final Thoughts on Cleaning Oil Paint Brushes
Cleaning oil paint brushes properly is essential for every artist. Whether you’re a beginner or an experienced painter, understanding the right techniques and avoiding common mistakes will help you maintain your brushes and improve your work.
Remember to clean your brushes as soon as you finish painting. Use the right products, such as brush cleaners or mineral spirits, and avoid using water alone. Always rinse and dry your brushes thoroughly before storing them.
Don’t skip the step of checking your brushes for damage. Stiff or broken bristles can affect your painting and lead to more expensive replacements. Take the time to care for your tools, and they will last longer and perform better.
By following these guidelines, you can ensure that your oil paint brushes stay in top condition. This not only saves you money but also enhances your artistic experience. So, take care of your brushes, and they’ll take care of your art.