Understanding Oil Based Paint for Wood
Oil based paint for wood is a popular choice among homeowners and professionals because it offers a smooth, glossy finish and excellent durability. Unlike water-based paints, which dry quickly, oil-based paints take longer to cure but provide a more flexible and weather-resistant coating. When applied correctly, oil based paint for wood can protect surfaces from moisture, UV damage, and general wear and tear. It’s ideal for furniture, outdoor structures, and interior trim.
However, many people struggle with the application process, leading to issues like uneven coverage, cracking, or peeling. One of the main reasons for these problems is not preparing the wood properly before painting. Before you start, always clean the surface thoroughly and sand it to ensure good adhesion. Additionally, using the right tools and following proper techniques are essential for achieving the best results. By understanding how oil based paint for wood works, you can avoid common mistakes and create a lasting finish.
Common Mistakes When Using Oil Based Paint
Many people make mistakes when using oil based paint for wood, which can ruin their project. One of the most frequent errors is skipping the preparation step. If the wood isn’t cleaned or sanded properly, the paint may not stick well, leading to peeling or flaking. Another mistake is applying too thick a coat of paint. Oil based paint dries slowly, so adding too much in one go can cause drips, bubbles, or an uneven texture. Instead, apply thin, even layers and allow each coat to dry completely before adding the next.
A third common error is not using the right brush or roller. Choosing a low-quality applicator can result in streaks or brush marks. Always use a high-quality brush made for oil-based paints, and consider using a foam roller for smoother finishes. Additionally, some people fail to ventilate the area properly. Oil based paint releases strong fumes, so working in a well-ventilated space is crucial for both safety and quality. Lastly, many forget to test the paint on a small area first. This helps you see how the color looks and whether the finish meets your expectations. Avoiding these mistakes ensures that your oil based paint for wood project turns out beautifully and lasts for years.
Proper Preparation Is Key
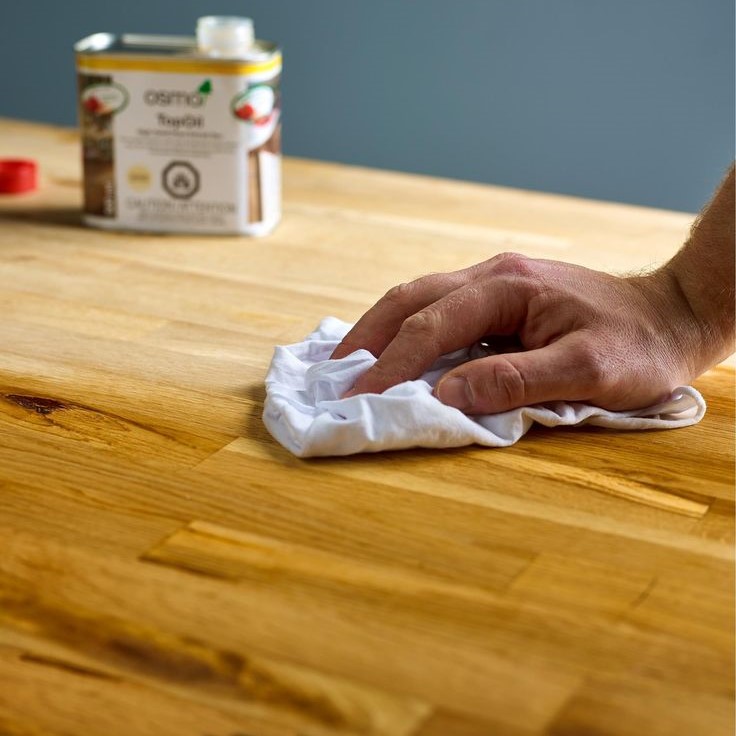
Proper preparation is one of the most important steps when using oil based paint for wood. Many people skip this part, thinking it’s unnecessary, but it can make or break the final result. Start by cleaning the surface thoroughly. Use a mild detergent and water to remove dirt, grease, or old paint. After washing, let the wood dry completely before proceeding. Next, sand the surface to create a smooth, even texture. Sanding helps the paint adhere better and prevents issues like peeling or blistering. Be sure to use the right grit—coarse sandpaper for rough areas and fine sandpaper for a smooth finish.
Once sanded, wipe away any dust with a damp cloth or a tack cloth. This ensures no particles interfere with the paint’s adhesion. Some people also neglect to fill in any cracks or holes before painting. Use wood filler or spackling compound to repair imperfections, then sand again once it dries. Finally, check for any signs of moisture or rot. If the wood is damp or damaged, it can affect the paint’s performance. Taking the time to prepare the wood properly sets the foundation for a successful oil based paint for wood project.
Applying Oil Based Paint Correctly
Applying oil based paint for wood requires attention to detail and patience. One of the most common mistakes is not using the right technique. To get the best results, always work in one direction, starting from the top and moving downward. This helps prevent drips and ensures an even coat. Another mistake is not using a primer. While some oil-based paints can be used without a primer, applying a primer improves adhesion and makes the paint last longer.
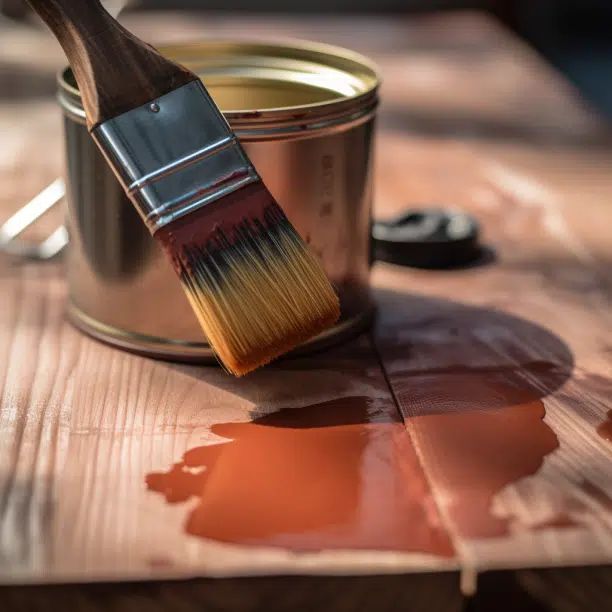
If you’re painting over a dark color, a white primer can help cover the base and reduce the number of coats needed. Also, don’t rush the process. Oil based paint dries slowly, so waiting between coats is essential for a smooth finish. If you apply a second coat too soon, the paint may not bond properly, leading to an uneven appearance. In addition, some people try to speed up drying by using heat or fans, which can cause the paint to crack or bubble. Instead, let the paint dry naturally in a well-ventilated area. Lastly, always follow the manufacturer’s instructions for mixing and application. These guidelines are designed to help you achieve the best possible outcome with oil based paint for wood.
Choosing the Right Tools for Oil Based Paint
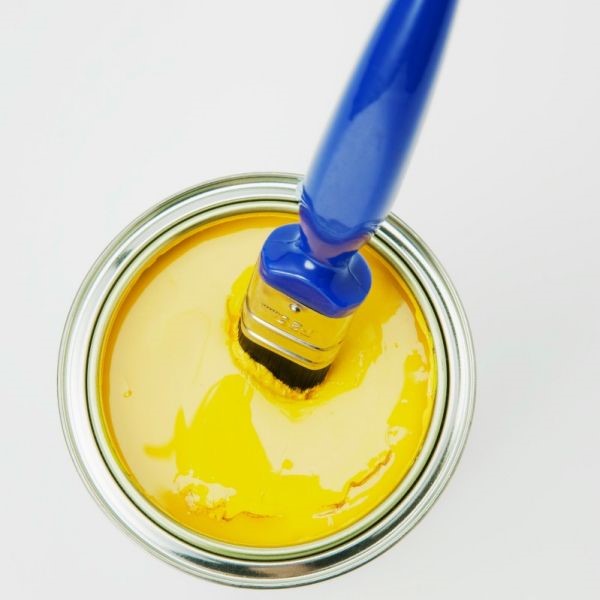
Choosing the right tools is essential when working with oil based paint for wood. Many people use brushes or rollers that aren’t suitable for oil-based paints, which can lead to poor results. For example, using a cheap brush may leave behind bristles or create streaks. Always opt for a high-quality brush made specifically for oil-based paints. These brushes have stiffer bristles that hold more paint and provide a smoother finish. When using a roller, choose a medium-nap roller for flat surfaces and a short-nap roller for detailed areas.
Foam rollers are also a good option, as they create a very smooth, even finish without leaving brush marks. Another common mistake is not cleaning the tools properly after use. Oil-based paint can harden quickly, making it difficult to clean. Always clean your brushes and rollers immediately after painting with mineral spirits or a dedicated paint thinner. Failing to do so can damage the tools and waste your time. Additionally, some people try to stretch the paint by adding water or other substances, which can weaken the paint’s integrity and reduce its effectiveness. Stick to the recommended mixing ratios to maintain the quality of the oil based paint for wood. By selecting the right tools and using them correctly, you can achieve a professional-looking finish every time.
Avoiding Overapplication of Paint
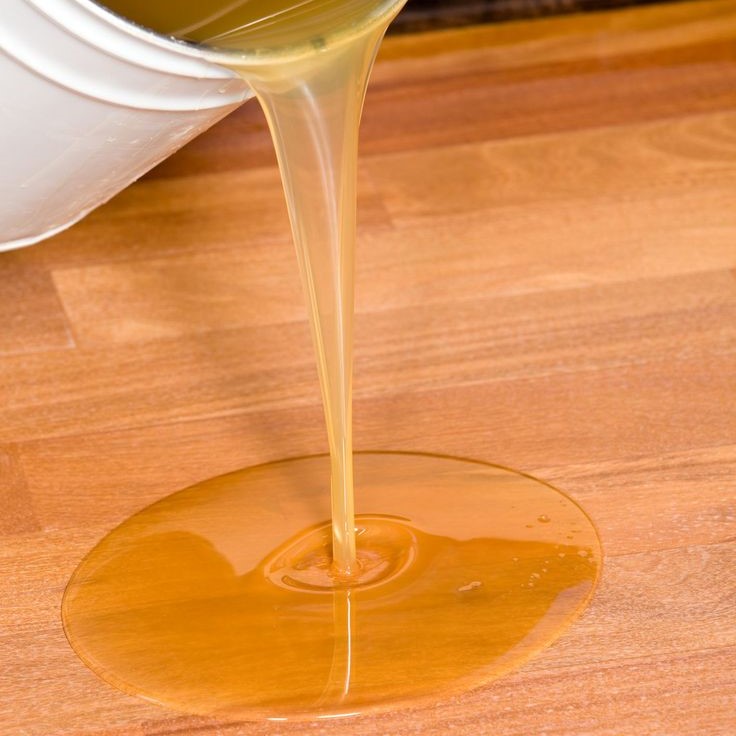
One of the biggest mistakes when using oil based paint for wood is applying too much paint at once. Oil-based paints are thick and slow-drying, so overapplication can lead to drips, bubbles, and an uneven finish. Instead of trying to cover everything in one go, apply thin, even coats. This allows the paint to dry properly and reduces the risk of imperfections. If you’re unsure about the amount of paint to use, start with a small section and test the application. You can always add more layers if needed, but it’s harder to fix a thick, uneven coat.
Another issue is not allowing enough drying time between coats. Rushing the process can cause the paint to lift or peel, especially if the previous layer isn’t fully dry. Always follow the manufacturer’s recommendations for drying times. If you’re painting in a cool or humid environment, the drying time may be longer, so be patient. In addition, some people try to speed up the drying process by using heat or fans, which can cause the paint to dry too quickly and lose its flexibility. This can lead to cracking or peeling over time. Instead, let the paint dry naturally in a well-ventilated area. By avoiding overapplication and giving the paint enough time to dry, you can ensure a smooth, long-lasting finish with oil based paint for wood.
Ventilation and Safety When Using Oil Based Paint
Ventilation is a critical factor when using oil based paint for wood. These types of paints release volatile organic compounds (VOCs), which can be harmful if inhaled in large amounts. Always work in a well-ventilated area, such as near an open window or in a garage with good airflow. If you’re painting indoors, consider using a fan to circulate the air and reduce fume buildup. Wearing a mask or respirator is also important, especially if you’re sensitive to chemicals or working in a confined space. Another common mistake is not protecting the surrounding area.
Oil-based paint can stain floors, furniture, and other surfaces, so always cover them with drop cloths or plastic sheets. Additionally, keep all flammable materials away from the painting area, as oil-based paints are highly flammable. Some people also neglect to clean up properly after painting. Leftover paint and rags should be disposed of safely, as they can pose a fire hazard if not handled correctly. By taking these safety precautions and ensuring proper ventilation, you can protect yourself and your home while working with oil based paint for wood.
Final Thoughts
In conclusion, oil based paint for wood is a powerful and durable option for anyone looking to enhance the look and protection of their wooden surfaces. However, it’s important to avoid common mistakes that can compromise the quality of your project. From proper preparation to correct application techniques, each step plays a vital role in achieving a beautiful and long-lasting finish.
Remember to use the right tools, follow safety guidelines, and give the paint enough time to dry between coats. With the right approach, you can successfully complete your oil based paint for wood project and enjoy the benefits of a professional-looking result. Whether you’re painting furniture, trim, or outdoor structures, understanding how to use oil based paint for wood properly will help you save time, money, and effort in the long run.