Why Use a Glue Stick for 3D Printing
Glue sticks play a key role in successful 3D printing. They ensure your models stick well to the print bed. Without proper adhesion, prints may detach or warp during the process.
Benefits of Adhesion in 3D Printing
Using a glue stick improves adhesion between the filament and the print bed. Enhanced adhesion reduces the chances of print warping, especially for large or flat models. It helps in creating a smooth first layer, which is crucial for successful prints. A strong bond also minimizes the risk of print failure during operation. Glue sticks are easy to apply and clean compared to other solutions. They provide an affordable and efficient way to secure prints to various bed surfaces.
Common Printing Issues Solved by Glue Sticks
Warping is a common issue, especially for materials like ABS. Glue sticks counteract warping by making sure the base stays flat. Poor adhesion can cause prints to shift or detach, ruining the model. Glue sticks solve this by keeping the print firmly in place. Uneven first layers cause instability during printing. Glue sticks create a consistent foundation to avoid layer imperfections. With strong adhesion, users experience fewer interruptions while printing complex designs.
Types of Glue Sticks for 3D Printing
Choosing the right glue stick for 3D printing is essential for optimal performance. Different types of glue sticks cater to various printing needs, materials, and bed surfaces.
Differences Between Standard and Specialized Glue Sticks
Standard glue sticks are commonly used for basic household tasks. They are affordable and easy to find. However, they may not always provide sufficient adhesion for certain 3D printing materials. They work best for printers using PLA or smaller prints.
Specialized glue sticks are designed specifically for 3D printing. These sticks often contain additives to enhance bed adhesion. They work effectively with more challenging materials, like ABS or PETG. Specialized glue sticks are tailored to combat warping and improve bed adhesion on heated surfaces. While they may cost more, their reliability justifies the investment for serious 3D printers.
Water-based vs. Solvent-based Glue Sticks
Water-based glue sticks use water as the primary solvent. They are eco-friendly and simple to clean. Residue can be wiped off easily with a damp cloth. Water-based glue sticks typically work well on non-heated print beds and with materials like PLA. However, they might lose effectiveness in high-temperature conditions.
Solvent-based glue sticks include stronger adhesives with chemical solvents. These are ideal for heated beds and more demanding filaments, such as ABS. They create a stronger bond but are harder to clean. Solvent-based glue sticks may emit a slight odor but deliver excellent adhesion results.
Understanding the differences ensures you select the glue stick best suited to your printing needs.
How to Choose the Right Glue Stick for Your 3D Printer
Selecting the right glue stick for 3D printing is essential for successful prints. The choice depends on factors like your printer type, filament material, and bed requirements. A proper glue stick ensures reliable adhesion and reduces print failures.
Factors to Consider Based on Printer Type and Filament
- Printer Type: Different printers have varying bed surfaces and settings. Non-heated beds work well with water-based glue sticks. Heated beds may require solvent-based options for stronger adhesion.
- Filament Material: PLA, ABS, PETG, and other materials demand different adhesion strengths. PLA prints often succeed with standard glue sticks. For ABS, specialized sticks combat warping and ensure reliability. PETG needs strong and consistent adhesion, often provided by solvent-based or specialized glue sticks.
- Print Size: Large or flat prints are more prone to warping and detachment. Specialized glue sticks provide enhanced strength for such prints. For smaller prints, standard sticks usually suffice.
- Print Environment: Consider temperature and humidity levels. High temperatures or heated beds often need solvent-based sticks. Controlled environments might allow water-based ones.
Recommended Brands for 3D Printing
Some brands are known for excellent 3D printing glue sticks. Below are a few options:
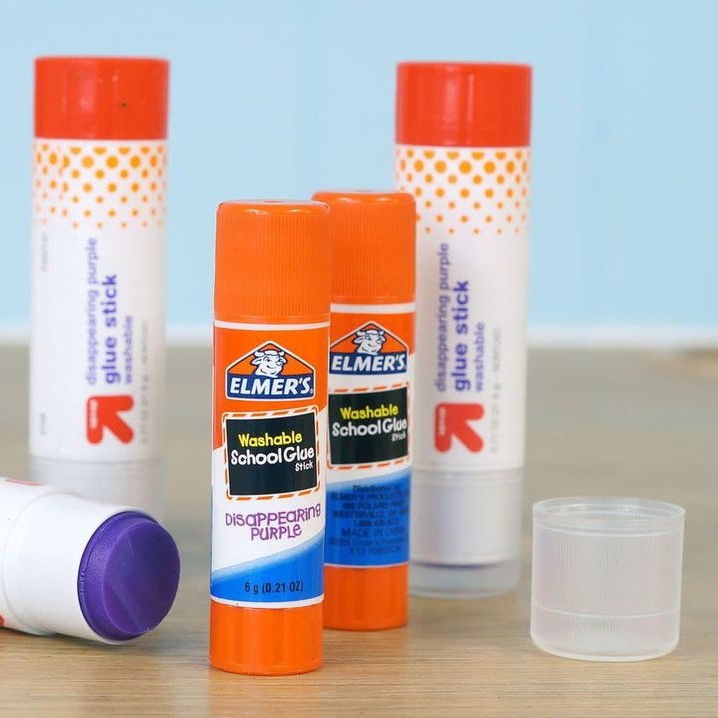
- Elmer’s Glue Stick: Best for beginners and works great with PLA on non-heated beds. It’s affordable and widely available.
- Magigoo: A specialized glue stick suited for various filaments like ABS, PETG, or even nylon. It ensures excellent adhesion and easy removal after cooling.
- PrintaStick: Designed specifically for 3D printing, it provides strong adhesion and works well on heated beds.
- UHU Stic: A strong contender for basic printing needs, especially with PLA and smaller prints. Easy to clean and apply.
- Glue Dots by 3D Gloop!: A higher-end option for challenging filaments like PETG or ABS, offering superior results.
Selecting the right glue stick ensures stability and accuracy in prints. Match your glue choice to your printer and filament for the best results.
Application Techniques for Glue Sticks
Proper application of a glue stick for 3d printing is crucial for achieving optimal adhesion and print results. Following the correct techniques ensures uniform coverage and reduces the chances of print failure.
Step-by-Step Guide to Applying Glue Stick to the Print Bed
- Clean the Print Bed: Start by wiping off dirt, dust, or leftover adhesive. Use a damp cloth or mild cleaner.
- Select the Right Glue Stick: Choose one suited to your filament and bed type, such as PLA or heated surfaces.
- Prepare the Glue Stick: Ensure the glue stick is fresh and evenly spreadable. Twist to reveal a small amount.
- Apply Evenly: Spread the glue stick in straight lines across the bed. Focus on the exact print area.
- Avoid Overapplication: Use one thin layer of glue. Excess glue can affect print quality and cause residue issues.
- Distribute the Glue: Using a damp sponge, thin out thick glue spots for uniform coverage.
- Let It Dry: Allow the glue layer to dry slightly before starting the print process.
Tips to Ensure Even Coverage and Strong Adhesion
- Use Smooth Motions: Apply glue in straight or circular movements to avoid uneven distribution.
- Target Key Areas: Cover the base edges and corners of your print bed for consistent adhesion.
- Check for Gaps: Inspect the glue layer for missed spots or gaps, especially for large prints.
- Maintain Clean Tools: Use clean sponges or applicators when smoothing glue for better results.
- Test Before Printing: Run a test layer if you’re unsure about coverage quality.
- Monitor Environmental Factors: Ensure the print bed temperature aligns with glue stick characteristics, especially for heated beds.
By following these steps and tips, you maximize adhesion and decrease issues like warping or detachment. Proper application guarantees smooth operations and cleaner print results.
Maintaining and Cleaning Your Print Surface
Cleaning and maintaining your print bed is crucial for successful 3D prints. Regular care ensures consistent adhesion and a clean surface, free from residue or damage. Neglecting maintenance can lead to poor results and frequent print failures.
How to Remove Glue Residue Safely
- Cool the Print Bed First: Allow the bed to cool completely to prevent scratches or damage.
- Use Warm Water: Soak a cloth or sponge in warm water and gently rub the residue.
- Apply Mild Cleaner: Use alcohol or gentle soap for stubborn spots. Avoid harsh chemicals that may harm the bed.
- Scrape with Soft Tools: If needed, use a plastic scraper, not metal, to remove glue without scratching.
- Test Cleanliness: Run your hand lightly over the bed to check for leftover adhesive.
- Dry Thoroughly: Ensure the surface is fully dry before applying new glue for the next print.
Best Practices for Long-term Print Bed Maintenance
- Clean After Each Print: Wipe off leftover glue immediately to avoid hardened residue buildup.
- Inspect the Surface: Look for scratches, chips, or uneven spots before starting a new project.
- Use Protective Layers: Consider applying masking tape or PEI sheets to extend bed life.
- Avoid Overheating: Follow recommended bed temperatures to prevent warping or material damage.
- Keep Tools Handy: Store cleaning tools like sponges and cloths near your printer for easy access.
- Replace Often: If coatings like PEI or glass degrade, replace them for better results.
Proper cleaning and care extend your bed’s lifespan, reduce failures, and enhance print quality.
Alternatives to Glue Sticks for Bed Adhesion
While glue sticks are highly favored for bed adhesion, they aren’t the only solution. Exploring alternatives helps you tailor these methods to your printer and filament.
Comparison of Glue Sticks with Other Adhesion Solutions
Glue sticks are simple, affordable, and work well with many materials like PLA or ABS. However, depending on the filament and bed surface, other solutions may outperform glue sticks in certain cases. Here’s how they compare:
Adhesive sprays:
- Provide even coverage and work well for heated bed surfaces.
- Excellent for materials like PETG or ABS.
- Harder to control application and may cause overspray on parts of the printer.
PEI sheets:
- Very durable and offer reliable adhesion without applying layers for each print.
- Great for long-term projects but can be costly.
- May not work well with flexible filaments without preparation.
Kapton tape:
- Creates a smooth adhesive surface that works well with ABS and other high-temperature filaments.
- Convenient and easy to replace, but not suited for all materials.
- Can leave marks if residue builds.
Blue painter’s tape:
- Affordability and ease of use make it ideal for PLA prints.
- Simple to peel off but has a shorter lifespan.
- Weak adhesion for larger prints or heated beds.
When to Use Other Adhesive Methods
- For heated beds: Consider PEI sheets, adhesive sprays, or Kapton tape for reliable adhesion at high temperatures.
- For large or flexible prints: Tapes or specialized adhesives like sprays handle larger surface areas better.
- When dealing with specific materials: Certain adhesives work better for challenging filaments like PETG, Nylon, or ABS.
- In regular maintenance: Long-term solutions like PEI sheets reduce the need for frequent reapplication.
- For environmentally friendly options: Stick to tapes or eco-friendly sprays over solvent-based glue sticks.
Understanding various alternatives will empower users to address adhesion challenges effectively. Select the method based on print material, budget, and machine capabilities.
Common Mistakes to Avoid When Using Glue Sticks
Using glue sticks incorrectly can lead to poor adhesion and printing issues. Avoiding common mistakes ensures smooth printing experiences. Below are two key errors to watch out for and tips to prevent them.
Overapplication Issues
Applying too much glue may harm your print quality. Excess glue stick for 3d printing can create bumps on the print bed, leading to an uneven foundation for 3D models. This can result in distorted prints or layer misalignments.
How to Avoid Overapplication:
- Use a thin, even layer of glue. One pass is often enough.
- Smooth out thick spots with a damp sponge before printing.
- Reapply glue only if the existing layer seems completely worn out.
- Periodically inspect the bed for glue build-up and clean as needed.
Reducing overapplication will help improve overall print stability and avoid excess residue cleanup.
Misalignments and Uneven Coverage
Uneven application may leave some areas of the print bed without glue. This can lead to poor adhesion, causing warping or detachment. Misaligned glue coverage may also result in uneven first layers, weakening the entire print.
How to Avoid Misalignments and Uneven Coverage:
- Cover the entire print area, especially the corners and edges.
- Use straight or circular motions when spreading the glue.
- Double-check for missed gaps or inconsistencies in coverage.
- Run a quick test print to ensure the adhesion layer is even.
Proper application techniques help to minimize adhesion issues and improve print success rates.
By recognizing these mistakes and addressing them, you can achieve smoother and more accurate 3D prints.
Troubleshooting Adhesion Problems
Even with a good glue stick, adhesion issues may still occur. Understanding the causes and solutions can help ensure successful 3D prints.
What to Do if Prints Still Fail to Stick
- Inspect the Print Bed: Ensure the bed is clean and free from dust or oils.
- Reapply Glue Stick: Examine the glue layer for missed spots or uneven application. Apply fresh glue if necessary.
- Adjust Bed Temperature: For heated beds, ensure the temperature matches the filament requirements.
- Check Filament Quality: Low-quality filament may affect adhesion. Use reliable brands for consistent results.
- Level the Bed: An uneven bed can lead to poor adhesion. Recalibrate the bed for uniform surface contact.
- Modify First Layer Settings: Lower the print speed for the first layer. Increase extrusion flow slightly to form a solid base.
- Use Additional Adhesives: If glue sticks fail, consider supplementary options like adhesive sprays or tapes.
Adjusting Printer Settings in Combination with Glue Sticks
- Set the Right Nozzle Height: Too high or low can affect how the filament sticks to the bed.
- Adjust the nozzle to be close enough for a strong bond but not too tight.
- Optimize Bed Temperature: PLA may not need a heated bed, but ABS might require higher temperatures.
- Adjust Print Speed:
- Lower printing speeds for intricate or detailed first layers to improve adhesion.
- Control Cooling Fans: Turn off or reduce cooling during the first few layers. This prevents premature hardening.
- Increase Adhesion Modes: Use “brim” or “raft” modes in your slicing software to improve surface grip.
- Calibrate Extrusion Width: Ensure the correct width to lay down a consistent filament layer.
By combining these troubleshooting tips with proper glue stick for 3d printing techniques, you can resolve adhesion problems effectively. Maintain regular printer checks to ensure ongoing success with 3D printing.