Benefits of Making Your Own Sticker Book
Creating a DIY sticker book has many advantages. It’s not only fun but also rewarding.
Encourages Creativity and Personal Expression
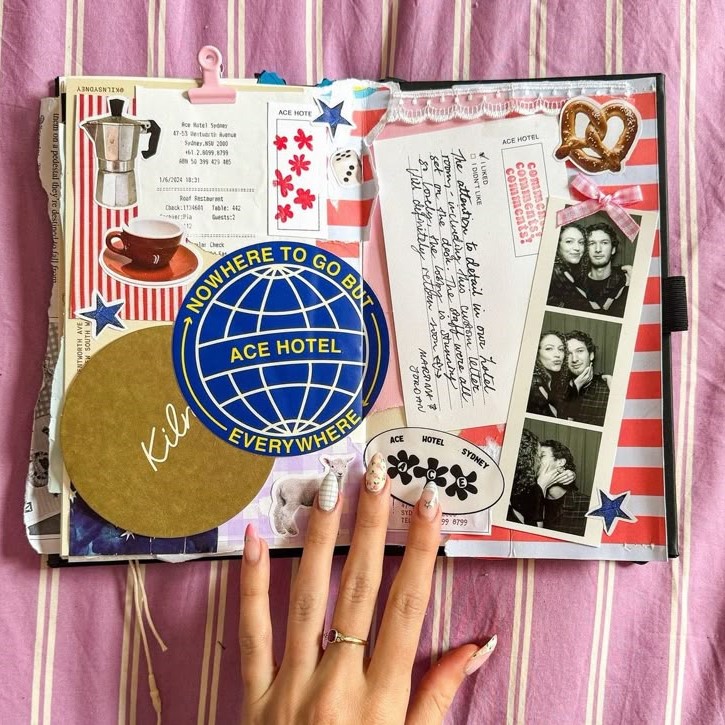
Making your own sticker book allows you to express yourself. You can organize and design pages to reflect your style. Choose themes, colors, and layouts that resonate with your personality. It’s like creating a personalized piece of art. This process fosters creativity in both kids and adults. You can also experiment with unique designs to make it one of a kind.
Cost-Effective and Customizable
A DIY sticker book is budget-friendly. You can use materials you already have at home. Unlike store-bought sticker books, you decide the layout and number of pages. This flexibility means you can make it as big or small as you wish. Customizing it to fit your sticker collection ensures better organization. Plus, it’s a great way to recycle and use items creatively, like old binders or paper scraps.
Materials Needed
Before creating your DIY sticker book, gather all the necessary materials. This ensures a smooth and enjoyable process.
Essential Supplies and Tools
To start your DIY sticker book, you’ll need a few basic items:
- Base Material: Choose a sturdy base like a notebook, binder, or scrapbook.
- Paper or Pages: Use blank sheets, construction paper, or cardstock for durability.
- Adhesive: Get glue sticks, double-sided tape, or removable adhesive to secure stickers.
- Scissors and Craft Knife: These tools help cut paper and adjust sizes accurately.
- Pencil and Ruler: For marking and aligning designs neatly.
- Markers and Pens: Use these to label sections or add decorative touches.
Having these essentials in place will help you begin your sticker book project easily.
Optional Decorative Accessories
Enhancing your sticker book’s appearance can make it unique and exciting. Consider adding these extras:
- Washi Tape: Perfect for borders, dividers, or decorative strips.
- Stamps and Ink Pads: Add artistic designs or patterns to blank spaces.
- Stickers: Use decorative stickers for themes and to embellish pages.
- Ribbon or String: Create tabs or ties for an extra touch of creativity.
- Stencils: Helps draw shapes or patterns within the book.
- Colored Paper: Layer it for vibrant backgrounds or section dividers.
These optional decorative items allow for endless customization. Let your personal style shine through.
Step-by-Step Guide to Assembling Your Sticker Book
Creating a DIY sticker book requires some basic steps. Follow this guide to build one seamlessly.
Selecting the Right Base for Your Sticker Book
The base of your sticker book sets its foundation. Choose something sturdy and durable. Options include:
- Notebook: Ideal for small collections or single themes.
- Binder: Perfect for large collections; you can add and organize pages later.
- Scrapbook: Great for decorative purposes, especially if you love crafting.
Focus on portability if you plan to carry it around. Select a base that fits your needs.
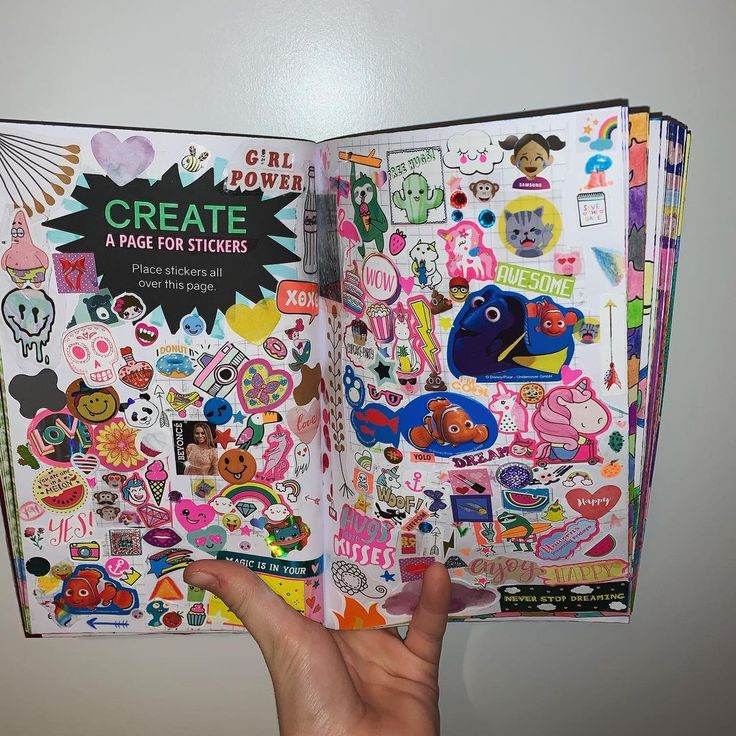
Designing Pages to Organize Stickers
Organizing pages ensures a cleaner look and usability. Start by grouping your stickers:
- Themes: Sort stickers by categories like animals, food, or nature.
- Colors: Arrange stickers based on color schemes for visual appeal.
- Sizes: Keep smaller and larger stickers in separate sections.
Use markers or pens to label categories clearly. Add decorative elements like washi tape or stencils to enhance each page.
Binding Your Sticker Book for Durability
A sturdy binding protects your sticker book from wear and tear. Use one of these options:
- Rings or Spirals: These offer flexibility, allowing you to add or rearrange pages easily.
- Glue Binding: Provides a neat, secure finish but may be less adjustable.
- Thread Binding: Perfect for handmade books; it’s durable and visually appealing.
Ensure the binding matches your base material and intended use. Test it by flipping through pages to check sturdiness.
By following these steps, you can craft a unique, durable sticker book that fits your style.
Creative Ideas for Sticker Book Themes
Designing theme-based pages adds excitement to your DIY sticker book. Themes give your book a cohesive and unique feel. Below are creative ideas to inspire your pages.
Seasonal Themes and Holidays
Celebrate the seasons or holidays with themed sticker pages. Here are some ideas to try:
- Spring Blossoms: Use flower and butterfly stickers for vibrant spring pages.
- Summer Fun: Add beach, sun, and ice cream stickers to capture summer vibes.
- Autumn Leaves: Decorate with foliage, pumpkins, and cozy warm colors.
- Winter Wonderland: Include snowflakes, snowman, and festive holiday-themed stickers.
- Holiday Festivities: Dedicate pages to Christmas, Halloween, Easter, or other celebratory occasions.
Each season offers a chance to explore different sticker designs and colors. Use corresponding decorative accessories like washi tape or stencils to enhance the theme further. Seasonal sticker books can also double as keepsakes that mark special holiday memories.
Hobby and Interest-Based Themes
Personalizing your sticker book to match your hobbies and passions makes it extra special. Here’s how:
- Sports Enthusiast Theme
Celebrate your passion for sports by collecting stickers featuring a range of sports equipment and jerseys. Include team logos to represent your favorite sports teams, athletes, or events. These pages can highlight everything from popular sports like basketball and soccer to niche activities such as surfing or skateboarding. This theme pays homage to the vibrant and competitive world of athletics. - Nature Lover Theme
Immerse yourself in the beauty of the outdoors with nature-themed pages. Focus on stickers that showcase animals, outdoor landscapes, and plants. From majestic wildlife to serene forests, these stickers capture the essence of nature’s magnificence. Create scenes that mirror your experiences in nature or illustrate the diverse beauty found across different ecosystems. - Foodie Fun Theme
For those who enjoy culinary delights, dedicate pages to stickers of food items like fruits, desserts, and beverages. These stickers not only create a vibrant and appetizing aesthetic, but they also celebrate the delicious diversity of flavors and cuisines. Share your love for cooking or eating by arranging stickers into imaginative layouts that depict your favorite dishes or ingredients. - Travel Diaries Theme
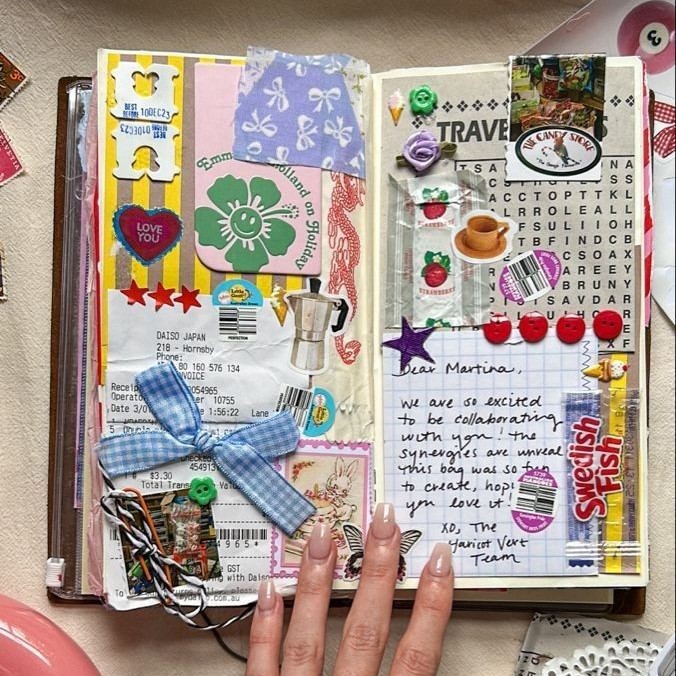
Recall memorable trips and adventures with travel-themed pages. Collect stickers of famous landmarks, maps, and transportation icons, such as planes or trains. These stickers serve as a visual diary, capturing the essence of exploration and wanderlust. Arrange them to recreate the pathways of your journeys or to highlight destinations on your travel bucket list. - Pop Culture Theme
Showcase your love for movies, music, and gaming with pages dedicated to pop culture themed stickers. Feature beloved characters, iconic symbols, and logos from your favorite franchises.
Tips for Organizing and Protecting Your Stickers
Organizing and protecting your stickers is essential for maintaining a tidy and lasting collection. Stickers, especially unique or rare ones, deserve proper care to preserve their quality.
Strategies for Categorizing Stickers
Sorting stickers into clear categories makes your DIY sticker book more functional and appealing.
- Themes: Group stickers based on specific topics like animals, food, or holidays. This creates structured sections.
- Colors: Arrange stickers by color for a visually pleasing design. Rainbow layouts are fun and bright.
- Sizes: Separate stickers by size to ensure neat alignment and avoid overcrowded pages.
- Shapes: Organize stickers based on geometric or artistic shapes to add consistency.
- Collections: Dedicate specific pages to seasonal sets or exclusive sticker packs.
Label each category using decorative tags, headers, or stickers. Use dividers like colorful paper to separate sections. Regularly update pages to maintain order as your collection grows.
Maintaining Sticker Quality Over Time
Proper care ensures stickers stay intact and vibrant for years to come.
- Use removable adhesives: Avoid permanent glue to prevent damage when repositioning stickers.
- Store in dry locations: Moisture can ruin stickers. Keep your book in a clean, dry area.
- Avoid direct sunlight: Prolonged exposure fades colors and weakens adhesive materials over time.
- Protect pages with covers: Use binders or plastic sleeves to safeguard stickers from dust or unintended damage.
- Handle gently: Avoid peeling and reapplying stickers frequently, as this wears down adhesive backing.
Regularly inspect stickers for wear or deterioration. Keep a stash of replacement materials handy to repair or reinforce pages as needed.
By following these tips, you can maintain a well-organized and long-lasting sticker book that showcases your treasured collection beautifully.
Fun Ways to Personalize Your Sticker Book
Adding personal touches to your DIY sticker book makes it unique and fun. Let your creativity shine through decorations and enhancements.
Adding Custom Art and Lettering
Incorporating custom art and lettering adds a personal flair to your sticker book. Here’s how to do it:
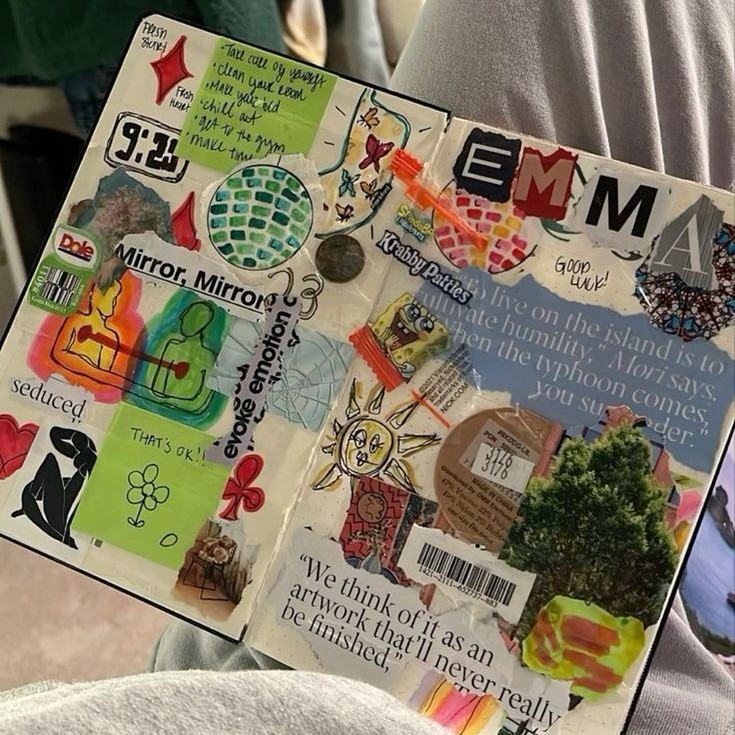
- Draw Doodles
Bring your sticker book to life with whimsical doodles using markers, pens, or colored pencils. These small drawings add a personal touch and can complement the stickers, providing a cohesive theme to the page. Whether it’s tiny hearts, stars, or abstract shapes, doodles provide depth and character, transforming your book into an expressive canvas. - Create Fancy Titles
Label each section of your sticker book with distinctive titles using artistic lettering styles. Experiment with cursive for elegance, bold letters for emphasis, or bubble letters for a playful vibe. These artistic titles not only organize your sections but also serve as eye-catching focal points that guide viewers through your book. - Add Borders
Enhance the visual appeal of your pages by sketching borders around stickers. Use patterns, shapes, or simple lines to delineate space and highlight specific areas. Borders can bring structure to a page and create a frame-like effect, which anchors the stickers and gives them prominence against the backdrop. - Make Background Designs
Decorate the blank spaces within your sticker book by drawing simple illustrations such as clouds, stars, or geometric designs. These background elements fill space creatively and complement the theme of your collection. Adding these designs provides an artistic flair that enriches the overall aesthetic and mood of your sticker book.
These techniques make your sticker book a creative masterpiece that reflects your personality.
Using Washi Tape and Other Embellishments
Washi tape and embellishments can transform plain pages into eye-catching designs. Here are ideas to try:
- Frame Stickers with Washi Tape
Washi tape offers a simple and effective way to add color and character to your sticker book. Outline individual stickers with various washi tape designs to create a vibrant frame around each one. This technique not only highlights the stickers, but it also introduces an additional design layer to your pages, making each sticker stand out more vividly. - Make Dividers with Washi Tape
Use washi tape creatively to divide your sticker book into different sections or to create stylish headers. Choose tapes with different patterns and colors to denote various categories or themes within the book. This organizational method not only keeps your book orderly, but it also adds a sophisticated visual element that can make browsing more engaging. - Add Glitter or Sequins for Sparkle
Elevate the decorative aspects of your sticker book by adding glitter or small sequins. These embellishments provide extra sparkle and dimension, catching the light and making pages eye-catching. Apply glue strategically around certain stickers or embellishments, then gently press glitter or sequins into place for a dazzling effect. - Attach Small Trinkets for Texture
Incorporate small trinkets such as ribbons, buttons, or tags to introduce a tactile component to your pages. These elements can be tied or glued into place to create depth and interest, making each interaction with your sticker book a sensory experience. The varied textures provided by these additions add a unique and creative aspect to your project.

Inspiring Kids and Families to Make Sticker Books
Making a DIY sticker book can inspire creativity and bring families closer together. It’s a fun and rewarding activity that everyone can enjoy.
Educational and Bonding Opportunities
Creating a sticker book offers many learning and bonding opportunities for kids and families:
- Boosts Fine Motor Skills: Sticking, cutting, and organizing stickers sharpen hand-eye coordination in children.
- Encourages Creativity: Kids can experiment with layouts, themes, and designs, fostering imaginative thinking.
- Teaches Responsibility: Caring for their sticker collection helps children learn organization and maintenance skills.
- Fun Learning Tool: Use themed stickers to teach about animals, seasons, or geography in a fun way.
- Quality Family Time: Parents and kids can collaborate on layouts, creating lasting memories together.
This creative activity not only improves skills but strengthens familial bonds, offering educational value in a playful setting.
Ideas for Family Craft Sessions
Family craft sessions are a great way to make sticker books together. Here are some ideas:
- Theme Nights: Choose themes like animals or holidays and decorate pages with related stickers.
- Sticker Swaps: Let everyone exchange stickers to discover new designs and improve organization.
- Story Creation: Use stickers to craft a storybook, complete with scenes and characters.
- Nature-Inspired Pages: Take inspiration from outdoor adventures and design pages with flowers or animals.
- Create Keepsakes: Dedicate pages to family trips, birthdays, or special events using travel or festive stickers.
These shared activities make the creative process more enjoyable and encourage teamwork among family members.
Engaging with stickers together allows families to combine fun with meaningful connections. It’s a hobby everyone can cherish!