Introduction to Cat Clay Sculpturing
Cat clay sculpture is an art form that captivates many. It allows you to create a miniature, tangible version of these graceful creatures, frozen in time and space. It’s both fun and therapeutic, engaging artists and cat lovers alike. Whether you are a seasoned sculptor or just a beginner, crafting a cat clay sculpture requires patience, creativity, and a touch of passion. In this guide, we’ll explore the step-by-step process to help you create your very own cat sculpture. From gathering materials to the final touches, we’ll ensure you have the knowledge to bring your clay cat to life. Let’s dive into this delightful art and get our hands dirty!
Materials and Tools Required
Before you start your cat clay sculpture, gather all necessary items. Quality clay is crucial for a good sculpture. Choose a type that suits your skill level and the sculpture’s size. Tools like wire cutters, loop and ribbon tools, and needle tools help shape and detail your work.
For smoothing surfaces, have sponges and rubber ribs at hand. A rolling pin or slab roller will evenly flatten clay. A kiln is essential for firing the finished piece. Don’t forget a work surface and apron to keep clean. Collect these materials and tools, and you’re set for sculpting.
Designing Your Cat Sculpture
Before you start shaping your cat clay sculpture, designing it is essential. Consider the size, posture, and expression of your cat. Will it be sitting or standing? Will it have a playful or serene demeanor? Start by sketching a few designs on paper. This way, you can visualize different angles and positions.
Once you have a sketch you’re happy with, it’s time to plan for the armature. An armature is a framework around which your clay will take shape. For larger sculptures, this could be a necessity to prevent sagging. Think about the cat’s anatomy. Ensure the pose is natural and balanced.
Next, transfer your design onto the clay. Use a pencil or a thin tool to outline your sketch on the slab. This gives you a roadmap as you start shaping. Remember that your sculpture will start to come to life in the next steps, so a good design is the foundation of a great cat clay sculpture.
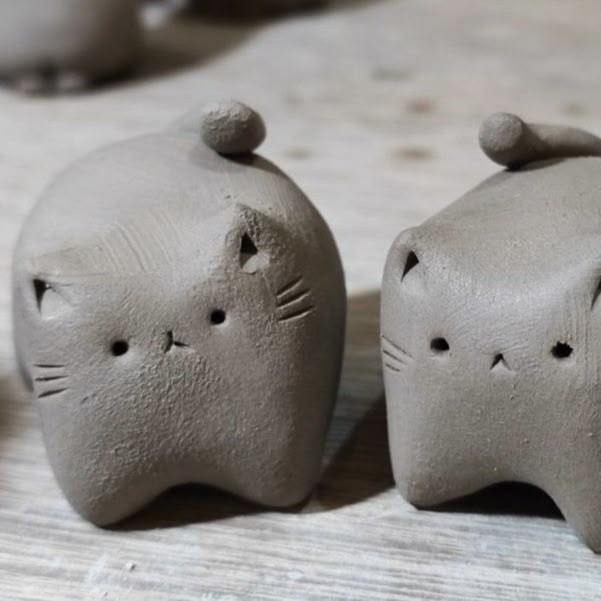
Shaping the Basic Form
Now that your design is set, it’s time to shape the basic form of your cat clay sculpture. Start with the larger shapes and work down to the smaller details. Here’s how to go about it:
Forming the Core:
- Start with Basic Shapes: Begin your sculpting process by rolling or pinching your clay to create the core structure of your cat. Focus particularly on shaping the torso and head, which are the foundation of your sculpture.
- Proportion Reference: As you work, continually refer to your design or reference images to maintain proper proportions. This step is crucial for achieving a realistic representation of a cat’s body shape and size.
- Consistent Technique: Use consistent rolling or pinching techniques to ensure smooth surfaces and a cohesive appearance throughout the torso and head.
Attaching Limbs:
- Creating the Legs: Once you have established the core structure, it’s time to add legs. Roll out small pieces of clay to shape the legs, ensuring they are proportionate to the body.
- Securing the Attachment: Attach the rolled pieces of clay by blending them smoothly into the torso. Use your fingers or a sculpting tool to gently blend the edges of the limbs into the body, ensuring they are securely attached and appear natural.
- Testing Stability: After attaching the legs, gently test the stability of your sculpture. Make adjustments as needed to ensure that the limbs can support the weight of the cat’s body.
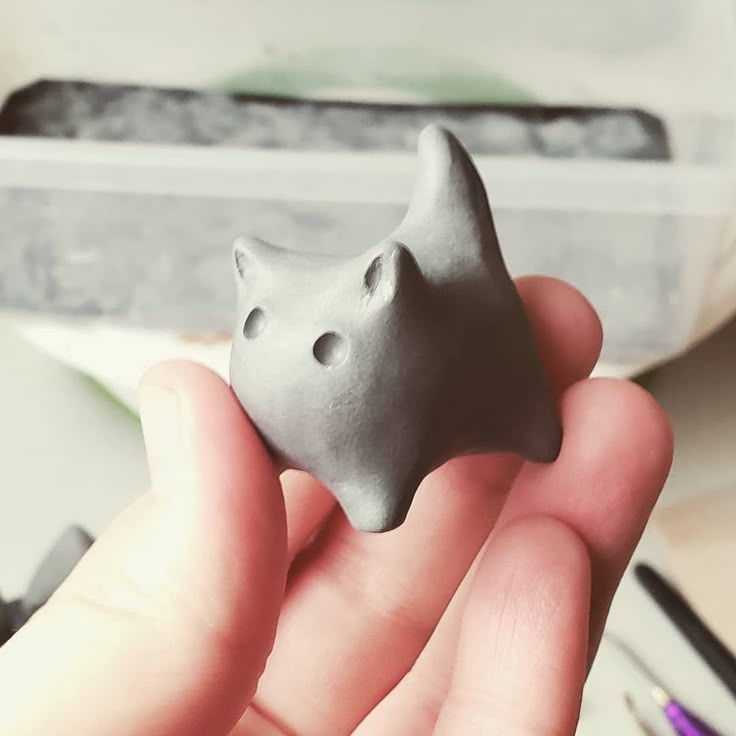
Shaping the Head:
- Crafting Facial Features: Shape the head separately from the body, focusing on defining the facial features. Pay special attention to the eyes and ears, which are essential for capturing a cat’s character and expression.
- Detailing Techniques: Utilize sculpting tools or your fingers to create texture for the eyes and ears, and to emphasize any unique features, such as whisker pads or a snout. This level of detail will enhance the realism of your sculpture.
- Attaching the Head: Once the head is shaped to your satisfaction, carefully attach it to the body. Make sure the connection is firm, applying gentle pressure to ensure it holds securely without cracking.
Adding the Tail:
- Shaping the Tail: Roll out a piece of clay for the tail, ensuring it is thin and elongated, mimicking a cat’s natural tail shape. The tail can add dynamic movement to your sculpture, so consider how you want it to appear—straight, curled, or relaxed.
- Positioning the Tail: Attach the tail at an appropriate spot on the body, considering the pose of your cat. The tail should look natural and in proportion to the overall sculpture, reflecting the cat’s body language.
- Final Adjustments: After attaching the tail, make any final adjustments to ensure it flows well with the rest of the body. Smooth any rough edges from the connection point to maintain the sculptural integrity.
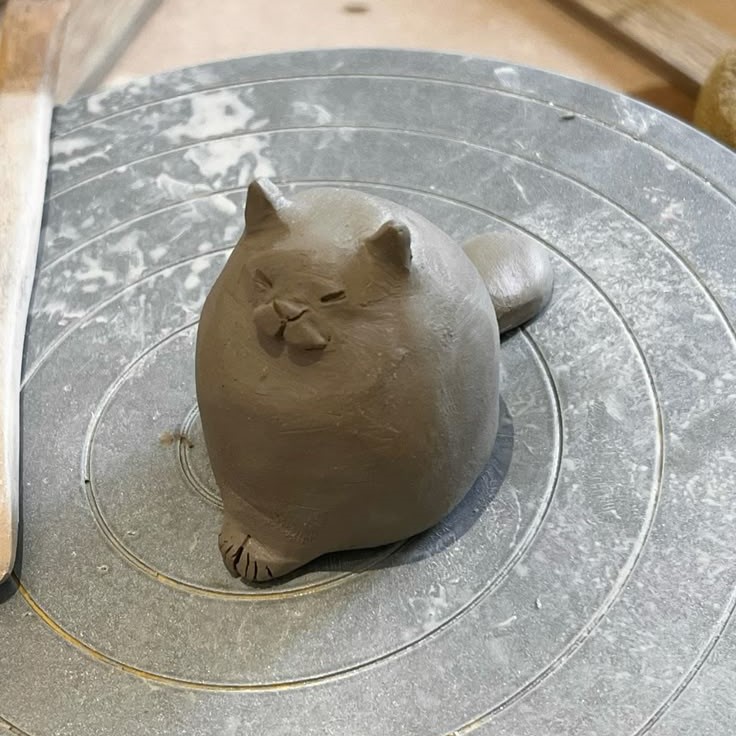
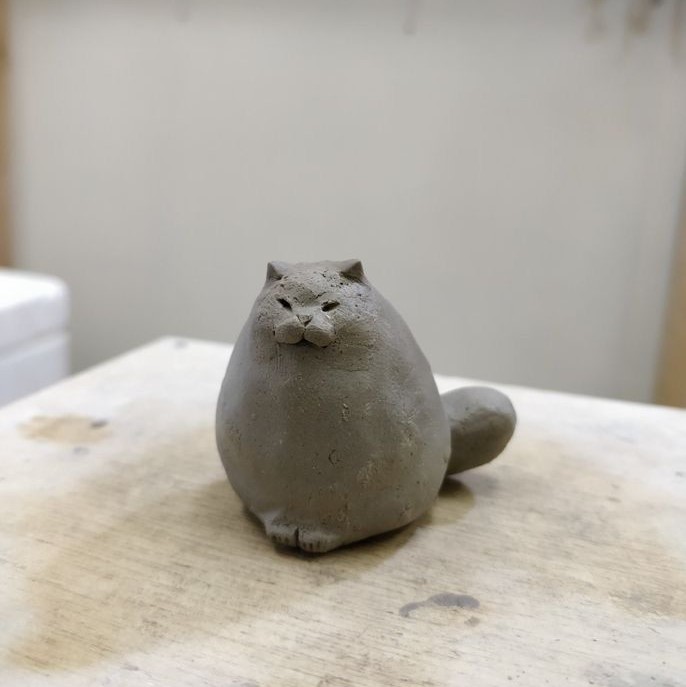
At this stage, check the overall shape from different angles. If your sculpture appears balanced and matches your design, you’re ready for the next phases of detail and texture. Take your time with each step to ensure your cat clay sculpture will look as lifelike as possible.
Adding Details to Your Cat Sculpture
With the basic form of your cat clay sculpture set, it’s time to add details. This step brings your sculpture to life, so focus on precision and gentle touches. Follow these detailed steps to refine your sculpture:
- Eyes and Nose: Start by shaping the eyes and nose with small balls or coils of clay. Position them carefully to capture the cat’s expression. Use needle tools to create details like pupils and nostrils.
- Ears and Whiskers: Carve out the inner ear details, and add thin, delicate strips of clay for whiskers. Attach them with care, ensuring they’re symmetrical and in proportion.
- Fur Texture: Use loop tools to carve in the fur. Make short, fine lines to mimic a cat’s coat. This could be time-consuming, but it’s critical for realism. Pay attention to the direction in which a cat’s fur naturally lays.
- Paws and Claws: Sculpt the paws, and don’t forget tiny claws at the end of each toe. Pinch the clay into small points, and blend them into the toes.
- Final Adjustments: Check the entire sculpture for any missed spots. Smooth out any rough areas with a sponge or rubber rib. Ensure each detail aligns with your initial design.
Adding details demands patience. Take breaks if needed, and keep referring to photos of cats for guidance. Work steadily until your cat clay sculpture has a lifelike presence.
Texturing Techniques for Realism
To achieve a realistic appearance for your cat clay sculpture, texturing is vital. Here’s how to enhance the realism of your creation:
- Studying Real Cat Fur: Examine how real cat fur looks and feels. Notice the patterns, length, and direction of fur on different parts of a cat’s body.
- Creating Fur Texture: Use a toothbrush or fork to press into the clay for a textured effect. For longer fur, try a comb or wire brush. Work in small sections to keep the texture consistent.
- Adding Layered Effects: Layer the textures to create depth. Start with broader strokes and add finer details on top. This mimics the way cat fur naturally overlays.
- Sculpting Facial Features: For facial features, less is often more. Use a fine tool to suggest fur without overdoing it. This preserves the cat’s expressive face.
- Refining the Tail: Tail fur often has a different texture. Use a different tool to vary the texture from the body fur, ensuring a lifelike tail.
Each texture enhances the cat clay sculpture’s realistic look. With practice, your technique will improve, making your sculptures more lifelike.
Drying and Baking Your Sculpture
The next step is to dry and bake your cat clay sculpture. Proper drying and baking are crucial for the durability of your artwork. Here’s how to handle this critical phase:
- Air Drying: Begin by allowing your sculpture to dry naturally. Find a dry, well-ventilated area and let it sit. This can take several hours to a few days, depending on the size and thickness of your sculpture. Avoid rushing this process, as uneven drying can cause cracks.
- Baking Temperature: Once your sculpture is bone-dry, it’s time to bake it. Check your clay’s packaging for the correct baking temperature. Typically, it ranges from 275°F (135°C) to 300°F (148°C). Each type of clay might require a different temperature.
- Kiln Baking: Place your sculpture in a kiln. Make sure it does not touch other objects inside. Slowly increase the temperature to prevent cracking. Your sculpture will need to bake for several hours. Time varies based on clay type and sculpture size.
- Cool Down: After baking, let the sculpture cool down inside the kiln. Sudden temperature changes can damage it. Once it’s cool, you can remove it safely.
- Checking for Doneness: Gently tap your sculpture. If you hear a hollow sound, it has baked thoroughly. If it sounds dense, it may need more time to bake.
Take your time with drying and baking. Doing it right ensures that your cat clay sculpture stays intact and ready for the final touches.
Painting and Finishing Touches
After carefully drying and baking your cat clay sculpture, it’s time for painting and final touches. This last step is where your sculpture truly comes to life. To give your cat sculpture personality and detail, follow these simple yet effective guidelines:
Choosing Paints:
- Type of Paint: Begin by selecting the right type of paint for your clay sculpture. Acrylic and oil paints are both suitable options, but acrylics are often preferred for their quick-drying properties and ease of use on clay.
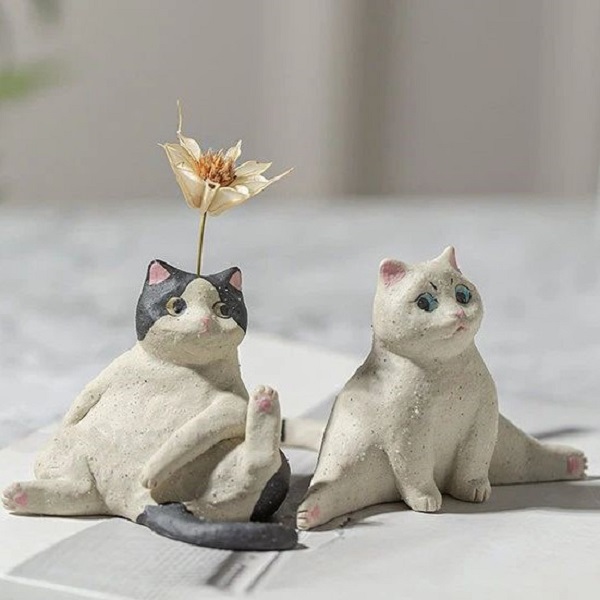
- Color Selection: Choose colors that closely match a cat’s natural fur tones, such as browns, grays, oranges, or blacks, if you’re aiming for a realistic look. If you want to bring a creative twist to your sculpture, consider using a whimsical palette filled with vibrant and imaginative colors that reflect your artistic style.
Applying Base Coats:
- Preparation for Painting: Before diving into the details, start with a solid base coat to provide a uniform background for your cat sculpture. This foundational layer helps the subsequent colors adhere better and enhances the overall vibrancy of the finished piece.
- Tool for Application: Use a larger brush for applying the base coat effectively. This allows you to cover more surface area quickly and smoothly.
- Drying Time: Be sure to allow the base coat to dry completely before moving on to the next stage. This drying process prevents any smudging or blending of colors when you add additional layers.
Painting Details:
- Fine Brushes for Detail Work: Once the base coat is dry, switch to smaller brushes for painting intricate details such as stripes, spots, or specific fur patterns on your cat sculpture.
- Patience is Key: Take your time during this step; adding fine details is crucial as they can bring your sculpture to life. The subtle nuances in color and pattern can significantly enhance its overall appearance and realism.
Adding Eyes and Whiskers:
- Focus on the Eyes: When painting the eyes, give special attention to capturing the depth and soul that are characteristic of a cat’s gaze. Choose colors that will make the eyes pop and convey emotion, adding a lively touch to your sculpture.
- Whisker Application: Use a fine brush to carefully paint the whiskers. Keep in mind that sometimes less is more; a few well-placed whiskers can be more impactful than overloading them with too many fine lines.
Applying Sealant:
- Protective Layer: Once all the paint is dry, apply a clear sealant to the entire sculpture. This step is essential as it protects your painted surface from scratches, moisture, and fading over time.
- Professional Finish: The sealant also adds a glossy or matte finish, depending on your preference, contributing to a more polished and professional look.
Final Touches:
- Final Inspection: Take a moment to review your sculpture once more. Look for any areas that may need additional paint, details that you want to enhance, or spots that require a touch-up.
- Ensuring Satisfaction: Make any last adjustments to ensure that your sculpture aligns with your initial vision. Once you’re satisfied with the result and all adjustments are made, your cat clay sculpture is now ready to be admired and proudly displayed in your home or given as a gift.
The process of crafting a cat clay sculpture, from start to finish, requires dedication and patience. But the result—a unique and personal artwork—is well worth the effort. Enjoy your sculpting journey!