Why Knowing How to Load Staples Matters
Have you ever struggled with figuring out how to put staples in a stapler? It might seem like a simple task, but many people encounter difficulties when refilling their staplers. Whether it’s due to unfamiliarity with the device or incorrect techniques, these challenges can disrupt workflow and reduce productivity. Understanding the process ensures that your stapler remains functional whenever you need it. Moreover, mastering this skill is essential for maintaining an organized workspace, especially in environments where document management plays a critical role. By learning the right steps, you’ll save time and frustration while keeping your tools ready for use.
The importance of properly loading staples goes beyond convenience—it also extends the lifespan of your stapler. Forgetting to align staples correctly or forcing them into the chamber can damage internal mechanisms, leading to costly repairs or replacements. This article will walk you through every step of the process, ensuring you never face issues again. So let’s dive in and explore how to make this routine task effortless!
Understanding Your Stapler’s Design
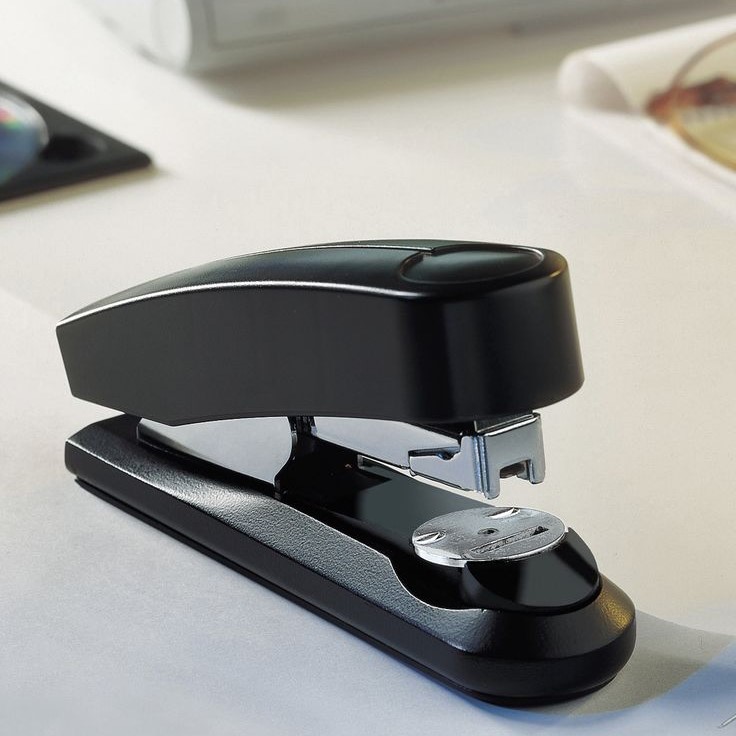
How to put staples in a stapler? Before we begin, it’s crucial to understand the anatomy of your stapler. Most staplers consist of three main parts: the base, the lever arm, and the staple-loading chamber. The base holds the papers in place, while the lever arm applies pressure to drive the staples through the stack. The staple-loading chamber, located at the rear of the stapler, is where you insert new staples. Familiarizing yourself with these components makes the refilling process smoother and more intuitive.
Additionally, staplers come in various designs, such as manual, electric, or heavy-duty models. Each type may have slight differences in its loading mechanism. However, the fundamental principles remain consistent across all variations. Pay attention to any specific instructions provided by the manufacturer, as they often highlight unique features or precautions. Once you grasp the basics, you’ll find that reloading staples becomes second nature, regardless of the stapler model you’re using.
For example, some staplers feature a hinge system that allows the lever arm to flip open easily. Others may require pressing a button or sliding a latch to unlock the backplate. These design nuances affect how you access the staple-loading chamber, so understanding your particular stapler’s mechanics is key to avoiding confusion later on.
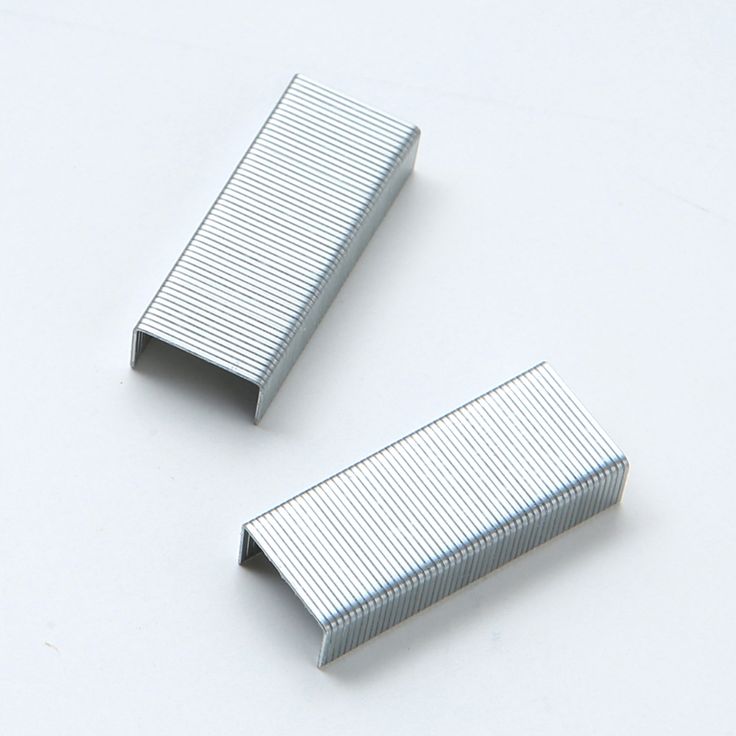
Step 1: Gather the Right Supplies
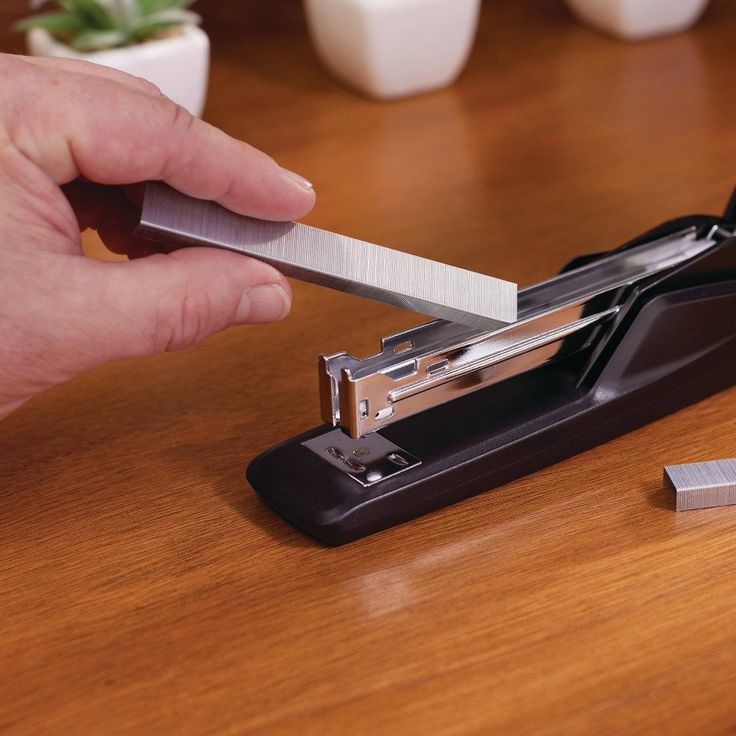
To start, ensure you have everything you need before opening your stapler. First, check if the staples match your stapler’s specifications. Not all staplers use the same size or style of staples, so consulting the user manual is always a good idea. Using incompatible staples can cause jams or even break your stapler. Additionally, confirm that the stapler is empty of old staples or debris. Clearing out remnants prevents blockages and ensures smooth operation once the new staples are loaded.
Another tip is to keep extra boxes of staples nearby. Running out mid-project can halt progress unnecessarily. Having spares on hand guarantees continuous functionality without interruptions. With your supplies prepared, you’re ready to move on to the next step. But remember, preparation is half the battle—taking the time to gather the correct materials upfront saves effort and frustration later.
Step 2: Open the Stapler Correctly
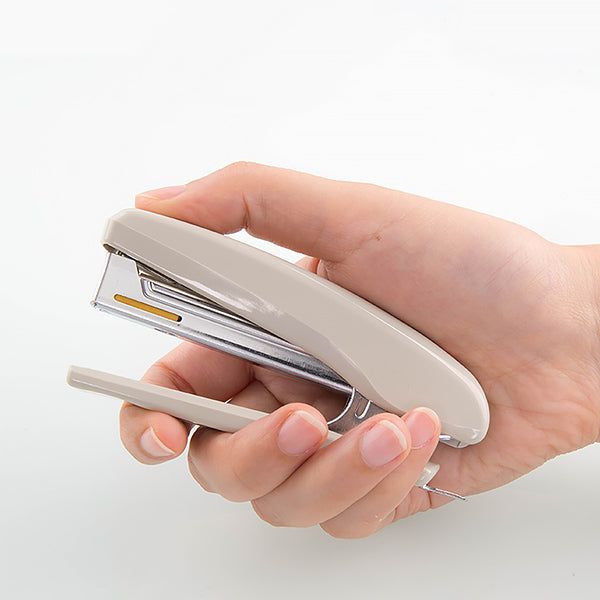
Opening your stapler requires care to avoid damaging its delicate mechanisms. Begin by flipping up the lever arm gently until it locks into position. Some staplers require pressing a small button or sliding a latch to release the hinge. Be cautious not to force anything, as excessive pressure could bend or dislodge internal parts. If your stapler has a removable backplate, take note of how it detaches so you can reassemble it later without issues.
Once the stapler is open, inspect the staple-loading chamber. Ensure no leftover staples or fragments obstruct the space. A clean chamber allows for easier insertion and reduces the risk of misalignment. At this point, your stapler is fully prepared to receive a fresh batch of staples. Transitioning to the next step involves careful placement of the staples inside the chamber.
However, don’t rush this part. Take a moment to examine the interior structure of the chamber. Notice how the guides are positioned to align the staples properly. This observation helps you anticipate potential problems and address them proactively. Patience during this stage pays dividends later when the staples slide smoothly into place.
Step 3: Insert the Staples Properly
Inserting staples might sound straightforward, but doing it incorrectly can lead to problems. Start by holding the staples horizontally, aligning them with the edges of the loading chamber. Push the stack firmly into the slot until it clicks into place. Avoid overloading the chamber, as too many staples can create resistance and hinder the stapler’s performance. Similarly, inserting staples backward or crookedly will prevent them from feeding properly.
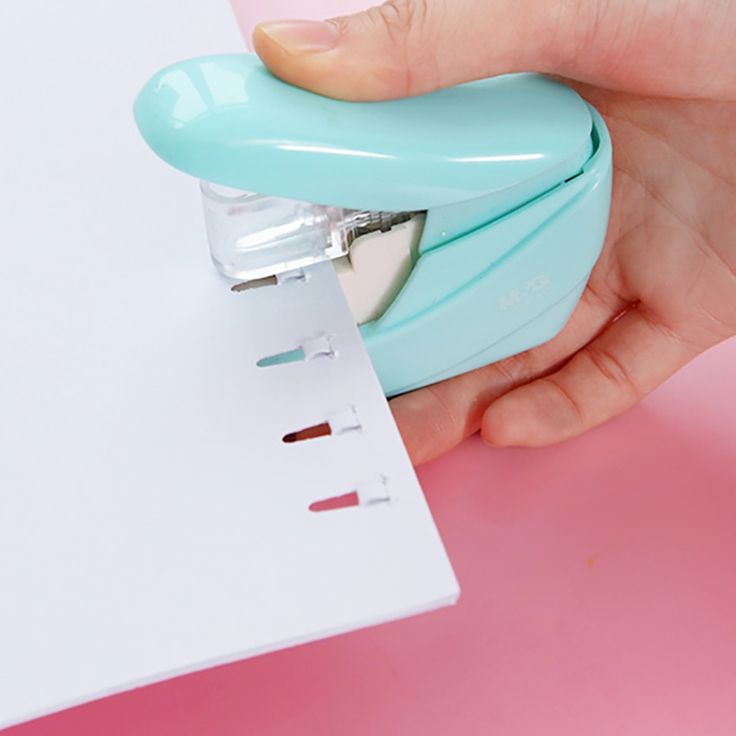
If you notice resistance while pushing the staples in, stop immediately and recheck their orientation. Forcing them further can damage both the staples and the stapler. Instead, remove the staples and try again, ensuring precise alignment. Patience during this step pays off in smoother stapling experiences down the line. Now that the staples are securely loaded, it’s time to close the stapler carefully.
It’s worth noting that different staplers may have varying capacities. Some smaller desk staplers hold fewer staples than larger industrial models. Knowing your stapler’s capacity helps you plan accordingly and avoid overstuffing, which can lead to jams or other complications. Always refer to the product specifications if you’re unsure about the maximum number of staples your stapler can accommodate.
Step 4: Close the Stapler Securely
Closing your stapler is just as important as opening it. Gently push the lever arm back down until it clicks into place. Listen for the locking sound, which indicates the stapler is secure and ready for use. If the arm doesn’t lock properly, double-check the staple alignment and ensure no obstructions exist in the chamber. Sometimes, slightly adjusting the staples resolves the issue.
For staplers with detachable backs, reattach the component exactly as it was removed. Ensuring a snug fit prevents leaks or malfunctions during use. Once closed, test the stapler by securing a few sheets of paper together. If the first staple comes out cleanly, congratulations—you’ve successfully completed the process!
At this stage, it’s helpful to perform a quick quality check. Test the stapler on multiple stacks of varying thicknesses to ensure consistent performance. This step verifies that the staples are feeding correctly and that there are no hidden issues lurking beneath the surface. A well-functioning stapler should operate effortlessly, providing reliable results every time.
Common Mistakes to Avoid
Even with clear instructions, users sometimes make errors when refilling their staplers. One frequent mistake is forcing staples into the wrong orientation, causing jams or misfires. Another error is neglecting to clear residual staples from the chamber, leading to clogs and inconsistent stapling. Lastly, failing to close the stapler properly can result in loose staples falling out or uneven stapling.
Avoiding these pitfalls starts with mindfulness and patience. Rushing through the process increases the likelihood of mistakes. Taking your time ensures each step is executed correctly, minimizing potential complications. Remember, practice makes perfect—each attempt brings you closer to mastering the art of loading staples effortlessly.
One additional mistake to watch out for is ignoring the compatibility of staples with your stapler. Many people assume that all staples are interchangeable, but this isn’t true. Different staplers require specific sizes and shapes to function correctly. Using mismatched staples can lead to frustrating jams or even permanent damage to the stapler. Always verify the correct staple type before attempting to load them.
Tips for Maintaining Your Stapler
Proper maintenance extends the life of your stapler and keeps it functioning optimally. Regularly clean the exterior and interior of the device to prevent dust buildup, which can interfere with stapling accuracy. Periodically inspect the staple-loading chamber for signs of wear or damage, replacing worn-out parts as needed. Keeping spare staples and replacement components on hand ensures quick fixes for minor issues.
Furthermore, store your stapler in a dry, safe location away from moisture or extreme temperatures. Exposure to harsh conditions can degrade materials and compromise performance. With regular upkeep, your stapler will remain reliable and efficient for years to come.
Maintenance also includes checking the alignment of the prong mechanism regularly. Over time, repeated use can cause slight misalignments that affect stapling precision. Addressing these issues early prevents them from escalating into bigger problems. Additionally, lubricating moving parts occasionally can improve overall performance and reduce friction.
Advanced Techniques for Heavy Usage
If you frequently use your stapler in high-volume settings, consider adopting advanced techniques to streamline the process. For instance, pre-sorting staples into smaller batches makes it easier to manage large quantities without overwhelming the loading chamber. You can also invest in bulk-loading devices designed specifically for heavy-duty staplers, reducing the frequency of refills and saving valuable time.
In addition, exploring alternative stapler models tailored to specific needs can enhance productivity. For example, long-reach staplers allow you to secure documents in hard-to-reach areas, while mini-staplers offer portability for on-the-go projects. Evaluating your requirements and selecting the appropriate tool simplifies tasks and improves efficiency.
Conclusion: Mastering the Art of Loading Staples
In conclusion, knowing how to put staples in a stapler is a valuable skill that enhances productivity and simplifies daily tasks. By following the steps outlined in this guide, you can confidently reload your stapler without encountering common issues. From understanding your stapler’s design to avoiding typical mistakes, each piece of advice contributes to smoother operation and extended tool longevity.
Remember, mastering this process takes practice, but with persistence, you’ll soon handle it with ease. Whether you’re managing documents in an office or organizing files at home, having a well-maintained stapler ensures success in all your projects. So go ahead, apply what you’ve learned, and enjoy hassle-free stapling every time!