Introduction to Coil Building
Coil building ceramics is an ancient pottery technique. It involves rolling out clay into long, snake-like ropes. Artists then stack these ‘coils’ to form pottery walls. It’s a method that allows for great creativity and flexibility. This technique is key in making unique, hand-built pottery pieces.
To start coil building, select the right type of clay. The clay should be soft yet firm enough to hold shape. Knead the clay well to remove air bubbles. Air bubbles can cause cracks during firing. Roll the clay into even coils. The width and length of the coils may vary based on the project.
Patience is essential in coil building ceramics. You must add coils slowly, giving attention to the bond between each layer. Use your fingers or tools to smooth and adhere each coil to the previous one. As you work, keep the clay moist. Dip your fingers in water or use a damp sponge. This ensures that the clay doesn’t dry out and crack.
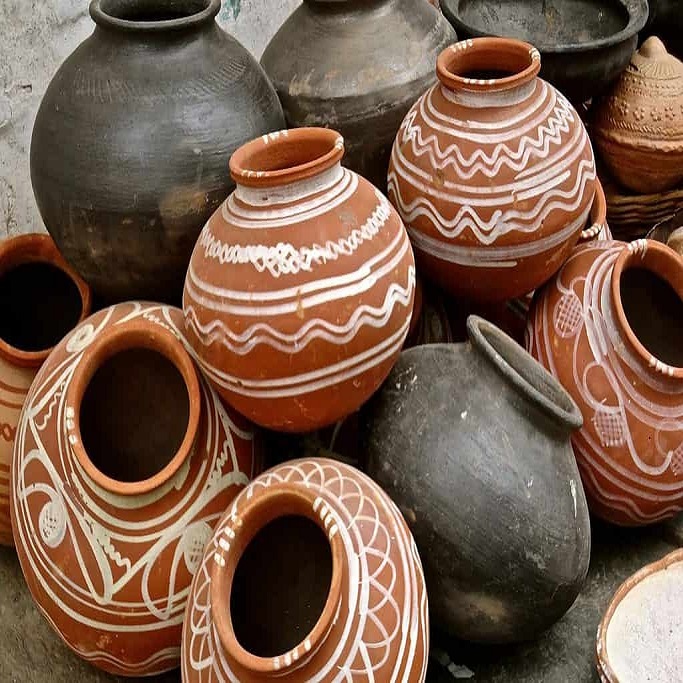
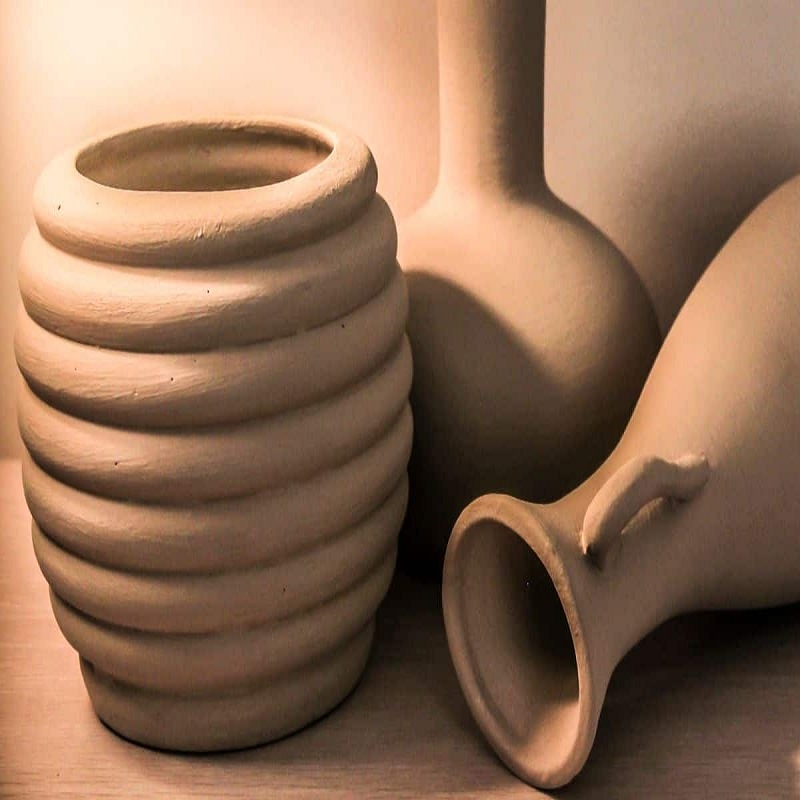
Coil building offers endless possibilities in forms and textures. You can create pots, vases, sculptures, and more. Use variations in coil thickness, spacing, and smoothing techniques. These can lead to different aesthetics and strengths in your creations.
It’s important to learn basic coil building techniques first. Once comfortable, you can explore advanced methods. This will help broaden your range of artistic expression in coil building ceramics. At the end of this master class, you’ll have a deeper understanding of coil building. You’ll be able to create both functional and decorative ceramic pieces.
Essential Tools for Coil Building
To excel in coil building ceramics, you need the right tools. These tools not only make the process easier but also enhance your ability to shape and detail your work. Here are some essential tools for coil building:
Work Surface
Start with a flat, sturdy work surface. A canvas-covered tabletop works well. It won’t stick to the clay and helps in removing excess moisture.
Rolling Tools
Use a rolling pin or a similar tool to roll out consistent coils. The coils should have uniform thickness to ensure even drying and firing.
Cutting Tools
A wire cutter or sharp knife is necessary to cut the clay into appropriate lengths.
Smoothing Instruments
Fingers are the primary tool for smoothing and connecting coils. However, rubber ribs and wooden modeling tools can help refine the surface.
Texture Tools
For those who wish to add texture, various texturing tools can be used. These could include stamps, combs, or found objects that leave an interesting imprint.
Support Materials
Sometimes, temporary supports like newspaper or cloth may be needed to hold the shape during construction.
Water
Keep a small bowl of water on hand. A damp sponge is also good for keeping the clay moist and workable.
Each tool plays an important role in coil building ceramics. They can impact the efficiency of your process, the quality of your coils, and the final appearance of your ceramic pieces. Having the right tools at hand will ensure that you have a solid foundation to create beautiful, enduring works of art.
Preparing the Clay for Coil Construction
Proper preparation of clay is crucial for successful coil building ceramics. Before you begin constructing with coils, follow these steps to prepare your clay:
Selecting the Right Clay Type
Choose a clay suited for hand-building. It should be pliable yet sturdy when formed.
Wedging
Knead your clay thoroughly. This process is called wedging. It helps remove air pockets and ensures even consistency.
Creating Coils
Roll the clay into uniform strands. Maintain consistent thickness for stability in your constructions.
Keeping the Clay Moist
Ensure your clay stays moist but not too wet. Use a spray bottle or a damp cloth to lightly mist the clay as needed.
By carefully preparing the clay, your foundation for coil building is strengthened. You’ll minimize the risk of cracks and improve the overall quality of your ceramics project.
Basic Coil Building Techniques
Mastering the basic techniques in coil building ceramics is essential for creating sturdy and attractive pottery. Here’s how to start:
Rolling the Coils Properly
First, roll your prepared clay into long, even coils. Make sure the coils are of uniform thickness. This helps in building a strong structure. Thick coils create chunky forms, while thin ones allow for finer details.
Building the Walls
Lay your initial coil on the work surface to form a base. Coil the clay upwards, layer by layer. Overlap each new coil slightly over the previous one. This creates strong vertical walls.
Scoring and Slipping
Before adding a new coil, score both the new coil and the surface it will attach to. After scoring, apply slip (a liquid mixture of clay and water). This acts like glue, holding the coils together.
Blending the Coils
Once the coils are placed, blend the joints between them. Use your fingers or a smoothing tool to merge the coils. Blending prevents weak spots and ensures a uniform wall.
Creating Shape and Form
As you build up the coils, shape the walls. You can push and pull the clay to form curves and contours. This is where your artistic expression comes in.
These basic coil building ceramics techniques form the basis of more complex pottery work. With patience and practice, you can transform simple coils into sophisticated ceramic art. Keep your work moist, and don’t rush the process. Quality takes time to achieve.
Advanced Coil Construction Methods
Once you master the basics of coil building ceramics, you can explore advanced techniques. These methods allow for more intricate designs and can enhance both the aesthetic and functional qualities of your work. Here are some advanced construction methods worth practicing:
Layering and Texturing
Go beyond simple coils by layering different textures. Use tools to imprint patterns or create swirls and reliefs. This adds depth and interest to your ceramic pieces.
Coil Compression
To increase the strength of your pottery, compress the coils as you build. This removes air gaps and fuses the clay more effectively. It also results in smoother and more refined walls.
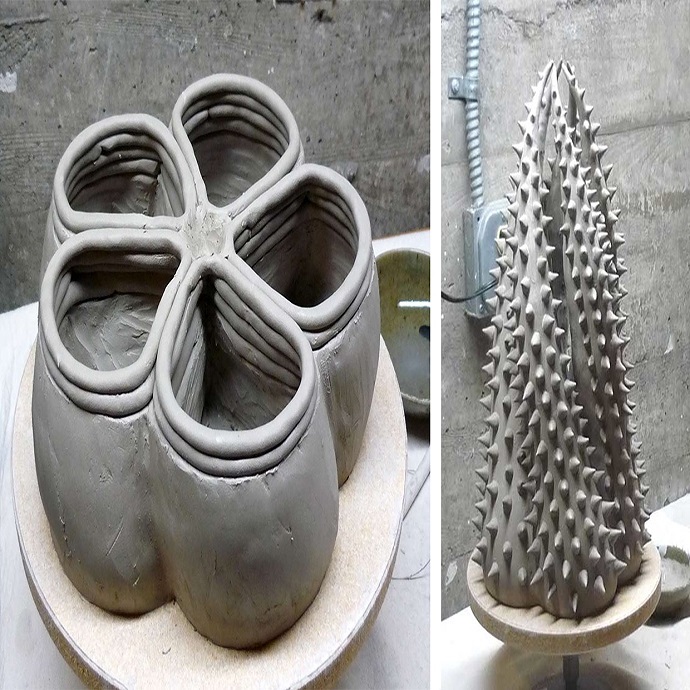
Complex Shapes
Experiment with varied coil placement to create non-traditional shapes. Think outside the straight walls and smooth curves; introduce angles and undulations for a dynamic effect.
Adding Appendages
You can add handles, spouts, or decorative elements using coils. Score the attachment area and use slip to secure the appendages firmly to the main body.
Combination with Other Techniques
Integrate coil building with other pottery techniques. Try slab construction or pinching to complement and enhance your coil-built forms.
These advanced methods require patience and practice, but the results are rewarding. With these techniques, you can push the boundaries of coil building ceramics. You can create not just pots and vases, but also sculptures and large-scale ceramic artworks. Keep experimenting and refining your skills, and your unique artistic voice will shine through in your creations.
Design Considerations for Coil Built Ceramics
When creating coil built ceramics, design is key. There are several important considerations to keep in mind as you plan your piece.
Choosing a Design Theme
Select a theme that resonates with your artistic vision. It could be inspired by nature, geometric shapes, or cultural motifs. Your theme will guide the form and the decoration of your work.
Form and Function
Decide whether your piece will be functional, like a vase, or purely decorative. This will affect the size, shape, and stability required.
Balance and Proportion
Ensure your piece is well-balanced. Both visually and physically. Proportions contribute to the aesthetic appeal and structural integrity of your ceramics.
Surface Decoration
Plan for any surface decoration early on. Will you carve, stamp, or paint? Consider how these elements will integrate with the overall design.
Integrating Color
Think about the inclusion of color in your design. From the clay body to glazes and underglazes. Colors can enhance or highlight certain features of your ceramics.
Design considerations are crucial in coil building ceramics. They influence your approach from the very start and leave a lasting impact on the finished piece.
Drying and Firing Coil Built Pottery
After shaping and designing coil built ceramics, drying and firing are crucial steps. Correctly drying and firing ensure that your pottery is strong and durable. Below are some tips to help you through the process.
Drying Your Coil Built Pottery
Gradual drying is key. Start by covering your piece loosely with plastic. This slows down the drying and prevents cracking. Every few days, peel the plastic back a bit more. Allow air to reach the piece slowly. The coils must dry evenly to avoid stress on the pottery.
Once leather-hard, you can remove the plastic completely. Set the piece in a cool, dry place. Turn it regularly for even drying. Be patient. Rushing can damage your work. For thicker pieces, drying may take several weeks.
Firing Your Coil Built Creations
When bone-dry, your pottery is ready for firing. The first firing is called bisque firing. It turns clay into porous ceramics. Make sure the kiln is loaded evenly and the pieces do not touch. It’s best to fire slowly, particularly during the early stages. This alleviates thermal shock and promotes even temperatures.
After bisque firing, the pottery is ready for glazing. Ensure it’s clean before applying glaze. Any dust or grease can affect the glaze finish. After glazing, the pottery goes through a final firing. This is usually at a higher temperature than the bisque firing. It melts the glaze and vitrifies the pottery, making it strong and impermeable.
Remember, every kiln is different. Monitor the temperature and firing schedule based on your kiln type. For precise results, use cones or a kiln-sitter. These tools measure heat work. They help you to achieve the desired pottery hardness and durability.
Drying and firing are crafts in themselves in coil building ceramics. Mastering them gives life to your pottery. It’s worth spending the time to learn these stages well. They stand between a fragile piece and a lasting art form.
Glazing Techniques for Coil Built Pieces
Glazing can transform the look of your coil built ceramics. The final glazing process adds color, texture, and strength to your pottery. With careful application and the right techniques, glazed ceramics shine with a professional finish. Here are some key glazing techniques:
Selecting the Right Glaze
Choose a glaze that complements your ceramic’s design. Consider color, transparency, and the effect of different finishes like glossy or matte.
Application Techniques
Apply glaze evenly to prevent drips or uneven coats. Brushes, sponges, or dipping methods all work well. Be sure to cover all surfaces.
Layering Glazes
For more depth, layer multiple glazes. Test on a small piece first to see how they interact during firing.
Glaze Thickness
Aim for the right thickness. Too thin and the glaze won’t show well. Too thick and it might run off or craze.
Wiping Away Excess
Clean any excess glaze from the bottom of your piece. This prevents it from sticking to the kiln shelf during firing.
Firing Temperatures
Match the glaze firing temperature to the glaze type. The temperature should suit the clay body as well.
Safety Precautions
Always wear protective gear when handling glazes. Follow safety guidelines to avoid inhaling any particles.
These techniques require practice, but perfecting them ensures your coil built ceramics are as beautiful as they are strong. Take the time to master glazing, and your coil building pieces will stand out with their vibrant and enduring finishes.