Introduction to Ceramics Pottery
Ceramics pottery is a blend of art and science. It transforms clay into beautiful, functional items. Here, we’ll dive into its fascinating world. You’ll learn its history, materials, and key techniques. Starting with clay selection, we’ll explore shaping, decorating, and finally firing. Each step is vital for unique, strong pottery pieces. Ceramics pottery is both a hobby and a profession for many. It requires patience and practice to master. Whether for home decor or practical uses, pottery adds a personal touch. Through this blog, we aim to guide beginners and refresh experts. We’ll share essential tips and tricks for your pottery journey. So prepare your tools, get your hands dirty, and let’s begin shaping your ceramics skills.
Essential Tools and Materials
Before diving into ceramics pottery, gathering the right tools and materials is crucial. You’ll need more than just clay to start creating. So, let’s break down the essentials.
Clay: The core of all ceramics pottery projects, clay comes in various types. Each type offers different textures and firing qualities. Choose based on what you want to make.
Pottery wheel: For those interested in wheel throwing, a reliable pottery wheel is key. It shapes your creations evenly and quickly.
Sculpting tools: From wire end tools to ribbon tools, these are necessary for sculpting and adding details.
Rolling tools: A rolling pin or slab roller helps flatten clay. This is especially useful for hand-building techniques.
Kiln: A kiln is a high-temperature oven for firing your pottery. It transforms soft clay items into hard, durable pieces.
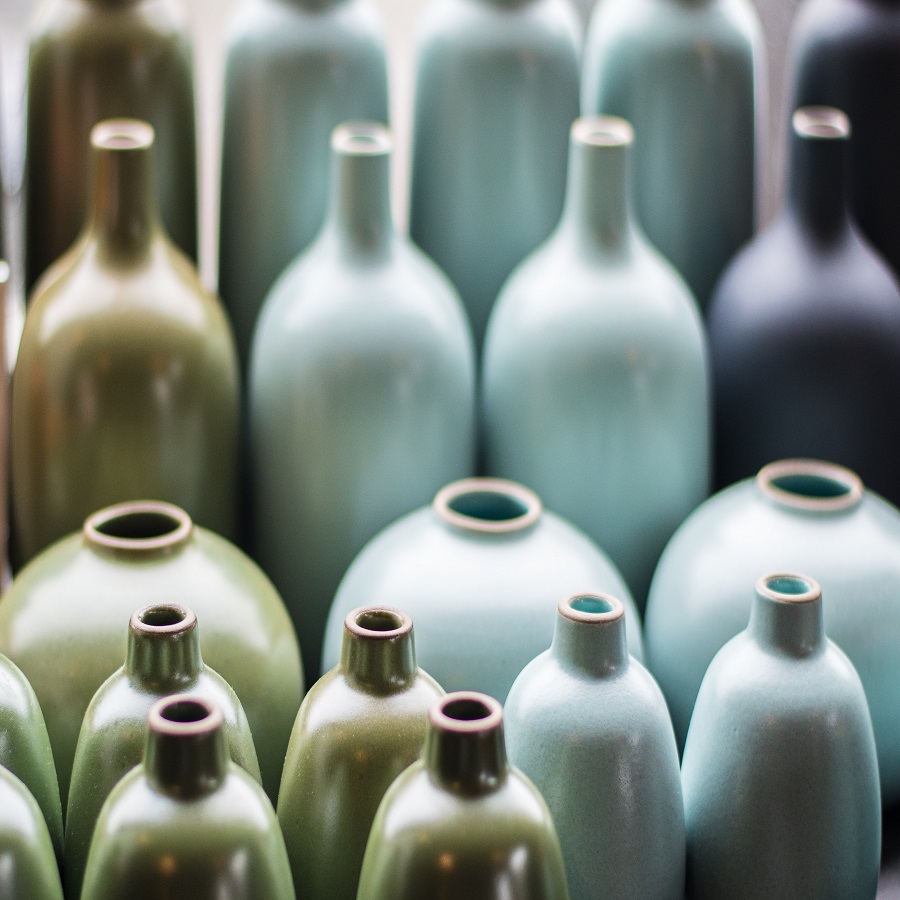
Glazes: To add color and texture, glazes are applied. They also make your pottery waterproof after firing.
Brushes and sponges: These are for applying glazes and slipping, and for smoothing surfaces.
Cutting wire: Essential for slicing through blocks of clay or removing finished pieces from the wheel.
Collecting these tools and materials can be an investment. But they are fundamental to practicing and advancing in ceramics pottery. Remember, the quality of your tools can significantly affect the outcome of your projects.

Fundamental Pottery Techniques
To craft stunning ceramic pieces, mastering the fundamental pottery techniques is crucial. These foundational methods lay the groundwork for more complex and creative designs.
Hand-Building Techniques
Hand-building is one of the most accessible ways to shape your ceramics pottery. This ancient technique doesn’t require a pottery wheel, making it ideal for beginners. There are three primary hand-building methods:
Pinching: Start with a ball of clay. Use your fingers to create a pot shape. This method is perfect for making small bowls and vessels.
Coil building: Roll clay into long, snake-like coils. Stack and join them to form the walls of a pot. Coils can be smoothed out or left for a textured effect.
Slab construction: Roll out flat pieces of clay. Cut them to size and join them together to build geometric shapes. It’s great for creating angular pieces like boxes or platters.
Hand-building allows for versatility and experimentation. It encourages the use of texture and form in unique ways, making your ceramics pottery truly one-of-a-kind.
Wheel Throwing Basics
Wheel throwing is a mesmerizing and skillful technique that requires patience and practice. Here are the basic steps to wheel throwing:
Centering: Place a lump of clay on the wheel. Use steady pressure to make it spin centrally. This stage sets the stage for your entire creation.
Opening: Press your thumbs into the center of the clay to form a hole. Then, widen the hole to create the pot’s cavity.
Pulling: Lift and shape the clay walls. This requires synchronized hand movements. With each pull, the pot grows taller and thinner.
Shaping: Once the basic shape is formed, refine the pot’s silhouette. Tools can help make precise adjustments.
Wheel throwing can create smooth, symmetrical pieces. It’s ideal for producing mugs, bowls, and vases. With repetition, your control and confidence will grow, leading to more sophisticated work.
Whether hand-building or wheel throwing, these fundamental techniques are the foundation upon which all ceramics pottery skills are built. They will guide you through the journey from novice to adept potter.

Decorating Your Pottery
Once you’ve mastered the basic techniques of ceramics pottery, decorating your pieces turns them from simple clay forms into vibrant, expressive works of art. The decoration sets the mood, adds character, and personalizes every piece you create. In this section, we’ll delve into the two prominent methods of decorating ceramics: glazing and texturing, including carving.
Glazing Methods
Glazing is a critical step in finishing your pottery, providing both aesthetic appeal and functionality. Here’s a simplified breakdown:
Choosing a Glaze: Pick your colors and textures. Think about the final look you want.
Application Techniques: Brush on, dip, or pour the glaze over your bisque-fired ceramics. Each method gives different results.
Layering: For depth, apply multiple glaze coats. Let each layer dry before adding another.
Firing: Place your glazed piece in the kiln. Heat it so the glaze fuses to the pottery.
The glazing not only adds beauty but also seals the pottery, making it food-safe and waterproof. Experimenting with different glazes and techniques unleashes endless creative possibilities.
Texturing and Carving
Beyond glazing, texturing and carving pottery can create tactile and visual experiences. Let’s explore some simple ways:
Impressing: Press objects into the clay for a pattern. Use stamps, leaves, or lace.
Scratching: Carve lines or shapes into the clay before it dries. This is known as ‘sgraffito.’
Adding Clay: Apply small clay pieces to the surface for a raised effect. Think dots, stripes, or other shapes.
Combing: Drag a comb-like tool across the clay for a grooved texture.
Every touch you make can tell a story or evoke emotion. Your hands are not just creating pottery, they’re bringing art to life. Whether your style is simple or detailed, texture and carving add dimension and intrigue to your ceramic pottery creations.

Firing Ceramics: Kiln Types and Processes
Transforming soft clay into durable ceramics requires firing. This process uses kilns to achieve high temperatures. The type of kiln and firing method can affect the final outcome.
Bisque Firing
Bisque firing, or biscuit firing, is the first heat treatment for pottery. It turns the clay into a hard, porous state ready for glazing. Here’s how it works:
- Dry the pottery to remove moisture.
- Heat the kiln slowly to prevent cracking.
- Fire around 1832°F (1000°C) for earthenware.
- Cool down the kiln gradually.
This step is essential for a strong ceramic base. It prepares pottery for glazing and additional firing.
Glaze Firing
After bisque firing and applying glaze, pottery undergoes glaze firing. This is the final step that strengthens the pottery and sets the glaze.
- Load the glazed pieces carefully into the kiln.
- Ramp up the kiln temperature beyond bisque firing.
- Hold at peak temperature to melt the glaze.
- Cool the kiln to avoid thermal shock.
Earthenware, stoneware, and porcelain all require different temperatures. Controlling the kiln atmosphere can also vary the glaze effects.
Advanced Pottery Techniques
After mastering the basics, it’s time to explore advanced ceramics pottery techniques. These methods can elevate your pottery and add distinctive features to your work.
Raku Firing
Raku firing is an exciting and dynamic method for firing pottery. Here’s a brief guide:
- Prepare a Raku kiln: it’s smaller and heats up quickly.
- Heat pieces to a high temperature, usually around 1832°F (1000°C).
- Remove pottery while hot, using tongs, and place it into combustible materials like sawdust.
- Cover the pottery: This creates a reduction atmosphere, affecting the glazes.
- Cool rapidly to develop unique crackled and metallic effects.
Raku firing is known for its unpredictability and stunning results. It often produces pieces with intense colors and patterns.
Porcelain Throwing
Porcelain throwing is a practice that requires precision. Fine and smooth, porcelain clay is challenging to work with. To throw porcelain, keep these points in mind:
- Wedge clay thoroughly: Any air pockets can ruin thin porcelain walls.
- Keep hands very wet: Porcelain needs more water than other clays.
- Throw with gentle hands: Porcelain is delicate and can collapse easily.
- Practice patience: Takes time to master the smoothness and firmness needed.
Porcelain pieces come out with a refined and sophisticated look that can be unmatched.
Both Raku firing and porcelain throwing will stretch your skills in ceramics pottery. They require a blend of careful attention and a willingness to let go of control to enable the material and fire to play a part in the final creation.
Troubleshooting Common Pottery Issues
Ceramics pottery can be tricky and sometimes things go wrong. Knowing how to fix common issues is part of becoming a skilled potter. Here are some typical problems and solutions.
Cracking: Often caused by uneven drying or sudden temperature changes. Prevent this by drying slowly and evenly. If cracks appear, use a slip to fill them before firing.
Warping: This happens when parts of your piece dry faster than others. Keep it wrapped in plastic and turn it regularly. For wheel-thrown pieces, make sure they are the same thickness throughout.
Glaze Problems: Running, bubbling, or not melting can occur. Apply glaze evenly, don’t overfire, and make sure your kiln has a consistent temperature.
Sticking to Kiln Shelf: Pottery can stick if the glaze is too thick or drips. Use kiln wash on shelves to help prevent sticking. You can also place your piece on stilts.
S Crazing: Tiny cracks in the glaze happen when it and the clay body cool at different rates. Match glaze and clay expansion properties better to solve this.
Poor Color Results: Glaze colors can be unpredictable. Test glaze on a small piece first and document your results to ensure consistency.
Every potter encounters issues, but don’t get discouraged. Use them as learning experiences to improve your craftsmanship in ceramics pottery.
Finding Inspiration and Developing Your Own Style
As you delve deeper into the world of ceramics pottery, finding inspiration is key to developing a style that’s uniquely yours. Here’s how to get inspired and infuse your personal touch into your pottery creations:
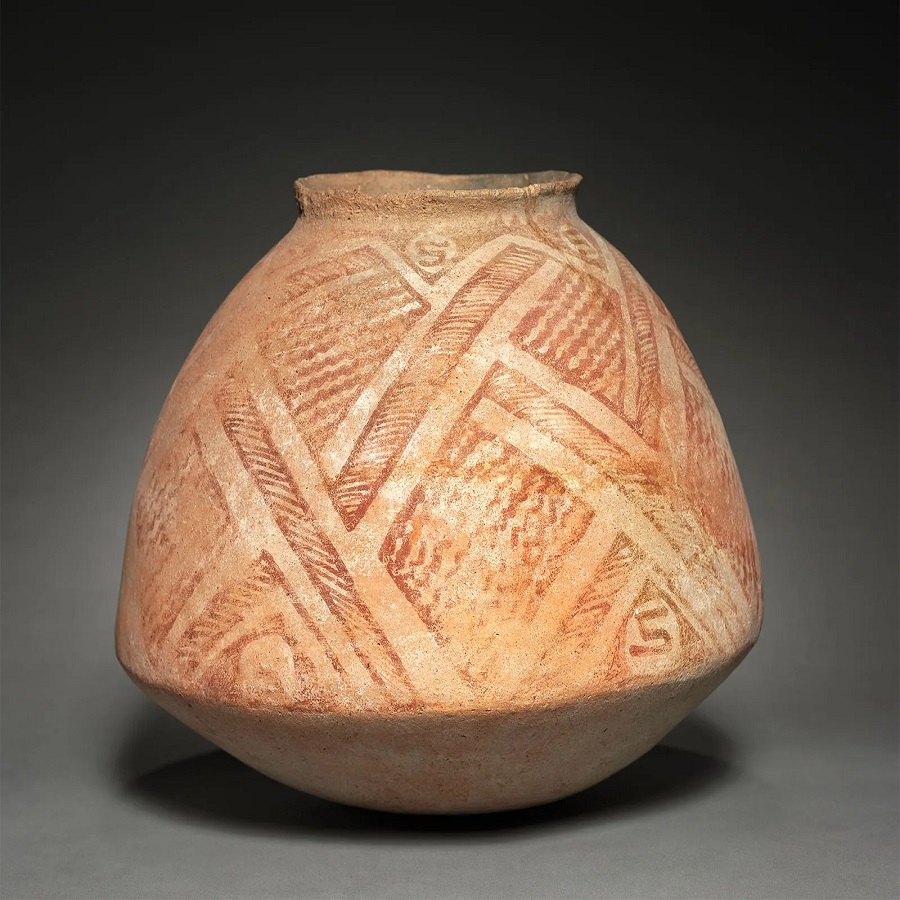
Explore Historical Pottery: Learn from past eras. Museums and history books showcase ancient ceramics. Notice their shapes, patterns, and glazes.
Nature as a Muse: Nature offers endless designs. Look at leaves, stones, or seashells for textures and forms. Bring these elements into your clay work.
Daily Life and Surroundings: Inspiration is all around. Your kitchen utensils or garden can spark ideas. Observe the ordinary for extraordinary pottery designs.
Art and Media: Visit galleries or browse online. Other art forms can influence your pottery. Think of movies, music, and literature as sources too.
Cultural Exploration: Different cultures have distinct pottery styles. Research global pottery methods. Try Turkish pottery designs or Japanese raku techniques.
Experimentation: Play with clay. Mix techniques or invent new ones. Let your hands lead the way without fear of mistakes.
Connect with Potters: Join pottery classes or groups. Exchange tips and learn from experiences. Collaborations often breed innovation.
Keep a Sketchbook: Jot down or sketch any idea that comes to you. This can become a personal catalog of inspiration.
Personal Interests: Think about your hobbies or passions. Love the ocean? Incorporate seashell motifs or turquoise glazes in your work.
Travel: New places bring new insights. The architecture, landscapes, or local crafts from trips can reflect in your pottery.
Your unique voice is your greatest asset in ceramics pottery. By gathering inspiration from a myriad of sources, you’ll enrich your craft. Over time, this inspiration will shape a style that speaks to who you are as an artist. Remember, each piece you create is a reflection of your journey. Embrace it.