Introduction to Oil Pastels
Oil pastels are colorful, versatile, and fun to use, making them a favorite for artists of all skill levels. They are soft and crayon-like, with a unique consistency that allows for vibrant, rich art creations. Distinguished for their blendable nature, oil pastels can transform a simple drawing into a dynamic piece of art. Designed not only for the experienced artist but also for beginners, oil pastels offer an accessible avenue into the world of art.
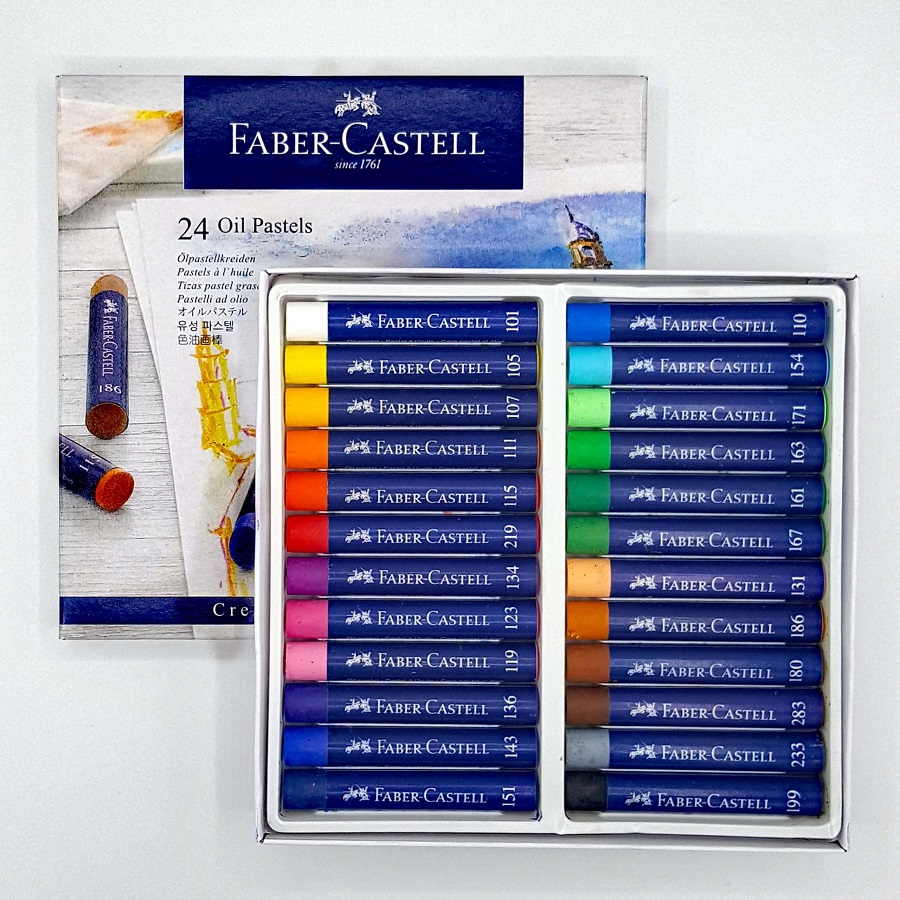
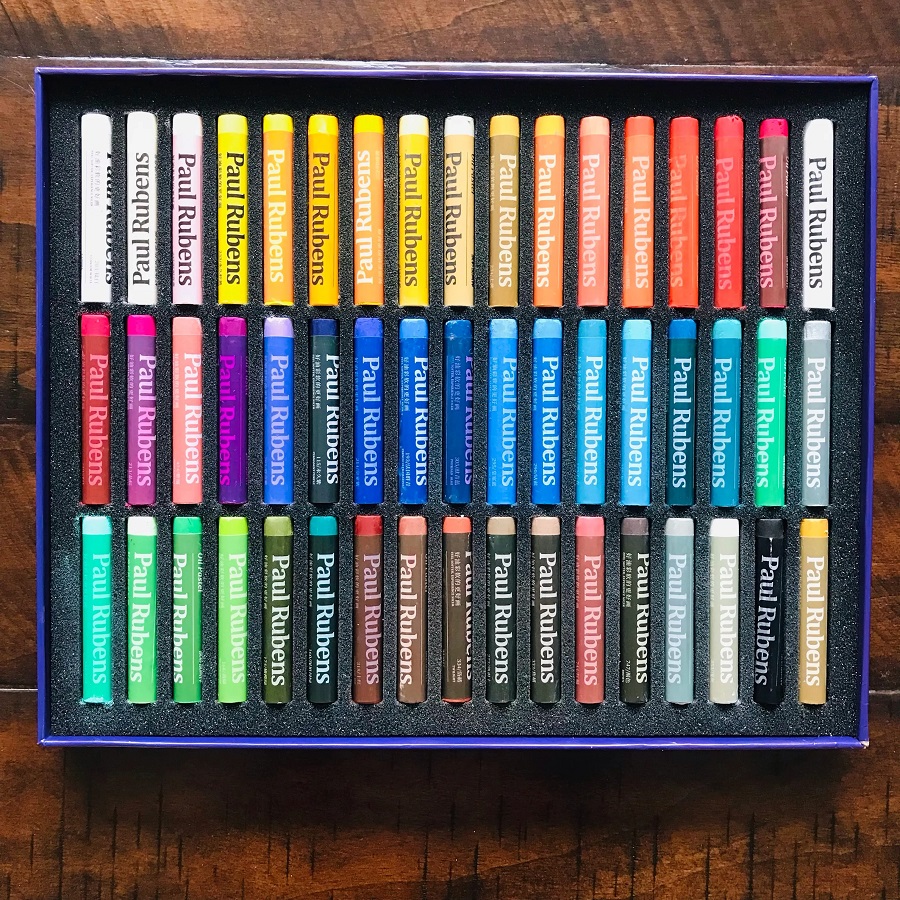
For those starting out, oil pastels come in sets large and small, from a basic 12-color pack to a diverse 36-color selection. The creamy texture of the pastels ensures smooth application and excellent coverage. This smoothness is perfect for beginners who are learning the ropes of color blending and layering.
One key advantage of oil pastels is their opacity. This feature allows for bold and expressive art pieces, with colors that stand out and capture the viewer’s attention. Another benefit is their adaptability. Whether you’re drawing on paper, canvas, or even glass, oil pastels adhere well to various surfaces. This flexibility lets you experiment and discover your preferred medium.
Moreover, oil pastels are easy to blend. You can use your fingers, a blending stump, or even blending mediums like mineral oil to merge colors seamlessly. Beginners will find that starting with simple techniques and progressing to more complex methods can lead to a rewarding journey in art.
To sum it up, oil pastels provide a gateway to creativity with their ease of use, expansive color options, and ability to work well on different surfaces. As an entry point into art-making, they invite beginners to explore, experiment, and express their creative voice without intimidation.

Understanding Oil Pastel Composition
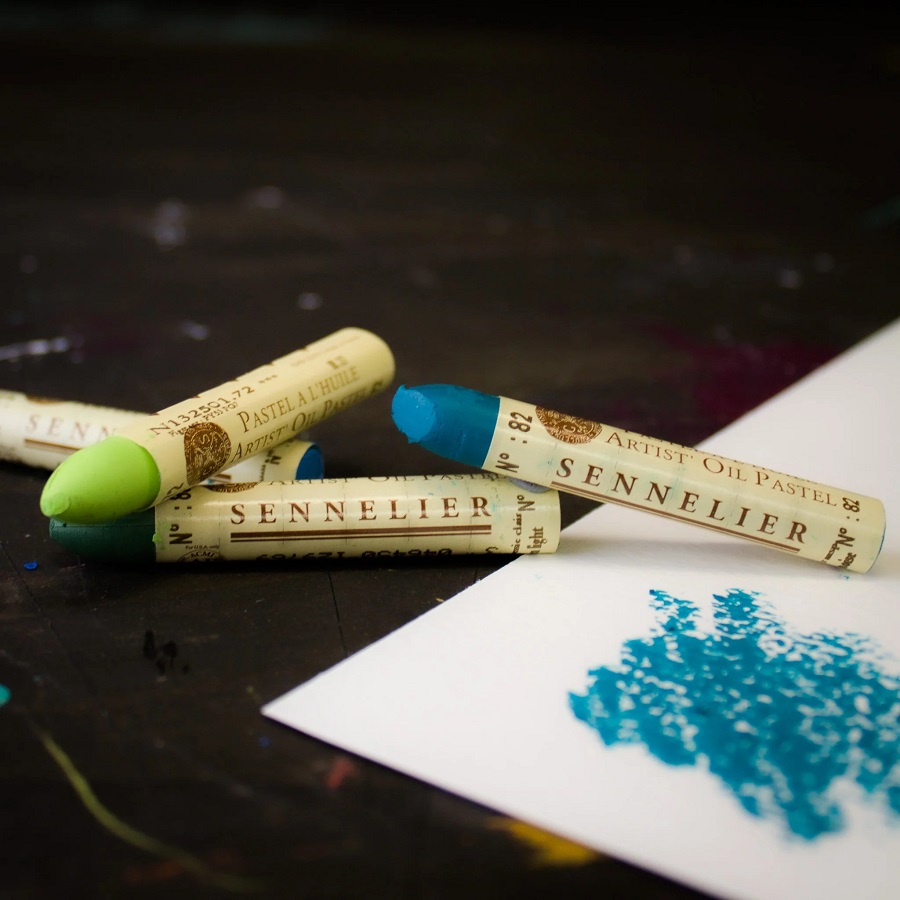
Oil pastels consist of pigments, non-drying oil, and wax binder. These ingredients create a soft, blendable consistency. The pigments provide the color, rich and vibrant, while the binder gives the pastel its shape and form. This mixture results in a crayon-like tool that’s easy to work with.
Each pastel has qualities that make it unique. They’re distinct from other art mediums in their creamy texture and opacity. Unlike watercolors or oil paints, oil pastels do not require brushes or palettes for mixing. This simplicity is ideal for beginners.
The non-drying oil in oil pastels makes them stay malleable. They never fully harden, which allows artists to blend colors on the artwork itself. You can apply oil pastels thickly or thinly, scrape them away to reveal lower layers, or mix them with other mediums.
Using oil pastels can be a versatile experience, due to their ability to adapt to different surfaces and blending techniques. They’re softer than regular crayons, meaning they can cover large areas with less effort. A light touch is often enough to transfer the pastel’s color onto your desired surface.
The wax binder in the composition acts as a stabilizer. It helps oil pastels to maintain their form and resist melting in high temperatures. However, it’s the non-drying oil that keeps them pliable and ready for blending. This combination of materials in oil pastels provides a forgiving and flexible medium for artists to express their creativity.
Selecting the Right Surfaces for Oil Pastels
When diving into the world of oil pastels, the right surface can make a significant difference. It influences how the pastels behave and affects the final look of your artwork. As a beginner, you might wonder, how do you use oil pastels effectively on different materials? Here are some surfaces that are ideal for oil pastels:
Paper
Colored or pastel paper is highly recommended for beginners. Its slightly textured surface holds the pastel well and adds depth to your work. Card stock is a sturdier option, perfect for pieces that require more pressure. Pastel paper specifically designed for pastel art is also a good choice as its rough texture grabs onto the pastel pigment.
Canvas
Canvas provides a classic, textured feel. While it’s commonly associated with paint, oil pastels also thrive here. The results can be stunning, offering a painterly effect.
Other Surfaces
Oil pastels are not limited to paper and canvas. You can experiment with glass, wood, and even plastic – though these may require a layer of primer for better adherence. Polystyrene and other unconventional materials can also act as interesting bases for your artwork.
When starting your oil pastel journey, remember to consider these aspects – texture, absorption, and rigidity. A smooth surface will allow the pastel to glide and blend easily, while a rough texture can create interesting effects and make your colors pop. Absorbent materials will hold on to the pastel better, but may not be as good for layering. Rigid surfaces will support heavier applications and layering without warping.
Selecting the right surface is all about personal preference and the vision you have for your artwork. So, don’t be afraid to try different materials and see how do you use oil pastels to create something truly unique.
Basic Techniques for Beginners
As you begin your artistic journey with oil pastels, mastering a few basic techniques is key. Here’s a starter guide to help you embark on your creative endeavors:
Making Your First Marks
Start by familiarizing yourself with the feel of the oil pastels in your hand. Make light scribbles on a piece of pastel paper to understand the pressure required. Experiment with different strokes – short dashes, long sweeps, and gentle curlicues.
Layering Colors
Layering is a fundamental technique in oil pastel art. Apply a light color first, and gently add a darker shade over it. This creates depth and variation in your work. Remember, with oil pastels, a little goes a long way.
Basic Blending
Blending is where oil pastels shine. Use your finger, a paper towel, or a blending stump to softly merge colors. Start with two hues and slowly mix them together to see the gradient effect.
Creating Textures
Try different textures by crosshatching or stippling with your oil pastels. Crosshatch by laying down intersecting sets of parallel lines. Stipple by dotting the pastel on the surface to build up texture.
Scraping Back
Another creative technique is scraping back layers of pastel to reveal colors underneath. Use a scraping tool, like the end of a paperclip or a palette knife, to gently scratch away the top layer, creating interesting patterns.
These techniques are just a starting point. As you explore ‘how do you use oil pastels,’ you’ll develop your unique style. Have fun and don’t be afraid to make mistakes; it’s all part of the learning process. Keep practicing and soon, you’ll be creating beautiful oil pastel art with confidence.

Blending and Mixing with Oil Pastels
Once you’ve got a feel for making marks with oil pastels, blending and mixing colors is the next step. This process is what truly brings your artwork to life, allowing you to create a range of tones and shades that add depth and realism to your pieces. Here are some tips on how to master the art of blending and mixing with oil pastels:
Start with Two Colors
Begin with two oil pastels – a light and a dark shade. Apply the lighter color first as a base, and then add the darker tone on top. Using the side of the pastel can help cover larger areas more quickly.
Use Your Fingers to Blend
Your fingers are excellent tools for blending oil pastels. Gently rub the interface where the two colors meet to merge them together. Your body warmth helps soften the pastel, making it easier to blend.
Experiment with Layering
Layering is a crucial technique in oil pastel art. Place one color over another and blend to discover new shades. With each layer, your piece gains complexity.
Create Gradients
Gradients are smooth transitions between colors. To achieve this, start with the lightest color and gradually add darker layers, blending as you go. This can mimic natural lighting and give a three-dimensional feel.
Introduce a Blending Medium
For a smoother blend, consider using a blending medium like mineral oil. Apply a small amount to a cotton swab and use it to soften and merge the pastel on the paper.
Fix Layers as You Work
To keep layers from muddying, use a fixative spray. This will seal the pastel in place before you apply the next layer. Always remember to work in a well-ventilated area when using sprays.
Blending and mixing are essential skills when working with oil pastels. They can turn simple drawings into dynamic and vibrant artworks. As you practice these techniques, you’ll find ‘how do you use oil pastels’ becomes an intuitive and enjoyable process. Keep experimenting with different colors and techniques to see what works best for you and your style of art.

Simple Projects to Get Started
As a beginner, starting simple is key to gaining confidence with oil pastels. Below are a few project ideas that are easy to tackle and will help you get comfortable with this engaging medium.
Start with Still Life
Begin with an apple or banana. These shapes are simple and familiar. Focus on shading and learn how light affects color.
Create a Colorful Sunset
Layer colors to form a sunset sky. This teaches color blending. Start with warm colors like red and orange, then add purple and blue.
Experiment with Landscapes
Try drawing a simple landscape. Include a tree, hill, or river. Work on different textures, like the roughness of bark or the smoothness of water.
Fashion a Fantasy Scene
Unleash your creativity with a fantasy scene. Think about fairies or dragons. Play with vibrant colors to bring your imagination to life.
Abstract Art Exploration
Explore shapes and colors through abstract art. Don’t focus on details. Enjoy the process of mixing and spreading colors freely.
Each of these projects allows you to practice essential skills like blending, layering, and texture creation. Keep your drawings small and manageable. As you grow more adept at using oil pastels, your projects can become more complex. Remember: practice makes perfect, so don’t worry about mistakes. Learn and have fun!
Advanced Techniques for Experienced Artists
After mastering the basics of oil pastels, experienced artists can explore advanced techniques to further enhance their work. Here are some sophisticated methods to try:
Layering with a Purpose
Advanced artists layer colors with intent to create intricate details. Experiment with multiple layers to achieve depth and texture.
Sgraffito Technique
Apply a dark color over a lighter one, then scratch away the top layer. This reveals the underlying color, adding complexity to your artwork.
Impasto Technique
Build up thick layers of pastel to create an impasto effect. Use bold strokes for a rich, textured appearance that stands out.
Stenciling
Enhance your art by using stencils for patterns or shapes. Stencils can provide a crisp outline to work within or a repetitive design.
Wet Blending
Mix oil pastels with turpentine to create a paint-like consistency. Apply with brushes for a fluid, blended look.
Combining Mediums
Incorporate other mediums, like pencil or acrylics, to add unique elements. This can bring a new dimension to your oil pastel art.
By trying these advanced oil pastel techniques, artists can push their creative boundaries. Such methods encourage experimentation and open up new possibilities in art expression.
Caring for Your Oil Pastel Artwork
To maintain your oil pastel creations, proper care is essential. Here are helpful tips to keep your artwork in top condition:
Handle with Care
Always hold your artwork by the edges to avoid smudging the pastels. If you need to touch the art, use clean, dry hands.
Protect Your Piece
Keep finished oil pastel artwork away from direct sunlight. Sun exposure can fade the vibrant colors over time. To safeguard your piece, you can frame it under glass. This also keeps dust and dirt off the surface.
Use Fixative Spray
After finishing your artwork, spray it with a fixative. This seals the pastels and prevents smudging. Spray in a well-ventilated area and follow the product instructions for the best results.
Store Artwork Properly
If you’re not displaying your art, store it flat in a cool, dry place. Use acid-free paper to cover the pastel surface. This stops color transfer and keeps the pastels fresh.
Keep a Clean Workspace
Your work area should stay tidy to prevent dust from settling on your artwork. Make sure to clean your hands and tools as you work with oil pastels.
Avoid Moisture
Moisture can damage oil pastel artwork. Don’t hang pieces in humid areas like bathrooms. If your art gets wet, dry it promptly and gently.
By following these care tips, you can help preserve the beauty and longevity of your oil pastel artwork. These measures will allow you to enjoy your creations for many years to come.