The Basics of Ceramics Glaze
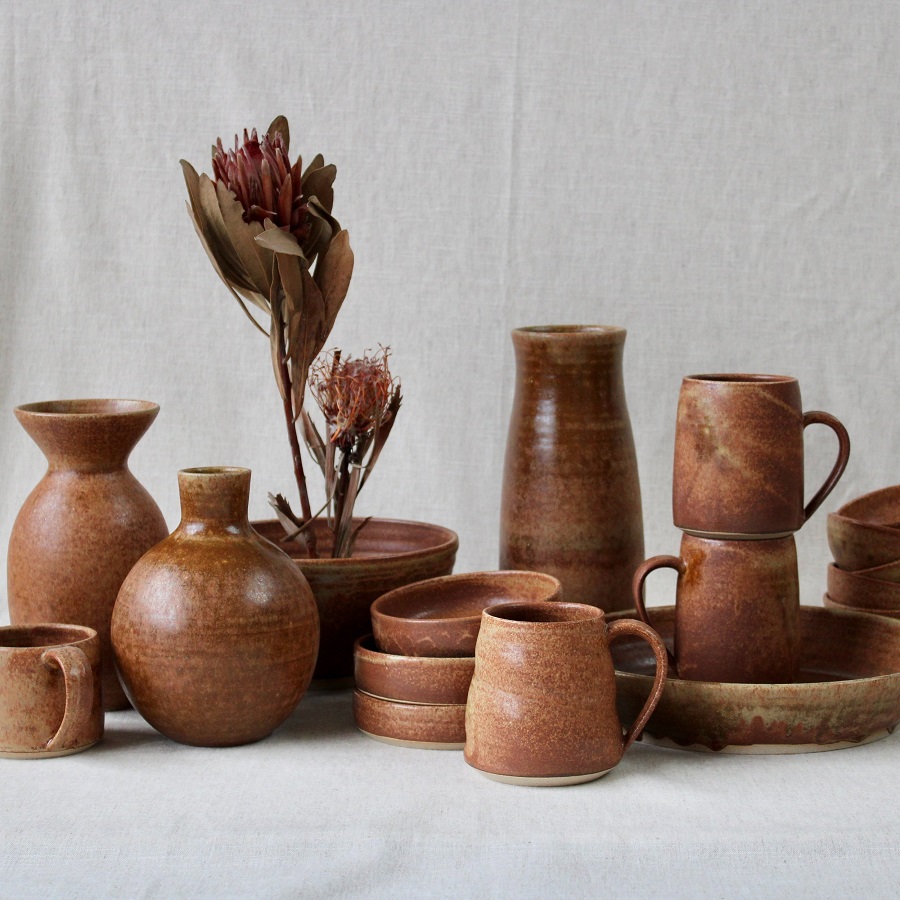
The journey into ceramics glaze begins with understanding its foundation. Glazes give pottery color, texture, and strength. They can turn simple clay objects into vibrant artworks.
Types of Ceramic Glazes
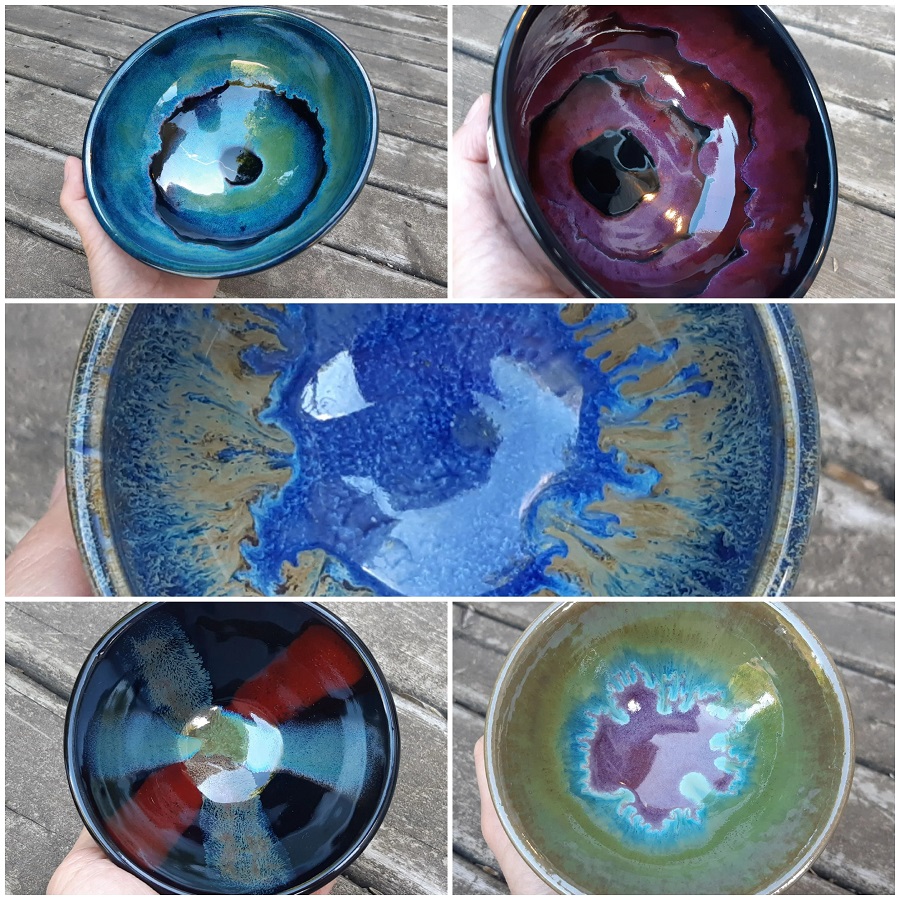
Several types of glazes create different finishes on ceramic pieces. They typically fall into categories based on their firing temperatures and components. Earthenware glazes fire at low temperatures. They give a glossy or matte finish. Stoneware and porcelain glazes need higher temperatures and create a glass-like coat.
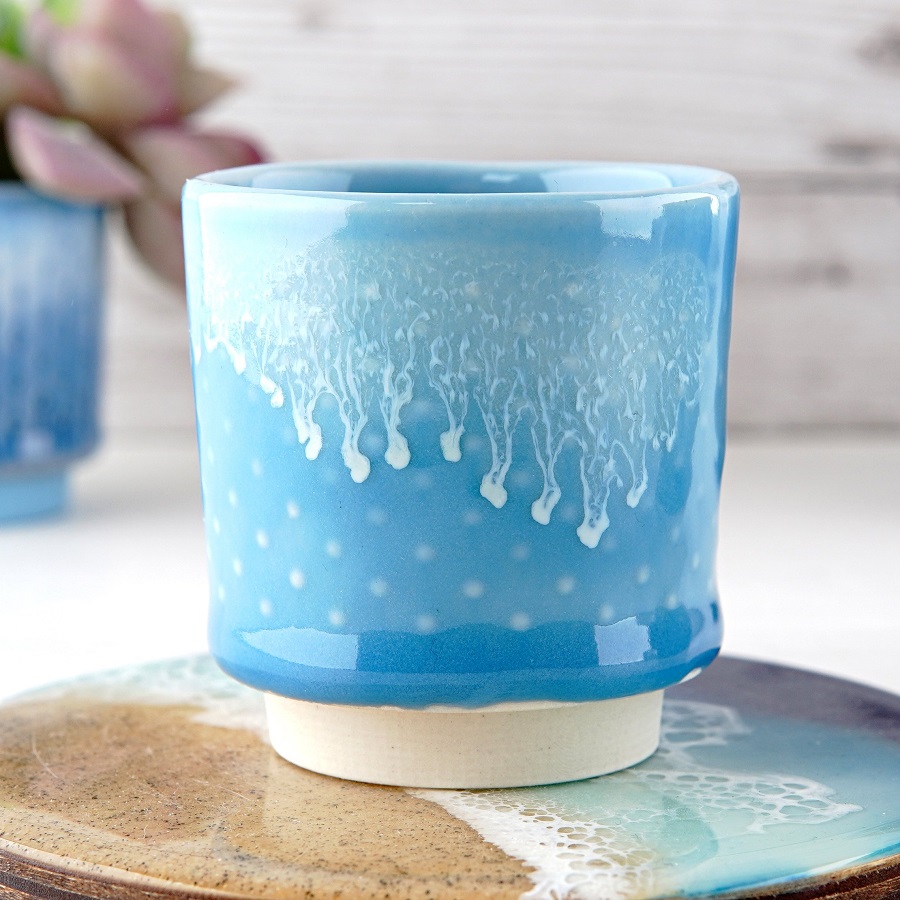
Some common types include matte, glossy, satin, and opaque glazes. These can differ in transparency and surface smoothness. Knowing each type helps in choosing the right glaze for your project.
Applying Glaze to Ceramics
Applying ceramics glaze requires patience and practice. Start with a clean, bisque-fired piece. Use brushes, sponges, or sprayers to coat the object evenly. Dipping is also popular. It involves submerging the piece in glaze for a quick, uniform layer.
The application method can affect the final look. Brushes can leave marks while dipping gives a smoother finish. It’s crucial to apply the correct thickness. Too thin, and the glaze may not be effective. Too thick, and it might run or crack during firing. Experience guides in finding the perfect balance.
Preparing Your Ceramics for Glazing
Before applying ceramics glaze, the right preparation sets the stage for success. This phase is vital for a smooth glazing process and a flawless final product. Proper preparation includes bisque firing and cleaning.
Bisque Firing Explained
Bisque firing is the process of hardening your ceramic piece before glazing. This preliminary firing removes all moisture and organic material from the clay. It also makes the piece porous enough to accept the glaze. The bisque firing temperature is lower than the glaze firing one. This ensures the pottery doesn’t vitrify, allowing the ceramics glaze to adhere better during the second firing.
Cleaning and Surface Preparation
After bisque firing, you need to clean the piece. Any dust or residue can prevent the glaze from sticking properly. Wipe the ceramic with a damp sponge to remove dust. Pay extra attention to the crevices where dust can hide. Ensure the surface is completely dry before you begin glazing. An even and clean surface will help the glaze coat evenly and prevent imperfections.
Glaze Application Techniques
The art of applying ceramics glaze can be both exciting and challenging. Mastering the different application methods is essential for achieving the desired outcome on your ceramic piece. This section outlines the main techniques used by ceramists and provides some tips for using each method effectively.
Dipping and Pouring Methods
Dipping and pouring are common and efficient methods for applying ceramics glaze. Here’s how to utilize them properly:
- Dipping: Quickly immerse your bisque-fired piece into a container of glaze. The piece should be dipped evenly and swiftly to avoid drips.
- Pouring: Gently pour the glaze over the ceramic piece, turning it to cover all sides. This method gives you control over the glaze’s distribution.
To ensure an even coat, tap off the excess glaze. Both techniques work best for covering large areas quickly. They require less equipment and can be ideal for beginners.
Brushing and Spraying Techniques
If you seek more precision or a textured finish, consider brushing or spraying techniques.
- Brushing: Use a soft brush to apply the ceramics glaze in thin layers. This method is ideal for adding details or working with smaller pieces.
- Spraying: With a spray gun or airbrush, evenly spray the glaze onto the piece. Higher skill and safety measures are needed when spraying, as it can create fine mist that should not be inhaled.
Brushing allows for artistic expressions, such as creating patterns. Spraying can achieve a consistent, smooth finish but may require a ventilated area due to the fine mist produced.
While dipping and pouring are perfect for uniformity and simplicity, brushing and spraying offer more control over the aesthetics of the final product. Understanding and practicing these application techniques are vital steps towards mastering ceramics glaze.
Firing Ceramics With Glaze
Once you’ve applied the ceramics glaze, firing is the next critical step. This is where the glaze transforms and fuses to the ceramic surface, creating the final look and feel.
Understanding Kiln Temperatures and Atmospheres
Kiln temperatures play a vital role in the firing process. Each type of glaze requires a specific temperature range to mature properly. For example, low-fire glazes meld at about 1828°F (998°C), while high-fire glazes need temperatures up to 2381°F (1305°C). Controlling the kiln atmosphere – whether it’s oxidation or reduction – also affects the glaze outcome. Oxidation kilns have ample oxygen which brightens colors. Reduction kilns limit oxygen, creating rich, earthy tones.
The Firing Process Step by Step
The firing process involves several key steps to ensure success:
- Loading the Kiln: Place your glazed pieces carefully inside the kiln. Make sure they do not touch each other.
- Setting the Temperature: Program the kiln to reach the right temperature for the ceramics glaze you’re using.
- Ramping Up: Increase the kiln temperature gradually to avoid thermal shock.
- Holding Time: Once the target temperature is reached, hold it steady for a period. It helps the glaze to mature.
- Cooling Down: Allow the kiln to cool slowly. Rapid cooling can cause cracks.
- Unloading: Open the kiln only when it’s completely cool to get your finished pieces.
Ensuring precise control of temperature and atmosphere, coupled with a patient, methodical approach, will greatly improve the chances of achieving the perfect glaze on your ceramics.
Troubleshooting Common Glaze Problems
Working with ceramics glaze can sometimes lead to unexpected challenges. Pinholing, crawling, glaze fit, and shivering are common issues that ceramists may encounter. Learning how to identify and fix these problems is key to producing quality glazed ceramics. Here are solutions to some of these common glaze problems.
Pinholing and Crawling
Pinholing is when small holes appear in the fired glaze surface. It often happens if there’s gas trapped within the glaze or clay. To avoid pinholing:
- Ensure your piece is bisque fired correctly to remove organic material.
- Avoid applying glaze too thickly.
- Make sure the glaze is fully dry before firing.
Crawling is when the glaze retracts, leaving bare clay patches. This can be due to the glaze being too thick or dusty surfaces. Prevent crawling by:
- Cleaning your bisque ware thoroughly before glazing.
- Applying even glaze layers.
- Avoiding overly moist or oily conditions when applying glaze.
Glaze Fit and Shivering
Glaze fit refers to how well the glaze conforms to the clay body during firing. A poor fit can cause the glaze to crack or craze. To achieve a good glaze fit:
- Match the glaze’s thermal expansion with your clay body.
- Conduct tests to find the right combination.
Shivering is when the glaze peels or chips off the edges of the ware. It indicates a tension between the glaze and clay body. To combat shivering:
- Adjust the clay or glaze formula for better compatibility.
- Try using a softer glaze that contracts less upon cooling.
Master these troubleshooting tips to enhance the quality of your glazed ceramics and tackle common glaze problems effectively.
Glaze Chemistry and Mixing
Understanding the chemistry behind ceramics glaze is essential for crafting the perfect finish. The chemistry determines the color, texture, and durability of the glaze.
The Role of Different Materials in Glazes
Different materials in glazes serve unique functions:
- Silica: Provides glassy characteristics and durability.
- Alumina: Increases viscosity and prevents running.
- Fluxes: Lower the melting point for easier firing.
- Colorants: Metals like iron or cobalt add color.
- Opacifiers: Materials like tin oxide make glazes opaque.
A well-formulated glaze balances these elements for the desired outcome. Quality glazes ensure strong surfaces and vivid colors.
How to Mix Your Own Glazes
Mixing your own ceramics glaze allows for customization. For successful mixing:
- Measure accurately: Use digital scales for precise ingredients.
- Sift materials: This helps prevent clumps and ensures a smooth glaze.
- Test small batches: This prevents wasting materials on a large scale if adjustments are needed.
- Note the recipes: Keep track of your trials for future reference.
- Follow safety guidelines: Wear masks and gloves when handling raw materials.
Do-it-yourself glaze mixing is rewarding and can result in unique ceramic pieces. With the right safety measures and some experimentation, you can create custom glazes that stand out.
Safety Tips for Working with Glazes
Working with ceramics glaze safely is important for you and your workspace. Here are key safety tips to follow.
Handling and Storage of Glaze Materials
When handling ceramics glaze materials, always prioritize safety:
- Wear gloves: Protect your hands from chemicals.
- Use a dust mask: Prevent inhalation of fine particles.
- Keep materials labeled: Avoid mixing up glaze ingredients.
- Store safely: Keep chemicals in a dry, cool place, away from children and pets.
Good handling and storage practices keep you safe and your materials in top condition.
Ventilation and Protective Equipment
Proper ventilation is a must in spaces where you mix and apply glazes:
- Use an exhaust fan: It helps to remove airborne particles.
- Work in a well-ventilated area: Ensure fresh air circulation.
- Wear safety goggles: Protect your eyes from splashes.
- Consider a respirator: For additional protection when spraying glazes.
Using the right protective gear makes working with ceramics glaze safer and more enjoyable. With these tips in mind, you can focus on the creative aspect of your work while keeping hazards at bay.
Advanced Glazing Techniques
When you’ve mastered the basics, advanced ceramics glaze techniques can add depth and character to your work. These methods let you play with colors and textures in innovative ways.
Layering and Combining Glazes
Layering glazes opens up a world of possibilities. Start with a base glaze and then apply one or more layers of different glazes on top. Here’s how:
- Apply each layer after the previous one dries.
- Use contrasting colors for a dramatic effect.
- Blend glazes while they’re wet for subtle transitions.
- Test your layered combinations on small pieces first.
Combining glazes involves mixing two or more glazes before application. Keep these tips in mind:
- Use glazes with similar firing temperatures.
- Mix small test batches to find winning combos.
- Write down the ratios for consistent results.
Experimenting with Raku and Salt Glazing
Raku firing is a fast, low-temperature process. It creates metallic and crackle effects. Remember to:
- Use special Raku glazes.
- Heat quickly and remove the piece while hot.
- Place in combustible materials to finish.
Salt glazing involves throwing salt into the kiln at high temperatures. It vaporizes and creates a unique, textured glaze.
- Use stoneware clay for best results.
- Be aware of the corrosive fumes produced.
- Ventilate the kiln area well.
These advanced techniques demand practice and safety precautions. But they can transform your ceramics with stunning and unique finishes.