Introduction to Slip in Ceramics
Slip in ceramics is more than just liquefied clay. It’s central to decoration and construction in ceramic art. The slip definition ceramics enthusiasts use points to a creamy mixture. It consists of clay particles suspended in water. Understanding slip is key to mastery in pottery and sculpting.
Slip serves multiple roles. It can act as a glue to bond pieces of clay together. Artists also use it to create surface textures and intricate designs. Its liquid state provides a unique medium for experimentation. When colored oxides or stains mix into the slip, it can transform the aesthetic of a piece.
The Basics of Makin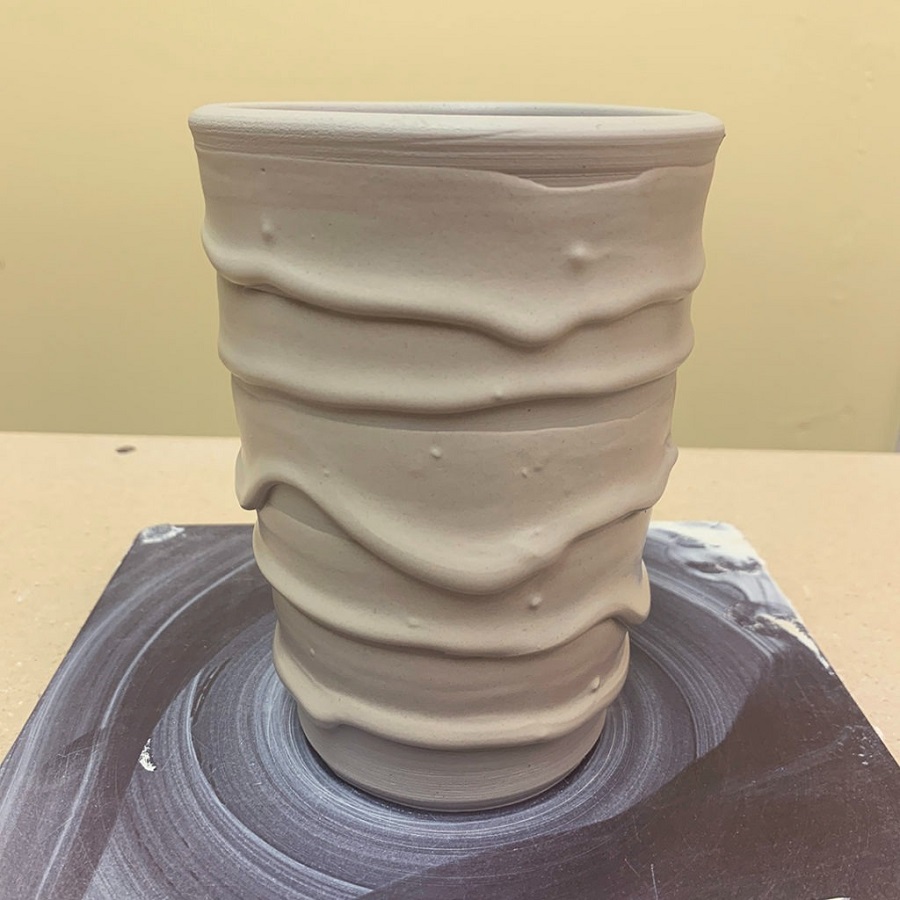 Ceramic Slip
When it comes to creating your own ceramic slip, the process begins simply. The key ingredients are water and clay. First, select a clay body that matches your project needs. Different clays will yield different results. Porcelain clays give a smooth finish. Stoneware clays offer a sturdier slip.
Start by weighing out dry clay. This will help you maintain a consistent slip recipe. Then, gradually mix the clay with water. Aim for a creamy, milkshake-like consistency. It should pour easily, but not be so thin that it doesn’t coat your fingers. This balance is crucial for successful slip application later on.
During mixing, be sure to sieve the slip to remove any impurities. Small lumps or debris can ruin a finished ceramic piece. Stir the slip thoroughly to ensure even distribution of clay particles. It’s this consistency that defines the slip definition ceramics artists strive for.
Finally, if you want to alter the slip’s properties, consider additives. Sodium silicate can increase fluidity. Adding vinegar can slow down the drying time. These adjustments can help you sculpt and design your ceramics with greater control. Keep experimenting until you find the perfect mix for your work.
Types of Ceramic Slips and Their Uses
In the ceramics world, slips are not one-size-fits-all. Different types cater to varying artistic needs. Let’s explore the common types of slips and how artists use them.
Engobe
Engobe is a type of slip known for its fine texture. It is ideal for detailed work. Artists use it to coat a piece before bisque firing. This gives a smooth surface for glazes to adhere.
Casting Slip
Casting slip is fluid and designed for slip casting techniques. It fills plaster molds easily, capturing intricate shapes. When dried, it releases from the mold without damage.
Decorating Slip
Decorating slips are thicker. They allow potters to add texture and designs. You can brush, trail, or carve them onto the clay body.
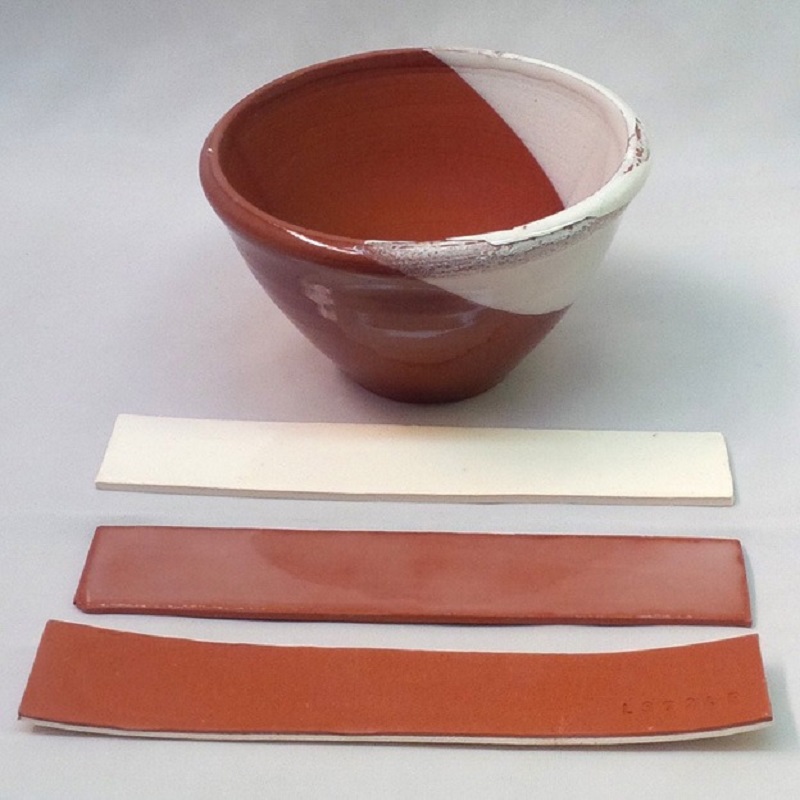
Colored Slip
Colored slip has added pigments. It lets artists create bright designs or contrasting layers. It works well for techniques like sgraffito or inlay.
Each type of slip serves a purpose in the creative process. They can act as glue, decoration, or form the basis of a piece. Understanding slip definition ceramics artists use, and these types, is key. It helps you choose the right slip for your project. With each type, always test on sample pieces first. This ensures the desired effect in the final creation.
Preparing Your Workspace for Slip Processing
Before diving into slip techniques, set up a tidy workspace. An organized area ensures safety and efficiency. Start by clearing your working surface. Remove anything not related to slip processing. This prevents contamination and allows for easy movement.
Choose a water-resistant surface to work on. Spills are common when dealing with slip. Cover the area with plastic sheets for quick cleanup. This step also protects the surface from stains and scratches.
Gather your tools and materials. Keep them within reach. You’ll need mixing bowls, sieves, brushes, and measuring tools. Place the clay and water at your workstation. Prepare additives, too, if you plan to use them.
Ensure adequate lighting. Visibility is crucial for precise work. Invest in a lamp if overhead lighting is insufficient. Proper lighting helps you spot any inconsistencies in the slip.
Maintain a safe environment. Wear a mask to avoid inhaling clay dust. Clay particles in the air can pose health risks. Keep a damp sponge handy to wipe up dust.
Have a separate space for drying and storing slips. This area should be away from your main workspace. It prevents disturbances to the slips as they settle and age.
Setting up your workspace right is crucial. It supports your ceramic slip projects, letting you focus on the craft. Proper preparation sets the stage for successful slip application and decoration.

Techniques for Applying Slip
Having talked about the basics and types of slips, let’s delve into application techniques. Experts have honed these methods over decades, tailoring them to suit various artistic visions.
Brushing
Brushing is among the simplest methods. It works for both texture and color layering. Use a soft, broad brush for large areas. Choose smaller, stiffer brushes for fine lines and details.
Trailing
Trailing involves squeezing slip from a bottle with a narrow nozzle. This creates raised lines and patterns. It’s a technique that requires a steady hand and controlled pressure.
Dipping
Dipping pieces directly into slip gives an even coating. It’s fast and covers large areas quickly. Make sure the slip is fluid enough to avoid clumps.
Pouring
With pouring, you can create dynamic designs. Tilt your ceramics piece as you pour. The flowing slip will give you a natural and organic look.
Sgraffito
Apply a thick layer of colored slip. Once it’s slightly dry, carve designs into it with a sharp tool. This reveals the clay body beneath for a contrasting effect.
Inlay
Inlay involves carving out a pattern and filling it with slip. After smoothing, the inlaid slip should be flush with the surface. It creates a smooth, intricate design.
Feathering
For feathering, drag a tool through wet slip to create sweeping textures. It’s great for making slip look like wood grain or a marbled effect.
Stenciling
Place a stencil on your clay and apply slip over it. Remove the stencil to reveal the pattern. This technique is precise and great for repetitive designs.
Every technique improves with practice. Don’t get discouraged by mistakes. Instead, use them to learn and refine your slip application skills. Mastering these methods adds to your creative toolkit, elevating your ceramic pieces to new levels.
Creative Slip Decoration Ideas
With a firm grasp on slip fundamentals, it’s time to explore creative decoration ideas. These concepts leverage the unique properties of slip to enhance ceramic work. Let’s dive into some inspirational techniques.
Layering Different Colors
Layer various colored slips to create depth and visual interest. Start with a lighter base and add darker tones on top. Each layer should slightly dry before adding the next one.
Marbling Effects
Combine slips of different colors and swirl them together on your piece. Use a tool like a skewer to gently mix the colors on the surface. It results in a stunning marbled effect.
Textured Patterns
Apply slip with tools, like combs or stamps, to create raised patterns. Press the tools into the wet slip and lift away. This technique adds a tactile dimension to your pieces.
Polka Dots and Stripes
Use the end of a brush or another round object to make polka dots. Create stripes with masking tape. Apply slip over the tape, then remove it to reveal perfectly crisp lines.
Resist Techniques
Apply a resist, like wax, before using slip. The slip will not adhere to the resist, creating negative space. Once the resist is removed, it reveals the untouched clay beneath.
Sgraffito with a Twist
Overlay a thick layer of slip onto the clay body. Before it dries, sketch designs, revealing the clay underneath. Try varying the pressure for different line widths and textures.
Slip Transfers
Print a design on paper and cover with slip. Gently press onto the clay surface and peel away the paper. The slip will adhere in the design of your print.
These decoration ideas are a starting point. Experiment with the techniques. Mix and match them to find what works for your artistic style. Remember to test these ideas on sample tiles or small pieces before committing to larger work. Creative use of slip can distinguish your ceramics from others, making each piece uniquely yours.
Troubleshooting Common Slip Challenges
Working with ceramic slip can sometimes lead to problems impacting your artwork’s quality. Here are common slip challenges and how to overcome them.
Slip is Too Thick or Too Thin
If your slip feels too thick, slowly add water and mix thoroughly. If too thin, let it sit to allow water to evaporate or mix in more dry clay.
Lumps in the Slip
Pass the slip through a sieve to eliminate lumps. Doing this helps achieve the smooth consistency required for even application.
Slip Cracking When Drying
Apply slip to leather-hard clay to minimize cracking as it dries. Make sure the slip and clay body have similar shrinkage rates.
Slip Not Adhering to Clay Body
Score the clay surface before applying slip to enhance bonding. Use slip at the correct stage of clay dryness for better adhesion.
Slip Flaking Off After Bisque Firing
Check if the slip was too thick or dried too quickly. Apply thinner layers and slow down the drying process for better results.
Inconsistent Colors in Colored Slip
Mix in pigments evenly and test for color before applying to ensure uniformity. Use the same batches of slip for consistency across your piece.
Mastering slip techniques requires patience and practice. Observe how your slip behaves and adjust its composition as needed. Keep experimenting and learning from each challenge to perfect your skill in working with slip in ceramics.
Preserving and Firing Slip-Coated Ceramics
Once you’ve mastered the art of applying slip to your ceramics, the next critical steps are preserving and firing your work. These final stages are crucial in solidifying your decorative efforts and ensuring the durability of the slip. Here are some key tips to help you through this part of the process.
Pre-Firing Preservation
Before firing, it’s vital that your slip-coated ceramics are handled with care to preserve the integrity of the surface work. Allowing the piece to dry slowly and evenly will minimize the risk of cracking or flaking. Cover the piece with a light, breathable fabric to shield it from dust and to control the drying rate.
Ensure the slip has dried completely before firing. Any moisture trapped within can cause cracks or explosions in the kiln. The slip should not feel cold to the touch, as this can indicate the presence of lingering moisture. Drying times can vary, but patience is key to a successful outcome.
Firing Process
The firing temperature must align with the clay and slip used. Typically, slip decorations are fired at the same temperature as the clay body. However, it’s crucial to consult the recommendations for the specific slip and clay you’ve employed.
Place the slip-coated pieces carefully inside the kiln, ensuring there’s enough space between them. This allows for proper heat circulation and prevents the pieces from fusing together. Pay attention to the kiln’s firing schedule, which should ramp up the heat gradually.
Once the firing is done, allow the kiln and its contents to cool slowly. Rushing this stage can cause thermal shock, resulting in cracks or warping. When the kiln reaches room temperature, you can then safely remove your ceramics.
After Firing Care
Inspect your ceramics after firing for any unexpected changes in the slip. Colors can vary after being subjected to high temperatures. If the slip has adhered correctly, the surface should be smooth and free from defects.
If there are issues with the slip after firing, consider logging your processes in detail for future reference. This documentation can help pinpoint what might need to change in your next project.
Firing slip-coated ceramics successfully ties together the beautiful work done in previous stages. It demands attention to detail and a thorough understanding of your materials. With careful preservation and a controlled firing process, your slip-decorated ceramics will emerge from the kiln boasting their intended beauty and strength.