Defining Greenware in Ceramics
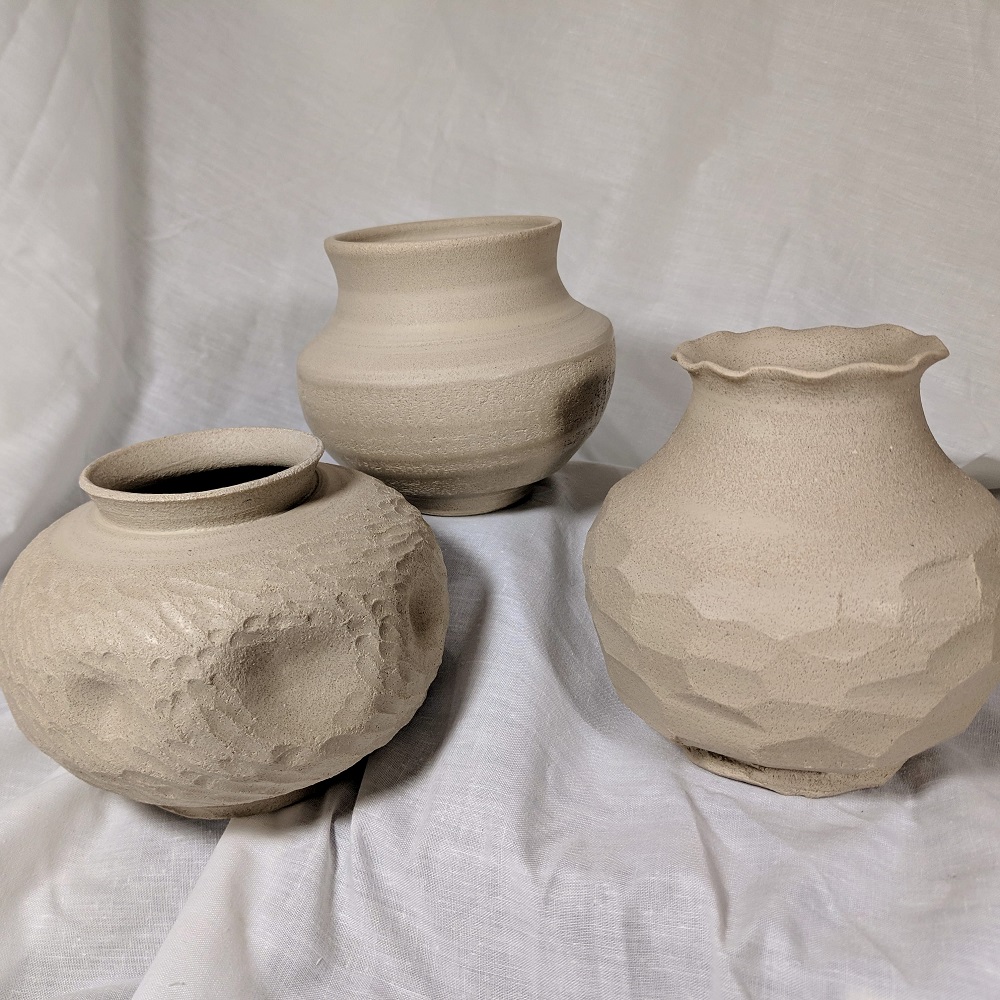
Greenware in ceramics refers to shaped clay that has not yet been fired. It’s the term used for pottery in its raw, malleable state. At this stage, the clay retains moisture, making it pliable and easy to manipulate. Greenware holds great importance for potters as it lays the foundation for the final product.
After shaping, the greenware must undergo careful drying. This helps prevent warping or cracking during the firing process. Artists must handle greenware with care, as it is fragile and prone to damage. Understanding what greenware is in ceramics is pivotal for both beginners and seasoned potters. It’s the baseline from which a piece’s durability, texture, and final appearance evolve.
In the journey of creating ceramic wares, greenware is the starting point that requires patience and attention. The knowledge about greenware serves as an anchor for aspiring ceramic artists to achieve their desired outcomes. By grasping the nature of greenware, potters set the stage for their creations to eventually become bisqueware and glazeware.
The properties of greenware in ceramics are unique to this stage. It’s essential to recognize these characteristics to ensure successful ceramic creations. As we proceed, we’ll explore the stages, compare greenware to other forms of ceramics, and delve into the best practices for working with it.
The Different Stages of Greenware
Greenware in ceramics undergoes several key stages before final firing. Each stage presents specific characteristics and requires different handling techniques.
Initial Shaping
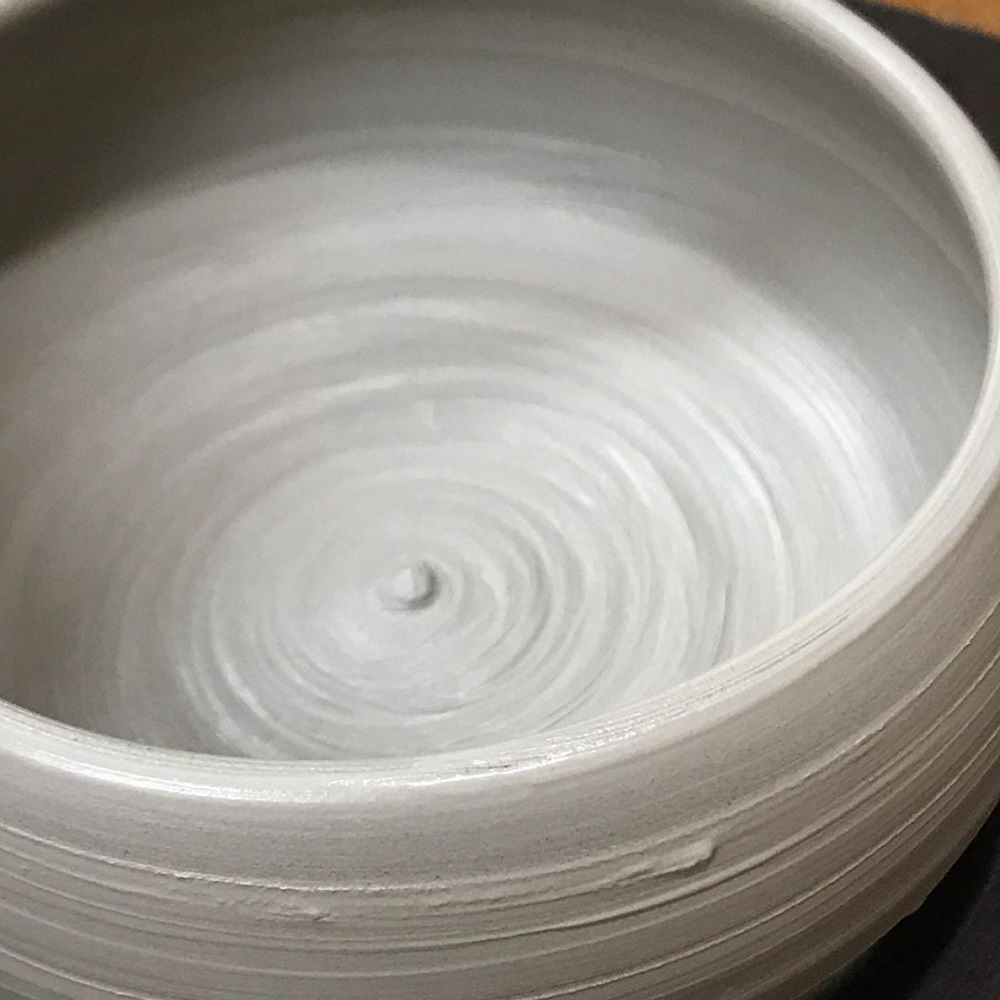
The first stage involves the initial shaping of the clay. At this point, the clay is highly malleable. Artists can shape it using various techniques such as pinching, coiling, or wheel throwing.
Leather-Hard Stage
As the clay dries, it enters the leather-hard stage. It’s still damp but has enough rigidity for trimming and refining. Carving and attachment of additional pieces is ideal at this stage.
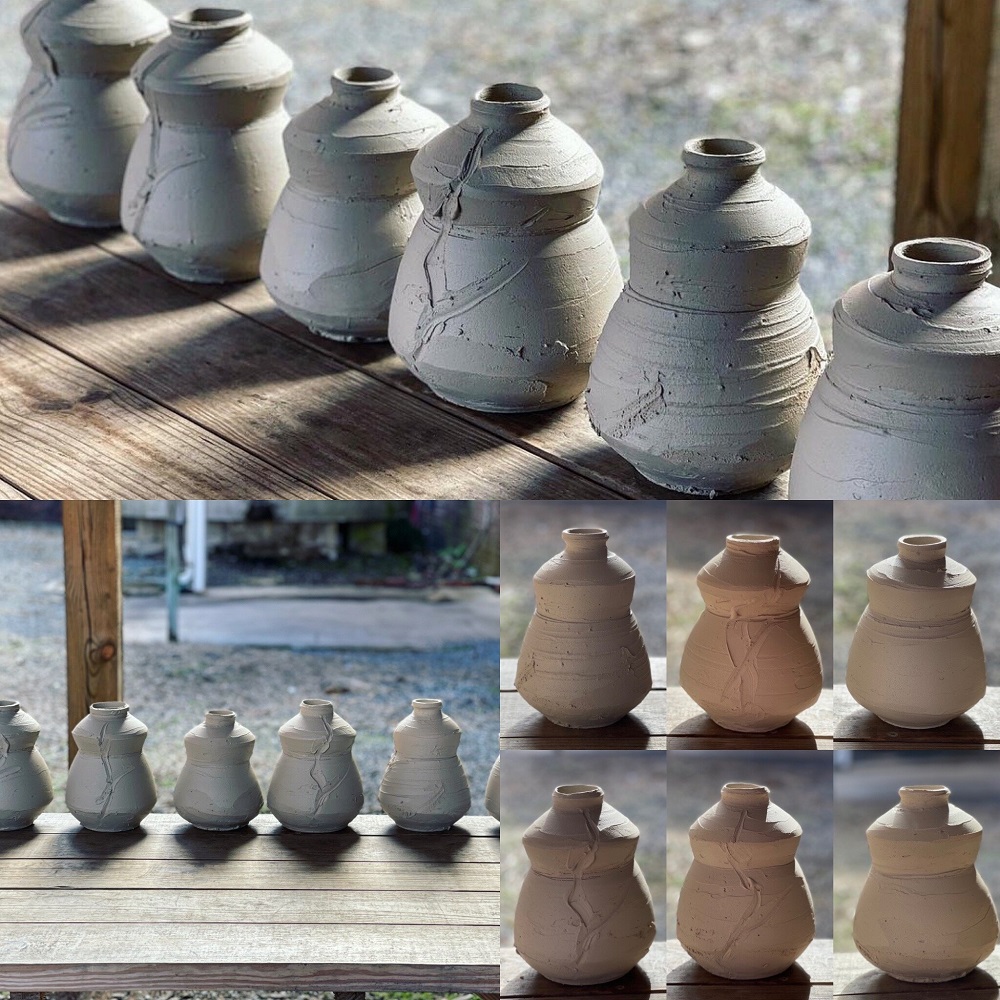
Bone-Dry Stage
Finally, the bone-dry stage is when the clay is completely devoid of moisture. It’s fragile and ready for bisque firing. Any remaining moisture can cause the greenware to crack or explode in the kiln.
Recognizing these stages of what is greenware in ceramics is crucial. Each phase demands patience and a nuanced understanding of the clay’s condition. Properly progressing through these stages ensures a successful transition to bisqueware and beyond.
Comparing Greenware to Bisqueware and Glazeware
Understanding the various stages and forms of ceramics is vital for any potter. After exploring what is greenware in ceramics, let’s compare it to its subsequent forms: bisqueware and glazeware. Each stage reflects a specific part of the ceramic process, influencing the handling and final product.
Greenware vs Bisqueware
Greenware transforms into bisqueware after the first firing. This stage hardens the clay, making it more durable and less fragile. Unlike greenware, which is prone to damage due to its moisture content, bisqueware can withstand handling and glazing. It’s porous, which allows it to absorb glazes effectively.
Bisqueware vs Glazeware
After bisque firing and the application of glaze, the ceramic enters the glazeware stage. A second firing melds the glaze and clay together. This firing process brings out the color and finishes of the glaze. Glazeware is the final product, offering a smooth, glass-like surface that’s both decorative and functional.
Greenware vs Glazeware
The transition from greenware to glazeware is significant. The initial malleable greenware undergoes a complete transformation. It becomes strong and waterproof after glaze firing, suitable for daily use or as art pieces. Unlike greenware, glazeware is the stage at which the piece reaches its final form, showcasing the artist’s work and design.
Greenware, bisqueware, and glazeware represent the stages of ceramics, each with unique characteristics. Knowing how they compare is essential for successful ceramic creations.
Pros and Cons of Working with Greenware
Working with greenware in ceramics has its own advantages and disadvantages that potters need to consider.
Pros:
- Flexibility in Design: When the clay is still greenware, artists have a lot of freedom to shape and adjust their designs. This flexibility allows for creative expression and alterations before the clay hardens.
- Ease of Carving and Joining: Greenware is soft enough to carve intricate designs easily. Attaching parts or adding texture is also more manageable when the clay is not yet fired.
- Cost-Effective: Since greenware is unfired ceramic, the cost of materials is lower. There’s no need for the energy and resources required for firing at this stage, which can save money.
Cons:
- Fragility: One of the most significant drawbacks is the susceptibility to damage. Greenware can easily crack or break if not handled with care. This inherent fragility requires precision and gentleness.
- Drying Challenges: Controlling the drying process to prevent warping and cracking can be tricky. Potters must balance drying time and conditions to ensure the greenware does not become damaged.
- Limited Time for Work: As the greenware dries, the window for working with it narrows. Artists must complete their designs before the clay enters the leather-hard stage.
Understanding what is greenware in ceramics and weighing these pros and cons can help potters plan their projects and avoid potential issues. Each step, from design to drying, is critical in the journey to creating lasting ceramic pieces.
Essential Tools for Handling Greenware
When discussing what is greenware in ceramics, it’s crucial to address the essential tools needed for handling greenware efficiently and safely. These tools play a vital role in shaping, detailing, and ensuring the structural integrity of the pottery during this delicate phase. Let’s take a look at some of these indispensable tools:
Trimming Tools
Trimming tools, such as loop tools and ribbons, allow potters to remove excess clay. They help refine the shape and smooth the surface of the greenware.
Carving Tools
For adding intricate designs, carving tools like needles and scalpel knives are perfect. They let artists etch fine lines and textures into the clay.
Rib Tools
Wooden or metal ribs are used to compress and smooth clay surfaces. They ensure an even thickness, which is critical to preventing warping during drying and firing.
Sponges
Sponges soak up excess water, keeping the greenware’s moisture level consistent. This is especially important to manage while transitioning from initial shaping to leather-hard stage.
Wire Cutters
Wire cutters help in slicing through clay easily and are often used to cut the greenware from the potter’s wheel once shaped.
Brushes
When attaching parts, brushes can be used to apply slip—a liquid mixture of clay and water that acts as an adhesive.
Damp Boxes and Plastic Wraps
To control the drying process, damp boxes and plastic wraps are essential. They maintain the right humidity levels and prevent the greenware from drying too quickly.
Equipped with these tools, potters can ensure that they handle greenware with the care it requires. It’s important to remember that the quality of the final ceramic piece is largely determined during this stage. Proper handling aided by the right tools sets the foundation for the subsequent transformation into bisqueware and, ultimately, glazeware.
Techniques for Shaping and Sculpting Greenware
Shaping and sculpting greenware in ceramics is an art that requires precision and skill. Here are key techniques to master when working with what is greenware in ceramics:
- Pinching: This is one of the simplest methods. Use your fingers to shape the clay into pots or other objects. It’s great for small pieces and allows for a personal touch.
- Coil Building: Create long coils of clay and layer them to form shapes. Smooth out the joints for a uniform look. This method is ideal for large and intricate designs.
- Slab Construction: Roll out clay into flat sheets. Cut and join the slabs to make geometric shapes. This works well for creating sharp angles and clean lines.
- Wheel Throwing: For symmetrical items, like bowls, the potter’s wheel is the go-to tool. It’s a technique that needs practice but offers a quick way to create uniform pieces.
- Carving: Once the greenware is leather-hard, use carving tools to add fine details. It’s perfect for creating texture and intricate patterns.
- Attaching Pieces: To add handles or other elements, score the surfaces and use slip to join pieces. Firm pressure ensures a strong bond.
Utilizing these techniques allows potters to turn their visions into tangible forms. Each method offers different possibilities for what is greenware in ceramics, providing the freedom to innovate and express creativity before the firing process. As you practice these techniques, remember to keep the clay moist to prevent cracking and to handle the greenware with care to avoid breakage.
Drying and Firing Greenware: Best Practices
When handling what is greenware in ceramics, drying and firing are pivotal steps. They determine the strength and durability of the final ceramic product. Here are some best practices for both processes:
- Even Drying: Drying greenware must happen slowly and evenly. Preventing fast drying is key to avoid warping or cracking. Cover the greenware with a cloth or plastic sheet to control the rate of drying.
- Room Temperature Matters: Keep the greenware at a stable room temperature. Avoid places with drafts, direct sunlight, or heat sources that could cause uneven drying.
- Positioning: Position greenware carefully on shelves. Ensure air can circulate around each piece. Avoid stacking or overcrowding the pieces.
- Dry to Bone-Dry: Before firing, greenware should be completely dry. It should feel lighter and not cool to the touch, indicating moisture has left the clay.
- Bisque Firing: Start with a bisque firing. This initial firing hardens the clay without glaze. It prepares the ceramic body for further decoration and glazing.
- Controlled Firing: Ramp up the kiln temperature slowly. Sudden temperature changes can damage greenware. Follow the kiln’s manual or a trusted firing schedule.
- Vent the Kiln: Proper ventilation is important during firing. It allows gases and steam to escape. This helps prevent defects in the ceramics.
- Cooling Period: After firing, let the pieces cool inside the kiln until they reach room temperature. Rushing this process can lead to cracks.
By following these best practices for drying and firing what is greenware in ceramics, potters can improve the chances of creating a high-quality, durable ceramic piece. Ensuring that these critical phases are managed correctly is crucial for the successful transformation from greenware to bisqueware, and ultimately to glazeware.
Tips for Preventing Damage to Greenware
Proper handling and care are essential when working with what is greenware in ceramics to avoid unwanted damage. Follow these simple but effective tips to ensure your ceramic creations remain intact from sculpting to firing:
- Handle with Care: Always be gentle when moving or touching greenware. Its brittle nature requires a soft touch to prevent breaks or cracks.
- Support the Structure: Provide internal support for fragile parts during drying. Use materials like foam or paper to help maintain the shape.
- Pace the Drying: Slow down drying times for thicker pieces. Gradual drying helps reduce stress on the greenware, cutting down the risk of cracking.
- Smooth the Surface: Use a damp sponge to smooth out any rough spots. This can prevent weak points that may crack later on.
- Avoid Sharp Changes in Temperature: Keep greenware away from windows or vents where temperatures can shift quickly. Steady temperatures are key for even drying.
- Cover to Control: Use plastic or cloth to cover greenware, especially in dry environments. This method controls moisture loss and protects the form.
- Check for Dryness: Before firing, ensure the piece is bone-dry. Tap it gently; a hollow sound means it’s ready for the kiln.
- Use a Kiln Shelf: Place greenware on a clean, kiln shelf for firing. This avoids direct contact with the kiln floor and promotes even heating.
- Dry Feet First: If pieces have thick bottoms or feet, dry these areas thoroughly. Once they’re bone-dry, the rest of the piece can catch up.
By incorporating these tips, artists can greatly improve the stability and quality of what is greenware in ceramics. Remember, the care you invest at this initial stage will reflect in the final ceramic piece.