What is Leather Hard Ceramics?
Leather hard ceramics refer to a specific stage of clay in the pottery process. At this point, the clay has dried enough to hold its shape but is still moist enough for carving and joining. The name ‘leather hard’ comes from the clay’s texture, which resembles that of leather. This stage is crucial for ceramists as it provides the perfect consistency for making detailed adjustments without the clay being too wet or too dry.
To identify leather hard ceramics, look for clay that’s not sticky to the touch and has a firm structure. It should have slight flexibility, akin to a firm cheese. Carving into leather hard ceramics should be smooth, with the clay easily giving way to tools. It’s a balance that allows artists to embellish their work with precision. This is also the time to attach additional pieces, as the moisture content is adequate to create a strong bond without cracking.
Understanding the leather hard ceramics definition is vital for any potter. It’s the stage where the magic happens, allowing for the transformation from simple clay to intricate designs. By mastering work with leather hard clay, you elevate your pottery from a craft to an art.
The Stages of Clay: From Wet to Bone Dry
Understanding the transformation of clay from its initial wet stage to a bone dry state is essential in pottery. The process involves several distinct stages that potters must navigate. Here’s a breakdown:
- Wet Stage: This is when the clay is freshly mixed or just taken from the bag. It’s highly malleable and perfect for throwing on the wheel or hand-building.
- Soft Leather Hard Stage: The clay starts to dry, allowing ceramists to handle and manipulate it without distortions. It’s slightly flexible, similar to a sponge’s texture.
- Leather Hard Stage: At this critical phase, the leather hard ceramics definition comes into play. The clay is not entirely dry but has stiffened adequately for carving, joining, and detailed work.
- Bone Dry Stage: The clay is now completely dry. It’s fragile and ready for bisque firing. At this point, no further shaping happens.
Each stage requires specific handling techniques to prevent ruining the piece. As clay passes through these stages, its properties change, making understanding these shifts vital. In the leather hard stage, adding water can return the clay to a malleable state for a limited time. However, once it reaches bone dry, rehydration can cause the clay to lose its form entirely.
Grasping the stages of clay ensures successful progress from wet to bone dry, preparing for the next steps of firing and glazing.
Tips for Working with Leather Hard Ceramics
When crafting with leather hard ceramics, certain practices can enhance your art. Here are some practical tips:
- Maintain the Correct Moisture Level: Avoid drying out the clay. Wrap it in a damp cloth if needed.
- Gentle Handling: Though firm, leather hard clay is still delicate. Handle it with care to prevent dents.
- Use Sharp Tools: Dull tools may drag and damage the surface. Sharp tools ensure clean, crisp lines.
- Precise Joining: Apply slip thoroughly when joining pieces to ensure a strong bond.
- Even Drying: Dry your pieces evenly. This prevents warping and cracking.
- Timely Work: Remember, leather hard clay will eventually dry out. Complete your carving and joining before this.
- Minimal Water Use: If you must add water to smooth or adjust, use sparingly.
- Check for Consistency: Regularly feel your piece. Ensure it maintains the leather hard ceramics definition for ideal workability.
Applying these tips will allow you to master working with leather hard ceramics, achieving detailed designs with ease.
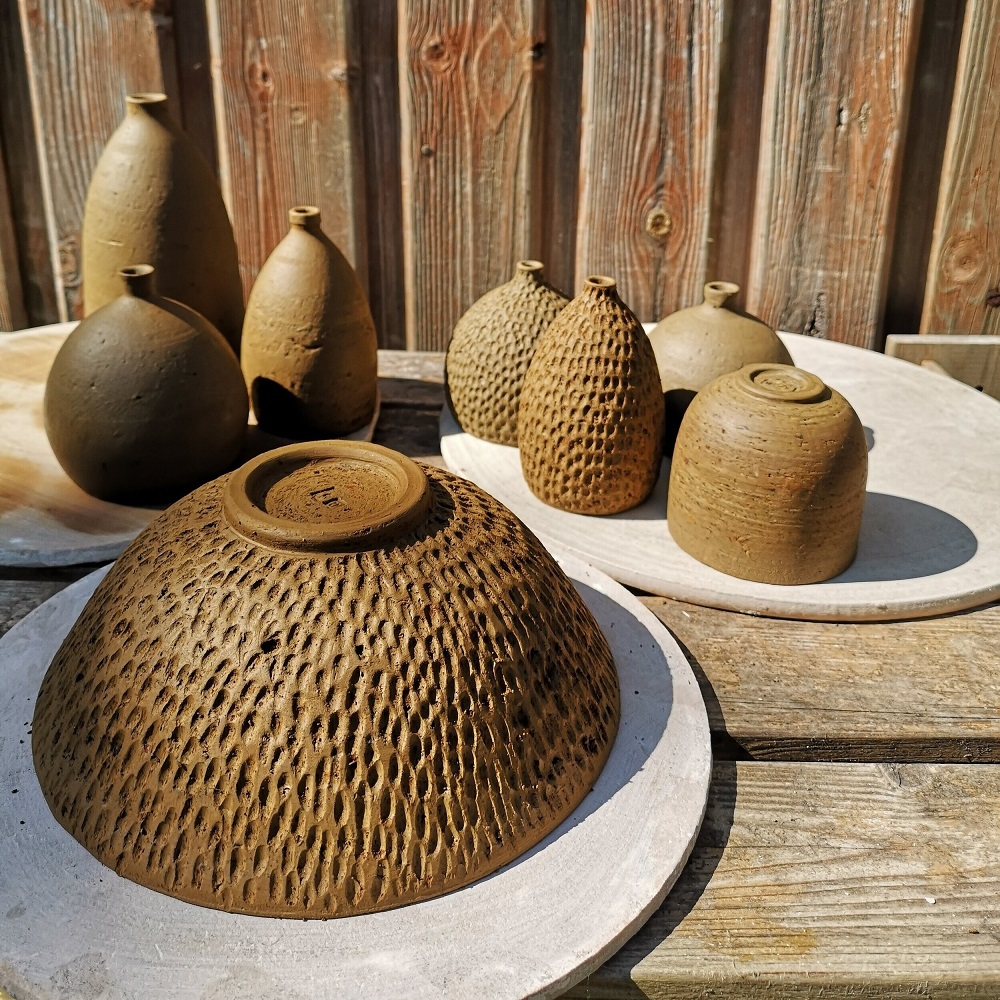
Techniques for Sculpting and Carving
When working with leather hard ceramics, sculpting and carving are key. These processes require precision and the right approach. To excel, try these techniques:
- Start with a Sketch: Plan your design. Use a pencil to sketch it onto your leather hard ceramics. This guides your carving and avoids errors.
- Use the Right Tools: Opt for loop tools for large areas. Use needle tools for fine lines. Always keep them sharp for best results.
- Gentle Pressure: Apply light pressure to carve. Too much force can damage the piece. Work slowly for clean cuts.
- Hollow Out Thoughtfully: When hollowing, be mindful of wall thickness. This keeps your piece strong and prevents breaks.
- Smooth Surfaces: After carving, smooth the edges. Use rubber or metal ribs. This gives a finished look.
- Detail with Care: For intricate details, use sgraffito techniques. Carve though slips to reveal contrasting colors beneath.
- Practice Patience: Take your time. Rushing can ruin your work. Patience pays off in the final piece.
- Regular Checkups: Stop and check your work. Ensure you’re following the leather hard ceramics definition in texture and moisture.
By using these sculpting and carving techniques, you can transform leather hard ceramics into complex, textured works of art.
Attaching Parts in the Leather Hard Stage
Attaching different parts in leather hard ceramics requires skill. Here are essential guidelines to follow:
- Score the Surfaces: Before joining two pieces, score both surfaces. This creates a rough texture which helps in bonding.
- Use Slip as an Adhesive: After scoring, apply slip to both parts. The slip acts like glue, strengthening the hold.
- Apply Firm Pressure: Join the pieces by applying firm pressure. But, be careful. Too much force can deform the items.
- Blend the Seams: Smooth out the seams where the parts meet. This prevents cracks and gives a unified look.
- Confirm Alignment: Make sure the attached parts align correctly. Misalignment can weaken the structure and aesthetics.
- Double Check the Moisture: Ensure both parts have similar moisture levels. If one part is drier, it may crack.
- Let it Rest: After attaching, let your piece rest. This avoids stress on the joins as the clay continues to dry.
By following these steps, you can attach parts securely during the leather hard ceramics stage.
Trimming and Finishing Leather Hard Pieces
Trimming and finishing are critical steps in perfecting leather hard ceramics. These processes refine and define your pieces before they go into the kiln. Here are some guidelines to follow for successful trimming and finishing:
- Check the Consistency: Your clay must fit the leather hard ceramics definition. It should be firm, yet carve-able.
- Secure the Piece: Use clay wads or a chuck to hold the piece steady on the wheel. This prevents slips and errors.
- Use a Sharp Trimming Tool: A dull tool can tear clay. Sharp tools help you achieve smooth, precise cuts.
- Trim Excess Clay: Carefully remove any excess clay from the bottom and sides. This shapes your piece and ensures even drying.
- Smooth the Edges: After trimming, soften any sharp edges. This prep work contributes to a polished, professional look.
- Inspect for Flaws: Look over your piece for cracks or uneven thickness. Address these issues now for better results.
- Foot Rings: If your design includes a foot ring, create it now. A well-crafted foot ring adds stability and style.
- Final Touches: Add texture or other final details. Do this while the clay is still in the correct stage.
By adhering to these steps, your leather hard ceramics will emerge from the kiln as high-quality, beautiful works. Remember, each stage of the ceramic process is a foundation for the next, so take the time to trim and finish your pieces with care.
Drying and Bisque Firing Leather Hard Ceramics
Once your leather hard ceramics reach the desired shape and detail, drying and bisque firing are next. Drying must be slow and even. This prevents cracks and warping. Place your pieces in a space with steady air flow. Avoid direct sunlight or hot spots. Turn pieces occasionally for uniform drying. This stays true to the leather hard ceramics definition of gradual moisture reduction.
Bisque firing is the first of two firings for ceramics. It turns your piece into hard, porous pottery. Remember, only bone dry pieces should enter the kiln. Bisque fire to a temperature specific to your clay. Usually, this ranges from cone 06 to cone 04. The firing heats gradually. This prevents thermal shock. Monitor the kiln. Temperature changes are crucial at this stage.
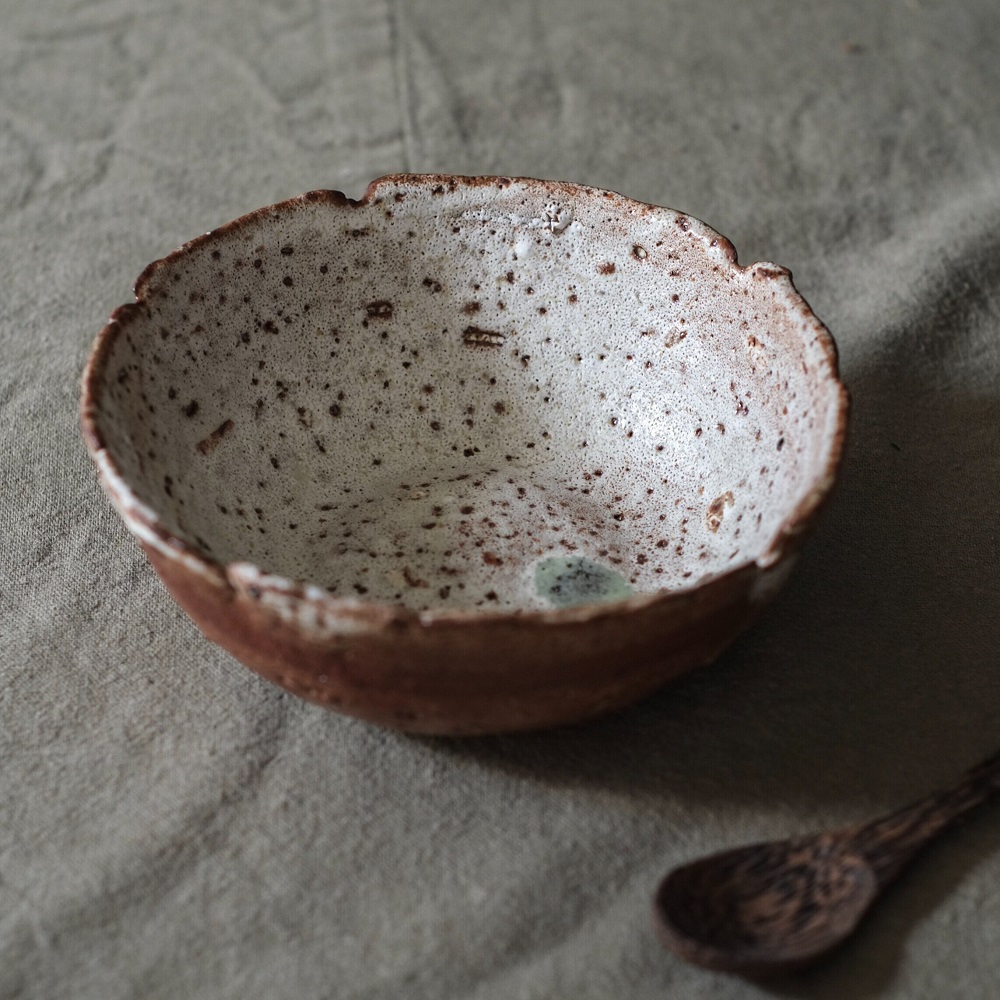
Post-bisque firing, your ceramics are ready for glazing. They are more durable now, but still require careful handling. Bisque firing sets the stage for decorative glazes and the final firing. Your efforts in perfecting leather hard pieces pay off here. From this point, creativity flourishes with colors and finishes.
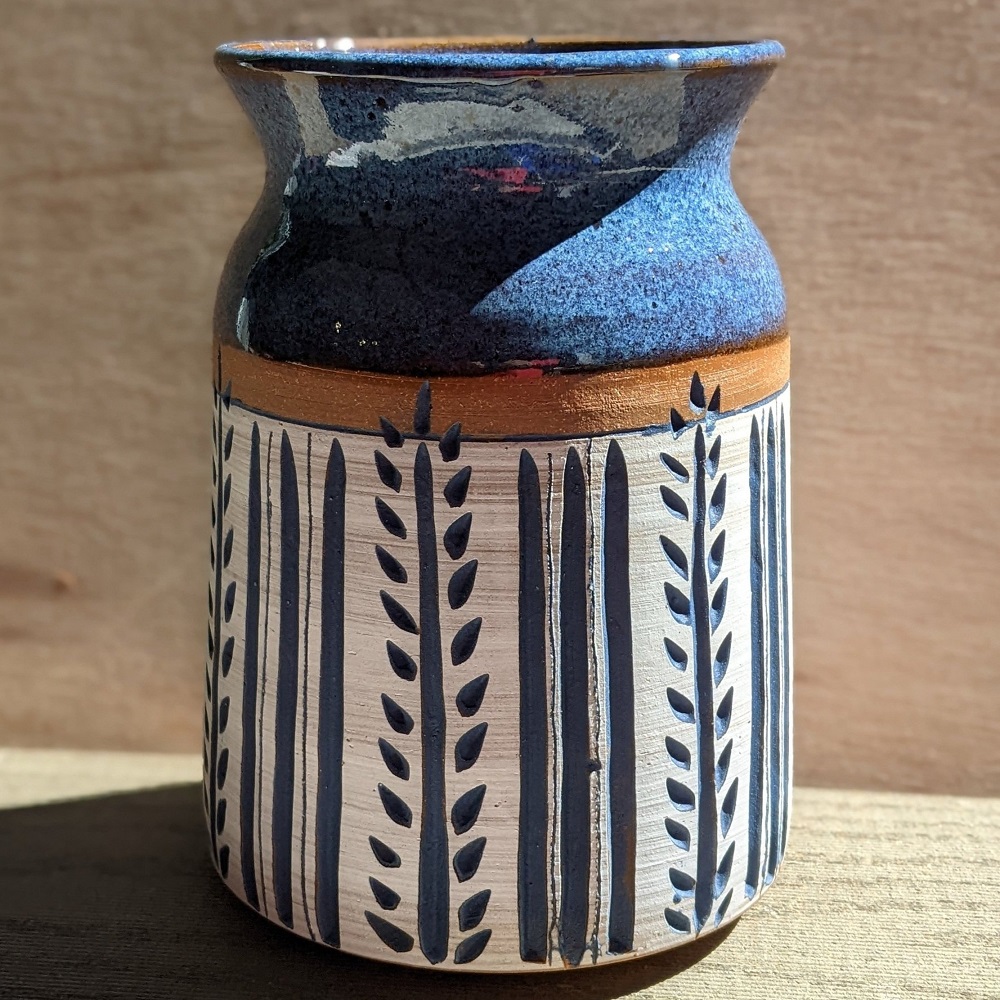
Decorating Leather Hard Ceramics
Decorating leather hard ceramics is a chance to personalize your work. This step breathes life into your pieces with colors and textures. Here are some key points to keep in mind:
- Choose the Right Time: Decorate when the clay holds the leather hard ceramics definition – firm but carvable.
- Slip Decorating: Apply slip to create patterns or textures. Use different colors for variety.
- Carving for Contrast: Carve designs into the surface. This reveals the clay body beneath for a contrasting effect.
- Impressing Patterns: Press objects into the clay to leave impressions. This can add unique textures.
- Underglaze for Detail: Use underglaze to add fine details or vibrant colors. It works well on leather hard pieces.
- Stamps and Stencils: Employ stamps or stencils for consistent patterns. They can save time and enhance precision.
- Dry Thoroughly: After decorating, let your piece dry completely. It’s crucial before bisque firing.
By exploring these decorating techniques, you can make each leather hard ceramic piece truly your own. Now, you’re ready to progress to the next stage – bisque firing and glaze application.