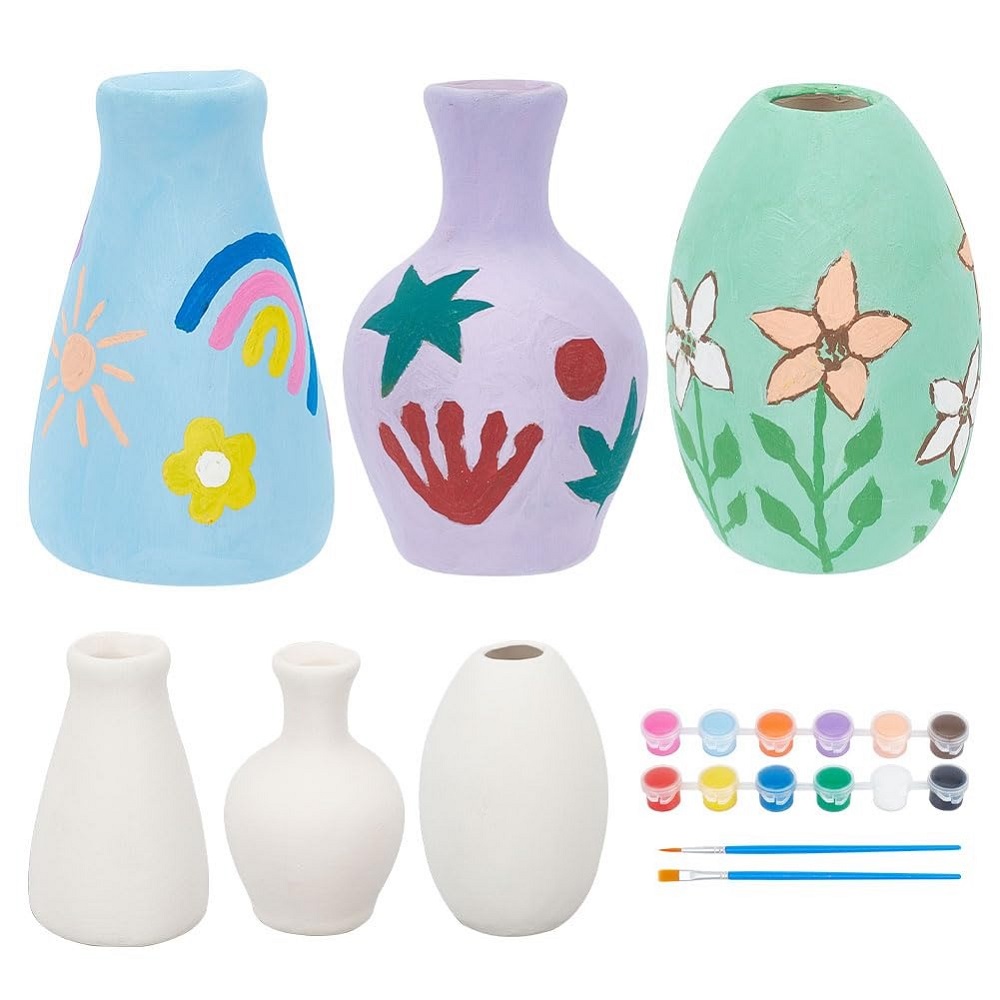
Introduction to Ceramics Painting
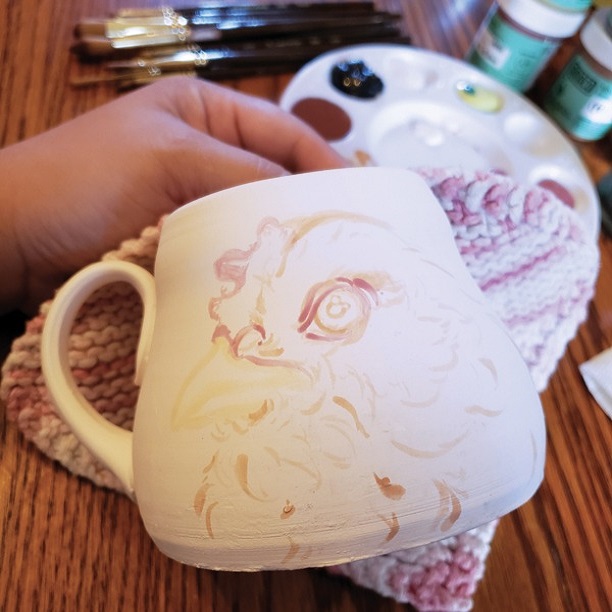
Ceramics painting is a creative and rewarding hobby. It allows for expression through color and design on a three-dimensional canvas. The process begins with a simple piece of bisqueware. This is unglazed pottery ready for decoration. Artists use various techniques and paints to transform these ceramics into works of art. In this blog, we dive into the world of ceramics painting. You will learn how to prepare your ceramics, choose paints, and apply different painting methods.
Whether you are a beginner or an artist looking to explore new techniques, this guide will provide valuable insights. We will discuss everything from the basics of getting started to more advanced methods. Get ready to unlock your creativity as we explore the exciting possibilities of ceramics painting.
Preparing Your Ceramics for Painting
Before you begin the creative journey of ceramics painting, it’s essential to prepare your ceramics. Proper preparation can make the difference between a good finish and a great one. Below are key steps to guide you through this preparatory phase.
Choosing the Right Type of Ceramic
Your choice of ceramic will depend on the final look you aim to achieve. Here are some options:
- Earthenware: Ideal for a rustic, natural look. It’s porous and requires a coat of glaze.
- Stoneware: Durable and perfect for functional pieces. It gives a sturdier finish.
- Porcelain: Offers a smooth surface for fine, detailed work. It’s best for intricate designs.
Think about the item’s use, the design you have in mind, and choose accordingly. Each type has its own charm and will impact your painting results.
Cleaning and Priming the Surface
Once you’ve chosen your ceramic, it’s time to start the preparation:
- Clean the Surface: Remove any dust or debris with a damp cloth. Allow it to dry completely.
- Sand if Necessary: Lightly sand the surface to remove rough spots. Be gentle to avoid grooves.
- Prime the Surface: Apply a coat of primer if needed. This helps the paint adhere better and gives a more even base for your paints.
By carefully cleaning and priming, you’re creating a canvas that will showcase your creativity through ceramics painting effectively. These steps are crucial for ensuring that the paints and techniques you apply afterward will be at their most vibrant and long-lasting.
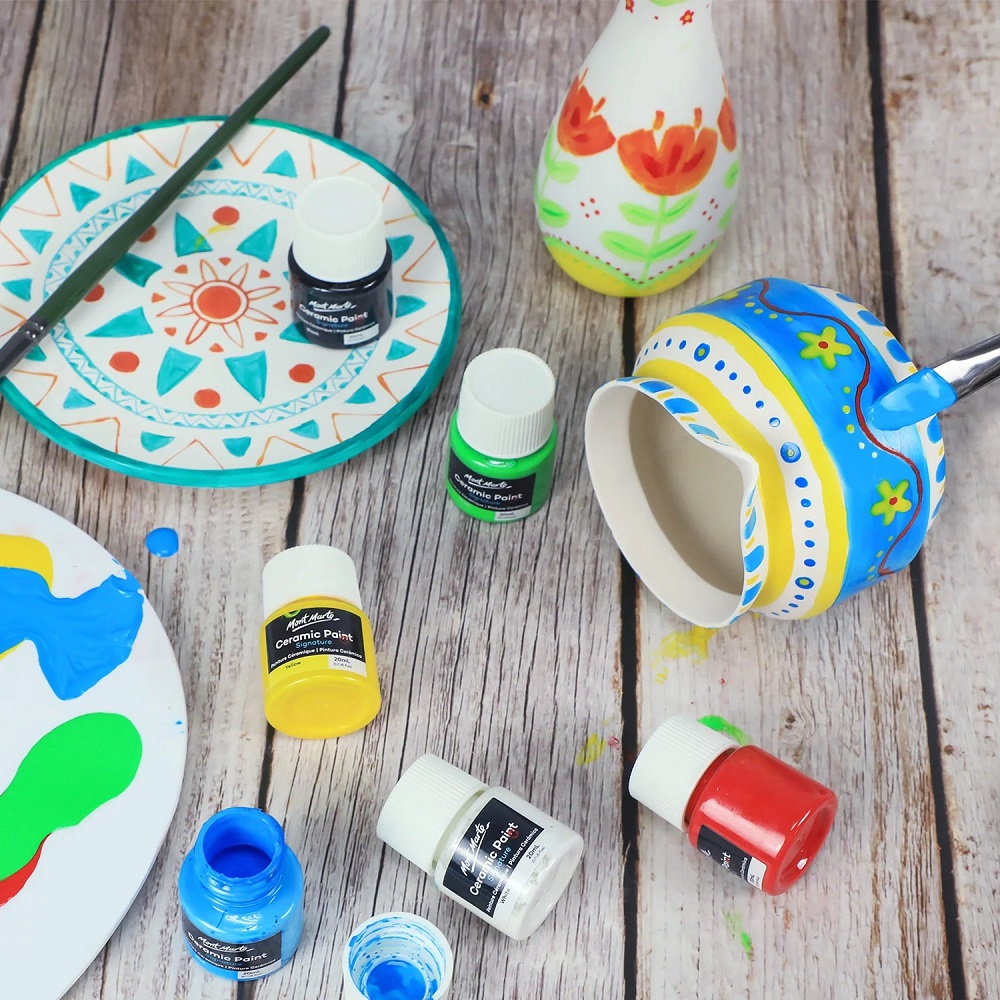
Types of Paints for Ceramics
Choosing the right type of paints is as crucial as selecting the ceramic itself. Different paints make it possible to achieve a range of finishes and effects.
Acrylic Paints
Acrylic paints are popular for ceramics painting, especially among beginners. They are water-based, easy to handle, and dry quickly. For a matt finish, apply directly. For a glossy look, seal with a clear varnish. Remember, although acrylics are versatile, they’re not typically food-safe or waterproof.
Underglazes
Underglazes are another favorite. They work well for detailed designs. You apply them to a bisqueware surface before glazing and firing. They come in a vast array of colors and remain true after firing. Underglazes allow you to outline, shade, and fill your design with precision.
Overglazes and Lusters
Overglazes and lusters add shine and a glass-like finish. Apply them over an already glazed piece. Then, fire them at a lower temperature to set. Lusters, in particular, can provide metallic or iridescent effects. They elevate the appearance of the piece but require careful handling and a bit more expertise.
Painting Techniques for Beginners
Once you’ve prepped your ceramics and chosen your paints, it’s time to start painting. Here are some beginner-friendly techniques to try.
Stamping and Stenciling
Stamping and stenciling are great for artists who are new to ceramics painting. You can use pre-made stamps or create your own designs. Here’s how to do it:
- Choose a Stamp/Stencil: Select a design that fits your vision.
- Apply the Paint: Roll or dab paint onto your stamp or stencil.
- Press onto Ceramic: Carefully position and press it onto your ceramic piece.
- Lift Carefully: Remove the stamp or stencil to reveal the design.
These methods help create consistent patterns and are ideal for making multiples.
Sponging
Sponging adds texture and depth to your ceramics. It’s a simple technique with a stunning outcome.
- Get a Sponge: Use a natural or craft sponge.
- Dip in Paint: Lightly soak the sponge in your chosen paint.
- Dab onto Ceramic: Gently press the sponge onto the ceramic surface.
- Repeat: Layer different colors or use various parts of the sponge for textured effects.
Sponging is perfect for creating a unique and organic look.
Freehand Painting
If you feel confident, try freehand painting to bring your ideas to life. Here’s what to keep in mind:
- Select Brushes: Get different sizes for detailed work.
- Sketch Design: Lightly pencil in your design if needed.
- Paint with Confidence: Apply your paints with steady strokes.
Freehand painting allows for the ultimate personal touch and creative expression.
Advanced Ceramics Painting Techniques
For those ready to take their ceramics painting to the next level, advanced techniques offer a world of possibilities. Moving beyond basic methods can challenge your skills and allow you to create truly unique pieces. Let’s explore some sophisticated techniques that can transform your ceramic artwork.
Sgraffito
Sgraffito is a dynamic method that involves scratching through a layer of underglaze to reveal the clay body beneath. It’s perfect for creating contrasting lines and patterns. Start by coating your bisqueware with a dark underglaze. Once dry, use a pointed tool to scratch away the underglaze, creating your design. This technique is ideal for adding intricate details and textures to your work.
Mishima
Mishima is an intricate technique where you inlay contrasting clay or slip into incised lines on your piece. First, etch your design into leather-hard clay. Next, fill the lines with a colored slip. After the slip dries, scrape away excess to reveal a clean line of color. Mishima is excellent for achieving fine lines and detailed patterns that stand out.
Bubble Glazing
Bubble glazing is a playful, experimental technique that can yield fascinating results. Combine a glaze with a soap solution, then blow bubbles onto the ceramic’s surface. As the bubbles pop, they leave unique glaze patterns. This method is a creative way to add abstract designs and can be especially fun to do with children or in a workshop setting.
Finishing and Firing Your Painted Ceramics
After applying your skills in ceramics painting, the next crucial steps are finishing and firing.
The Bisque Firing
Bisque firing is your first firing process. Here’s what to do:
- Let Dry: Ensure your painted piece is completely dry before firing.
- Load the Kiln: Carefully place your ceramics in the kiln, ensuring space between items.
- Set Temperature: The kiln should reach around 1830°F (1000°C), but this can vary.
- Cool Down: After peak temperature, cool the kiln gradually to avoid cracking.
Bisque firing transforms your piece from fragile to sturdy and ready for glazing.
The Glaze Firing Process
Glaze firing is the second firing and adds durability. Follow these steps:
- Apply Glaze: Use a brush or dip your bisqueware into the glaze.
- Wipe the Bottom: Clean any glaze from the bottom to prevent sticking to the kiln shelf.
- Fire Again: Heat to 2230°F (1220°C) for stoneware or adjust for other ceramics types.
- Cool the Kiln: Let it cool slowly once more.
After the glaze firing, your ceramics painting is complete, glossy, and often food-safe.
Maintaining Your Painted Ceramics
Painted ceramics can bring beauty to your home, but they require proper care. Here are ways to maintain their look.
Cleaning and Care Tips
Handle your ceramics gently to keep them looking their best:
- Dust Regularly: Use a soft cloth to wipe away dust without scratching the paint.
- Wash by Hand: If needed, wash ceramics with mild soap and water; avoid harsh chemicals.
- Avoid Dishwashers: The high heat can damage the paint and glaze.
- Keep out of Direct Sunlight: UV rays can fade the colors over time.
- Store Safely: Wrap pieces in a soft material and place them in a secure spot when not displayed.
By following these simple care guidelines, you can enjoy your painted ceramics for years to come.
Repairing Painted Ceramics
Accidents happen, but you can often fix your cherished pieces:
- Glue for Small Chips: Use ceramic adhesive for minor chips; follow instructions carefully.
- Fill Cracks with Epoxy: For larger cracks, clear epoxy can be a good fix.
- Touch Up Paint: Match acrylic paint to cover scratches or small areas where the paint has worn off.
- Seek Professionals: For valuable or antique pieces, consider professional restoration.
Repairing painted ceramics can be a delicate process. Take your time and handle repairs with patience to restore the piece’s beauty.