Setting Up Your Ceramics Studio Space
Creating a functional and inspiring ceramics studio space is crucial for any ceramist. The right environment can spark creativity and make the pottery process more enjoyable. Let’s explore how to set up your ceramics studio effectively.
Choosing the Right Location
Your studio’s location sets the tone for your workflow and productivity. Consider these key factors:
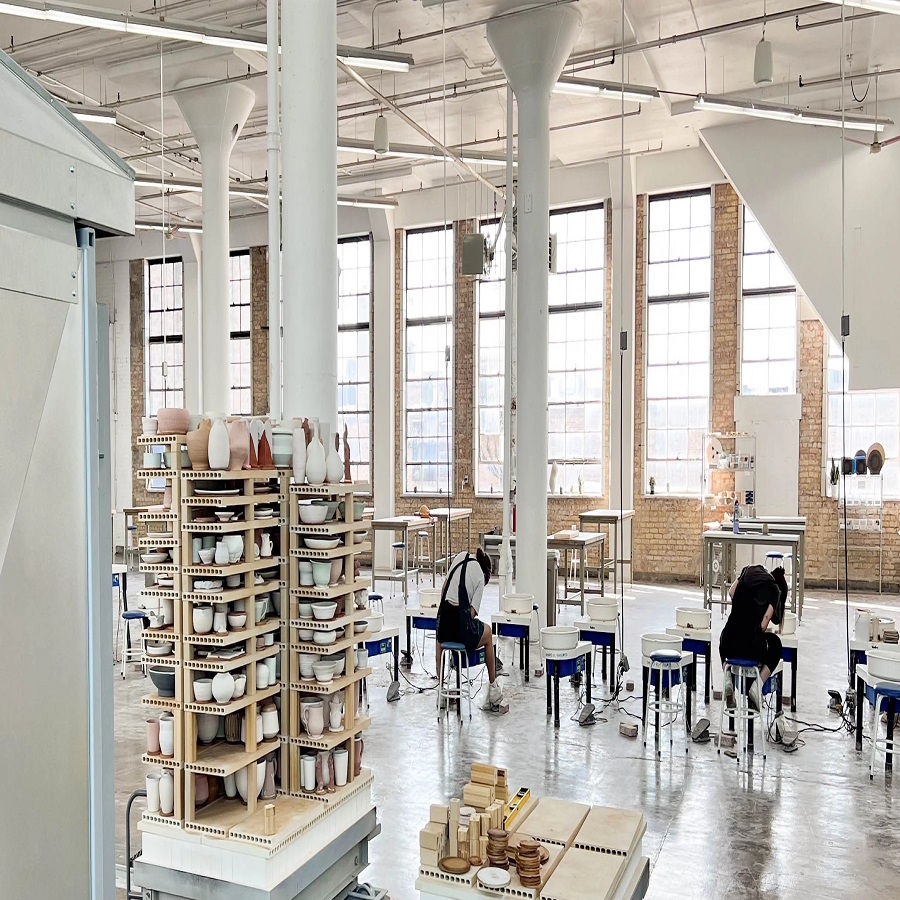
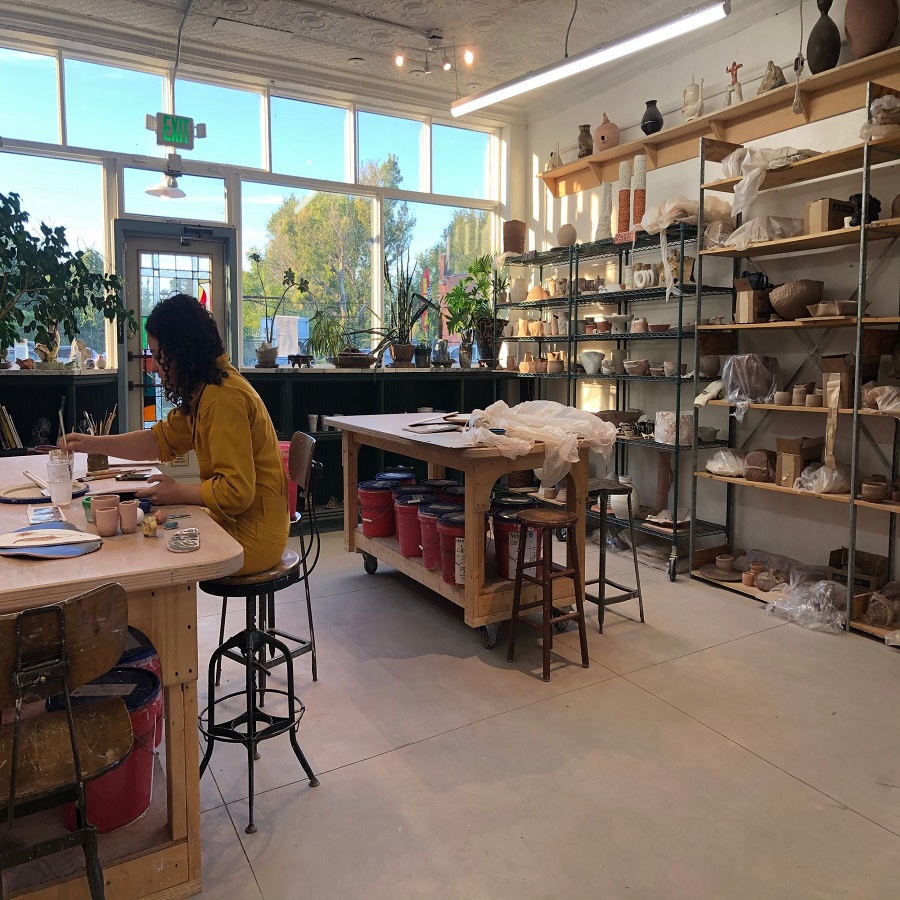
- Natural Lighting: Look for a place with plenty of natural light, which is not only good for your well-being but also essential for detailed work.
- Ventilation: Proper airflow is necessary to disperse dust and fumes, making a well-ventilated space a health priority.
- Space: Ensure you have enough room to move around freely, with space for equipment, shelves, and storage.
- Accessibility: Think about how easy it is to access your studio. Ground floor locations or spaces with few steps are ideal to transport heavy materials.
- Inspiration: Choose a setting that inspires you. Whether it’s a quiet corner of your home or a bustling community studio, the ambiance should fuel your creativity.
Organizing Your Workspace
A well-organized workspace can vastly improve your efficiency. Here’s how to keep things tidy:
- Storage Solutions: Use shelves, bins, and pegboards to store tools and materials. Label them for easy retrieval.
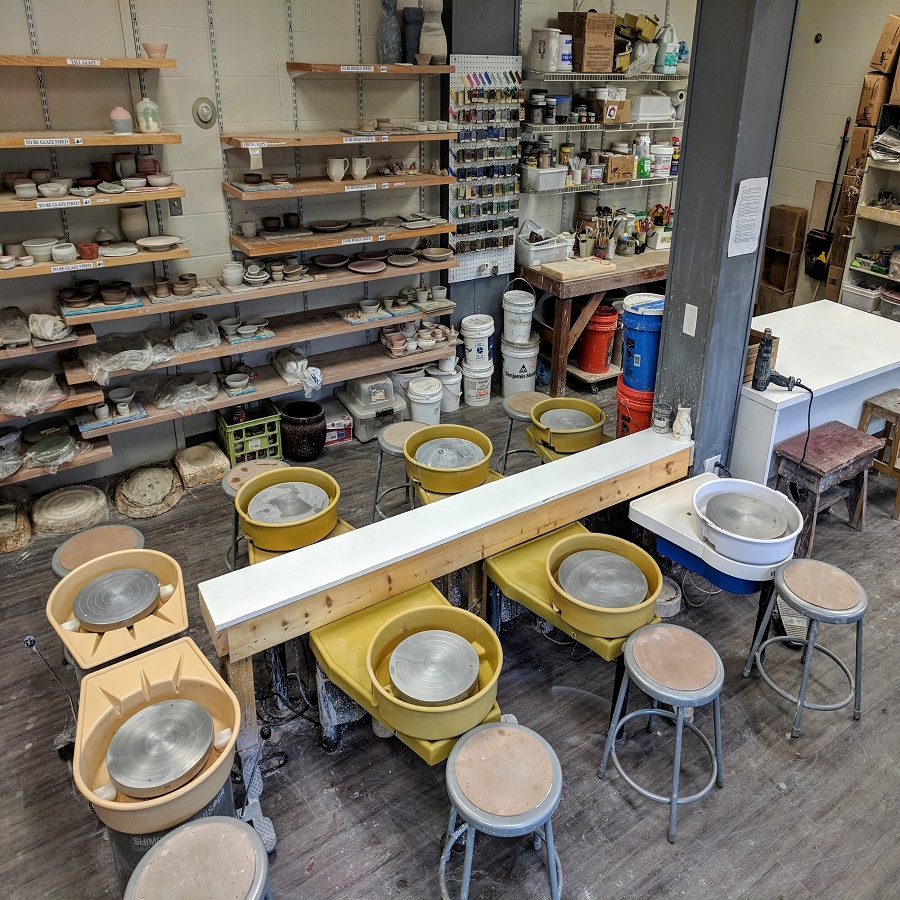
- Work Zones: Divide your workspace into areas dedicated to different tasks, such as wedging, throwing, and glazing.
- Cleaning Routine: Maintain a regular cleaning schedule. Keeping surfaces and floors free of clay and debris helps prevent accidents and prolongs the life of your equipment.
- Efficient Layout: Arrange your tools and equipment in a logical order that follows your workflow. This minimizes unnecessary movements and saves time.
Remember, the goal is to create a ceramics studio that not only meets your practical needs but also feels like a personal retreat where you can unleash your artistic potential.

Essential Tools and Equipment
Each ceramics studio needs the right tools and equipment to turn clay into stunning pottery pieces. Here’s a guide to the essentials you should consider.
The Pottery Wheel: Types and Selection
The pottery wheel is central to creating ceramics. There are two main types: manual and electric. Manual wheels, or kick wheels, rely on physical force to spin. Electric wheels offer consistent speeds with a foot pedal. Decide which type suits your style, and look for sturdy construction and smooth operation.
Kilns for Firing Ceramics: What to Look For
Choosing the right kiln is critical for the firing process. Consider the kiln’s size, control options, such as manual or digital, energy types like electric or gas, and temperature range. Ensure it fits in your studio and matches the type of work you intend to produce.
Hand Tools and Accessories Guide
A variety of hand tools are vital for shaping and detailing your work. These include:
- Ribs for shaping and smoothing
- Needle tools for cutting and scoring
- Wire cutters to remove pieces from the wheel
- Sponges for moisture control
- Trimming tools for foot and base work
Accessories like banding wheels and extruders can also enhance your studio capabilities. Stay organized with a tool caddy or wall storage to keep these items within reach.

Clay Selection and Storage
Choosing the right type of clay is essential for your ceramics studio. Various clays have unique properties that impact the final product’s texture, strength, and color.
Different Types of Clay and Their Properties
The main types of clay used in ceramics include earthenware, stoneware, porcelain, and ball clay. Earthenware is known for its rich reds and earthy tones, making it perfect for decorative items. Stoneware, on the other hand, is durable and ideal for functional pieces. Porcelain offers a fine, smooth texture with a pure white finish, highly valued for its elegance. Lastly, ball clay provides plasticity and strength to clay bodies, often used in combination with other types.
When selecting clay, consider the firing temperature, the level of grog (added granularity), and color. These factors will influence the clay’s workability and the finished piece’s quality.
Best Practices for Storing Clay
Proper storage is vital to maintain clay quality and workability. Here are some tips:
- Keep Clay Moist: Store clay in airtight containers or plastic bags to prevent drying out.
- Label Containers: Clearly mark containers with the type of clay and date of storage.
- Temperature Control: Store clay in a cool, dry area to prevent freezing or mold growth.
- Avoid Contamination: Store different types of clay separately to prevent cross-contamination.
Regularly check your stored clay for consistency and quality before use. Keeping your clay in good condition is crucial for producing consistent and high-quality ceramic pieces.
Safety Measures in a Ceramics Studio
Safety is a critical consideration in any ceramics studio. Each ceramist must be aware of the potential hazards and take steps to minimize risks. Using potentially harmful materials and operating high-temperature equipment like kilns necessitates strict safety protocols. By adhering to safety guidelines, you can ensure a secure environment for creativity and craftsmanship.
Handling Chemicals and Materials Safely
Many ceramics processes involve chemicals that can be hazardous to health if not handled properly. Follow these safety measures:
- Use Proper Labeling: Always label all chemicals clearly. Include hazard information on the labels.
- Storage: Store chemicals in a dry, cool place away from direct sunlight and heat sources.
- Chemical Disposal: Dispose of chemicals according to local regulations. Avoid dumping them down the drain.
- Material Safety Data Sheets (MSDS): Keep MSDS for all chemicals in the studio. These provide vital safety information.
- Ventilation: Make sure your studio has proper airflow when working with chemicals.
Protective Gear and Equipment
Wear appropriate gear to shield yourself from potential hazards in the ceramics studio:
- Gloves: Protect your hands from chemicals and sharp tools with durable gloves.
- Dust Mask or Respirator: Use these to avoid inhaling clay dust or chemical fumes.
- Safety Glasses: Keep your eyes safe from flying debris while cutting or chiseling.
- Apron or Studio Clothing: Wear a dedicated apron or old clothes to protect your skin from clay and glaze splatters.
By following these safety guidelines and gearing up with protective equipment, you create a safer space for your ceramic artistry. Remember, precaution is key to a long and healthy practice in ceramics.

Techniques and Tutorials for Beginners
Starting in ceramics can feel overwhelming, but with the right techniques, it becomes a joyful journey. Beginners can delve into the world of clay with some essential methods that lay the foundation for more complex projects.
Basic Hand-Building Techniques
Hand-building is an accessible way to shape your ceramic visions without a pottery wheel. Three basic techniques are essential for any beginner:
- Pinching: Start by forming a ball of clay. Press your thumb into the center and pinch the walls to create pots or cups.
- Coiling: Roll out long ropes of clay, layer them one on top of another, and blend them together to build vases or bowls.
- Slab Building: Roll out flat pieces of clay, cut them into shapes, and join the edges to form boxes, plates, or other designs.
These methods let you explore shapes and textures. They require minimal tools and are excellent for understanding the properties of clay.
Introduction to Throwing on the Wheel
Throwing on the wheel is an exciting skill that takes time to master. Here’s a basic guide:
- Centering the Clay: This is the first step. Ensure your clay is firmly in the middle of the wheel to prevent it from wobbling.
- Opening The Clay: Once centered, press down into the middle to create a hollow.
- Pulling Up the Walls: With steady hands, lift and shape the walls of your piece to the desired height and thickness.
- Final Shaping: Use your fingers or tools to refine the shape of your piece.
Start with simple shapes, like cylinders, to get a feel for the motion and technique.
Practice is key in both hand-building and wheel throwing. With patience and repetition, beginners will see their skills flourish. Remember, every ceramist was once a beginner, so embrace the learning process in your ceramics studio.
Advanced Projects and Skills Development
As you progress in your ceramics journey, challenging yourself with advanced projects fosters growth. Enhancing your skills leads to unique creations that stand out. This advancement involves mastering complex techniques like glazing and surface decoration. It also includes honing an individual style that resonates with your artistic voice.
Mastering Glazing and Surface Decoration
Glazing and surface decoration take your pieces from basic to breathtaking. Here’s how to excel in this art:
- Experiment with Glazes: Test various glaze types to discover the effects they create. Try layering glazes for depth and richness.
- Surface Techniques: Learn sgraffito, slip-trailing, and wax resist for intricate designs.
- Regular Testing: Always test new decoration methods on small pieces before applying them to larger works.
- Temperature Effects: Understand how different firing temperatures impact glaze appearance.
- Safety First: Use gloves and masks when handling glazes to protect your skin and lungs.
Developing Your Unique Style and Aesthetics
Your unique style distinguishes your work. Cultivate it with these practices:
- Personal Inspiration: Draw inspiration from personal experiences, nature, or art that moves you.
- Consistent Practice: The more you create, the more refined your style becomes.
- Educate Yourself: Keep learning about ceramics. Knowledge fuels creativity.
- Critique and Feedback: Embrace constructive criticism. It can guide improvements and style development.
- Portfolio Creation: Build a portfolio of your work. It showcases your style evolution and expertise.
In the ceramics world, there’s always room to evolve. Push yourself to learn new skills and polish existing ones. Your ceramics studio is a space where creativity meets skill, and where your unique aesthetic signature comes to life.
Marketing Your Ceramics
In today’s digital age, marketing your ceramics is as important as creating them. Your beautiful works need an audience, and with the right strategies, you can reach potential customers far and wide. Let’s delve into how to put your ceramics studio on the map.
Building an Online Presence
Establishing an online presence for your ceramics studio is key to reaching a broader audience. Consider these actionable steps:
- Create a Website: Build a professional website showcasing your portfolio, artist statement, and contact information.
- Social Media: Utilize platforms like Instagram, Pinterest, and Facebook. Post photos of your work, studio glimpses, and processes.
- Online Marketplaces: Sell your pieces on Etsy, Amazon Handmade, or other niche platforms for artisans.
- SEO: Optimize your content with relevant keywords. ‘Ceramics studio’ and related terms can improve your search engine ranking.
- Email Marketing: Collect emails through your website. Send newsletters with updates, sales, or new collections.
Consistency and high-quality visuals are crucial for an engaging online presence. Remember, your digital storefront should reflect the uniqueness of your ceramics.
Participating in Craft Shows and Local Markets
Beyond the digital world, immerse yourself in the community through craft shows and local markets. These venues are perfect for:
- Direct Sales: Sell your ceramics directly to the public. Engage with customers and gather feedback.
- Networking: Connect with fellow artists, suppliers, and potential collaborators.
- Brand Exposure: Increase awareness of your ceramics studio. Hand out business cards or brochures.
- Live Demonstrations: Attract crowds with pottery wheel demonstrations. Show off your skills and craftsmanship.
Research events well in advance and prepare an attractive display. Personal interactions can lead to strong customer bonds and repeat business.
In summary, combine an online strategy with community engagement to effectively market your ceramics. Your studio’s success will grow with each connection made and each piece sold.