Getting Started with the Pottery Wheel
Venturing into the world of pottery begins with understanding the ceramics wheel. It’s a tool essential for creating beautiful and functional pieces. Yet, knowing where to start can be daunting for beginners. Here, we’ll guide you through the initial steps, ensuring a smooth entry into wheel-thrown pottery.
Choosing the Right Wheel for You
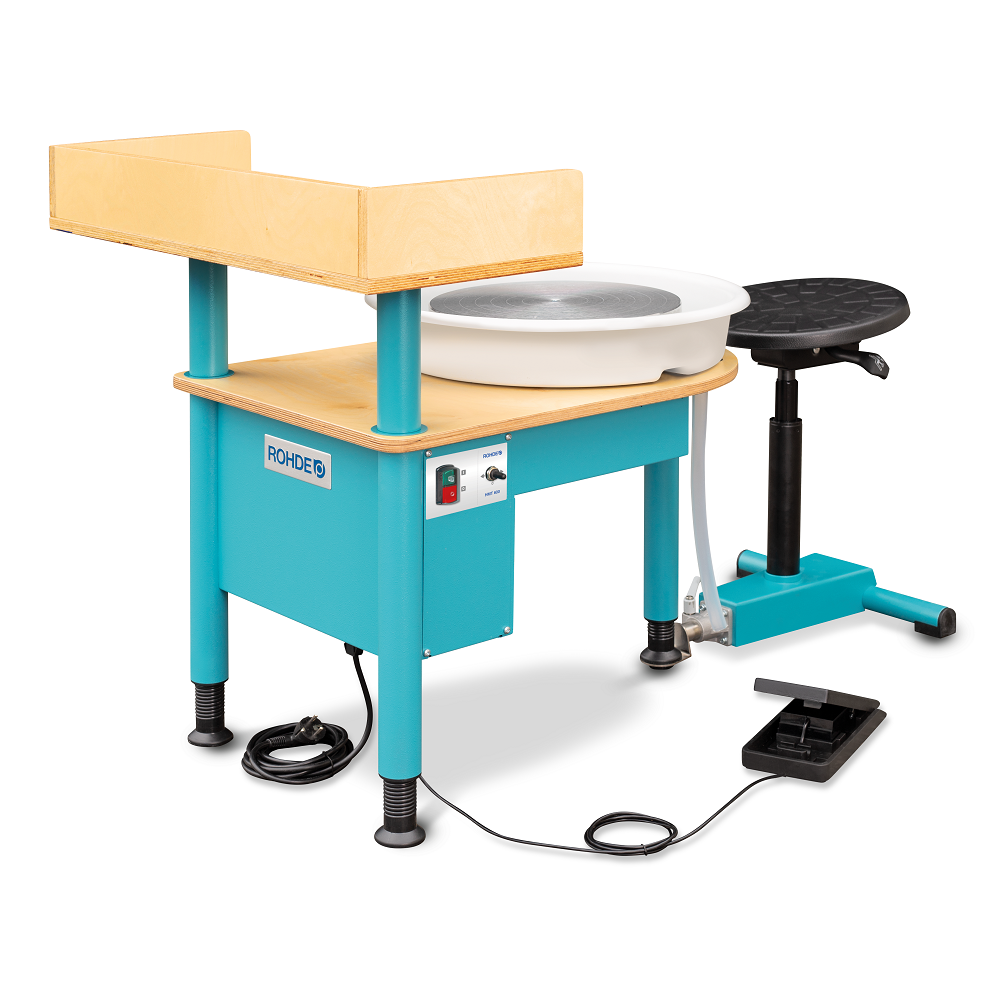
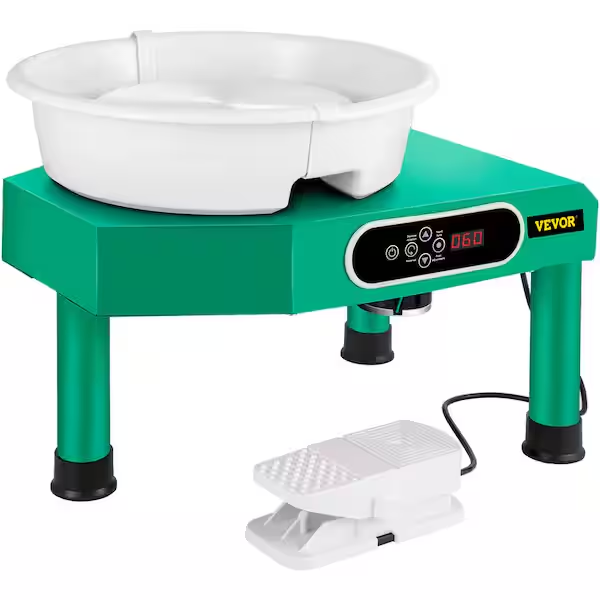
When selecting a ceramics wheel, consider your space, budget, and ambition. Start with a simple model if you are new to the craft. Look for a wheel with a sturdy construction and variable speed options. A wheel that runs quietly and has a responsive foot pedal will make your learning process more enjoyable. Remember, the right wheel should feel comfortable and suit your particular pottery goals.
The Basic Tools and Materials You’ll Need
Besides the ceramics wheel, a few basic tools and materials are necessary for success:
- Clay: Choose a beginner-friendly clay that is pliable and forgiving.
- Cutting wire: For slicing clay and removing finished pieces from the wheel.
- Needle tool: Essential for trimming and ensuring even thickness.
- Rib tools: These help shape and smooth your creations.
- Sponge: Keeps your hands and clay moist, which is crucial for proper wheel-throwing.
- Bucket of water: For keeping tools clean and clay workable.
Start with these essentials to establish a solid foundation for your ceramics wheel journey. With the right wheel and tools, you’ll be set to tackle the craft’s fundamental techniques.

Centering the Clay
Before diving into the detailed ceramics wheel techniques, centering the clay is a crucial step for beginners to master. It sets the stage for a successful piece of pottery by creating an even foundation. Without a well-centered piece of clay, the final product may end up asymmetrical or collapse during wheel throwing. Now, let’s walk through the key steps and avoid common pitfalls in centering the clay.
Key Steps to Centering
Centering begins with placing a lump of clay onto the wheel head. Here are the essential steps to follow:
- Wedge the clay: This removes air pockets and ensures consistency. Do this before placing the clay on the wheel.
- Place the clay: Position it as close to the center as possible. Press down slightly to adhere it to the wheel head.
- Wet your hands and the clay: Use a sponge or your cupped hands to keep the surface moist.
- Start the wheel: Set it to a moderate speed that feels comfortable.
- Brace your arms: Keep your elbows against your body to create stability.
- Apply pressure: Use the palms of your hands to press the clay down and inwards towards the center.
- Cone up and down: Push the clay into a conical shape, then press it down, repeating the process until centered.
Remember to maintain consistent speed and pressure throughout the centering process. When done correctly, your clay will appear stationary, even as the wheel spins.
Common Mistakes to Avoid When Centering
Centering can be challenging when you’re starting. Here are some common mistakes and how to avoid them:
- Applying uneven pressure: Keep your movement steady and controlled, or the clay will wobble.
- Not wedging the clay: This can cause air bubbles and uneven texture. Always wedge your clay first.
- Working with too much water: Excess water can make the clay too slippery. Use just enough to keep it moist.
- Starting at high speed: Control is harder to maintain at high speeds. Start at a lower speed and gradually increase as needed.
- Lifting hands too quickly: When you remove your hands, do it with care. Quick movements can throw the clay off center again.
By paying attention to these steps and avoiding common mistakes, beginners can create a solid foundation for their pottery projects. The ability to center clay effectively on the ceramics wheel is a fundamental skill that will serve you well throughout your pottery journey.

Wheel Throwing Techniques
After centering the clay, the next step in using the ceramics wheel is wheel throwing. This is where you begin to shape your pottery piece and it requires patience and practice. Understanding and mastering the following techniques will enable you to create a wide variety of forms and enhance your skills as a potter.
Opening the Clay
Opening the clay is the initial step in shaping your pottery on the ceramics wheel. To do this:
- Place your thumbs at the center of the clay and press down gently but firmly.
- Create a hole in the center and slowly widen it, keeping the bottom even.
- Keep the opening centered to prevent an uneven pot.
- Use a steady speed on the wheel, so your movements are controlled.
Focus on keeping your hands steady and the pressure even to create a strong foundation for your pot.
Pulling up the Walls
Once you have opened the clay, it’s time to pull up the walls to form the sides of your pot. Follow these steps:
- Compress the clay at the base near the hole with your fingertips.
- Gently squeeze the clay between your inside and outside hand.
- Move your hands upward, elongating the clay walls.
- Maintain even pressure to ensure uniform thickness of the walls.
This stage requires coordination and gentle but firm handling of the clay to prevent collapsing or uneven walls.
Shaping and Forming Your Pottery
Shaping allows you to turn a basic cylinder into a finished piece of pottery. To shape your pottery:
- Decide on the form and contour you want for your piece.
- Use your hands and tools to guide the clay into the desired shape.
- Smooth out the surfaces as needed.
- Continuously evaluate the form and make adjustments while the wheel spins.
As you become more experienced, you’ll learn to create a variety of shapes and designs, making each piece unique. Remember to practice these techniques regularly, as the craftsmanship of wheel-thrown pottery lies in the subtlety of your hand movements and the understanding of the ceramics wheel.

Trimming and Finishing Techniques
Once you’ve shaped your pottery on the ceramics wheel, the next step is trimming and finishing. This stage refines your piece, adds details, and prepares it for firing.
The Basics of Trimming
Trimming involves removing excess clay to refine the shape and foot of your pottery. Begin by flipping your dried piece upside down on the wheel. Secure it with clay chunks to avoid slippage. Use a sharp tool to trim away the excess clay at the base and sides to create a smooth and even surface. Rotate the ceramics wheel slowly, and apply steady, controlled cuts.
Essential Tools for Trimming
For a successful trim, you need:
- Trimming tools: Select a variety of shapes for different angles and curves.
- Loop tools: Great for removing large amounts of clay quickly.
- Rib tools: These can smooth the trimmed areas.
- Wire tool: Useful for cutting off the trimmed piece from the wheel.
Ensure your tools are sharp and in good condition for clean cuts.
Smoothing and Decorating
After trimming, smooth out any tool marks using a sponge or a soft rib. Then, you can add decorative elements. You can carve designs, add texture with stamps, or attach handles or other features. Make sure the pottery is leather-hard for best results – too wet, and the clay may warp; too dry, and it could crumble. Once decorated, leave your piece to dry completely before firing.
Drying and Firing Your Pottery
After shaping and decorating your pottery, drying and firing are the final steps to solidify your creation. These processes are essential; they transform the soft clay into a hard, durable piece. Let’s delve into the best practices for drying and ensure your pieces are properly prepped for the firing process.
Best Practices for Drying Wheel-Thrown Pieces
Proper drying is key to preventing cracks and warps in your pottery. Here are some best practices:
- Even Drying: Place your pottery in a location with consistent temperature and humidity to dry evenly.
- Covering Pieces: Use a plastic sheet to loosely cover your pieces for a slow, controlled drying process.
- Turn Regularly: Rotate your pieces to help them dry uniformly.
- Check for Leather-Hard: When the clay is leather-hard, it’s ready to be trimmed. It should not bend or feel cold.
- Complete Drying: Ensure pieces are bone dry before firing. This means the clay should be the same color throughout and no longer cool to touch.
It is vital to be patient during the drying process. Rushing can lead to defects that are impossible to fix once the piece is fired.
Understanding the Firing Process
Firing is the transformation phase for your pottery. It requires a kiln, a heat-based device, where the magic happens. Familiarize yourself with the following:
- Bisque Firing: The first firing done to harden the pottery without glazing. It prepares the piece for glazing and the final glaze firing.
- Glaze Firing: After applying glaze, the second firing vitrifies the glaze and clay body, creating a glass-like surface.
- Temperature Control: Kilns must reach specific temperatures determined by the clay and glaze. Use a pyrometer to monitor this.
- Firing Cycle: The process includes a gradual increase in temperature, a period of high-temperature maintenance, and a controlled cooling phase.
- Safety Precautions: Always follow safety measures because high temperatures can be dangerous.
Being mindful of each step in drying and firing ensures a high-quality final product that is both beautiful and strong. As a potter, mastering these stages on the ceramics wheel will allow you to consistently produce exceptional work.
Glazing Your Creations
Once your pottery pieces have been carefully trimmed and fired, it’s time to add color and shine through glazing. Glazing not only beautifies your creation but also seals the surface, making it food-safe and functional. Here’s how to choose and apply glaze to your ceramics wheel projects.
Selecting the Right Glaze
Choosing a glaze is a creative decision. Consider the following tips:
- Color Matching: Pick colors that complement your piece’s shape and style.
- Food Safety: For functional ware, use glazes that are non-toxic and food-safe.
- Firing Temperature: Match your glaze’s firing temperature with that of your clay body.
- Finish: Decide between matte, satin, or glossy finishes based on the desired look.
Test glazes on small samples first to see how they perform in the kiln.
Application Techniques for Beginners
Applying glaze can be a fun, but exacting process. Here’s a simple guide:
- Stir the Glaze: Mix it well to ensure even consistency.
- Wax Resist: Apply wax resist to the bottom of your piece to prevent sticking to kiln shelves.
- Dip or Pour: Dip the pottery into the glaze or pour the glaze over the piece to cover it quickly.
- Brush On: Use a glaze brush for more control, ideal for patterns or layers.
- Sponge Off: After application, sponge off excess glaze from the bottom.
- Let Dry: Allow the glaze to dry completely before firing.
- Firing: Follow the specific glaze instructions regarding firing temperature and cycle.
Taking your time during the application will help avoid drips and uneven coating.
With the right glaze and application technique, your ceramics wheel pieces will come out of the kiln with a professional, polished look. Practice makes perfect, so don’t hesitate to experiment with various colors, finishes, and methods to find what works best for you.
Cleaning and Maintenance of the Wheel
Taking care of your ceramics wheel is as important as mastering pottery techniques. Regular cleaning and maintenance help ensure that your wheel remains in good working order and lasts many years. Here we’ll explore some essential tips for both routine cleaning and long-term care of your pottery wheel.
Routine Cleaning Tips
Keeping your wheel clean helps prevent buildup of clay and debris, which can affect performance. Here’s how you can keep your wheel in top shape:
- Wipe down daily: After each use, clear away clay scraps with a damp sponge or cloth.
- Clean splash pans: Remove and rinse out splash pans regularly to stop clay from hardening.
- Check for build-up: Inspect wheel head, bat pins, and pedal for clay and clean as needed.
- Dry thoroughly: Ensure all parts are dry before storing to avoid rust and decay.
- Tools tidy-up: Rinse your tools after use and keep them organized and ready for the next session.
By following these simple cleaning steps, you can greatly extend the life of your ceramics wheel and improve the quality of your pottery.
Long-Term Maintenance and Care
Investing time in care today saves repair costs tomorrow. Make your wheel last with these long-term maintenance steps:
- Lubricate moving parts: Apply a light machine oil to the wheel shaft and foot pedal as directed by the manufacturer.
- Tighten bolts and screws: Check and tighten any bolts and screws that may have loosened over time.
- Inspect electrical components: Safely look over the motor and wires. Consult a professional for any electrical issues.
- Regular check-ups: Periodically inspect your wheel for wear and tear. Replace parts like belts and bearings as necessary.
- Store properly: If not using your wheel for an extended period, store it in a clean, dry area away from direct sunlight.
By sticking to a consistent maintenance schedule, you keep your ceramics wheel running smoothly, ensuring it’s ready whenever creativity strikes.