Preparing Surfaces for Painting
Proper surface preparation is crucial for painting ceramics successfully. Start by selecting an appropriate base material and ensure that it is clean and ready to absorb the paint.
Choosing the Right Base Material
When selecting a base for painting ceramics, choose from porcelain, glass, or china. These materials need no special prep as long as they are dry and clean. For other clays, additional steps ensure a waterproof surface for painting.
Drying and Sealing Air Hardening Clay
Air hardening clay requires thorough drying before painting. After drying, apply a layer of clay varnish or acrylic gloss medium. This seals the surface and prevents the ceramic paint from being absorbed and causing softness.
Curing Polymer Clay for Painting
Polymer clay must be oven-baked before it’s ready for paint. This step hardens and cures the clay, creating a stable surface for the ceramic paints to adhere to effectively. Ensure that the clay is baked according to the manufacturer’s instructions for best results.

Building Paint Opacity with Layers
To achieve rich color and reduce transparency in your ceramic painting, layering is key. Start by applying a base coat and allowing it to completely dry. A fully dried base ensures that successive layers bind well. Reapply coats as needed to build up the opacity, which intensifies the hue and detail of your work. Patience is important here, as rushed layers can lead to unsatisfactory results.
Using Taklon Brushes for Application
Taklon brushes are your best bet for a smooth application. These synthetic brushes come in various sizes and shapes, suiting different detailing needs. Their fine bristles are perfect for even paint application, minimizing brush strokes. Always use a clean brush for each color to maintain paint purity.
Mixing Ceramic Paints for Custom Colors
Unleash your creativity by mixing ceramic paints to craft custom colors for your project. Combine primary colors to form unique shades that reflect your artistic vision. Remember to mix thoroughly before applying, ensuring consistency in your new hue. Start with small amounts of paint when mixing – you can always add more to reach the desired intensity.
Utilizing Ceramic Paint Mediums
Ceramic paint mediums enhance the painting process significantly. They help artists achieve certain visual effects that might be difficult with paints alone.
Achieving Translucency and Glaze Effects
To create translucent layers or glaze effects on ceramics, thinning paints with a medium is essential. This method lets the base material’s texture show through, adding depth to your work. Mix ceramic medium with paint for a sheer finish. Apply it in thin layers to achieve the desired transparency. This technique is perfect for artists looking to evoke watercolor styles on their ceramics.
Applying Medium as a Clear Gloss Sealant
After painting, a ceramic medium can serve as a sealant to lock in colors. Once your paint is dry, a layer of clear gloss medium adds shine and protection. It safeguards your art from moisture and wear. Apply the medium evenly across the surface and let it dry. Ensure that it cures properly to maintain the vibrancy of your artwork.

Creative All Over Design Techniques
Transform your ceramic pieces into unique artworks with these creative painting techniques. Explore various methods to bring texture, color, and intricate details to life on ceramics.
Sponge Painting for Texture
Sponge painting is an excellent way to create rich textures on ceramics. Dip a sponge in ceramic paint and dab gently on the surface. This method builds a dimensional and rustic look. Experiment with different sponge sizes for varied effects.
Creating Glaze Effects with Thinned Paints
Achieve a translucent glaze effect by thinning ceramic paints with water or ceramic medium. Apply the thinned paint in smooth layers to let the underlying clay tone shine through. This technique is perfect for adding a sheer finish to your ceramics.
Experimenting with Fluid Art on Ceramics
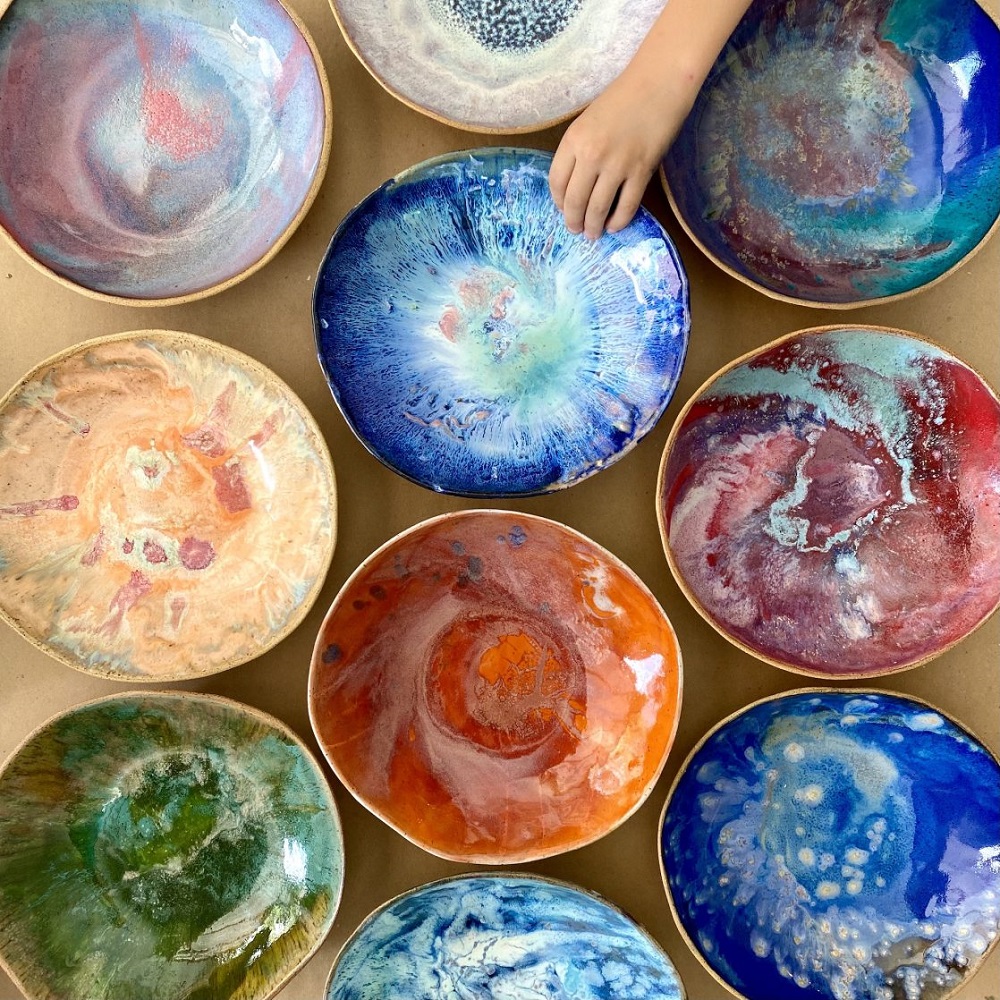
Fluid art brings an exciting swirl of colors to ceramics. Mix ceramic medium with your paints to thin them out. Layer different colors in a cup and pour onto the ceramic surface. Tilt the piece to spread the paints until you achieve your desired design.
Stencil Work Using Lace for Intricate Patterns
Create detailed patterns using lace as a stencil. Secure the lace over your ceramic item and paint over it. Carefully remove the lace to reveal a stunning, intricate design. This method is ideal for adding elegant details to your work.
Splatter Effect for a Bold Look
For a bold and fun effect, try splatter painting. Load a firm brush with paint and flick the bristles to splatter paint on your ceramic. Adjust the amount of paint for different splatter sizes. This technique is great for lively, abstract patterns.

Adding Fine Details to Your Ceramics
Adding fine details can transform simple ceramics into stunning artworks. Focus on techniques that bring intricate designs to life. Below are some popular methods to elevate your ceramic painting.
Painting Mandala Patterns
Mandalas offer a symmetrical appeal that can mesmerize viewers. Begin by sketching a simple outline on your piece. Then, layer your colors using fine brushes. Proceed from the center outward, ensuring each layer is dry before adding the next. This patience pays off with a beautiful, detailed finish.
Geometric Designs on Ceramics
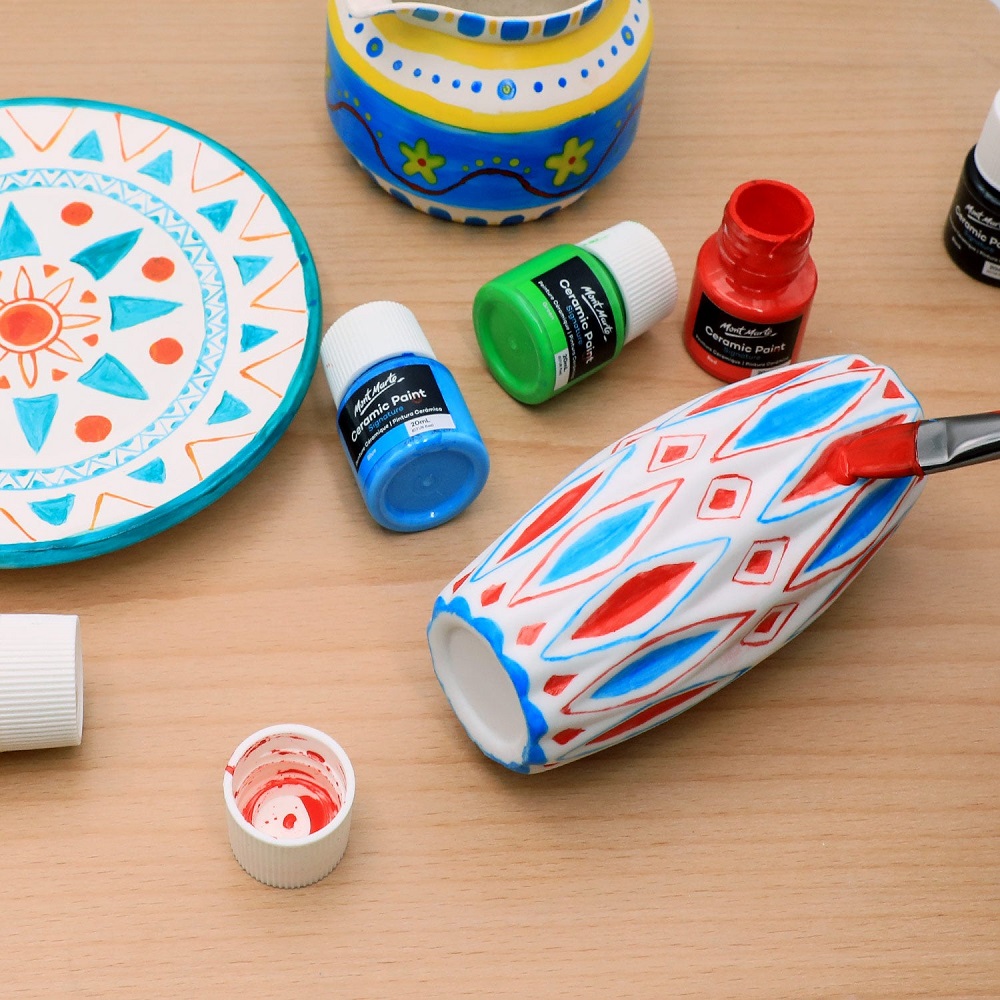
Geometric patterns require precision. Use painter’s tape to create sharp lines and shapes. Apply ceramic paints within these boundaries to prevent bleeding. Experiment with overlapping shapes and different colors for a dynamic look. This style is perfect for modern decor.
Floral Motifs and Their Variations
Florals range from simple to complex. Start with basic shapes to outline your flowers. Gradually add details like petal textures and color gradients. Light strokes can mimic delicate petals, while bolder strokes make flowers pop.
Incorporating Animal Figures in Ceramic Art
Animal figures add a playful touch to ceramics. Sketch your animal design first. Use thin brushes and diluted paints for detailed work. Build up layers to add depth and realism. Animal motifs are perfect for personalized gifts or children’s room decor.
Sealing and Curing Your Ceramic Creations
Once you’ve completed your ceramic painting, it’s vital to seal and cure your artwork. This protects your design and ensures longevity.
Adding Gloss and Protecting the Paint
For a shiny finish and extra protection, apply a gloss medium over your painting. This acts as a barrier against moisture and wear. Make sure the paint is completely dry before applying the gloss. Use a broad, soft brush to apply an even layer across your creation.
Curing Process in the Oven
After gloss application, curing the piece in the oven is the next step. This process locks in the paint and gloss. Preheat your oven to 140 degrees Celsius or follow the gloss manufacturer’s guidelines. Bake your artwork for about 30 minutes, but watch it closely to prevent overheating.
Additional Sealing with Gloss Clay Varnish
For an added layer of shine and protection, consider a gloss clay varnish. Varnish is great for polymer and air hardening clays. It dries quickly, usually within half an hour. Apply it after curing to give your ceramics a professional and durable finish.
Aftercare for Painted Ceramics
Proper aftercare ensures your painted ceramics look great for years. Here’s how to keep them in the best condition.
Cleaning and Maintaining Ceramic Artwork
When cleaning painting ceramics artwork, use mild soapy water. Avoid dishwashers and microwaves. Hand wash gently to prevent damage to the paint. Always dry your pieces thoroughly after washing.
Protecting Paint from Wear and Fading
To protect your painting ceramics from fading and wear, avoid direct sunlight. Display your ceramics in shaded areas. If needed, occasionally apply a fresh coat of gloss varnish. This provides extra protection and keeps the colors vibrant.