Ceramic items can add a touch of elegance to your home decor. However, they are also fragile and can be easily broken. Fortunately, with the right glue and techniques, repairing ceramics can be a simple and satisfying DIY project. Whether you want to fix a beloved family heirloom or create unique pottery pieces, understanding how to use glue effectively is crucial. This article provides essential tips for successfully using glue on ceramics, ensuring strong and lasting repairs.
Choosing the Right Glue for Ceramics
Types of Glue for Ceramics
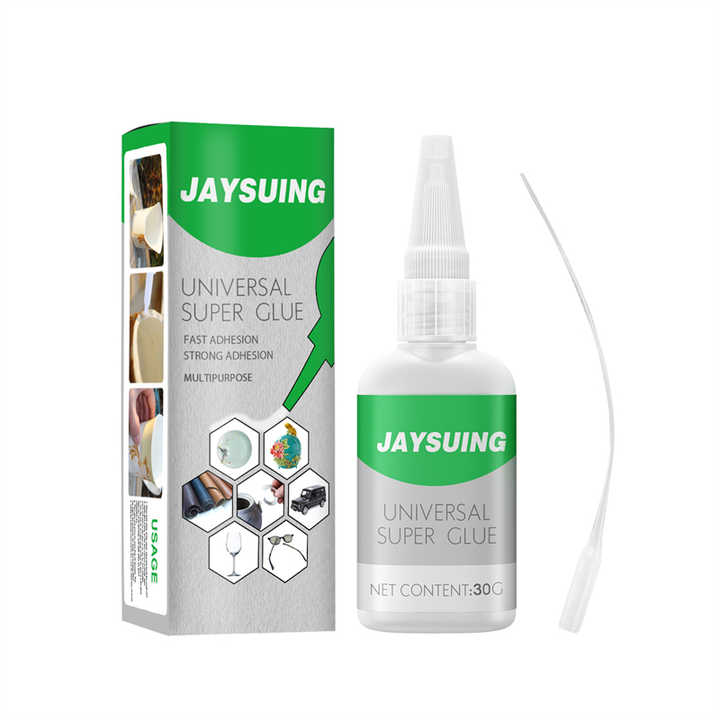
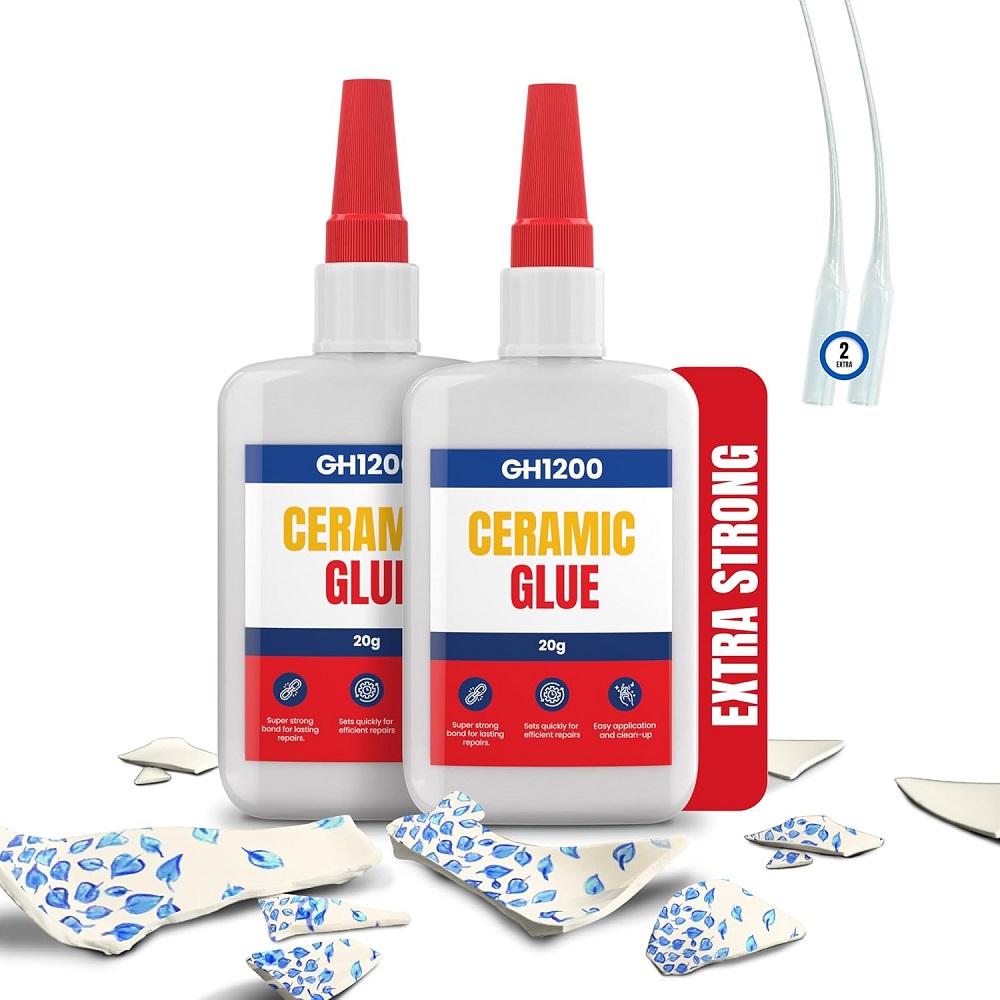
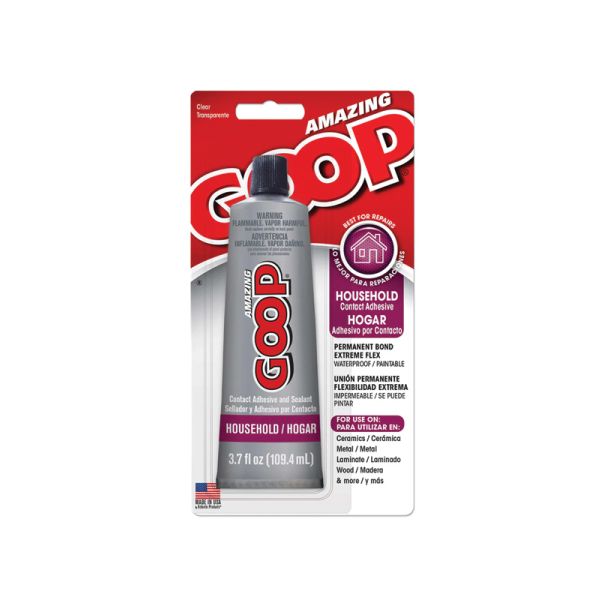
When it comes to repairing ceramics, not all adhesives are created equal. The type of glue you choose will depend on the specific application, the weight of the ceramic item, and the conditions it will face. Some common types of glue suitable for ceramics include PVA glue, epoxy resin, super glue, and specialized ceramic adhesives.
PVA (polyvinyl acetate) glue is perfect for light repairs. It dries clear and can be easily sanded, making it a versatile choice for minor cracks. Epoxy resin offers a high strength bond and is ideal for larger breaks or objects subjected to stress. This two-part adhesive provides durability and weather resistance but requires mixing before application. Super glue, or cyanoacrylate adhesive, sets quickly and is great for small, precise repairs. However, it might not be as strong as epoxy in some situations. Finally, look for specific ceramic adhesives, which are designed to work with porcelain and stoneware, ensuring the best results.
Factors to Consider
When choosing the right glue for your ceramic project, consider the specific repair needs. Assess the type and weight of the ceramic item, as well as the level of stress it will encounter once repaired. For instance, a decorative vase may not require the same level of strength as a ceramic dish that needs to withstand daily use.
The environment in which the repaired item will be placed is also an important factor. If the item will be exposed to moisture or extreme temperatures, select a glue that offers water resistance or is designed for outdoor use. Additionally, consider the drying time and ease of application. Some adhesives are quick-drying, while others may require more time but provide a stronger bond.

Preparing the Ceramic Surface
Cleaning the Fragments
Before applying any glue, it is essential to prepare the ceramic surface properly. Start by cleaning the broken pieces thoroughly. Any dirt, dust, or old adhesive can interfere with the bond. Use warm soapy water and a soft cloth to wash the fragments. Rinse them thoroughly and allow them to dry completely.
For items with stubborn residues, you may use rubbing alcohol or acetone. These can help remove grease or oils that could hinder adhesion. Ensure that the surface is completely clean and dry before proceeding to the next step. Taking the time to prepare the ceramic surface will significantly improve the effectiveness of the adhesive.
Aligning the Pieces
Once the ceramic fragments are clean and dry, begin the assembly process. Carefully align the pieces together to visualize how they will fit. This step may involve trial and error, especially for irregularly shaped items. Once you’re satisfied with the alignment, mark the edges lightly with a pencil or non-permanent marker.
This alignment helps in applying adhesive precisely without the need for constant adjustments once glue is added. Keeping the parts aligned allows for a better bonding process and a more seamless repair. Familiarizing yourself with the layout will make the application smoother and enhance the final result.
Applying the Glue
Using the Right Amount
When applying glue, it is crucial to use the right amount. Too little adhesive may not create a strong bond, while too much can lead to overflow and an unsightly finish. Each type of glue may have different application techniques; therefore, follow the manufacturer’s recommendations for dosage.
For PVA glue, a thin layer applied to both surfaces works well. Epoxy resin usually requires mixing both components evenly before applying. Utilize a disposable mixing stick to ensure a thorough mixture. Super glue typically comes in a squeeze bottle or tube, making it easier for targeted application on small areas.
Proper Application Technique
For a strong, lasting bond, apply the glue evenly across the surfaces. Using a brush or spatula can help spread the adhesive uniformly, especially for larger areas. Be gentle to avoid unnecessary pressure that may cause the pieces to shift out of alignment. If you’re using epoxy, compress the surfaces together gently after applying.
Watch out for any excess adhesive that may ooze out during the application. Wipe off any overflow with a cloth or paper towel before it dries. This cleaning step ensures neatness while preventing additional hassle during the curing process.

Securing the Bond
Holding the Pieces Together
After applying glue, it’s essential to hold the glue for ceramics pieces together to ensure a strong bond. Depending on the type of glue used, you may need to apply pressure for a specified time. For most adhesives, holding the pieces in place for about 10 to 30 seconds should suffice.
However, some glues, like epoxy resin, may require a longer curing time for maximum strength. In such cases, keep the pieces secured using clamps or weights. Clothespins and rubber bands can also work in a pinch for smaller items. If using clamps, ensure they do not exert too much pressure, as this may cause misalignment.
Allowing Time to Cure
Once the pieces are secured, it’s important to allow the adhesive to cure fully. Many glues will have specific instructions detailing the recommended curing time. For example, epoxy might need anywhere from several hours to a full day, while super glue may set within minutes but reach full strength over the course of hours.
Avoid moving or stressing the piece until the glue has fully cured. This patience ensures that the bond remains strong and that the repair holds up well over time. Be sure to keep the repaired object in a safe location during the curing process to avoid any accidental impact.
Finishing Touches
Sanding for Smoothness
Once the adhesive has fully cured, inspect the repaired area. If there are any rough edges or excess glue, you can gently sand the surface for a smoother finish. Using fine-grit sandpaper is ideal for this task, as it allows for precise smoothing without damaging the ceramic.
Be cautious when sanding around fragile areas to avoid causing further damage. After sanding, wipe away any dust or particles to prepare the surface for painting or sealing. This finishing touch can significantly enhance the repaired area’s appearance and restore the item’s integrity.
Painting and Sealing
For a complete restoration, you may want to paint over the repaired section to blend it in with the surrounding area. Use acrylic paints, as they adhere well to ceramics and can be mixed to achieve various colors. After applying the paint, allow it to dry completely before proceeding to seal the repair.
Sealing the repaired area with a clear ceramic sealant will protect it from moisture and damage. This is particularly important for items that will be used for food or drink. The sealant will provide an extra layer of protection, ensuring that your repaired ceramic lasts for years to come.

Preventative Care for Ceramics
Handling With Care
To extend the lifespan of your ceramic items, handling them with care is crucial. Always avoid exposing them to extreme temperatures and abrupt temperature changes. For example, ceramic items should not be placed directly from the freezer into a hot oven, as this can cause cracking.
When cleaning ceramic items, opt for gentle cleaning agents and soft sponges. Avoid abrasive materials that can scratch the surface. If possible, hand wash delicate items instead of putting them in the dishwasher, which can be damaging over time.
Regular Inspections
Make regular inspections of your ceramic items to catch any signs of damage early. If you notice any cracks or chips, address them immediately to prevent further deterioration. Early intervention can often save pieces that might otherwise become unusable.
Create a strategy to store your ceramics safely. Keep valuable or fragile items in protective cases or cushioned storage areas. By ensuring they are well-maintained, you can preserve the beauty and functionality of your ceramic collection.
Embracing the Art of Repair
Repairing ceramics can be a fulfilling DIY project that lends itself to creativity and resourcefulness. By understanding the types of glue available and how to use them effectively, you can restore your beloved items to their original glory. Careful selection of the right adhesive, thorough preparation of surfaces, and proper application techniques will yield lasting results.
In addition to skills in repair, embracing preventive care and regular maintenance can help keep your ceramic items safe for future use. With the right knowledge and tools, you can breathe new life into broken ceramics and enjoy your collection for years to come. Whether you’re saving a cherished family heirloom or creating unique DIY projects, mastering the art of ceramic repair opens the door to endless possibilities. So gather your tools, get your glue ready, and embark on your next creative adventure!