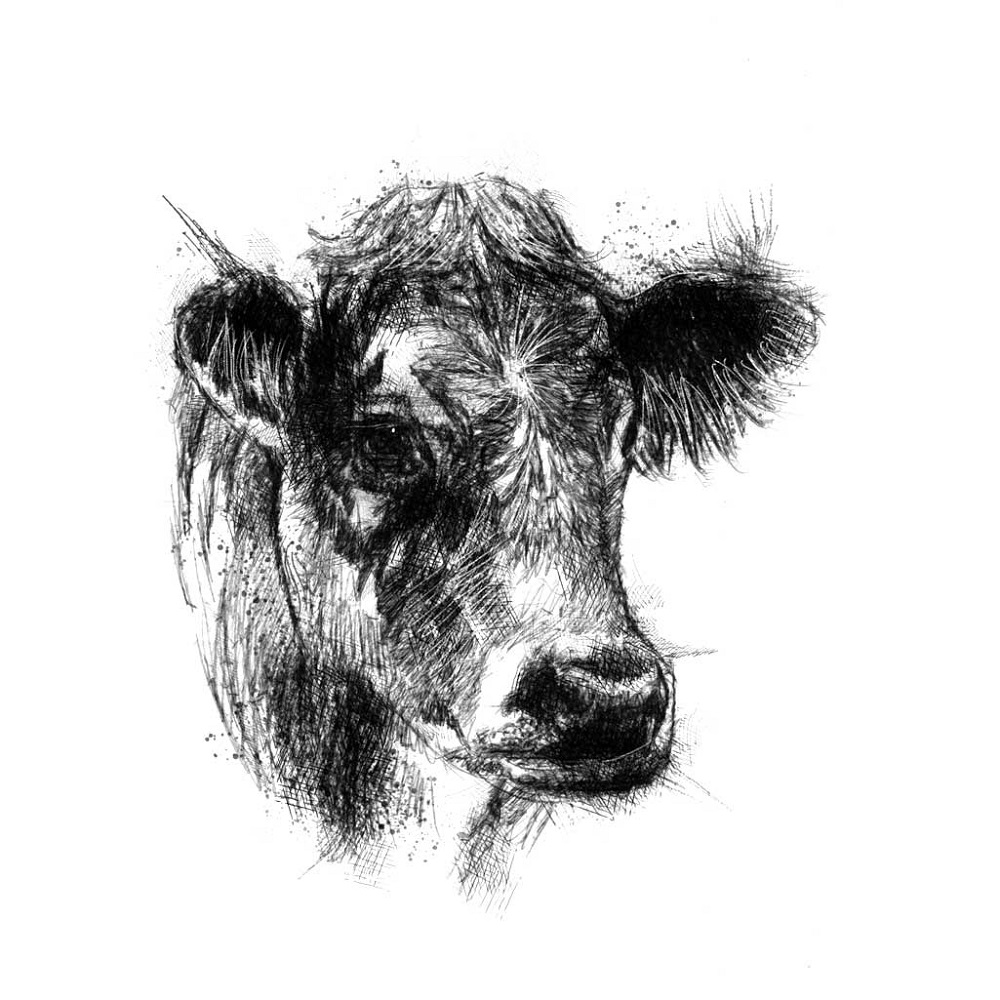
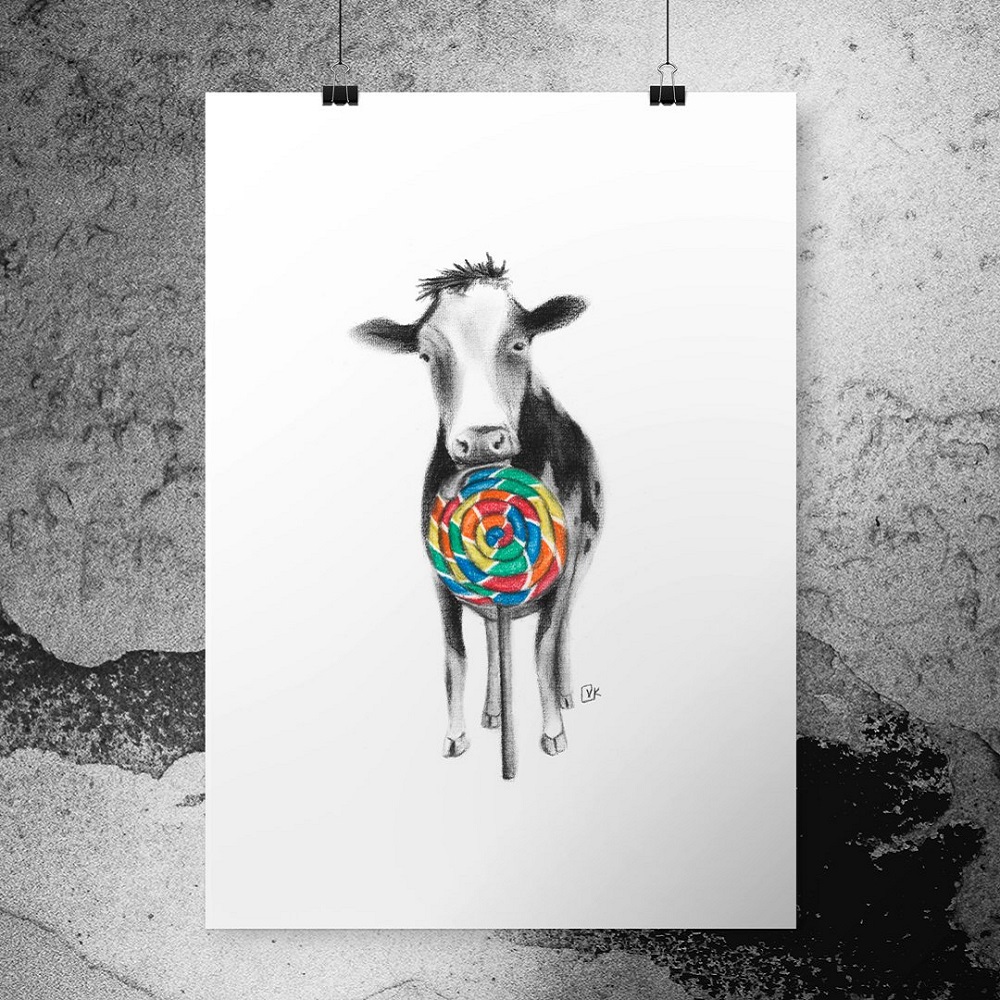
Charcoal drawing is a versatile and expressive medium that allows artists to create stunning works of art with rich textures and dramatic contrasts. If you’re looking to venture into the world of charcoal art, what better subject to start with than a charming cow? This tutorial will guide you through the process of creating your own cow charcoal drawing, from gathering materials to adding the final touches.
Gather Your Materials
Before you start drawing, it’s essential to have the right tools and materials at hand. Here are the things you will need for your charcoal drawing:
Essential Tools
- Charcoal Pencils: These come in various hardness levels, such as soft, medium, and hard. Soft charcoal provides rich darks, while hard charcoal is great for fine lines.
- Vine Charcoal: This is a natural charcoal that is easy to blend and smudge. It is perfect for creating soft textures in your drawing.
- Blending Stumps or Tortillons: These tools help you blend and smooth out the charcoal, giving your drawing depth and dimension.
- Erasers: A kneaded eraser is useful for lifting charcoal without damaging the paper. A regular eraser can help create highlights.
- Paper: Use a heavier-weight paper designed for charcoal. Textured paper adds more character to your drawing.
Optional Materials
- Fixative Spray: This can help seal your drawing and prevent smudging after completion.
- Reference Image: A clear photo of a cow will serve as your guide throughout the drawing process.
Having these materials ready will ensure you can focus entirely on your creative expression without interruptions.

Choose Your Reference Image
Selecting the right reference image is crucial for your drawing’s success. Explore different photographs of cows until you find one that resonates with you. Look for an image that captures interesting lighting, angles, and textures. Here are a few points to consider:
Contrast and Composition
Choose an image with good contrast between light and shadow. This contrast will help you create depth in your drawing. Also, pay attention to the composition. A well-framed subject makes for a more engaging drawing.
Lighting Conditions
Soft, natural lighting works best for charcoal drawings. Avoid harsh shadows unless you want to explore dramatic effects. The light should highlight the cow’s features, making the drawing process easier and more enjoyable.
Once you have selected your reference image, print it out in a size convenient for your workspace. This printout will serve as your visual guide throughout the drawing process.
Start with Simple Shapes
The initial step in creating your cow charcoal drawing is to outline the basic shapes. This step helps establish proportions and lay out the drawing’s structure. Here’s how to begin:
Sketch the Basic Outline
Using a light touch, start drawing the basic shapes of the cow with a hard charcoal pencil. Focus on simple geometric shapes, such as circles for the head and body, and triangles for the ears and nose. Do not worry about detail at this stage; it’s all about getting the proportions right.
Refine the Outline
Once you have the basic shapes in place, refine the outline by connecting the shapes. Pay attention to the curves of the cow’s body, the shape of the head, and the placement of the legs. This process involves erasing some lines and adjusting others until you are satisfied with the overall outline.
Taking your time with this step is essential. A solid foundation will make it easier to add details later. You can constantly refer back to your reference image during this phase to maintain accurate proportions.

Add Details and Texture
With the basic outline established, it’s time to add details and texture to your cow drawing. This stage will bring your drawing to life and require close attention to the unique features of your subject.
Focus on Features
Start with the facial features of the cow. Draw the eyes, nose, and mouth, paying attention to their placement and size. Use your drawing tools to capture the softness and expression of the cow’s face. Shade around the eyes for depth, and highlight them to give them life.
Create Texture
To create a realistic texture for the cow’s fur, use a combination of soft charcoal for shading and blending stumps for smooth transitions. Apply soft, sweeping strokes to outline the fur direction. Blend the charcoal gently to create a natural look.
Take your time to observe the reference image closely. Notice the patterns and textures, and try to replicate them in your drawing. Vary the pressure of your strokes to create different shades and maintain interest throughout the piece.
Build Up Shadows and Highlights
After you have added the details, it’s time to focus on shadows and highlights. This step is crucial for creating depth and realism in your drawing.
Identify Areas of Shadow
Look at your reference image and identify areas where shadow exists. Typically, shadows will be found under the cow’s belly, around the legs, and on one side of the face. Use soft charcoal to apply these darker areas, building up gradually.
Create Highlights
Highlights are equally important for a dynamic drawing. Use your kneaded eraser to lift charcoal in areas where light hits the cow, such as the top of the head, the bridge of the nose, and the tips of the ears. This technique will help create a three-dimensional effect.
Continue to layer shadows and highlights until you achieve the desired balance and contrast. Step back occasionally to view your drawing from a distance; this can give you a clearer perspective on how the details and contrasts come together.

Final Touches and Fixative
Now that your drawing is complete, it’s time for the final touches. This stage allows you to polish your work and ensure that it stands out.
Review Your Drawing
Take a moment to evaluate your composition. Look for areas that may need more definition, additional shading, or changes in texture. Use blending stumps to smooth out any harsh lines where necessary. Make any adjustments to enhance the overall appearance.
Apply Fixative
Once you are completely satisfied with your drawing, consider applying a fixative spray. Fixative helps prevent smudging and protects your artwork from dust and fading. Ensure to do this in a well-ventilated area and follow the instructions on the fixative label carefully.
After applying the fixative, give your drawing some time to dry fully. This attention to detail will prolong the life of your artwork.
Explore Other Subjects
Once you have successfully completed your cow charcoal drawing, consider expanding your artistic repertoire. Exploring different subjects can greatly enhance your skills and creativity. Animals, landscapes, and still life objects all provide unique challenges and opportunities for expression. For instance, drawing a landscape can teach you about perspective, while a still life can help develop your understanding of light and shadow.
Try Different Techniques
In addition to different subjects, try experimenting with various techniques and styles. You might want to incorporate mixed media, combining charcoal with colored pencils or pastels for added vibrancy. Alternatively, you could explore abstract interpretations or focus on hyper-realistic representations. Each technique you experiment with can further your understanding of the medium and allow you to find your unique artistic voice. The more you practice and explore diverse approaches, the more confident you will become in your abilities.
Sharing your artwork with others can be a rewarding experience. It allows you to connect with fellow artists and receive valuable feedback. Consider joining online art communities or local art groups where you can showcase your cow charcoal drawing. Social media platforms like Instagram and Pinterest are also excellent places to display your work and gather inspiration from others.
Participate in Challenges
Participating in art challenges can help motivate you to create more and try new techniques. Many online communities host regular drawing challenges, with specific themes or subjects each week. Engaging with these challenges can help you push your limits and grow as an artist. Moreover, seeing how others interpret the same theme can provide new perspectives and ideas, further enriching your artistic journey. Remember, art is not just about the final piece; it is about the experiences and connections you create along the way.
Conclusion
Creating a cow charcoal drawing is a fulfilling and enjoyable artistic endeavor. By following this step-by-step tutorial, you can develop your skills and express your creativity using charcoal.
Embrace Your Artistic Journey
Remember, practice is key in developing your artistic abilities. Don’t be discouraged if your first attempt doesn’t meet your expectations. Each drawing offers an opportunity to learn and improve. Embrace your artistic journey and enjoy the process of creating.
Whether you’re a beginner or an experienced artist, creating a cow charcoal drawing allows you to explore texture, contrast, and expression. So gather your materials, select that perfect reference image, and dive into the wonderful world of charcoal art!