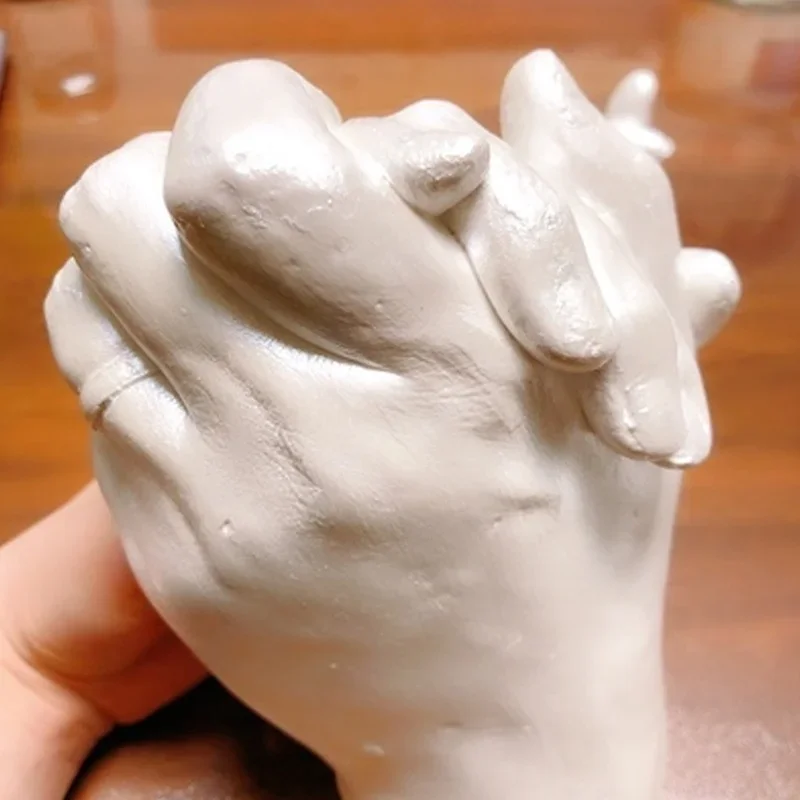
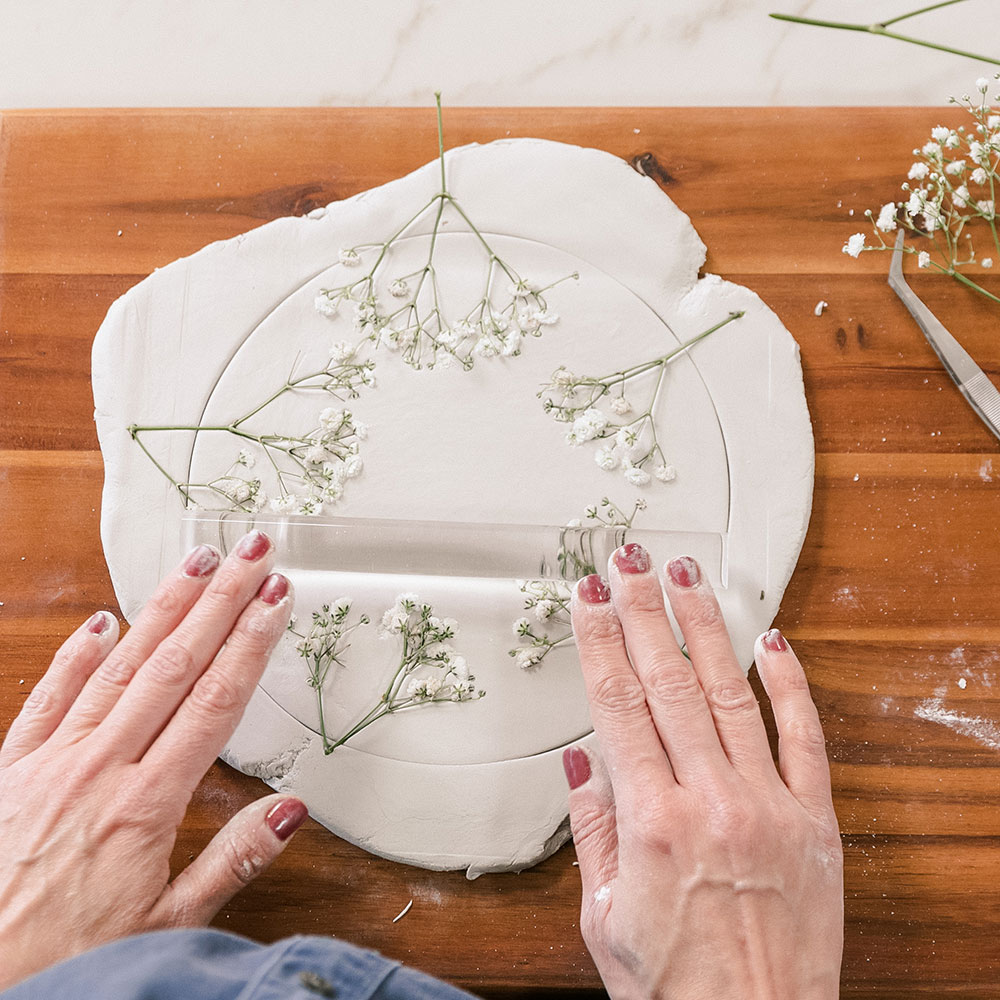
Plaster casting is an ancient art that allows artists and hobbyists to create beautiful sculptures, decorative pieces, and functional items from various materials. This versatile technique uses plaster of Paris, a quick-setting material that is easy to manipulate and perfect for creating detailed molds. Whether you’re interested in sculpture, home decor, or crafting unique gifts, mastering plaster casting can be a rewarding experience. This beginners’ guide will walk you through the entire process with easy-to-follow steps and helpful tips.
Understanding the Basics of Plaster Casting
What is Plaster Casting?
Plaster casting involves making a mold from a prototype and then using that mold to produce a positive replica with plaster. The technique has roots in classical art and architecture, often used for creating life casts, decorative elements, and even architectural details like cornices and capitals. Plaster of Paris, the primary material used, is made from gypsum and, when mixed with water, creates a paste that hardens into a solid form within minutes.
What makes plaster casting attractive is its accessibility. The materials required are easy to find, and the techniques can be mastered relatively quickly. Even beginners can create intricate pieces with some practice and patience.
Why Choose Plaster Casting?
Plaster casting offers several advantages. It is cost-effective and allows for a greater level of detail than some other casting methods. Moreover, the finished products can be painted, stained, or left natural, allowing for creative expression. The process is also relatively clean and safe when proper precautions are taken, making it suitable for young artists and enthusiasts.
Whether you wish to create art for yourself or delve into a new hobby, plaster casting provides an exciting way to explore the world of sculpture.

Gathering Your Materials
Essential Supplies for Plaster Casting
Before diving into the casting process, gather all the necessary materials. Here’s a list of essential supplies:
- Plaster of Paris: This is the primary material for casting. You’ll find it at most craft stores or online.
- Mold: You can create a mold from various materials, such as silicone, plastic, or even cardboard. If you’re casting a prototype, ensure it’s made from a non-porous material to avoid moisture absorption.
- Mixing Container: Use a disposable or reusable container for mixing plaster. A plastic cup or bowl works well.
- Mixing Stick: A popsicle stick or wooden stick helps stir the plaster mixture.
- Water: You’ll need water to mix with the plaster.
- Release Agent: Petroleum jelly or cooking spray acts as a barrier between your mold and the plaster, preventing sticking.
- Protective Gear: Wear gloves and a dust mask to protect your skin and lungs from plaster dust and particles.
- Sponge and Water Bucket: These are helpful for cleaning up spills and smoothing out your plaster.
Additional Tools
While the above items are essentials, consider including a few additional tools to enhance your experience:
- Craft Knife: Useful for trimming excess plaster or refining edges once the casting has set.
- Sandpaper: Helps smooth rough surfaces on your completed cast.
- Paintbrush or Airbrush: For applying paint and finishing touches to your piece later.
Having everything on hand before you start makes the process much more enjoyable and efficient, allowing you to focus on creating your piece.

Preparing the Mold
Selecting the Right Mold
The success of your plaster cast largely relies on the quality of your mold. Depending on the complexity of your design, you might choose a simple flat mold or a more intricate one that captures detailed features. For beginners, consider starting with simple shapes like a flat disk or a basic figurine.
If you’re creating your mold from scratch, silicone is often the best choice for its flexibility and ability to capture fine detail. Pre-made molds can also be purchased from craft stores, offering a wide array of shapes and designs.
Applying the Release Agent
Once you have your mold ready, apply a release agent to ensure a clean separation between the plaster and mold. Use a paintbrush or your fingers to spread a thin layer of petroleum jelly or cooking spray inside the mold. Be thorough, as any areas left uncoated may cause the plaster to stick, potentially ruining your cast.
While this step may seem minor, it drastically affects the ease of de-molding later on. Taking the time to do this will save you from frustration and potential damage to your piece.
Mixing the Plaster
Understanding the Proper Ratios
Mixing plaster is a critical skill that requires attention to detail. Start by measuring the amount of plaster you need based on the volume of your mold. The typical mixing ratio for plaster of Paris is about 2 parts plaster to 1 part water, but this can vary depending on the manufacturer’s instructions. Always check the packaging for specific guidelines.
Mixing Process
- Prepare Your Container: Pour the measured water into your mixing container first. This helps prevent clumping when adding plaster.
- Add Plaster Gradually: Slowly sprinkle the plaster on the surface of the water. Avoid dumping it in quickly, as this can create bubbles and lumps.
- Mix Thoroughly: Use your mixing stick to combine the plaster and water. Stir gently to avoid introducing too much air into the mixture—air bubbles can lead to weak spots in your cast.
Continue mixing until you achieve a smooth, creamy consistency without lumps. The finished product should resemble pancake batter. Let the mixture sit for a few minutes to allow any bubbles to rise to the surface; this resting time helps ensure a solid cast.

Pouring the Plaster into the Mold
Preparing to Pour
Once your plaster is mixed, it’s time to pour it into the mold. Have your mold ready on a sturdy, flat surface. Ensure it’s clean and has the release agent applied. Pour the plaster slowly into the mold, starting at one edge and allowing the plaster to flow into all areas. This technique minimizes the chance of trapping air bubbles within the mold.
Filling the Mold
When pouring, consider using a spatula or the mixing stick to guide the plaster into tighter spots, ensuring it fills any intricate details. If your mold is larger or features deep grooves, gently tap the sides of the mold during pouring. This tapping helps dislodge air pockets and ensures even filling.
Monitor the mold as you pour and fill it to the desired depth. If you’re making a multi-layered piece, you may want to fill it only partially, letting the first layer set before adding more plaster.
Setting and Removing the Cast
Allowing Time to Set
After pouring the plaster, the next step is allowing it to set. Plaster of Paris typically takes about 30 minutes to harden, but this can vary based on the specific mix and environmental conditions. Ensure the area is undisturbed while the plaster dries, as movement can lead to cracks or imperfections.
You can check if the plaster is ready by gently pressing your finger on the surface. If it feels firm and doesn’t leave an imprint, it’s time to proceed. For larger casts, wait a bit longer—up to an hour or more might be necessary to ensure sturdiness.
Removing the Cast
Once the plaster has fully set, it’s time to remove it from the mold. Take caution during this process to prevent damaging your newly formed piece. Start by gently flexing the mold to loosen the edges. You can also tap the outside lightly with your fingers to help release the cast.
If using a rigid mold, carefully turn it upside down and ease the plaster out. For more flexible molds, you may be able to simply peel back the sides. If the cast doesn’t come out easily, avoid using sharp tools that could damage the surface; gently coax it with your fingers instead.
Finishing Touches and Display Options
Smoothing and Painting
After removing the cast, you may notice rough edges or surface imperfections. Use fine-grit sandpaper to smooth these areas and refine the shape of your piece. Work gently to avoid removing too much material or damaging intricate details. For exceptionally delicate areas, a craft knife can help trim excess plaster without leaving unsightly gouges.
Once your cast is smooth, you can apply paint or finish to enhance its appearance. Acrylic paints work well for plaster, offering vibrant colors and easy application. Consider using a sealant or primer before painting to ensure better adherence and longevity of the finish.
Creative Display Ideas
With your plaster cast complete, you can display your art in various ways. Consider placing it on a shelf, mantel, or table as a standalone piece. You can complement it with other decorative items or use it as part of a gallery wall with framed artwork. If functional, like a bowl or a planter, think about using it in a practical way to add flair to your home decor.
Explore various display options, including stands or pedestals, to elevate your cast and make it a focal point in your space. Your creativity will determine how your plaster cast enhances your environment.
Conclusion
Mastering plaster casting opens up a world of creative possibilities, allowing you to create personalized art pieces and useful items. By following this step-by-step guide, you can enjoy a seamless and enjoyable casting experience. Remember that practice is key; as you gain experience, you’ll discover new techniques and improve your skills. Embrace the creative process, experiment with different molds, and let your imagination run wild with plaster casting. Happy crafting, and enjoy sharing your unique creations with others!