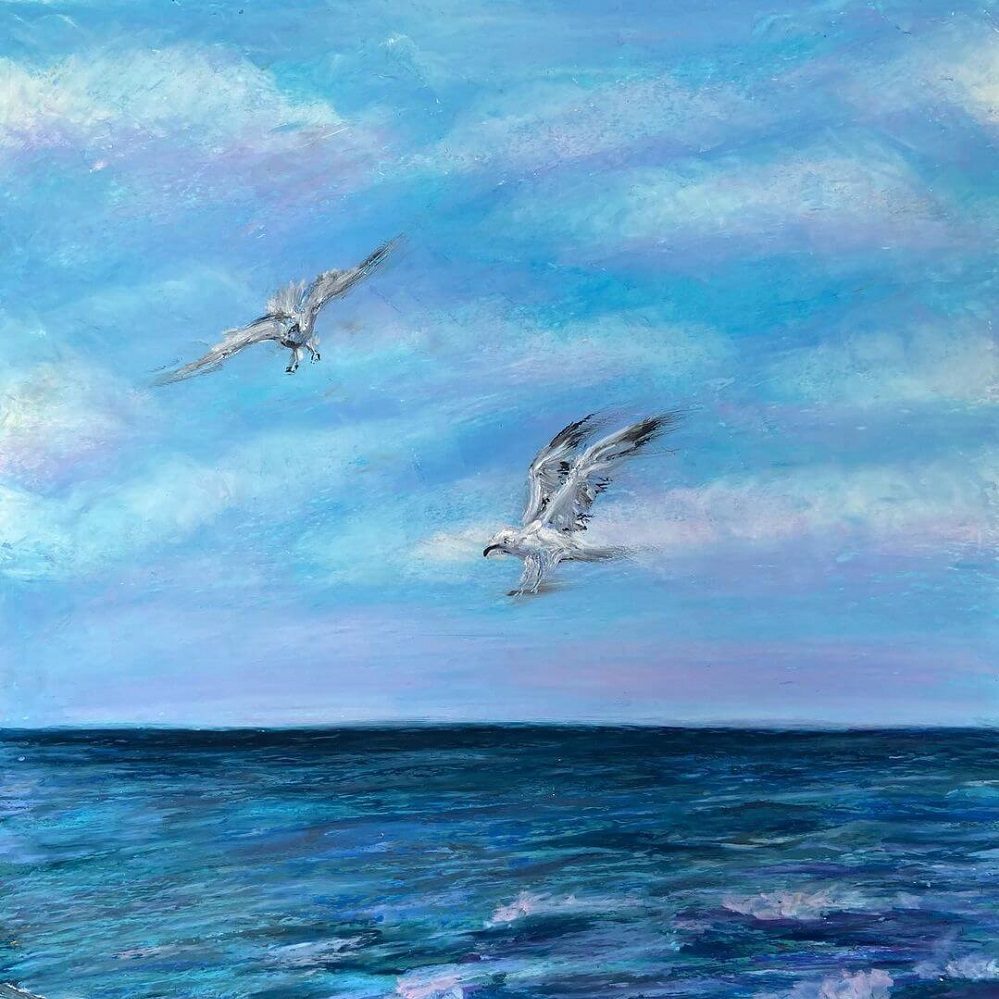
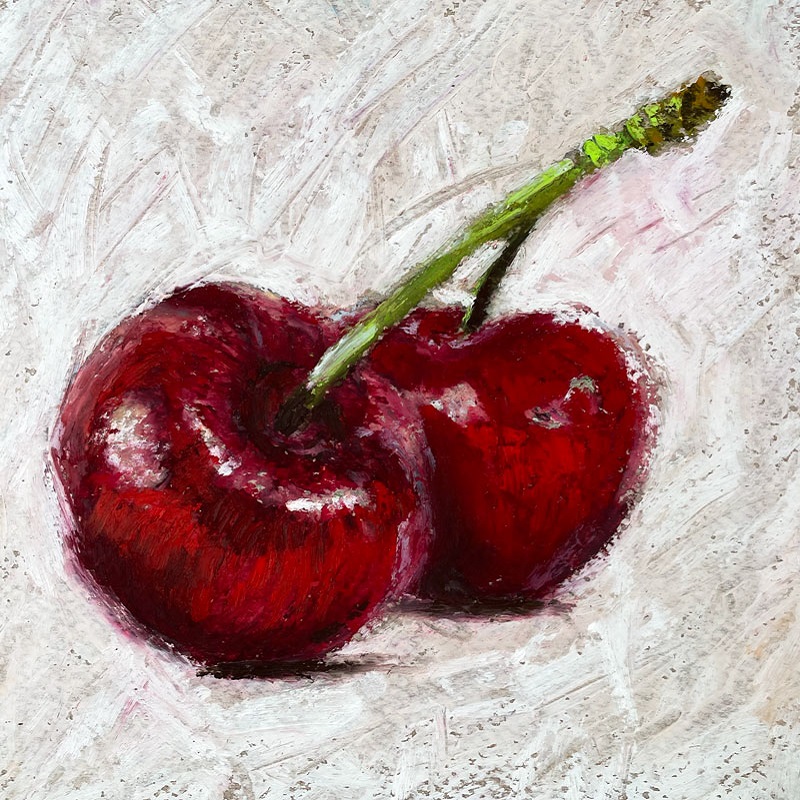
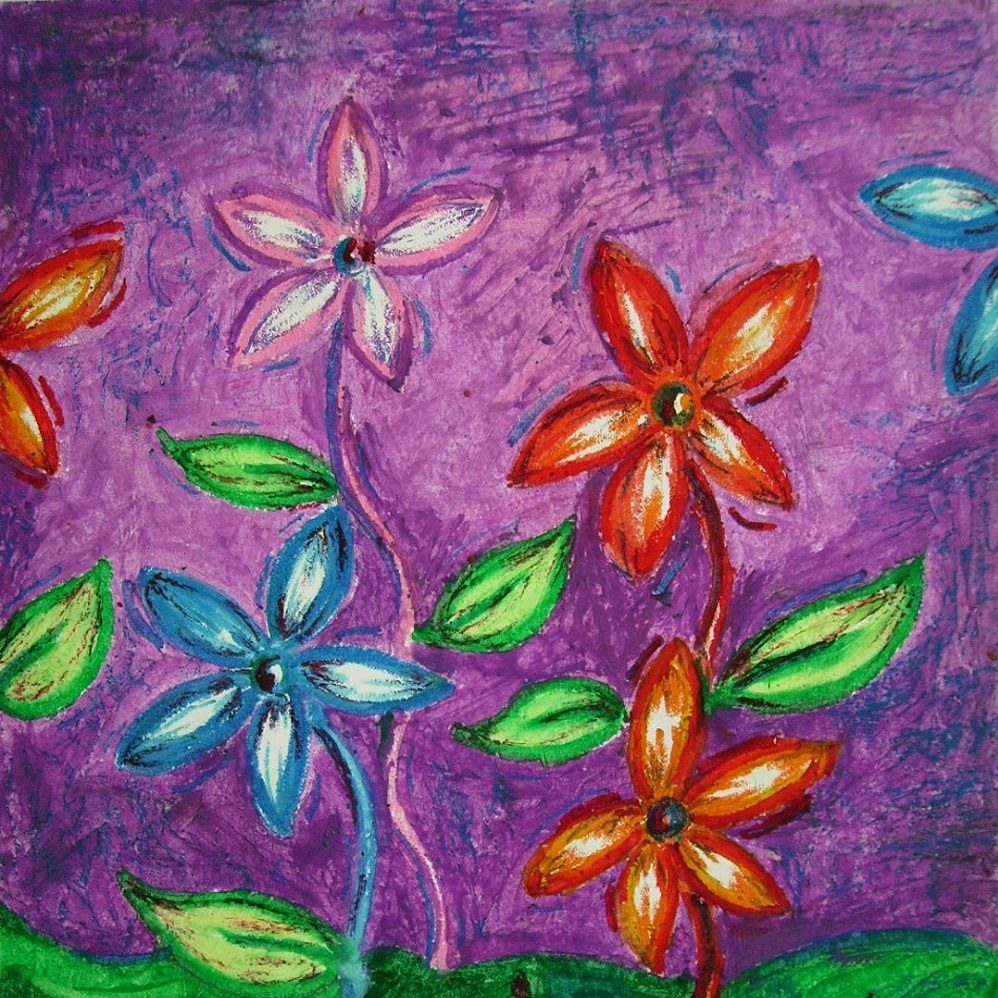
Oil pastels have become a popular medium for artists of all levels, offering vibrant colors, smooth application, and versatile techniques. This unique form of drawing allows for expressiveness and creativity, making it an excellent choice for both beginners and experienced artists. Oil pastels provide a tactile way to create, enabling you to mix, layer, and create texture in your artwork. In this guide, we will explore the world of oil pastel drawing, including essential techniques, tips for success, and project ideas to help you unleash your creativity.
Understanding Oil Pastels: What Sets Them Apart
Composition and Characteristics
Oil pastels consist of pigment combined with a non-drying oil and wax binder. Unlike traditional chalk pastels, which may create dusty effects, oil pastels glide smoothly over paper, producing rich and vibrant colors. This unique composition results in bold and bright artworks that often require minimal layering to achieve depth.
One of the standout features of oil pastels is their ability to blend easily. A simple stroke can transform an ordinary drawing into a masterpiece with varying tones and shades. Artists appreciate the creamy texture of oil pastels, which allows for quick application and blending. This quality makes oil pastels a favorite for expressive and dynamic pieces.
Comparison with Other Mediums
While oil pastels share some similarities with soft pastels, they differ in texture and application. Soft pastels are more delicate and can create a chalky effect, whereas oil pastels offer a more substantial and vibrant finish. Additionally, oil pastels have a longer drying time compared to markers or acrylic paints, granting artists the flexibility to work on details without rushing.
Artists often find that oil pastels offer the best of both worlds. They provide the ease and fluidity of painting while maintaining the precision of drawing. This versatility appeals to those who enjoy experimenting with different techniques and styles.

Essential Tools and Materials
Choosing Quality Oil Pastels
Investing in a good quality set of oil pastels is crucial for achieving the best results in your drawings. Look for brands known for their intensity of pigment and smooth application. Some reputable brands include Sennelier, Holbein, and Neocolor II. Beginner sets often come at a lower price point, and while they’re excellent for starting, consider upgrading as your skills develop.
When selecting oil pastels, pay attention to the number of colors in a set as well. A range of hues will allow you to mix and match for many different tones, so choose a set that includes a variety of shades, including both bright and neutral colors.
Other Necessary Materials
Aside from oil pastels, you’ll need a few additional tools to enhance your drawing experience. A good quality sketchbook or smooth paper designed for oil pastels is essential. Look for paper with a weight of at least 200 gsm to support the oil pastel medium without warping.
You may also want a blending tool such as paper stumps, cotton swabs, or your fingers to mix colors seamlessly. Keep some rags or paper towels nearby for easy cleanup and to help with blending. Finally, consider using a fixative spray when your artwork is complete to protect it from smudging and to preserve the colors.
Techniques for Working with Oil Pastels
Layering and Blending
One of the fundamental techniques in oil pastel drawing is layering. Start by applying a base layer of color to create a foundation for your artwork. This technique allows you to build up color gradually, creating depth and richness. You can apply additional layers on top of each other without disturbing the previous colors, making it easier to create shadows and highlights.
Blending is another key technique that brings your oil pastel drawings to life. To blend colors, use a blending tool or your fingers to gently mix the edges of the pastels. Try different motions, such as circular strokes or back-and-forth movements, to see what works best for your composition. You can create smooth gradients or textured effects depending on your desired outcome.
Sgraffito and Impasto Techniques
Explore sgraffito, a technique that involves scratching away the top layer of oil pastel to reveal the colors underneath. This can add an interesting texture and depth to your drawing. Use a scratching tool, palette knife, or even the end of a paintbrush to etch lines or patterns into your artwork. Try sgraffito on a saturated background to highlight your scratching technique effectively.
Another technique to experiment with is impasto. This involves applying oil pastels thickly to create a raised effect. Using the side of the pastel, apply color in a layering motion to create bold and textured strokes. The thickness of the oil pastel can add dimension to your pieces, making them visually exciting.

Getting Started: Tips for Beginners
Selecting Your Subject Matter
Choosing the right subject matter can influence your confidence and enjoyment as you start your oil pastel journey. Start with simple subjects like fruits, flowers, or landscapes. These subjects allow for easy color mixing and blending, making it easier to practice different techniques.
Once you feel comfortable with basic subjects, challenge yourself with more complex compositions. Find inspiration from photography, nature, or personal experiences, and give yourself the freedom to express your unique perspective through your artwork.
Consistent Practice
As with any art form, practice is essential for mastering oil pastels. Set aside time regularly to experiment with techniques, colors, and different subjects. This time can help you develop confidence and improve your skills. Keep a sketchbook dedicated to your oil pastels drawing, and don’t be afraid to make mistakes—each one is a learning opportunity.
Consider joining local art classes or online workshops that focus on oil pastel techniques. Using this supportive environment lets you connect with other artists and receive valuable feedback on your work.
Creating Your First Oil Pastels Drawing
Setting Up Your Workspace
Before you begin your first drawing, create a comfortable and inspiring workspace. Select a location with sufficient lighting, whether natural or artificial, to illuminate your work. Gather all your materials—oil pastels, paper, blending tools, rags, and any reference images—so everything is easily accessible.
A clean and organized workspace helps foster concentration and creativity. Lay out your pastels in a way that makes it easy to see and reach them while you create. With your tools in place, you’re ready to dive into your first oil pastel project.
Step-by-Step Process
- Choose Your Subject: Pick a simple subject to draw, such as a piece of fruit or a flower.
- Sketch the Outline: Lightly sketch the outline of your subject on the paper using a pencil. Focus on capturing the basic shapes to guide your pastels.
- Apply Base Colors: Select your base colors and begin applying oil pastels to the areas of your drawing. Use broad strokes to cover large areas, and pay attention to the color palette.
- Blend and Layer: Once you’ve applied the base colors, use blending tools to create smooth transitions. Layer additional colors to build depth and texture as you go.
- Add Details: Focus on the small details, such as highlights and shadows, to give dimension to your drawing. Use lighter and darker shades to create contrast.
- Finish and Protect: Once you’re satisfied with your drawing, allow it to sit for a while to dry before using a fixative spray to protect your work.
Reflect and Learn
After completing your drawing, take some time to reflect on the process. What did you enjoy about working with oil pastels? What techniques did you find challenging? Documenting your thoughts will help inform your future art projects and encourage growth as an artist.

Showcasing Your Oil Pastel Artwork
Displaying Your Art
Once you complete your oil pastels drawing, consider displaying them proudly in your home or during art exhibits. Frames enhance the visual impact of your artwork and protect it from dust and damage. Choose frames that complement the style and color of your artwork to draw attention to your creations.
Alternatively, consider creating a digital portfolio or social media account to showcase your work to a broader audience. Share your progress, completed artwork, and techniques you’ve learned to connect with other artists and gain valuable feedback.
Participating in Art Communities
Engaging with local or online art communities can enrich your artistic journey. Participate in workshops, group critiques, and exhibitions to expand your knowledge and connect with other artists. These interactions can provide inspiration and motivation to improve your skills.
Art competitions can also be a driving force in your artistic development. Entering your work in contests challenges you to refine your skills and receive recognition for your efforts.
Conclusion
Oil pastels offer an exciting and versatile medium for artists to explore their creativity. Their unique properties make them perfect for various styles, allowing you to express yourself in vibrant color and texture. By understanding the techniques, tools, and best practices, you can embark on a fulfilling artistic journey.
Whether you’re a beginner or an experienced artist, oil pastels drawing can become a favorite outlet for creativity. Give yourself the freedom to explore different subjects and techniques, and don’t hesitate to test the boundaries of this unique medium. With a little practice and experimentation, you’ll find that oil pastels can unlock new creative potential, enabling you to produce beautiful and expressive artwork. Start your oil pastel adventure today, and unleash your creativity like never before!