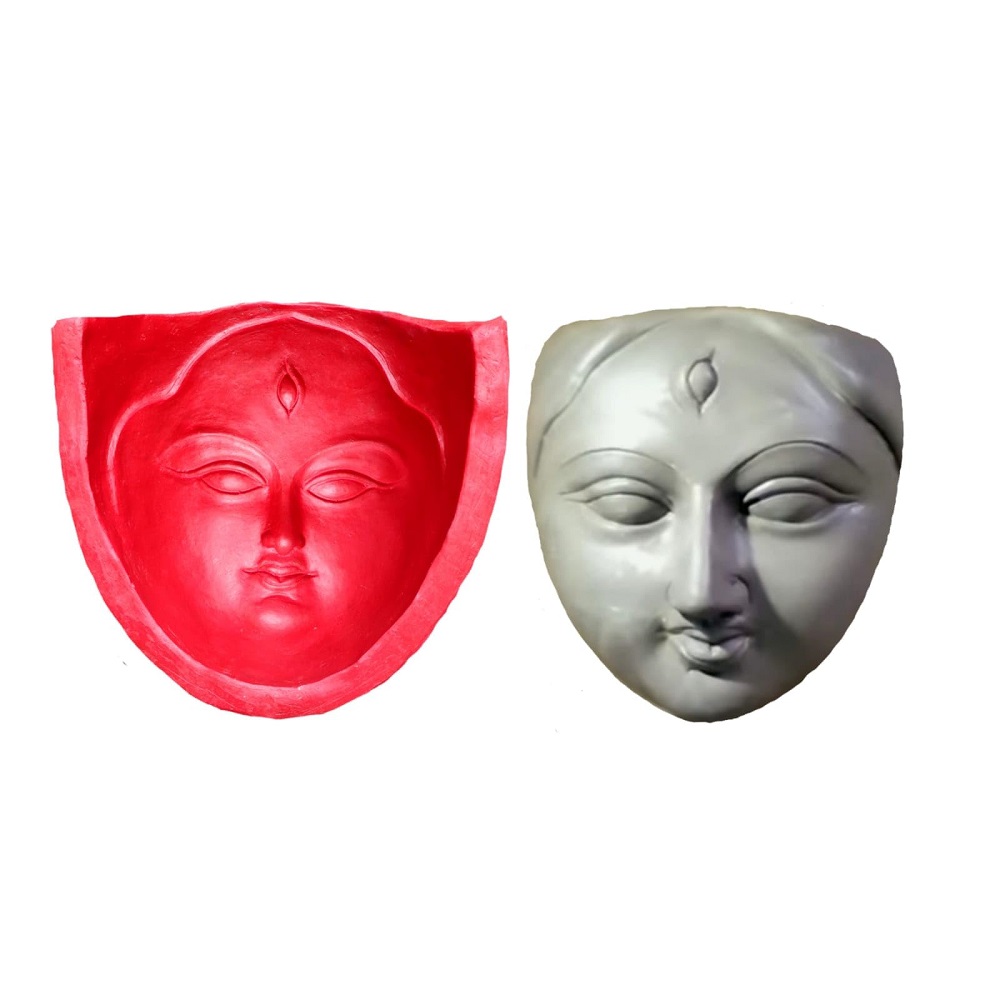
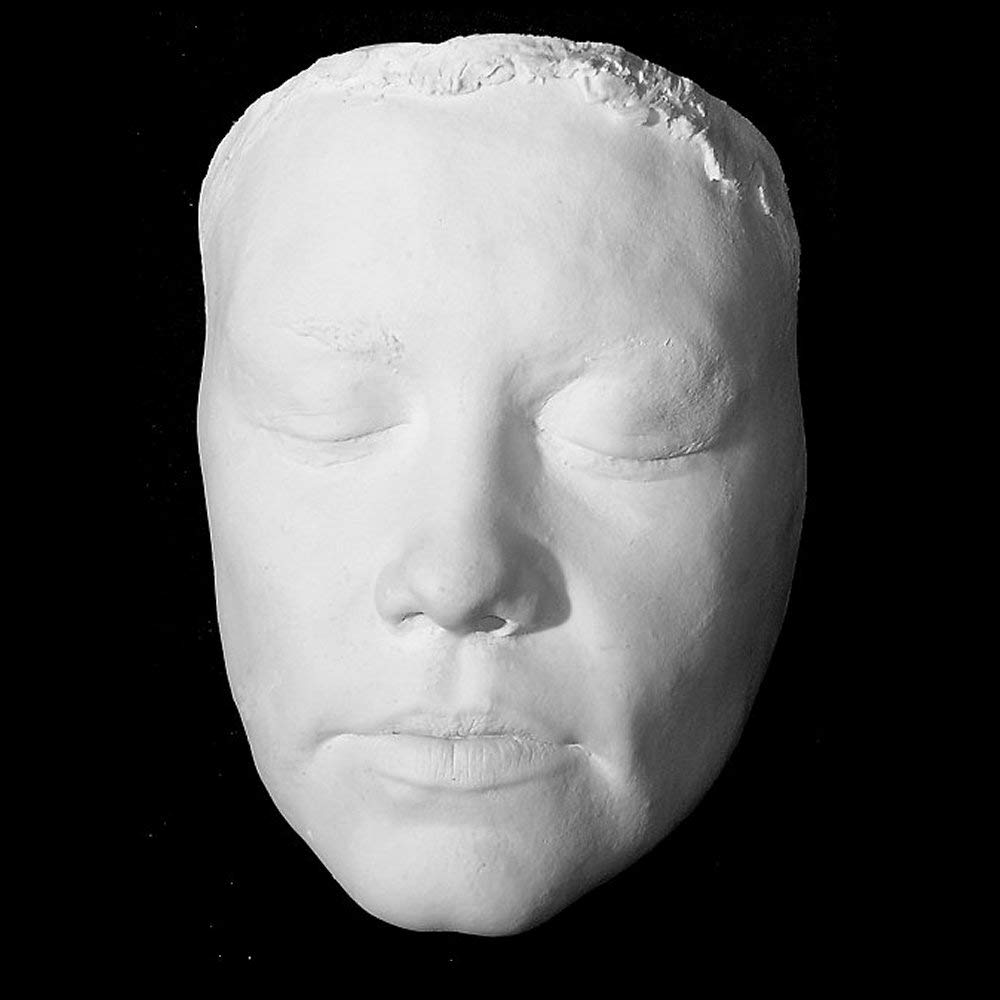
Creating a custom face cast can be a fun and rewarding project. It allows you to capture a unique likeness, whether for art, costume design, or special effects makeup. In this step-by-step guide, you will learn how to create a face cast using safe materials and techniques, resulting in a lifelike replica of your features. Let’s dive into the process!
Gather Your Materials
Essential Supplies
Before you begin, ensure you have all the necessary materials at hand. Here is a list of items you will need for the face casting process:
- Plaster of Paris or Alginate: Alginate is often preferred for face casts because it captures fine details and is skin-safe.
- Mixing Bowl and Spoon: Use these to mix the casting materials.
- Container for your Cast: You can use a flexible plastic bowl or a specific casting container.
- Petrolatum Jelly or Vaseline: This acts as a release agent to protect your skin and prevent the casting material from sticking.
- Straws: You will need these to breathe during the casting process.
- Gauze or Plaster Bandages: These provide additional support for the cast once it hardens.
- Water: For mixing with plaster or alginate.
Additional Safety Gear
Beyond the materials for the casting itself, safety should be a priority. Wear an apron or old clothes, as plaster and alginate can be messy. It’s also wise to have wet towels or wipes nearby to clean your hands and face after the process. If you’re using materials that produce fumes or dust, consider wearing a mask and protective eyewear.

Prepare the Face for Casting
Clean and Moisturize
Before applying any casting material to your face, ensure your skin is clean. Wash your face thoroughly to remove any makeup or oils. Gently pat your skin dry with a towel. After your face is clean, apply a thin layer of petrolatum jelly or Vaseline. This step is crucial as it will act as a barrier between your skin and the casting material, preventing irritation or damage.
Choose a Comfortable Position
You’ll need to remain still for the duration of the casting process, which could take anywhere from 15 to 30 minutes. Find a comfortable position where you can maintain stillness. Sitting in a chair with proper support for your neck and head is a good option. You may even want to have a friend assist you during this process to ensure comfort and proper alignment.
Mixing the Casting Material
Using Alginate
If you choose alginate, start by checking the package instructions for the correct mixing ratio. Typically, you will mix one part alginate with one part water. Use a mixing bowl and ensure you have a smooth paste without any lumps. It should have a consistency that is easy to spread but thick enough to hold on the face correctly.
Using Plaster of Paris
If you prefer plaster, mix it according to the package guidelines as well. Keep in mind that plaster sets relatively quickly, so you should work fast. A typical mixture would involve combining water with plaster in a bowl until you achieve a pourable consistency.
Timing the Mixture
Once you’ve mixed your material, you’ll have a limited time to apply it. Alginate usually sets within 5-10 minutes, so be prepared to move quickly. If you’re using plaster, be mindful of the setting time as well, usually around 20 minutes for initial drying.

Applying the Casting Material
Start the Application
With your mixture ready, it’s time to apply it to your face. If you have a helper, ask them to gently apply the alginate or plaster mixture to your face using a spatula or your fingers. Work from the forehead down to ensure even coverage and capture detail along the way. If you’re doing this yourself, use a mirror or apply the material in small sections to maintain control.
Breathing Straws
Insert the straws into your mouth and place them gently against your lips. These straws will allow you to breathe comfortably through your mouth while your face is covered with casting material. It’s essential to communicate with your assistant (if you have one) about your comfort level during this process.
Build-Up
Apply the material in layers if necessary, especially with plaster. Aim for around 1/4 to 1/2 inch thickness to ensure the cast remains sturdy. With alginate, don’t worry about thick layers as it will remain pliable.
Setting the Cast
Allow to Dry
Once you’ve fully covered your face in the casting material, remain still and allow it to set. The duration will depend on the materials used—for alginate, this typically takes about 5-10 minutes, while plaster may need around 15-20 minutes. Use this time to keep your breathing relaxed and steady while ensuring that you’re comfortable.
Checking for Readiness
After the waiting period, start to gently flex your facial muscles, like smiling or raising your eyebrows. If you feel any significant movement, it indicates the cast might not set properly. Gently touch the edges of the cast to feel for firmness; you should not feel any softness.

Removing the Face Cast
Carefully Remove the Cast
Once the casting material has set, it’s time to remove it. Start by carefully pulling at the edges of the material, beginning at the forehead and moving towards the chin. Be gentle to avoid breaking the cast or causing discomfort. Encourage your assistant (if you have one) to help, as a second set of hands can provide added support.
Using Water if Needed
If the cast feels stuck or rigid, consider using a small amount of warm water around the edges to help loosen it. Water can help separate the alginate from your skin, allowing for a smoother removal process.
Assess the Cast
Once removed, set the face cast aside and examine it for any imperfections. It’s normal to see some minor flaws, especially if this is your first attempt. If you’re unsatisfied, don’t be discouraged; practice makes perfect, and adjustments can be made in future attempts.
Finishing Touches and Preservation
Reinforcing the Cast
If you want to create a more durable version of your face cast, reinforce it with plaster bandages. Soak the bandages in water and apply them over the alginate cast. Let this layer dry completely to provide a hard, protective shell. This process allows for a reusable mold for making other casts, such as resin or plaster.
Painting and Decorating
With your cast complete, the fun doesn’t stop there! You can customize the finished product by painting or decorating it. Use acrylic paints to add color or embellishments, giving your face cast the personal touch you desire. This step is entirely optional and can lead to stunning art pieces or masks.
Storage and Care
To keep your face cast in good condition, avoid exposure to moisture and direct sunlight. Store it in a cool, dry location. If you used alginate to create the initial mold, keep in mind that it may not survive prolonged exposure to elements, so consider working quickly if you want to create a resin version.
Enjoy Your Custom Face Cast
Creating a custom face cast can be a gratifying and creative project. You have captured your likeness and developed a unique piece for decoration, art, or even costume designs. Follow the steps meticulously, and remember that practice improves your skills.
As you master the techniques involved, explore new materials or designs to elevate your creations further. Enjoy the process, and have fun experimenting!