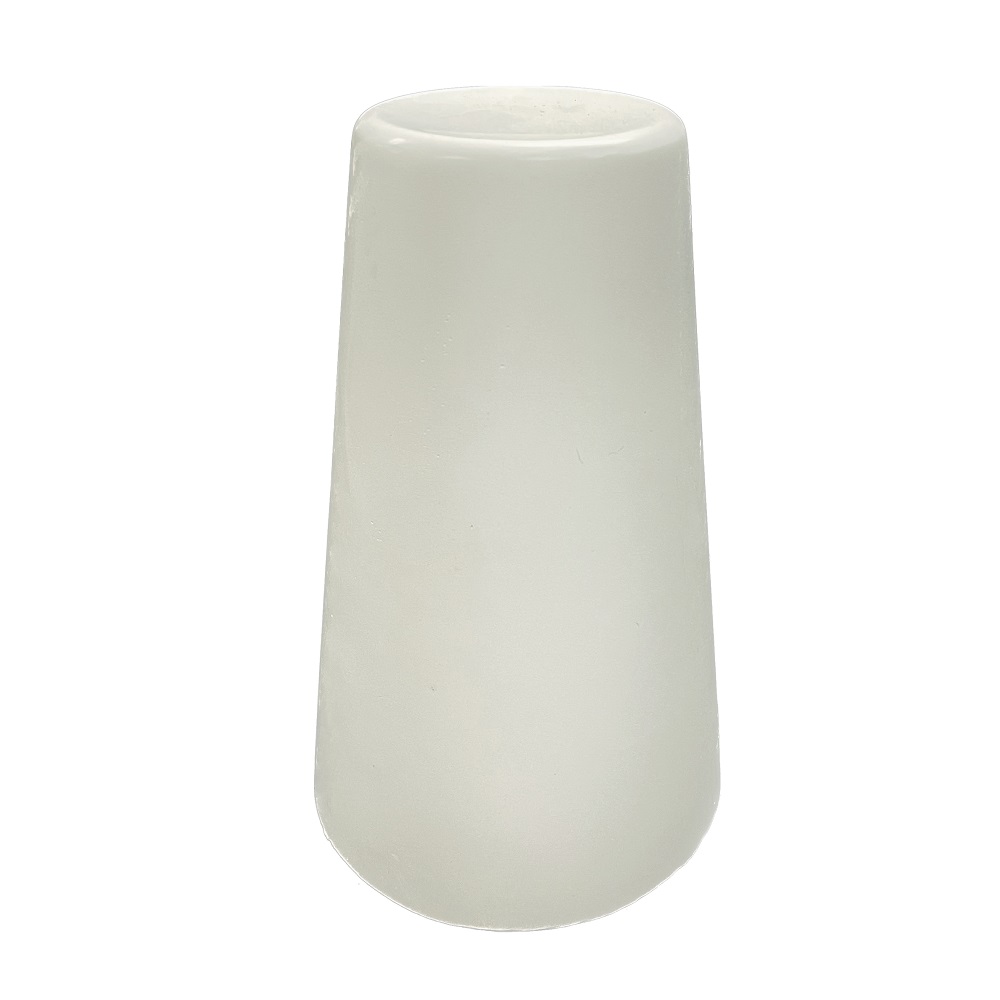
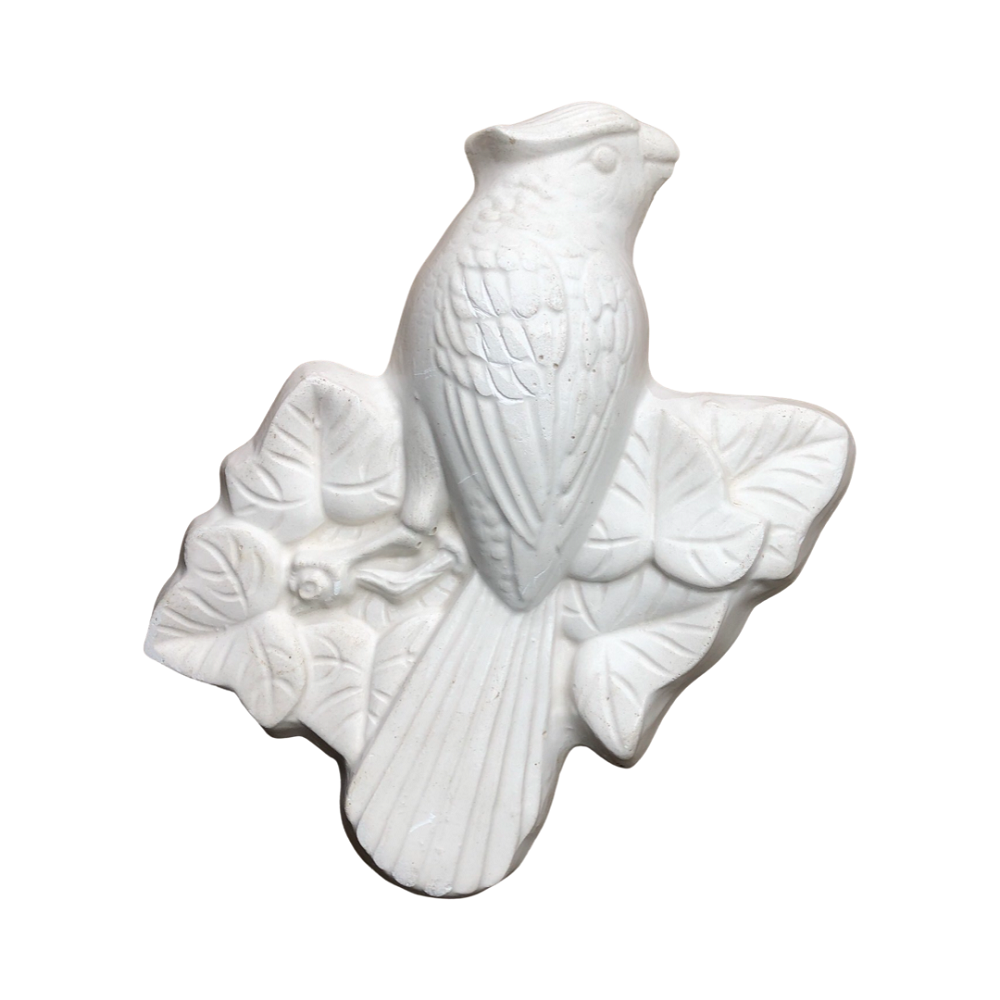
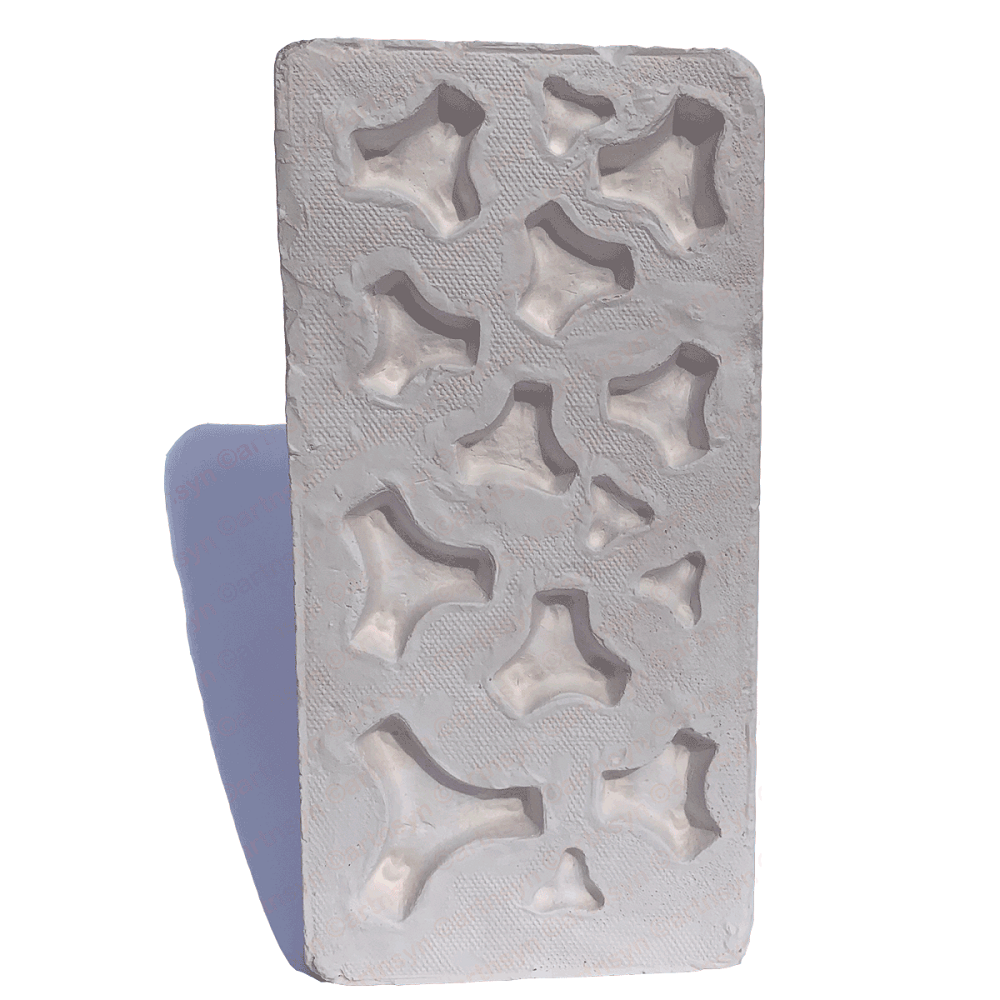
Creating a plaster mold is a rewarding and practical skill that can be used for various applications, from crafting and sculpture to casting and repair jobs. Whether you are an artist looking to preserve a sculpture or a DIY enthusiast wanting to replicate objects, learning how to make a plaster mold can open up a world of possibilities. In this guide, we’ll break down the entire process into easy-to-follow steps while providing tips and insights to ensure your success.
Gather Your Materials and Tools
Essential Materials
Before starting, gather all necessary materials and tools. This proactive approach will streamline the process and help prevent any interruptions. You will need plaster of Paris, a quick-setting material known for its smooth finish and ease of use. When selecting plaster, look for high-quality options, as they directly affect the final product’s durability and detail. Besides plaster, you’ll also need water in a clean container, as this will be crucial for mixing the plaster to the correct consistency.
Additionally, prepare a release agent like petroleum jelly or a silicone spray designed specifically for mold-making. This agent is vital for preventing the plaster from sticking to your model, allowing for easy removal once the plaster sets. If you’re aiming for a more complex mold that requires additional technical properties, consider using a two-part silicone or latex mold-making compound, which provides added flexibility and durability. Lastly, have a mixing bowl and a putty knife handy for blending and shaping the plaster effectively.
Tools for the Job
Having the right tools makes the process smoother and more efficient. A measuring cup will help you ensure accurate plaster-to-water ratios, which is essential for achieving the desired consistency and strength in your mold. You’ll also need a spatula for spreading the mixture smoothly, a brush for applying the release agent evenly, and scissors if you’re using fabric or gauze for reinforcement in larger molds. High-quality latex gloves are a must-have to keep your hands clean and safe from any plaster residue. Since plaster can be messy, wearing an old apron or clothing that you don’t mind getting soiled is a good idea.

Prepare Your Workspace
Choose a Suitable Area
Select a spacious and well-ventilated area for making plaster molds. Plaster can set quickly, so working in a calm environment with limited traffic helps you concentrate on the process and prevents any accidental spills or interruptions. Look for a sturdy table or workbench, as this will provide a practical surface for mixing and pouring the plaster. Additionally, consider having a fan or open windows to promote air circulation, especially if you are working in a humid environment, as this can affect the plaster’s setting time.
Organizing Your Tools
Before you begin, organize your materials and tools within arm’s reach. Arranging everything you need close by minimizes interruptions during the process and ensures that you can make adjustments quickly. Keep your workspace tidy, using trays or containers to hold smaller items like brushes and measuring cups. Having a clean work environment not only promotes efficiency but also enhances safety, reducing the risk of accidents that could result from clutter or misplaced tools.
Prepare the Object for Molding
Selecting the Right Object
Choose an object suitable for mold-making. It can be anything from a small figurine to a more complex shape, but ensure it is solid and free of intricate details or undercuts that could complicate the removal process. Some good candidates for mold-making include toys, decorative pieces, or crafted items that are not too fragile. Consider what you intend to replicate; the best molds produce high-quality reproductions that capture your object’s features well. Once you’ve selected the object, think about how you’ll need to position it when pouring the plaster.
Cleaning and Applying Release Agent
Once you’ve chosen your object, make sure it’s clean and dry, as dust or moisture can interfere with the mold-making process, affecting the plaster’s adherence. Use soap and water to wash the object, then dry it thoroughly with a lint-free cloth. After cleaning, apply a generous coat of release agent to the object. This step is crucial for ensuring that the plaster releases from the original object without damaging either piece. Use a brush or your fingers to spread the agent evenly over all surfaces, paying particular attention to detailed areas and crevices. This preparation step guarantees that your final mold will maintain the original’s intricacies while making removal smooth.

Mix the Plaster
Measuring Plaster and Water
Follow the manufacturer’s instructions for measuring the plaster and water accurately. A common starting ratio involves using 2 parts plaster to 1 part water, but checking specific instructions on the plaster packaging is vital, as this can vary. Use a measuring cup for precision, as accurate measurements directly impact the strength and setting time of the mold. If you’re creating a larger mold, increase the quantities accordingly, but ensure you maintain the same proportion for a consistent outcome.
Blending the Mixture
In a mixing bowl, gradually add the plaster to the water while stirring continuously with a spatula. Begin with a gentle movement to avoid introducing too many air bubbles into the mixture, which can weaken the mold’s structure. As you mix, look for a smooth consistency without lumps; this indicates that the plaster is well-blended. Once the plaster and water form a uniform mixture, let it sit for about 5 to 10 minutes to slake. During this resting period, the plaster absorbs moisture adequately, ensuring a stronger final product. Stir the mixture again before pouring to check for consistency and make sure there are no lumps or dry particles left behind.
Pour the Plaster into the Mold
The Pouring Process
When the plaster mixture is ready, gently pour it over the prepared object, starting from one side. This method helps minimize air bubbles by allowing the plaster to flow smoothly over the surface and fill in any detail gaps. If your object has complex shapes or grooves, tilt it at an angle and create a small pour directly into those areas to ensure complete coverage. Pour in steady, controlled streams to avoid splashing and achieve a nice, even layer over the object.
Tapping and Vibrating
After pouring, gently tap the sides of the mold with your hand or a lightweight tool to encourage any trapped air bubbles to rise to the surface. This technique is important because trapped air can lead to weak spots in the mold, affecting its strength and detail. Additionally, lightly vibrating the mold or gently shaking it from side to side will help the plaster settle properly into every nook and cranny. Be patient and thorough in this part of the process, as eliminating air bubbles ensures strong and well-defined molds.
Allow the Plaster to Set
Timing Your Wait
After pouring, allow the plaster mold to set according to the manufacturer’s instructions, which usually range around 30 minutes to an hour. During this time, avoid moving the mold to prevent any deformation. The temperature and humidity in your workspace can significantly affect the setting time. In a warmer environment, the plaster may harden faster than expected, while humid conditions may take longer. Observing the setting process can help you gauge when it’s ready for the next steps.
Checking for Hardness
After the initial setting time has elapsed, carefully check the mold’s hardness by gently pressing the surface with a finger. If it feels firm and maintains its shape without any soft spots, it is ready to be demolded. If the mold feels soft or mushy, give it additional time to cure fully. Patience is key during this stage, as rushing the process can result in cracks or weaknesses in the mold that will negatively impact its usability.

Demold and Finalize
Removing the Mold
Once the plaster is fully set, it’s time to remove the mold from the object. Carefully wiggle or pull the edges away from the object, taking care not to damage either your mold or the original piece. If you stored the mold in a secure location, refer back to how it sat; if necessary, apply gentle pressure to loosen any stubborn areas before pulling it free. For more complicated shapes, a plastic knife can help pry it away without causing damage.
Cleaning and Storage
After demolding, clean up any excess plaster that may have spilled onto your workspace. Rinse your tools in water to avoid hardening plaster on them and allow them to dry thoroughly. If you’re not planning to use the mold immediately, store it in a cool, dry place, and cover the mold loosely with a cloth or plastic to prevent dust accumulation while allowing air circulation. Maintaining proper storage conditions will ensure that your molds remain in excellent condition for future use.
Conclusion
Making a plaster mold is a straightforward yet rewarding process that opens up endless opportunities for creativity and replication. By following this step-by-step guide, you can master the techniques of mold-making while ensuring the highest quality results. Remember to gather your materials carefully, prepare your workspace efficiently, and allow the plaster to set properly for optimal results. Whether you are a seasoned artist or a beginner, this skill can enhance your crafting repertoire and empower you to bring your creative visions to life.
Exploring the art of mold-making can be both fun and fulfilling. With practice, you’ll find it easier to create molds that capture intricate details and replicate your favorite objects beautifully. So gather your supplies, unleash your creativity, and start crafting your unique plaster molds today! The world of mold-making awaits, filled with possibilities for artistic expression and practical applications alike.