Introduction to Oil Pastels
The History and Development of Oil Pastels
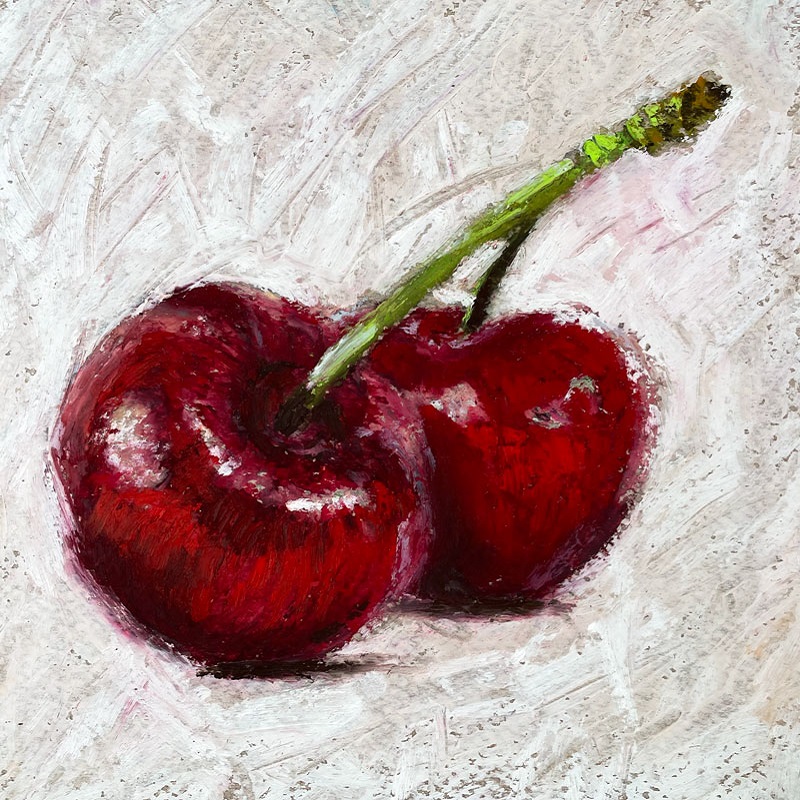
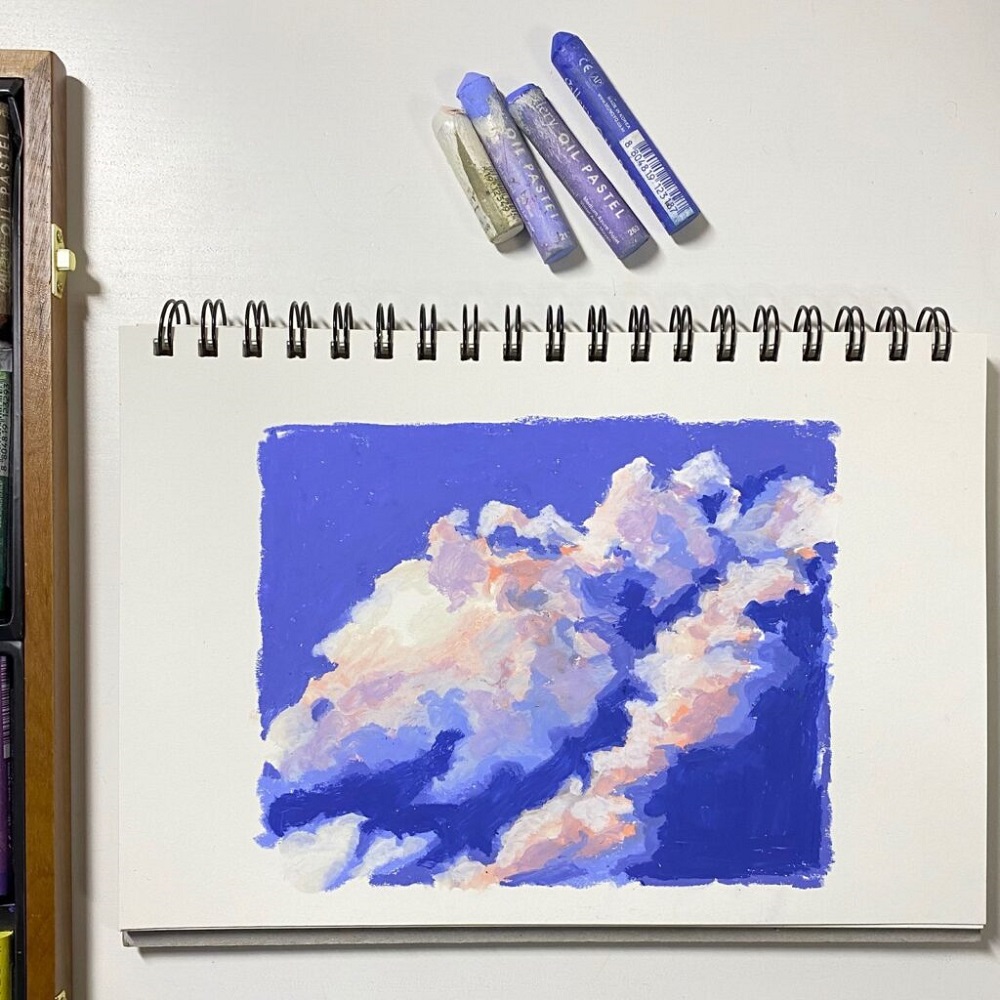
Oil pastels have a unique place in the art world. Their story begins in the early 20th century. First made in Japan, oil pastels were for children initially. Despite rumors, Picasso did not invent them. Yet, in the 1940s, he did help improve the quality of these vibrant tools. How to draw with oil pastels? Today, oil pastels offer artists a way to create with intensity. They are easy to carry, making them perfect for outdoor sketches.
Characteristics and Advantages of Oil Pastels
Oil pastels stand out for their bold and bright colors. They are softer than other pastel types. This makes them good for blending. Artists need no water to work with them, which keeps things simple. Unlike wax crayons, their waxy and oil blend is different. It gives a creamy consistency that’s rich in pigment. Because of these benefits, oil pastels are a top choice for both beginners and pros.
Essential Supplies for Oil Pastel Drawing
How to draw with oil pastels? Before you start, make sure you have the right supplies. Good tools can make drawing with oil pastels smoother and more enjoyable. For beginners, this means finding pastels that offer both quality and ease of use. Your choice of paper is equally important, as it can affect your artwork’s final look. Let’s dive into what you need to begin your oil pastel journey.
Best Oil Pastels for Beginners
Beginners should look for pastels that are both high in quality and affordable. Brands like Faber-Castell offer starter sets perfect for learning. Sennelier is a top choice among experienced artists and works well for serious beginners. Look for sets with a range of colors to help you explore different techniques.
Choosing the Right Paper
Paper for oil pastels should be thick and have a good texture. Toned paper helps highlight your colors. Try different kinds like Strathmore to see what you like best. Some pastel papers come in pads, making it convenient to carry and keep your work organized.
Additional Tools and Accessories
Beyond pastels and paper, a few more items will complete your kit. Get a fixative spray to protect finished pieces. Blending stumps help keep your fingers clean and smudge-free. For blending, consider a Zest It Dilutant; it’s safer than traditional turpentine. Keep tools like palette knives or brushes handy for techniques like sgraffito and adding texture.

Basic Techniques for Using Oil Pastels
Mastering a few basic techniques can greatly enhance your oil pastel drawings. Let’s explore how to layer colors, create textures, and utilize the sgraffito technique to bring your artwork to life.
Layering and Blending Colors
Layering is key in building up color depth and complexity. Start with lighter shades and gradually add darker tones. To blend, use your fingers or a blending stump to soften and merge the colors. Remember to clean off excess pastel between layers to keep colors pure. Experiment with pressure and direction to see how colors mix.
The Sgraffito Technique
Sgraffito involves scratching through a layer of pastel to reveal another color underneath. Use tools like a palette knife or even a pointed stick. Apply a thick layer of oil pastel then firmly etch lines or patterns into it. This brings out interesting details and texture in your work.
Creating Textures and Patterns
Textures add richness to your art. Create them by overlaying colors in peculiar patterns or by dabbing color with a folded paper towel. Patterns can be achieved by repetitive marks or using the edge of a pastel. Varying the hand pressure can result in exciting, dynamic effects.
Following these basic techniques, you’ll start to have more control over your oil pastel art and can begin to express your creative vision more effectively.
Step-by-Step Oil Pastel Projects
Learning how to draw with oil pastels comes alive when you start actual projects. Simple compositions let you put basics into practice. Portraits challenge your skills further, and abstracts invite creativity. Here’s how to approach each project type.
Starting with a Simple Landscape
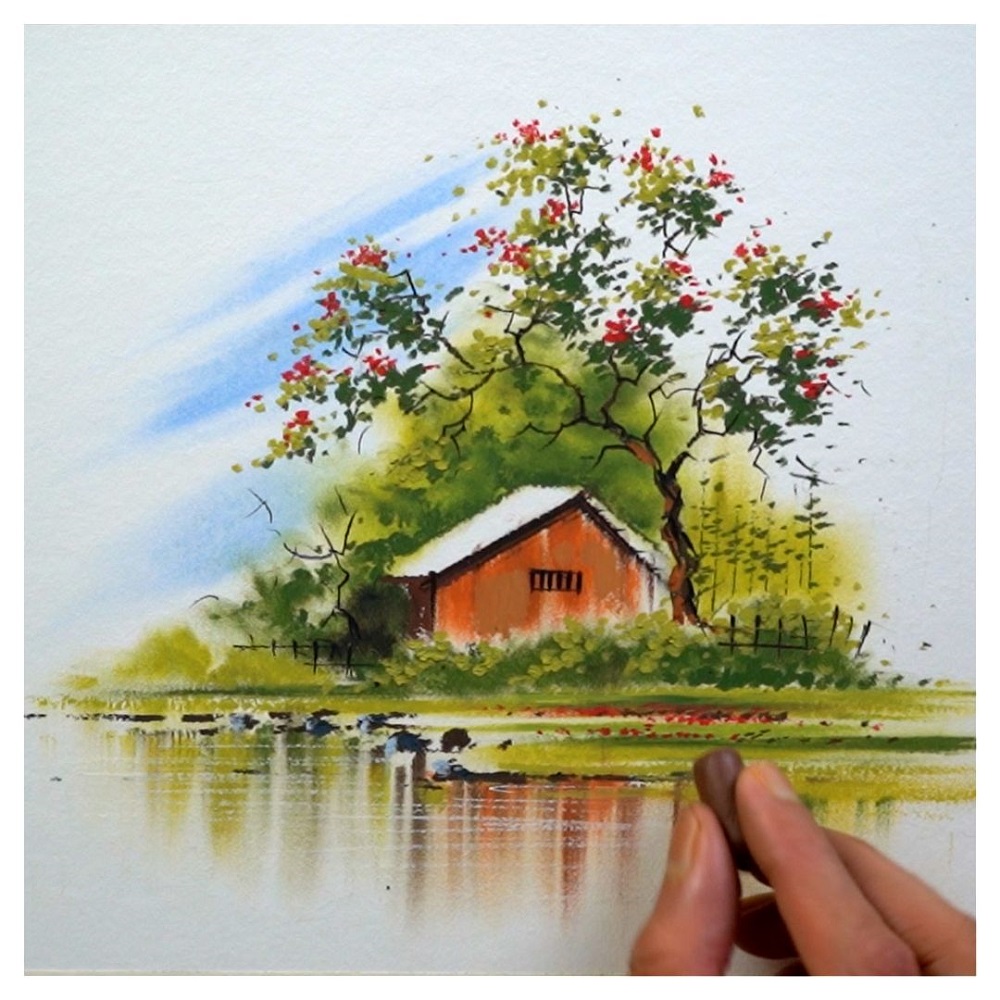
Landscapes are great for beginners. Choose a scene you like, perhaps from a photo. Begin by lightly sketching major elements, like mountains or trees, with a pencil. Next, fill in large areas with solid base colors. Layer different shades to create depth. Use dark colors for shadows and bright ones for highlights. Finally, blend your colors where needed and use the sgraffito technique for texture, like tree bark.
Experimenting with Portraits
Portraits demand attention to shades and facial features. Start with an outline of the head and major features. Choose natural skin tones and apply them lightly. Build up layers to form the contours of the face. Use a small blending stump for precision. Add darker pastels for shadows under the chin or beside the nose. Remember, the eyes and mouth are focal points, so take your time with these.
Bold Abstract Pieces
Abstracts let you play with oil pastels’ vibrancy. Start without a plan, or let mood guide your choice of colors and strokes. Apply colors boldly, with little blending. Break rules and layer darks over lights if you want. Use contrasting colors and shapes to make your piece pop. Abstracts allow for full expression, so don’t hold back. Let your imagination run free and see what emerges.

Tips for Preserving Your Oil Pastel Artwork
Oil pastel art is vibrant and fragile. If not protected, the colors can smudge over time. Here’s how to preserve your pieces for years to come.
Using Fixatives
To keep your art looking fresh, use a fixative. This spray binds colors to the paper. It prevents smudging and fading. Fixatives are easy to apply. Spray evenly across the surface from a distance. Let it dry and your work is safer. Use a fixative designed for oil pastels. This ensures the best protection.
Handling and Storage
Handle your artwork with care. Always hold it by the edges. Use clean hands or wear cotton gloves. When storing, avoid places with high heat or humidity. Keep your art flat, away from direct light. Use acid-free paper to cover it. This protects against dust and light. For extra care, store in a portfolio or frame behind glass. These steps help keep your oil pastel drawings vibrant.
Troubleshooting Common Oil Pastel Problems
Dealing with Smudging and Over-Blending
Smudging can give your oil pastel artwork an undesired messy look. To limit smudging, always start with light colors before applying darker shades. Use fixative sprays in between layers to set the pastels. This helps prevent further smudging as you continue to work. Additionally, reduce over-blending by using blending stumps with a light hand. Clean them often to avoid transferring unwanted colors. Maintaining clean hands while drawing is crucial. Consider using scrap paper to rest your hand on the artwork.
Avoiding Muddy Colors
Muddy colors can spoil the vibrant look oil pastels are known for. Avoid this by cleaning your pastels regularly, especially after blending. Use a piece of scrap paper to wipe off color build-up. Always layer your colors thoughtfully. Think about your color choices and how they interact. Use complementary colors carefully to maintain brightness. If colors start to turn muddy, scrape off the top layer using a palette knife. This can reveal the cleaner, brighter layers beneath. Remember to sharpen your techniques regularly. Practicing with oil pastels will help you learn how much layering and blending brings out the best in your colors without causing muddiness.

Expanding Your Skills
Once you’ve nailed the basics, it’s time to expand your oil pastel skills.
Transitioning from Beginner to Intermediate Techniques
Growing as an artist with oil pastels means pushing beyond simple strokes and blends. Start experimenting with layering complexity. Use more shades for depth. Try adjusting the pressure as you draw for varied textures. Mix different strokes—dots, dashes, and feathering—to create dynamic scenes. Adding details can transform a basic image into a sophisticated work of art.
Practice makes perfect, especially with oil pastels. Set aside time each day to refine these new skills. With dedication, you’ll notice your style evolving.
Exploring Mixed Media with Oil Pastels
How to draw with oil pastels? Mixing oil pastels with other mediums opens up endless creative possibilities. How about starting with watercolors? Lay down a watercolor base and add oil pastel highlights for a mix of fluidity and vibrancy. Or pair oil pastels with colored pencils to bring out fine lines and sharp details.
How to draw with oil pastels? Remember, play with different paper types and textures. Each mix demands its own approach. Don’t be afraid to experiment. Your art will grow more unique and personal as you expand your toolkit.