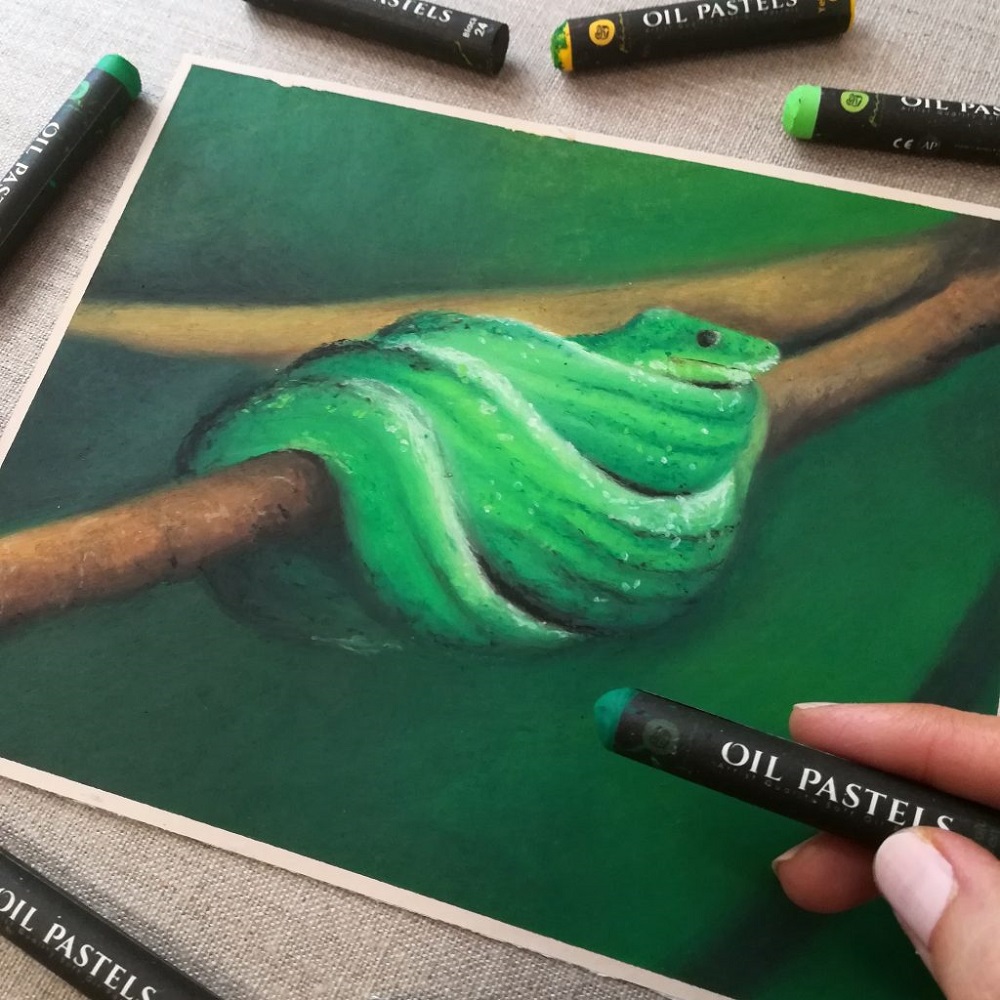
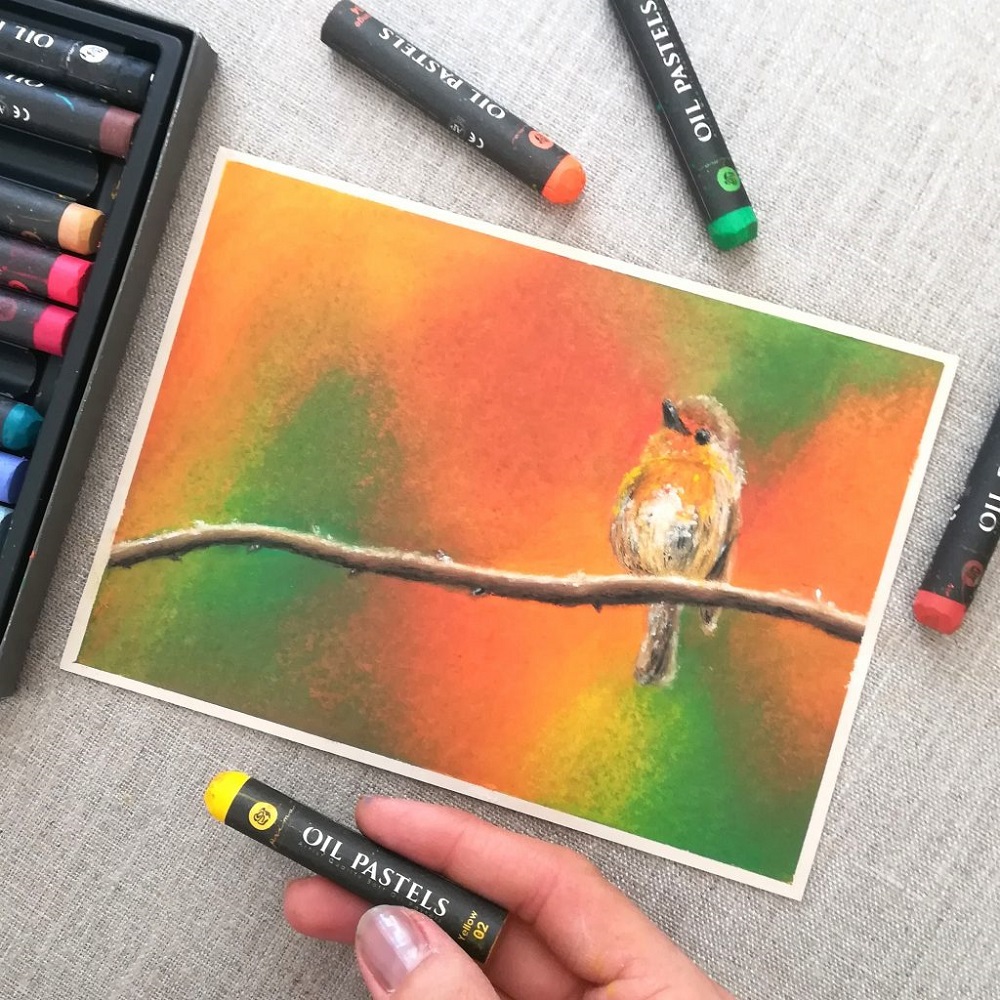
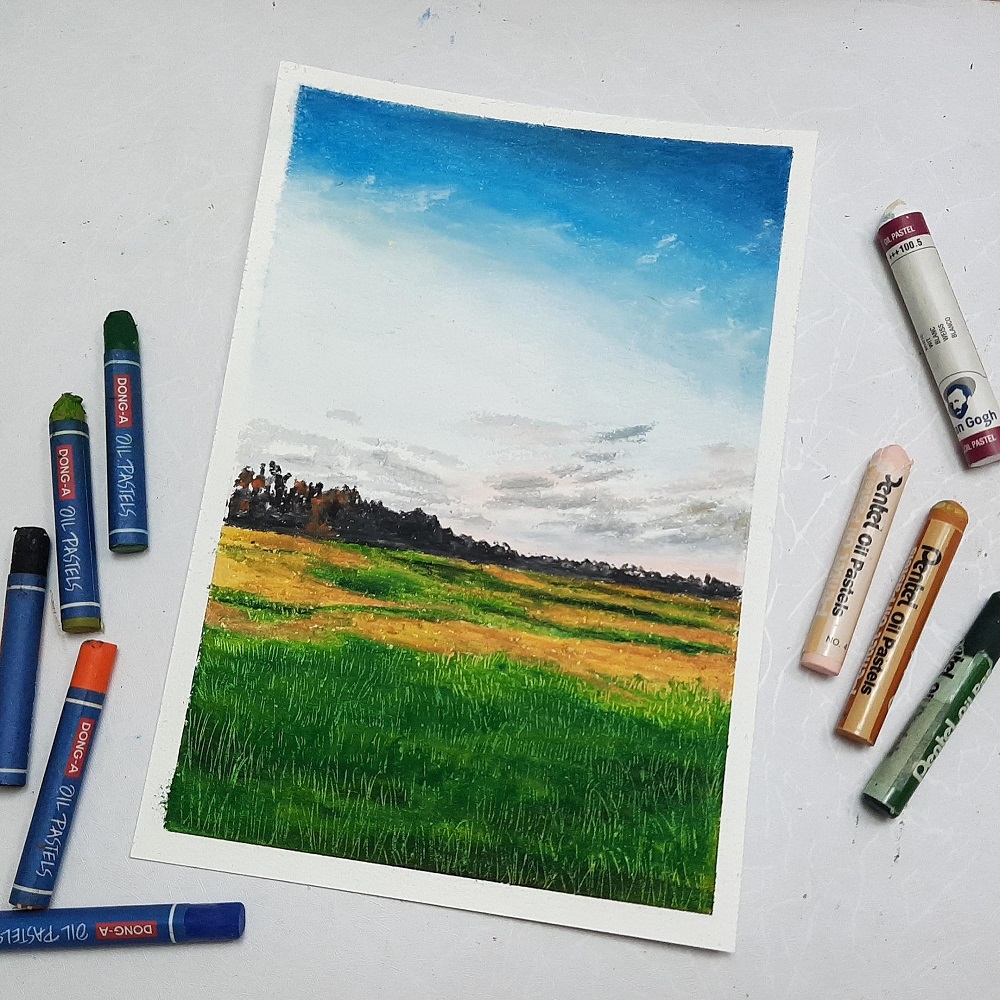
Introduction to Oil Pastels
Oil pastels are a vibrant and dynamic medium for artists of all levels. How to paint with oil pastels?
History and Development
First appearing in the early 20th century in Japan, oil pastels quickly evolved. By the 1940s, Pablo Picasso helped improve their quality, partnering with Sennelier, a French manufacturer. Today, they are embraced globally for their rich colors and adaptability.
Characteristics and Appeal
Oil pastels boast immediate color payoff and easy transport, perfect for outdoor sketching. Their unique texture allows for expressive layering and blending. However, they come with a learning curve, particularly for those familiar with oils or watercolors. Adapting to their rules paves the way for spirited art creation.
Basics of Oil Pastel Painting
To create with oil pastels, start with the right tools.
Selecting the Right Materials
Choose quality oil pastels for rich colors. Use sturdy paper or canvas that won’t tear easily. A fixative spray can keep your artwork smudge-free. Don’t forget blending stumps, and maybe even cooking oil for unique techniques.
Understanding Color Choices in Oil Pastels
Colors are key in oil pastel art. Bright colors pop on neutral-toned paper. Layer colors to blend and create new shades. Remember, dark can cover light, but not the opposite.
Primer: Working with Oil Pastels for Beginners
Beginners should practice on simpler objects. Work in a ventilated space to avoid fumes if you use turpentine. Use a light touch – it’s easier to add more pastel than to remove it. Experiment with different strokes and blending to find your style. And most importantly, have fun as you learn!

Essential Techniques for Oil Pastel Art
To master oil pastels, use techniques that bring out their best qualities.
Layering and Blending Methods
Start with lighter colors and gradually add darker layers. Use your fingers or blending stumps to mix colors on the paper. Layering colors can create new shades and depth in your artwork.
The Sgraffito Technique and Texture Creation
Sgraffito involves scratching off layers of pastel to reveal the color underneath. Use a pointed tool, like a palette knife, to etch into the pastel. It adds texture and detail to your oil pastel painting.
Incorporating Wet Painting with Turpentine
Blend oil pastels with turpentine for a paint-like effect. Apply turpentine with a brush to soften and spread the pastels. This can create a smooth, blended look on your piece.
Creative Applications and Drawing Ideas
Using oil pastels, explore a world of vibrant colors and textures in your art.
Tips for Simple Still Life Compositions
Still life compositions are ideal for beginners to practice with oil pastels. Start with simple objects like apples, vases, or bottles. Pay attention to light and shadow. Use bold colors to bring your subject to life. Experiment with background shades to make the object stand out. Remember to keep your tools clean for crisp edges and details.
Experimenting with Different Surfaces
Oil pastels are versatile. Try them on various surfaces to see the effects. Paper is common but think beyond it. Canvas, wood, or even glass can be exciting choices. Each surface changes how the pastel behaves. Just ensure surfaces are primed if needed. Textures add depth to your work, making each piece unique. Have fun and see what each surface brings to your art.

Advancing Your Oil Pastel Skills
To become skilled in oil pastel art, focus on advanced techniques.
Mastering Light and Shadow
Understanding light and shadow is vital. It gives depth to your work. Begin with mid-tones. Slowly add darker shades. Highlight the areas where light naturally hits. Notice how light shapes objects. Use this to guide your shading. Play with contrast for dramatic effects.
Advanced Blending and Layering
Advanced layering improves texture and color richness. Start with a light base color. Add layers for complexity. Blend colors carefully. Use tools like blending stumps or even your fingers. Mix colors directly on your artwork. Create smooth transitions. Allow layers to partially mix for vibrant outcomes. Practice these methods to enhance your oil pastel paintings.
Preserving Your Oil Pastel Artwork
Creating with oil pastels can be rewarding, but maintaining their bold colors and aesthetics over time calls for proper care.
Fixative Use and Storage Tips
To preserve your oil pastel artwork, fixatives play a crucial role. Application of a fixative spray will protect against smudging, dust collection, and fading. When using fixatives, ensure even coverage and always spray in a well-ventilated area to prevent inhalation of fumes. Once your artwork is set, storage comes next. Keep your creations in a dry place, away from direct light, which can cause colors to fade. Handling is another key point; always hold and move artworks with care. If storing multiple pieces together, separating them with layers of wax or parchment paper helps prevent them from sticking together. Flat storage is best to avoid bending or creasing your pieces. With correct fixative use and mindful storage practices, your oil pastel artworks will stand the test of time. Remember these tips to keep your colors as vibrant as the day you applied them.
Exploring Eco-Friendly and Innovative Practices
Eco-friendly art practices are becoming increasingly important. As an oil pastel artist, there are ways to enhance your art without harming the environment.
Eco-friendly Pastel Painting Techniques
Using oil pastels doesn’t have to come at an environmental cost. Artists can adopt methods that minimize waste and avoid toxic chemicals. For instance, instead of traditional solvents, you can opt for natural oils. These not only blend pastels smoothly but are also safer for you and the planet. Moreover, eco-friendly pastels made with sustainable materials are an excellent choice. They offer high quality while reducing your artistic footprint.
The Role of Cooking Oil in Oil Pastel Blending
An innovative and eco-friendly method involves cooking oil, like canola or baby oil, for blending. Not only is it less hazardous compared to turpentine, but it also gives a unique texture to your artwork. Apply it with a brush to blend colors or create soft transitions. This approach is cost-effective, accessible, and a safer option for artists who prefer to avoid strong solvents. Plus, using cooking oil is a great tip for beginners who are learning how to paint with oil pastels. It simplifies the process and encourages experimentation.

Conclusion: Expanding Your Artistic Horizons with Oil Pastels
Oil pastels offer a unique experience in art creation. They are vibrant, versatile, and full of potential. As we’ve explored, they originated in Japan, then gained popularity with Picasso’s contributions. Whether sketching outdoors or creating bold artwork, oil pastels are a favorite among artists.
Summary of Key Takeaways
- Oil pastels are great for bold, textured art. They’re easy to carry and use anywhere.
- Quality materials, like the right paper and fixatives, help your art last.
- Light colors go first in layering, then darker ones. This builds depth and richness.
- Sgraffito and blending create texture and smooth transitions.
- Cooking oil can be an eco-friendly choice for blending pastels, instead of solvents.
- Practice with simple shapes like apples or vases to start. Move to more complex subjects as you gain confidence.
Encouragement for Artistic Experimentation and Growth
How to paint with oil pastels? Dive into oil pastels with an open mind. Try new techniques and surfaces to see what works best for you. Remember, each mistake is a lesson learned. Push your boundaries and watch your art evolve. Keep practicing, and enjoy the vibrant world of oil pastel art.