Basic Blending Techniques
Mastering the art of oil pastel blending can transform your drawings from simple to extraordinary. It’s about mixing colors and creating gradient transitions that give life to your art. Let’s dive into the basics to get you started.
Blending on the Palette
To blend oil pastels on a palette, start by scraping small pieces of the colors you want to combine. Using a palette knife or a paintbrush, mix them into a paste. This method gives you a premixed color that can help ensure uniformity in your drawing.
When you put this blend on paper, you’re applying a consistent tone across your artwork. Experiment with different mixes to see how colors transform. It’s a great way to predict the final outcome before it hits the paper.
Blending Directly on Paper
For blending directly on paper, apply a solid layer of one color first. Next, layer another color on top. Now, with a tool or your fingers, merge the layers. This method allows for a more hands-on approach and can be ideal for larger areas.
You can softly transition between hues right on your art piece, adding depth and richness as you go. Direct blending on paper is excellent for artists who enjoy the spontaneity and control of mixing colors as they work.

Tools for Blending Oil Pastels
Blending oil pastels is a crucial step in creating vibrant, lifelike art. Besides the array of blending techniques, the tools you use can make a big difference. Let’s explore some common tools that can help you blend oil pastels effectively.
Using Your Fingers to Blend
Your fingers are the most direct tools for blending oil pastels. They offer unmatched control and can spread pastels smoothly across your paper. To use your fingers, apply a layer of pastel and gently rub the surface. Your body heat helps soften the pastels, making them easier to blend. It’s a simple method but remember to keep your hands clean to avoid unwanted smudges.
Alternatives to Using Your Hands
If you prefer to keep your hands clean, there are alternatives. Cloth pieces or paper towels can be great for blending larger areas. With these, you can dab and stroke the pastels to achieve the desired effect. Art tools like palette knives and blending stumps also work well. These tools allow for more detailed blending without getting your fingers dirty.
With the right tools, you can improve your oil pastel blending technique, leading to more polished and professional-looking artwork.
Advanced Blending Methods
When your oil pastel artwork requires a dynamic touch, advanced blending methods come into play. These techniques can add texture, depth, and intensity to your pieces. With each method, strive to maintain control while exploring the range of effects you can produce.
Heavy Pressure Blending
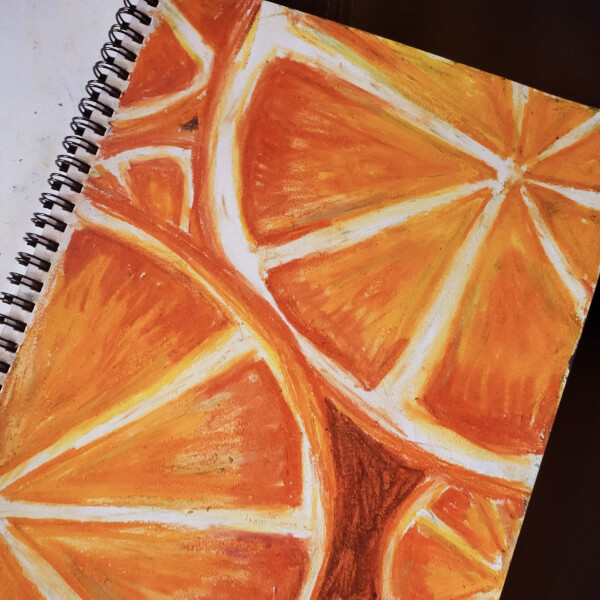
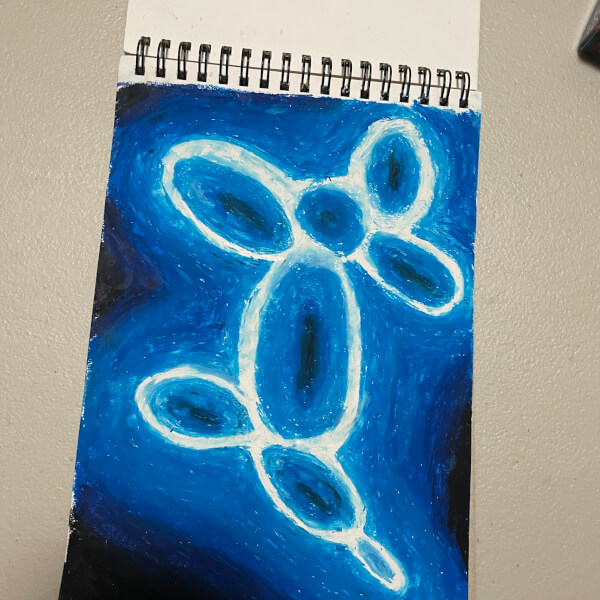
Heavy pressure blending involves using firm strokes to apply dense layers of color. Start by pressing hard with your first color, then layer another color on top. The heavy application mixes the hues right on the canvas, resulting in vibrant, interwoven shades. This technique works well for bold statements and can bring a sense of emotion to your work.
Oil Blending for a Smooth Finish
For a sleek, polished look, try oil blending. Dip a cotton swab in baby oil or mineral oil, then gently rub it on your pastel strokes. The oil softens the pastels, allowing them to merge seamlessly. You’ll find you can guide the blend easily, creating soft transitions or gradually changing tones. This method is excellent for achieving skin tones or the softness of a sunset.

Stippling with Oil Pastels
Stippling with oil pastels creates unique textures in your art. It requires patience, but the effects are worth it. Here’s how to start stippling:
- Choose the right paper – one with a bit of grip is ideal.
- Pick your oil pastels and ensure they are sharp enough for precise dotting.
- Begin by applying dots slowly on the paper.
- Apply more pressure for bolder dots or lighter for a soft look.
- Layer different colors using dots for a rich, textured effect.
- Keep your hands steady and your dots evenly spaced for consistency.
- Gradually build up color density and shading through more dot layers.
Remember, stippling can take time so be patient and enjoy the process.
The Art of Dot Layering
Dot layering in stippling is a key technique for creating depth. Follow these guidelines:
- Start with lighter colors for the initial layer of dots.
- Introduce darker colors in subsequent layers to add depth.
- Aim for a random distribution of dots to mimic natural variations.
- Use contrasting colors side by side to make areas stand out.
- Adjust dot density for different shading effects.
- Combine stippling with other blending methods for dynamic pieces.
Experiment with colors and pressure to master the stippling technique.
Scumbling Technique
The scumbling technique adds visual interest to your oil pastel pieces. It’s simple to do and effective for building layers.
Layering with Scribbles and Swirls
To scumble, use light, loose hand movements. Apply pastel in scribbles or swirls on your surface. Rather than blending colors together thoroughly, scumbling creates texture. The colors underneath will peek through these top layers. Try using different pressure and movement to produce various effects. With practice, scumbling can help in achieving the look of fur on animals or the texture of foliage in landscapes. Give scumbling a try for a unique twist in your oil pastel blending.
Feathering Edges for Seamless Transitions
Feathering is a key oil pastel blending technique for soft, seamless edges. It lets your subjects blend naturally into the background. This technique smooths the transition between colors. Use it to make objects in your drawing feel connected and cohesive.
To feather with oil pastels, lay down short, light strokes along the edges you want to soften. These strokes are similar to those used in cross-hatching. Feathering is often done in layers, softly brushing the edges of two different colors together. The result should look like the colors fade into each other. This can create a gentle and subtle effect.
Here’s how you can try feathering:
- Start with a base of solid color. Use light pressure to keep the application soft.
- Add another layer of color using short, linear strokes. Aim for these strokes to go slightly beyond the first color.
- Use a tool or your finger to blend the strokes at the edges. Blend until you see no hard lines.
- Continue adding layers until you reach the desired transition.
Feathering is perfect for softening the outline of a sunset against the sky. Or, use it to blend the edges of a still life subject into shadows. It creates a look of depth and ensures elements in your artwork feel part of the same world. As with all oil pastel blending techniques, practice helps. The more you feather, the better your transitions will become. Try it with different colors and shapes to see the variety of effects you can achieve.

Maximizing Color Depth and Consistency
Creating artworks with oil pastel blending can be exciting and rewarding. A key to bringing out the vibrancy in your art is maximizing color depth and consistency. This means building up the intensity and uniformity of colors to make your pieces pop.
Building Layers for Vibrant Effects
Building layers is a powerful way to enhance vibrancy in your oil pastel drawings. Start with a light base layer. This lays the groundwork for additional colors. Add layers gradually, increasing pressure as needed. Each layer contributes to the depth, making colors more striking. It’s a balance. You’ll want to maintain the consistency of your strokes. Uneven layers can lead to a patchy look.
Stagger your colors as you layer. Place darker shades on lighter ones for contrast. This helps define shapes and add dimension. Remember to blend each layer before adding the next. This guards against muddying the colors.
Here’s a step-by-step approach:
- Apply a base layer with gentle pressure. Use sweeping motions for even coverage.
- Choose complementary colors for the next layers. Think about how they’ll mix.
- Blend with your chosen tool after each new layer. This keeps transitions smooth.
- Increase pressure to intensify colors. This brings out the richness in your drawing.
Slow and steady wins the race. Quick applications can lead to mistakes. Take your time. Assess your work as you go. Each layer should add to the overall effect, not detract from it.
Practice these techniques to master consistency in your oil pastel blending. Your art will gain a dynamic look, with colors that seem to leap off the page.