Introduction to Oil Pastel Drawing
Oil pastel drawing is a vibrant, accessible art form perfect for all skill levels. Whether you’re a beginner looking to dip your toes into the world of art or a seasoned artist seeking new mediums to explore, oil pastels can provide a unique experience with their rich colors and buttery texture.
Oil pastels consist of pigment mixed with a non-drying oil and wax binder. They combine the best qualities of wax crayons and traditional pastels, offering more resistance to the elements. Unlike powdered pastels, they don’t require a fixative. That means they’re more durable and less prone to smudging.
Their ease of use makes oil pastels ideal for creating beautiful floral artwork. With simple tools and a straightforward technique, you can start an oil pastel flower drawing in no time. We’ll delve into the essentials of starting with oil pastels, from selecting your materials to mastering basic techniques, before moving on to a step-by-step guide to create your masterpiece.
Essential Materials for Starting with Oil Pastels
To embark on your oil pastel flower drawing journey, gathering the right materials is vital. High-quality oil pastels and the proper paper can make a significant difference in the outcome of your art. Let’s explore what you’ll need to begin.
Choosing the Right Oil Pastels
When selecting oil pastels, consider the following points:
- Pigmentation Quality: Look for pastels with rich, vibrant colors.
- Texture: Smooth, buttery pastels blend easier than hard ones.
- Brand Reputation: Trusted brands often have consistent quality.
- Price Range: Start with affordable options if you’re a beginner.
- Set Size: A set with a wide range of colors is advantageous.
Quality matters when it comes to oil pastels. Beginners might opt for student-grade pastels, while professionals may prefer artist-grade for their higher pigment concentration and superior blendability.
Selecting Paper for Oil Pastel Drawing
Next, choosing the right paper is crucial:
- Weight: Heavier paper withstands multiple layers of pastels.
- Texture: Textured paper grabs and holds the pastel better.
- Color: Starting with a mid-tone paper can enhance the artwork’s depth.
- Acid-Free: Acid-free paper will help your artwork last longer.
Regular drawing paper can suffice for practice, but investing in a heavier, textured paper designed for oil pastels will provide a better foundation for your flower drawings. Acid-free paper is always a good choice, as it helps prevent yellowing and degradation of your art over time.
Basic Techniques for Oil Pastel Drawing
Mastering basic techniques is key when working with oil pastels. They allow you to create stunning oil pastel flower drawings with depth and dimension. Here, we’ll cover blending and shading, as well as layering and the use of pressure variation.
Blending and Shading Techniques
Blending is essential in oil pastel drawing. It helps to create smooth transitions between colors. Use your fingers, a blending stump, or a piece of cloth to merge colors seamlessly. For shading, apply more pressure for a darker tone and lighter pressure for a softer shade. Practice makes perfect, so try blending shades of the same color before moving to different colors.
Experiment with side-to-side strokes or little circles to blend colors naturally. Remember, oil pastels are forgiving; mistakes can often be blended out or covered with another layer.
Layering and Pressure Variation
Layering is your secret weapon for vibrant oil pastel flower drawings. Start with light pressure to apply your base colors. Gradually increase pressure to add more pastel and build up the intensity of your colors. With oil pastels, you can layer dark over light or light over dark, which is different from many other mediums.
Pressure variation can change the look of your drawing dramatically. Heavy pressure will give a bold, opaque color, while light pressure will allow the color of the paper to show through, adding depth to your flowers. Experiment with different pressures to find the best effect for each part of your drawing.
Remember to clean the pastels periodically to keep colors pure and vibrant. A little practice with these techniques will go a long way to enhancing the beauty of your oil pastel flower drawings.
Step-by-Step Process for Drawing a Flower with Oil Pastels
Creating a flower with oil pastels is an enjoyable process. It requires you to follow specific steps for the best outcome. We’ll guide you through each stage, from the initial sketch to the vivid display of colors.
Sketching the Basic Flower Outline
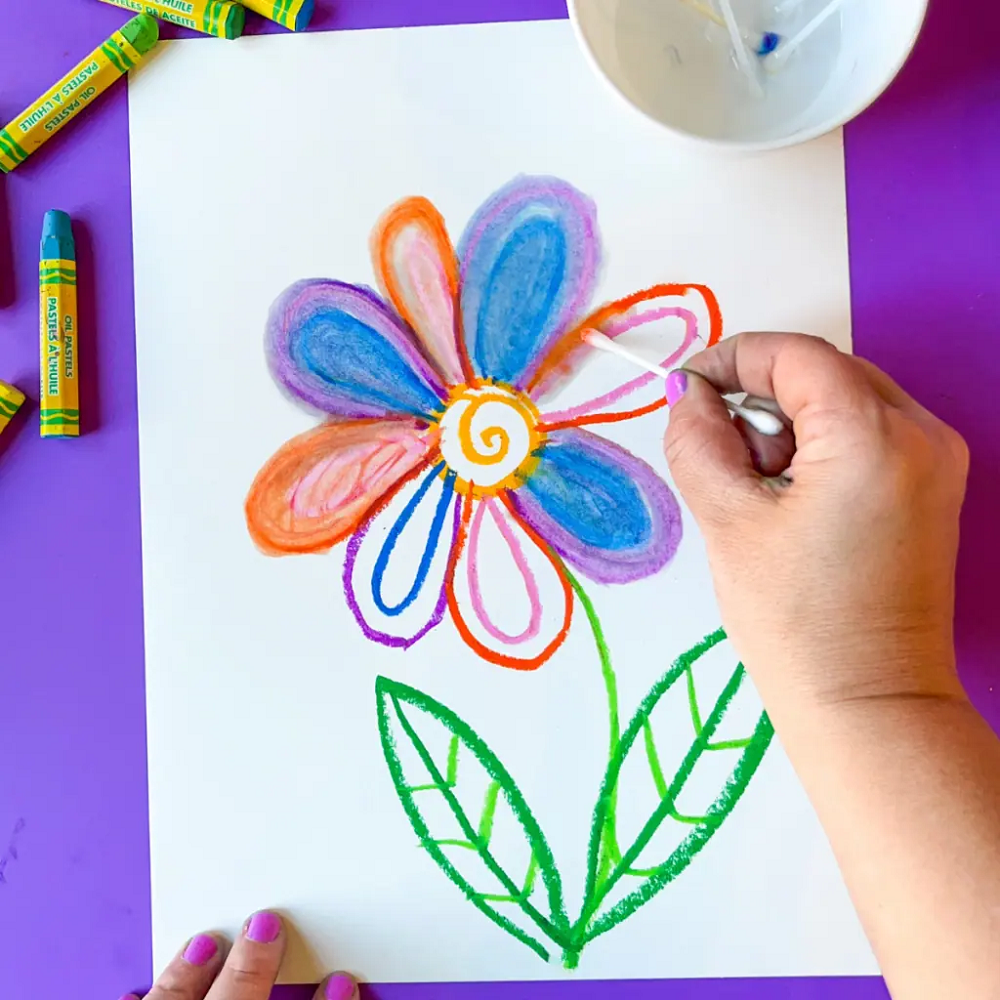
Start with a light pencil sketch of your flower. Choose a simple shape for the petals. Focus on the general outline and ignore the details for now. Place the outline lightly so you can adjust as needed.
Applying Base Colors
Choose a light shade of your intended flower color to start. Gently apply the base color to the whole flower. Avoid pressing too hard. This light base acts as a foundation for the subsequent layers.
Adding Details and Depth
Once the base is down, you can increase pressure for more color. Introduce darker shades for depth and use lighter shades to highlight. Follow the flower’s natural curves and shapes. Blend colors smoothly for a realistic effect. Use short, confident strokes and refer back to your outline to maintain the correct shape.
Tips for Perfecting Flower Drawings with Oil Pastels
Beyond the basic techniques, mastering a few additional tips can take your oil pastel flower drawing to the next level. Let’s look at how understanding color theory and creating textures will enhance your artwork.
Understanding Color Theory
Color theory is the backbone of any vibrant drawing. Here’s how to apply it:
- Complementary Colors: Use opposite colors on the color wheel to make parts of your flower pop.
- Analogous Colors: Side-by-side colors on the wheel work well for gradients and soft transitions.
- Warm and Cool: Balance warm and cool tones to bring life and contrast to your drawing.
Grasping these concepts will help you choose colors that create a pleasing balance and depth in your oil pastel flower drawing.
Creating Textures in Your Flower Drawing
Textures can bring your flowers to life. Try these techniques:
- Layering: Apply colors in layers to build texture. Start with soft shades and add darker tones.
- Stippling: Dab the pastel for a textured look. This works great for centers or shaded areas.
- Crosshatching: Create a crisscross pattern with pastel sticks for interesting textures.
Remember, the key to texture is layering without over-blending. Keep strokes lively and varied to mimic the natural imperfections of flowers.
Finishing Touches: Finalizing Your Oil Pastel Flower Artwork
When you think your oil pastel flower drawing looks complete, it’s time for the finishing touches. These steps will make your artwork truly stand out.
Assess the Overall Composition
Take a step back and look at your drawing. Check the balance of colors and the placement of your flowers. Ensure that the composition is pleasing to the eye. Adjust any colors or shapes if needed. If a petal doesn’t seem right, layer on a bit more pastel.
Enhance the Highlights and Shadows
Bright highlights and deep shadows add dimension. Use a lighter pastel to add a touch of brightness where the light naturally hits. Darker tones can deepen shadows and give your flower drawing more depth.
Clean Up Edges
Check the edges of your flowers. Use a clean pastel or a scraping tool to sharpen any blurred lines. This will make your petals and details crisp and distinct.
Sign Your Work
Your signature is important. It marks the artwork as yours. Sign in a corner with a color that stands out but doesn’t clash with your drawing.
After these steps, your oil pastel flower drawing is complete. It should look vibrant, balanced, and ready to impress. Display it proudly or gift it to someone special!
Inspirational Ideas for Your Next Oil Pastel Flower Projects
With the basic skills down, it’s time to stretch your creativity. Oil pastel flower drawing provides endless possibilities. Here are some ideas to spark inspiration:
Explore Different Flower Species
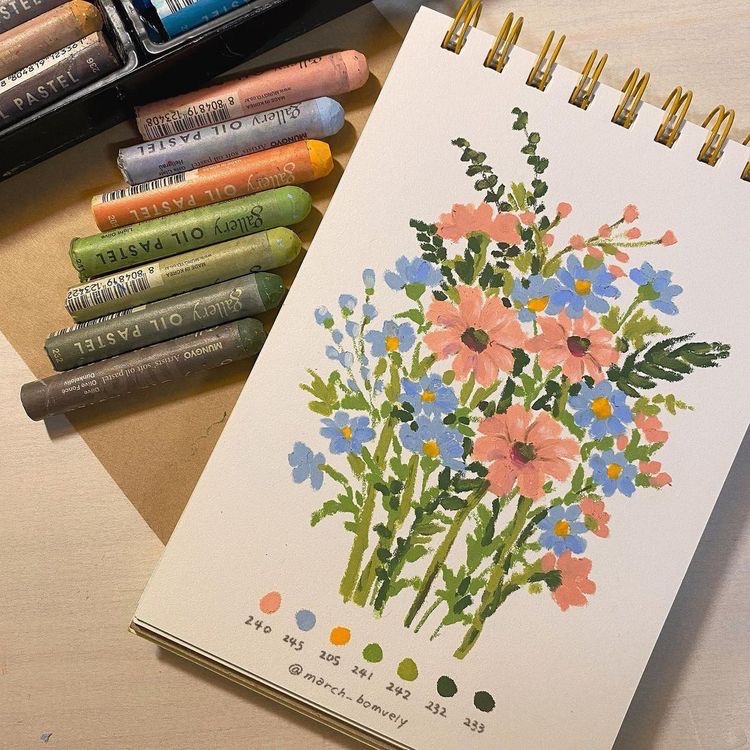
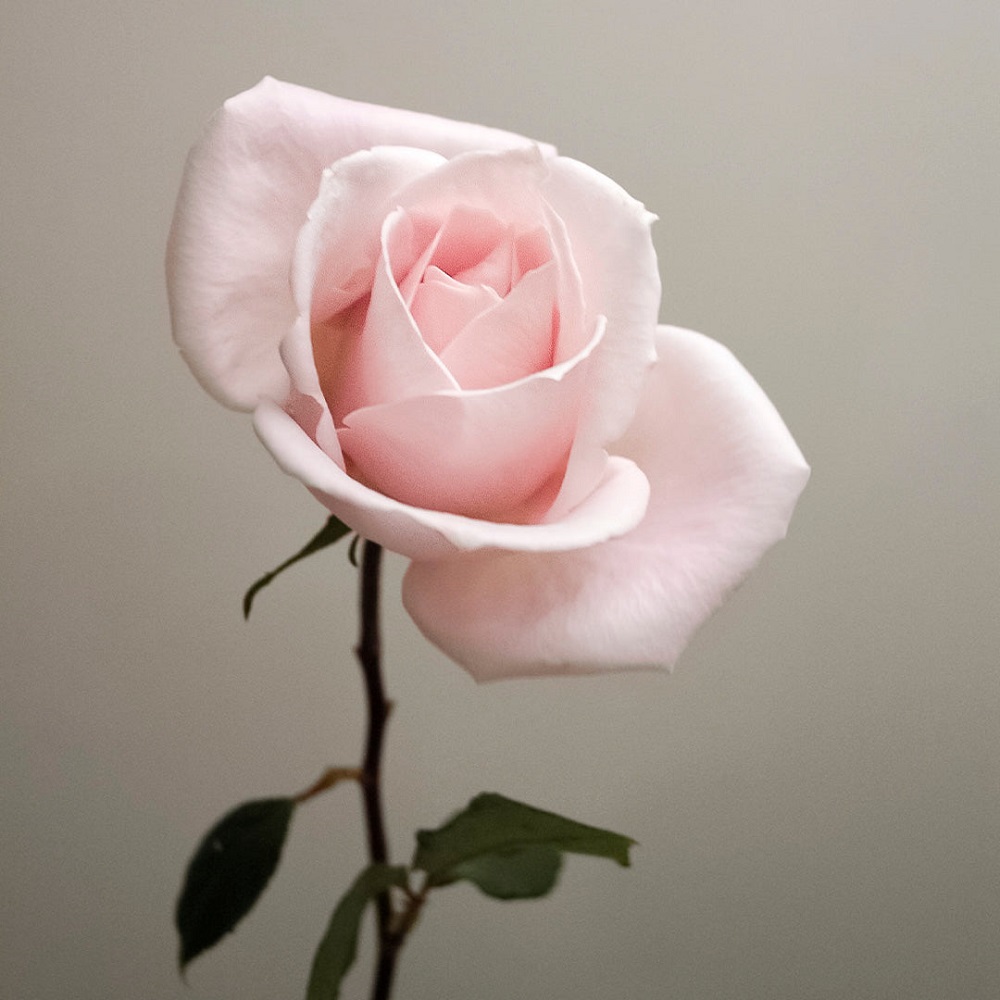
Each flower has its unique shape and color. Try drawing roses for their intricate petals or sunflowers for their bright, bold presence. Delve into the subtleties of daisies or the elegance of lilies. Observing real flowers, or photos can help capture their essence.
Experiment with Color Combinations
Don’t be afraid to mix colors you wouldn’t normally use together. Combining unexpected hues can yield surprising, eye-catching results. Think purple and orange for a vibrant contrast, or blue and yellow for a striking mix.
Try Various Backgrounds
Your flower doesn’t exist in a vacuum. Place it against different backgrounds. A dark background can make your flower’s colors leap off the page. A lighter, softer background can give your artwork a dreamy quality.
Add Natural Elements
Incorporate leaves, stems, and even insects for a more dynamic drawing. Adding a butterfly or a bee can bring a new level of interest to your flower art. These details can make your drawing feel more alive.
Create a Series
A series of oil pastel flowers can be a great way to showcase growth. Start with a bud and progress to full bloom. Displaying these drawings together tells a story and demonstrates your skill progression.
Use Different Styles
You don’t have to stick to realism. Try abstract or impressionistic styles. Play with shapes and lines to create a flower that expresses emotion or movement.
Each project is an opportunity to learn and enjoy the process of creation. Keep experimenting with your oil pastel flower drawings, and your artistic voice will continue to develop and shine.
Maintaining Your Oil Pastel Artwork
After you’ve created your oil pastel flower drawing, it’s crucial to maintain it properly to ensure its longevity. Here are steps to help keep your artwork looking fresh and vibrant:
Protecting the Surface
To protect your drawing, you can:
- Cover with Glass or Acrylic: Framing your artwork under glass or clear acrylic helps shield it from dust, dirt, and damage.
- Use a Fixative Spray: Although oil pastels don’t require fixative, a light spray can protect against smudging.
- Handle with Care: Always handle your artwork by the edges or wear cotton gloves to prevent oils from your hands damaging the surface.
Displaying Your Artwork Safely
When displaying your piece:
- Avoid Direct Sunlight: Sunlight can fade colors over time, so position your drawing away from harsh light.
- Keep Away from Moisture: Hang your art in a dry area to prevent dampness from warping the paper or affecting the oil pastels.
- Rotate Displays: If you have multiple pieces, rotate them in your display to reduce long-term exposure to any harmful elements.
Cleaning Your Oil Pastel Drawing
To clean the surface:
- Dust Gently: Use a soft brush to remove any dust from the surface without smudging the colors.
- Avoid Water or Chemicals: Don’t use water or cleaning agents as they can dissolve the binder in the pastels and ruin your drawing.
By taking these simple actions, you can enjoy your oil pastel flower drawing for years to come. Regular maintenance will also prepare your artwork for eventual display or sale, keeping it in the best condition possible. Implement these practices as part of your art routine, and you’ll see the benefits of your efforts reflected in your preserved masterpieces.