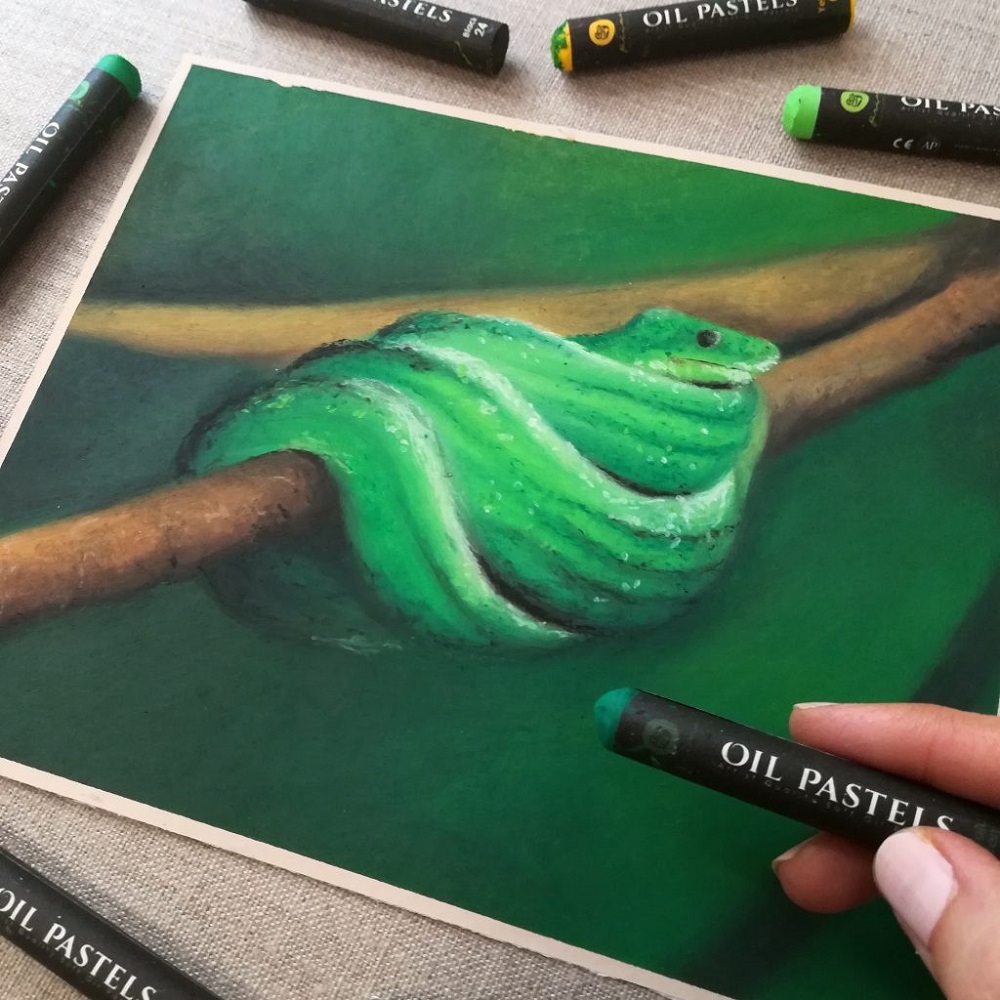
Oil pastels are a vibrant, versatile medium that offers artists a unique way to create stunning works of art. They blend the qualities of crayons and oil paints, providing rich colors and smooth application. Whether you’re a beginner or a seasoned artist looking to explore new techniques, this guide will introduce you to the essentials of painting with oil pastels, including tips, techniques, and creative applications.
Understanding Oil Pastels
What Are Oil Pastels?
Oil pastels are sticks made from pigments mixed with a binder of non-drying oil and wax. This combination gives them a creamy texture, allowing for easy blending and layering. Unlike chalk pastels, which can be dusty, oil pastels are more forgiving and can produce intense color and smooth application. They work wonderfully on a variety of surfaces, such as paper, canvas, and cardboard, making them a versatile choice for artists of all levels.
Characteristics of Oil Pastels
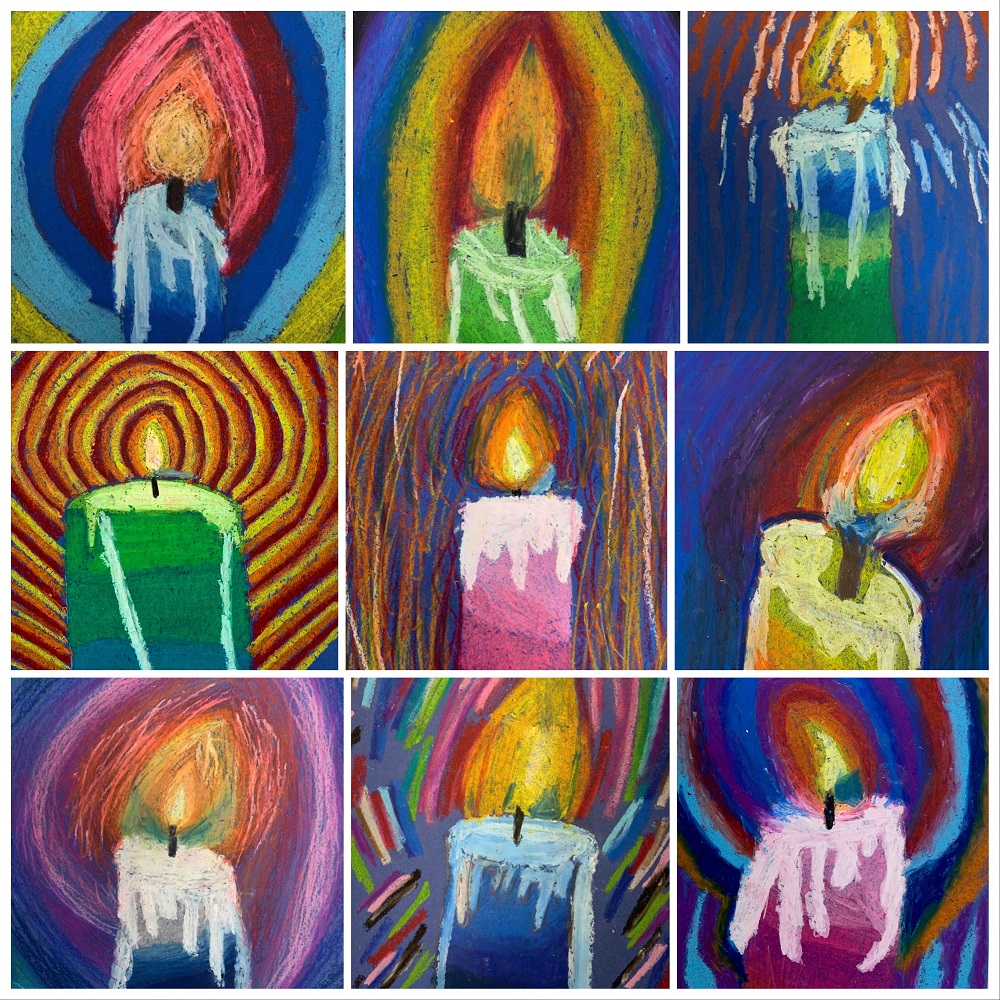
One of the most appealing features of oil pastels is their vibrant colors. They retain their richness and vibrancy over time and do not fade easily. This quality makes them excellent for creating bold artworks. Another advantage is their ability to be used in various techniques, from fine details to broad strokes. Artists appreciate the quick-drying nature of oil pastels, allowing them to layer and blend without waiting for a long drying time, as is common with oil paints.
Essential Materials and Tools
Choosing the Right Oil Pastels
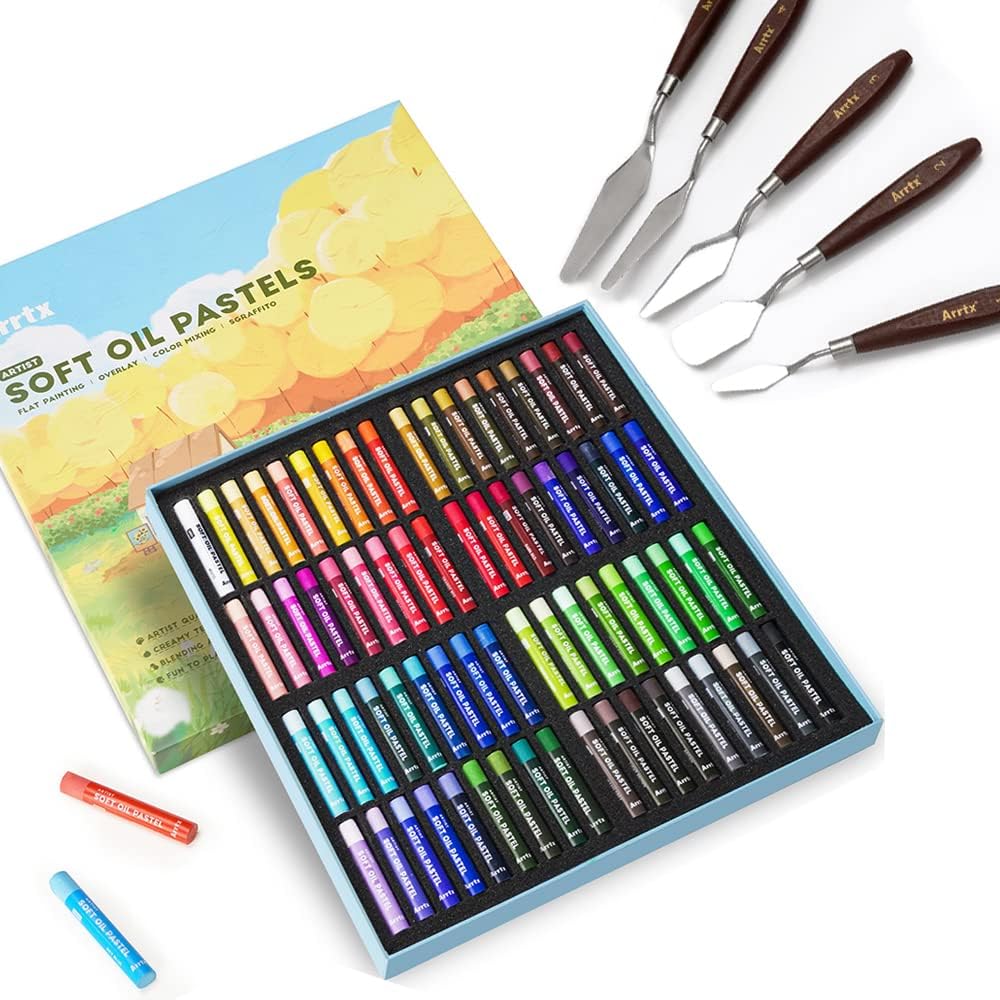
When starting with oil pastels, choosing high-quality materials is crucial. Look for brands known for their pigment quality and durability. Student-grade pastels are fine for practice, but professional-grade products yield better results in terms of color saturation and ease of use. Notable brands include Sennelier, Cray-Pas, and Holbein, all offering various sets suitable for different levels of artists.
Additional Tools You May Need
Beyond oil pastels, having the right tools can enhance your painting experience. Essential tools include soft paper towels or blending stumps for smoothing colors, a palette knife for scraping or mixing colors, and a variety of surfaces like textured paper or canvas boards. Experimenting with different tools can help you discover unique textures and effects, allowing your creativity to flourish.
Basic Techniques for Oil Pastel Application
Applying Layers
One fundamental technique in oil pastel painting is layering. Start by applying a base layer with light pressure to build the foundation of your artwork. Gradually add additional colors, using varying pressures to achieve depth. Light colors can be overlaid on dark colors, allowing you to create light effects and highlights. Don’t be afraid to use multiple colors harmoniously in one area, as this will enrich the overall look of your piece.
Blending Colors
Blending is another essential skill when working with oil pastels. You can blend directly on the canvas by using your fingers or a blending stump. For smoother blends, apply a small amount of lighter color over a darker base and gently rub the area. This technique creates soft transitions between shades and intensifies the overall color quality. You can also use a solvent medium like odorless mineral spirits to help smooth out the colors further, giving a painterly feel to your artwork.
Advanced Techniques for Texture and Effects
Sgraffito Technique
The sgraffito technique involves scratching into the oil pastel layers to reveal the colors beneath. To use this method, start with a colored base layer and then apply a contrasting color on top. Use a blade, palette knife, or even a toothpick to scratch designs or textures through the top layer. This technique can create stunning effects, adding interest and depth to your artwork. It’s an excellent way to introduce fine details or patterns that can evoke different emotions or atmospheres.
Scumbling Technique
Scumbling involves applying a layer of color over another layer in a loose and scribbled manner. This technique allows underlying colors to show through, creating a textured effect that adds visual interest. When using scumbling, maintain a light touch, allowing the colors beneath to interact and blend naturally. It’s particularly effective for depicting skies, foliage, or abstract backgrounds, where different colors can dance harmoniously together.
Building Your Color Palette
Color Mixing
While oil pastels come in a wide range of pre-made colors, mixing your own can open up a world of possibilities. You can create custom shades by layering and smudging different colors together. Start with a primary color, then apply small amounts of secondary colors nearby, and blend them until you achieve the desired hue. This technique allows you to personalize your color palette, ensuring your artwork remains unique.
Creating Harmonious Color Schemes
Understanding color theory can significantly impact your oil pastel artwork. Utilize the color wheel to identify complementary, analogous, and triadic color schemes. Complementary colors can create striking contrast, while analogous colors provide a more harmonious and calming effect. Experiment with these combinations in your compositions to evoke different moods and enhance the overall aesthetic of your art.
Choosing a Surface for Your Artwork
Different Surfaces to Consider
The choice of surface can greatly impact the outcome of your oil pastel paintings. Choose heavyweight paper designed for pastels, as it can withstand layering without warping. Textured surfaces can add dimension, while smoother surfaces offer more control for fine details. Experiment with canvas boards, wood panels, or even cardboard to explore how different materials affect your artwork’s visual quality.
Preparing the Surface
Before applying oil pastels, prepare your chosen surface. If using textured paper, consider brushing it lightly with a fixative to create a slightly rougher surface. For canvas, you might want to apply a layer of gesso to enhance the bonding capacity of the oil pastels. Preparing your surface helps the colors adhere better and allows for smoother application of techniques.
Final Touches and Preservation
Sealing Your Artwork
Once you’ve completed your piece, take steps to protect it. Oil pastels can smudge easily, so applying a fixative is crucial. Look for fixatives specifically designed for oil pastels or artworks. Spray the fixative from a distance, ensuring an even layer covers your artwork. This step will help preserve the vibrancy of your colors and protect your painting with oil pastels from dust and damage.
Storing Your Oil Pastels
Proper storage will prolong the life of your oil pastels. Keep them in a cool, dry place and utilize a protective case, tray, or box. Avoid leaving them in direct sunlight or extreme temperatures, as this can affect the texture and quality. By taking care of your materials, you’ll ensure they remain vibrant and usable for future creations.
Conclusion
Painting with oil pastels opens up a world of artistic possibilities, allowing for vivid colors and textures that capture the imagination. With the right techniques and materials, artists can create stunning works that evoke emotion and tell a story. From understanding the basics of oil pastels to exploring advanced techniques, this guide equips you with the knowledge to unleash your creativity.
Take time to practice and experiment with the techniques discussed. The learning process is enjoyable and will undoubtedly lead to new discoveries in your artistic journey. As you develop your skills with oil pastels, you’ll find joy in the vibrant colors and unique textures they bring to your artwork. Embrace the journey, and let your creativity shine!