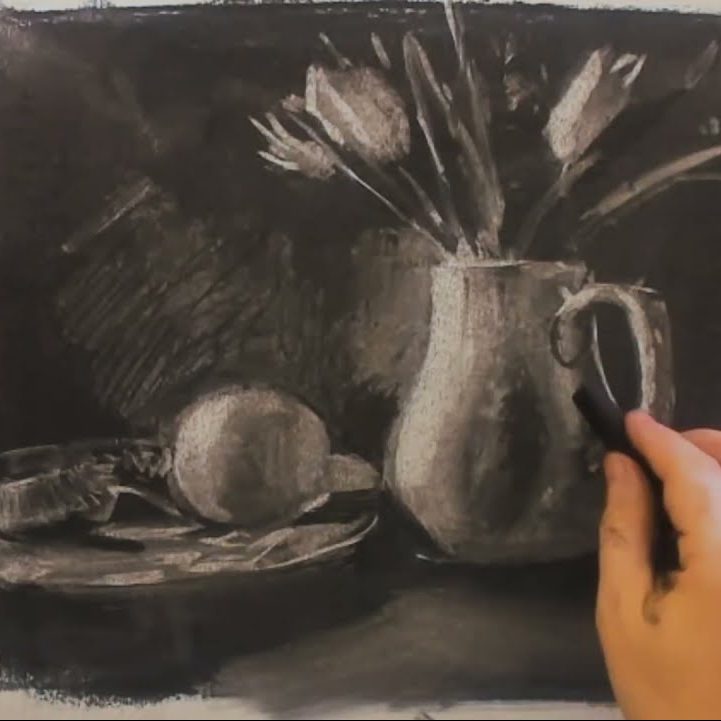
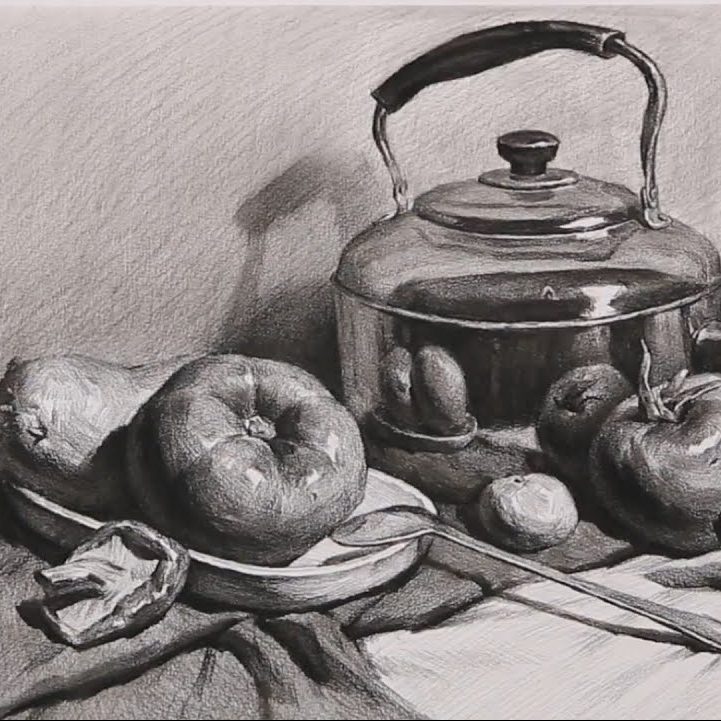
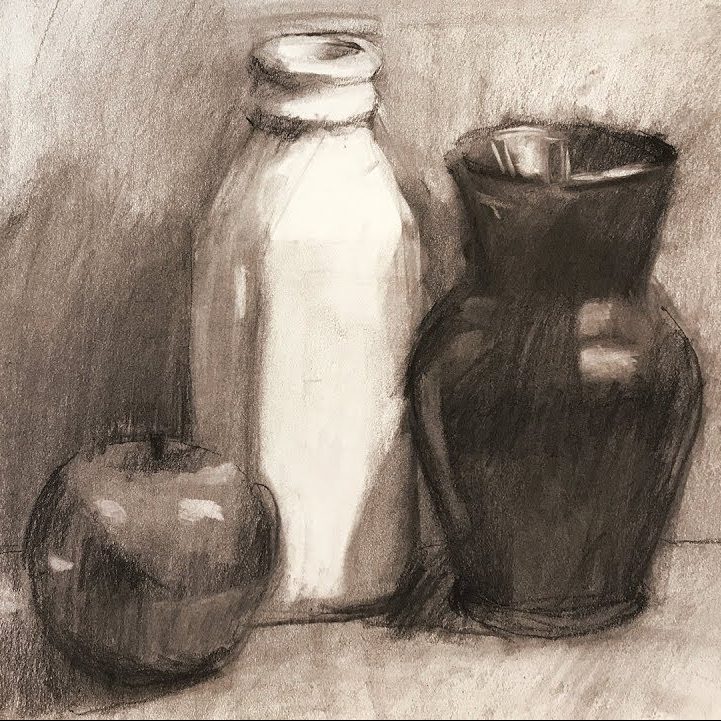
Charcoal drawing remains one of the most beloved techniques for creating expressive and dynamic artwork. The rich tonal variations and ease of blending make charcoal an excellent medium for still life drawing. Whether you are a seasoned artist or a beginner, mastering charcoal still life can elevate your skills and create stunning pieces. This guide will cover essential tools, effective techniques, and helpful tips to help you master the art of charcoal still life drawing.
Essential Charcoal Tools
Types of Charcoal
Before diving into drawing techniques, understanding the different types of charcoal is key. The most common forms include compressed charcoal, vine charcoal, and charcoal pencils.
- Compressed Charcoal: This thick, dense form comes in various hardness levels and produces deep, rich blacks. Its bold color allows artists to achieve striking contrasts. Compressed charcoal is particularly effective for shading and creating dramatic effects in still life pieces.
- Vine Charcoal: Made from charred twigs, vine charcoal is softer, lighter, and easier to erase. It is perfect for initial sketches and soft gradations. Artists often use it for outlining compositions, allowing for easy modifications due to its erasable nature.
- Charcoal Pencils: These pencils combine the convenience of drawing with a fine point with the expressive qualities of charcoal. They are great for fine details and precision work, making them indispensable for capturing intricate elements in still life.
Additional Drawing Tools
Apart from charcoal, several accompanying tools enhance your drawing experience. Blending stumps are essential for smoothing and blending charcoal, giving your work a professional appearance. Kneaded erasers are highly versatile, allowing you to lift charcoal highlights or create softer edges without damaging the paper.
A good quality sketchbook or drawing paper is vital as well. Choose a paper with a texture that can hold the charcoal effectively. Look for heavyweight papers designed for charcoal. Their texture captures the medium, contributing to richer shading and detail.

Setting Up Your Still Life
Choosing the Right Composition
Selecting a compelling composition sets the stage for a striking still life drawing. Start by gathering various objects, such as fruits, flowers, and everyday items, that create visual interest. Consider their shapes, colors, and how they relate to one another. Arrange them in a way that displays dynamic angles and overlaps, encouraging the viewer’s eye to explore.
Creating depth within your composition is crucial. Use objects of different heights and shapes to construct a three-dimensional feel. You can also choose to include reflective surfaces, like glass or metal, which add complexity and intrigue to your composition.
Lighting Considerations
Lighting plays a significant role in how your still life will look. Natural light works wonders, casting engaging shadows and highlights that bring your pieces to life. Consider setting up near a window during the day, allowing for soft, diffused light.
Experiment with lighting angles. Side lighting will create dramatic shadows, enhancing depth and texture, while front lighting will flatten the form. Each approach influences how shapes and details appear, so take notes on what works best for your style.
Basic Drawing Techniques
Outlining Your Composition
Once you have arranged your objects and set up your lighting, it’s time to start drawing. Begin with light, simple outlines using vine charcoal. Focus on the basic shapes of each object first, identifying how they relate to one another. Pay attention to proportions and angles, as they will form the foundation of your artwork.
Using a light touch at this stage allows for easy adjustments. If you make a mistake, don’t worry—erase it lightly with your kneaded eraser or adjust the lines. Once satisfied with the outlines, start refining details, ensuring that the objects appear realistic.
Shading and Contour Techniques
Shading gives depth and dimension to your drawing, making the objects feel three-dimensional. Use compressed charcoal for darker areas; apply it with controlled pressure to achieve varying intensity. Employ techniques like hatching, cross-hatching, and stippling for textural effects.
- Hatching: Creating parallel lines helps establish shadow direction and intensity.
- Cross-Hatching: Alternating lines at an angle adds richness, building up darker areas quickly.
- Stippling: Small dots provide finer details and help build gradients of light and shadow.
Remember to blend where necessary, using your blending stump or fingers to create smooth transitions between light and dark areas.

Advanced Shading Techniques
Creating Contrast
Contrast is pivotal in charcoal still life drawing, as it draws attention to the focal points. To achieve strong contrasts, compare the darkest and lightest areas. Identifying where the highlights fall can help you position your darkest shadows. Use your kneaded eraser to lift highlights, creating brighter areas that showcase light reflection.
Experimenting with contrasting tones allows you to guide the viewer’s eye through the composition. A well-balanced combination of light and shadow heightens the visual interest and makes the drawing more dynamic.
Layering for Depth
Layering is a powerful technique when working with charcoal. Start with a light layer to build a foundation and gradually apply additional layers of charcoal, deepening your shadows and enhancing details. This approach prevents the work from appearing flat and allows you to capture a range of textures.
You can also use negative space to enhance your drawing’s depth. By observing the areas around the objects and drawing their forms, you create a stronger sense of dimension. This technique helps integrate each object within the composition, making it feel cohesive.
Maintaining Control and Precision
Grip and Technique
A firm grip on your charcoal is essential for maintaining control and precision. Hold your drawing tool further back instead of gripping it tightly like a pencil. This method allows for fluid movement, giving you better control of wider strokes and enabling more dynamic shading.
Additionally, experiment with different pressure levels. Light application creates gentle shadows and soft gradients, while firm pressure yields dark, bold lines. Mastering this pressure control can transform your drawing from simple outlines to lifelike representations of your still life.
Working from General to Specific
Start broad by focusing on the overall shapes before zeroing in on details. When you finish the larger forms, gradually switch to more precise work. This technique helps avoid the frustration that comes with getting lost in minute details too soon.
Once you lay down your foundational shapes and shadows, you’ll develop a strong grasp of your composition, allowing you to enhance specific areas to create depth and realism.

Critiquing and Improving Your Work
Assessing Your Drawing
After completing your drawing, take a step back and assess your work from a distance. This distance offers a fresh perspective, allowing you to observe proportions, composition, and shading effectiveness. Analyze whether the drawing captures the essence of your still life arrangement.
Taking notes on what worked and what didn’t can help guide your growth as an artist. Consider what aspects you feel confident in and where you might want to refine your technique. Constructive self-critique is an invaluable part of the artistic process.
Seeking Feedback and Inspiration
If you can, invite friends, family, or fellow artists to critique your work. They may see things you overlooked and provide valuable insights. Participating in art communities, whether online or in local workshops, can help you refine your skills and expand your horizons.
Look for inspiration in the works of established artists as well. Researching other charcoal artists can offer fresh perspectives and motivate you to explore new styles or techniques.
Practicing Regularly
Incorporating Still Life into Your Routine
Practice makes perfect, especially when it comes to mastering charcoal still life drawing. Make it a goal to regularly set up still life scenes to draw from. Try varying your objects, lighting, and compositions to keep your practice sessions stimulating and rewarding.
You might also consider dedicating time to specific techniques, such as shading or blending. Focusing on one aspect at a time allows for deeper learning and improvement. Consistency in practice is essential for honing your skills and gaining confidence in your technique.
Experimenting with Different Subjects
Once you feel comfortable with traditional still life arrangements, consider experimenting with different subjects. Feel free to move beyond fruits and flowers; try everyday household items, fabrics, or even more abstract compositions. These explorations not only diversify your portfolio but also challenge your skills and creativity.
Embracing variety in your practice will remind you that drawing is not merely a skill but also an adventure. Celebrate improvements, embrace mistakes, and enjoy the journey of artistic growth.
Your Path to Charcoal Mastery
Mastering charcoal still life drawing involves understanding tools, techniques, and practice. By familiarizing yourself with different types of charcoal and learning effective drawing methods, you can create stunning artwork that captures light, texture, and form.
As you explore this artistic endeavor, remember that patience and persistence are key to growth. Embrace the process, seek inspiration, and most importantly, enjoy the journey of expressing yourself through the beautiful medium of charcoal. With dedication and creativity, you’ll see your skills flourish, transforming simple still life arrangements into captivating portraits of everyday beauty.