Charcoal drawing presents a unique opportunity to capture the essence and beauty of nature in a way that soft, delicate marks can convey depth and emotion. Trees, with their intricate forms and textures, serve as a magnificent subject for charcoal illustrations. This article offers a comprehensive guide on how to create stunning charcoal drawings of tree, covering essential techniques, tools, and artistic concepts to enhance your skills and bring your charcoal drawing tree to life.
Understanding Charcoal as a Medium
The Appeal of Charcoal
Charcoal is favored by many artists for its rich, deep blacks and versatility. It allows for both fine detailing and bold, expressive strokes, making it ideal for conveying the complexity of tree bark, foliage, and branches. Unlike other drawing mediums, charcoal can be smudged, blended, and erased, offering a wide range of textures and shades. This flexibility allows artists to create atmospheric effects, emulating the light filtering through leaves or the rough texture of bark.
Choosing the Right Kind of Charcoal
When diving into charcoal drawing, it’s crucial to select the right type. There are two primary forms: compressed charcoal and vine charcoal. Compressed charcoal produces darker, richer lines and is excellent for bold strokes. Vine charcoal offers lighter tones and is more forgiving when it comes to erasing, making it suitable for initial sketches. Having a combination of both types in your toolkit can empower you to explore various techniques and achieve different effects.
Essential Drawing Tools
Gathering Your Materials
Before starting your charcoal drawing, it’s vital to gather the necessary tools. You’ll need several grades of charcoal—soft, medium, and hard—to achieve a range of tones. Additionally, drawing paper specifically designed for charcoal will help grip the medium better and reduce smudging. It’s recommended to have a blending stump, kneaded eraser, and fixative spray on hand. The blending stump is perfect for creating smooth transitions, while a kneaded eraser can lift charcoal effectively for highlights or corrections.
Setting Up Your Workspace
Creating an inviting and organized workspace can enhance your artistic process. Ensure adequate lighting to see your work clearly and eliminate shadows. A sturdy drawing board will provide a stable surface, making it easier to apply your techniques without the risk of tearing the paper. Having everything within reach—charcoal, paper, erasers, and blending tools—creates an efficient workflow, allowing you to focus fully on your artistic output.
Observing Nature: Finding Your Reference
Choosing Your Tree Subject
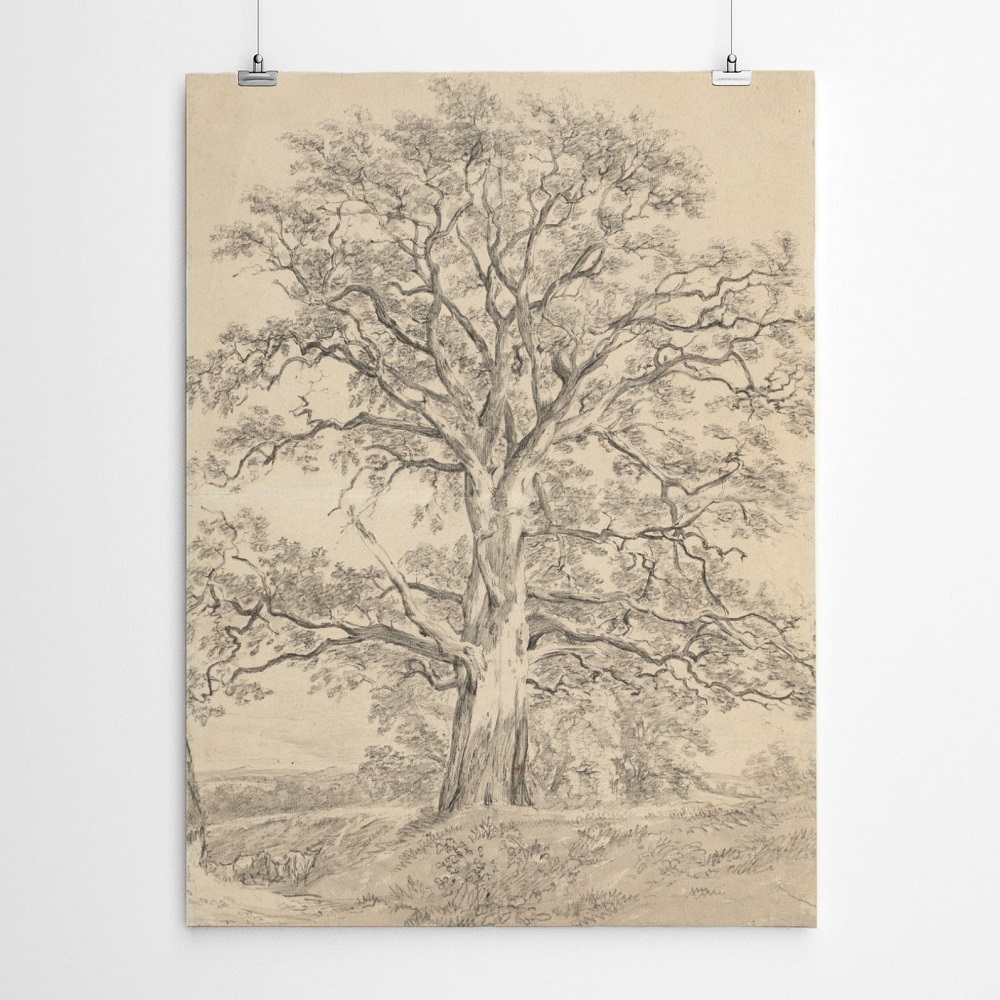
Selecting the right tree as your subject is crucial for a successful drawing. Venture outdoors or explore photographs of trees that intrigue you. Pay attention to the unique characteristics that each tree type offers—branches, leaves, and trunk textures. You might find inspiration in the thick, gnarled branches of an old oak or the delicate wisps of a birch. Determine what aspects are most appealing to you, whether it be shape, texture, or the tree’s interaction with light.
Studying Details and Structure
Once you’ve chosen your charcoal drawing tree, take the time to observe it closely. Make notes on its structure, noting key elements like the trunk’s direction, the thickness of branches, and the volume of foliage. Understanding the basic anatomy of the tree can help you break it down into simple shapes when sketching. Consider creating a few preliminary sketches that focus on different angles to identify which perspective captures the essence of your subject best.
Sketching the Basic Shapes
Initial Outlines
Start your charcoal drawing by using light, loose strokes to sketch the basic shapes of your tree. Don’t concentrate too much on details at this stage; rather, identify the trunk’s main shape and the general placement of branches. Using soft vine charcoal is helpful here, as it can be easily erased or adjusted. Focus on the tree’s silhouette, ensuring that you capture its essence without overwhelming yourself with specific details too soon.
Building the Structure
Once the rough outline is in place, begin refining the shapes. Introduce details like the branching structure and the flow of leaves, working to depict how they interact with one another. Use a lighter touch while adding these details, allowing for adjustments as you progress. This structure phase is critical; it sets the foundation for the intricate work that will follow. Remember to step back periodically and assess your drawing from a distance to maintain proper proportions and overall balance.
Developing Tonal Values
Adding Depth with Charcoal
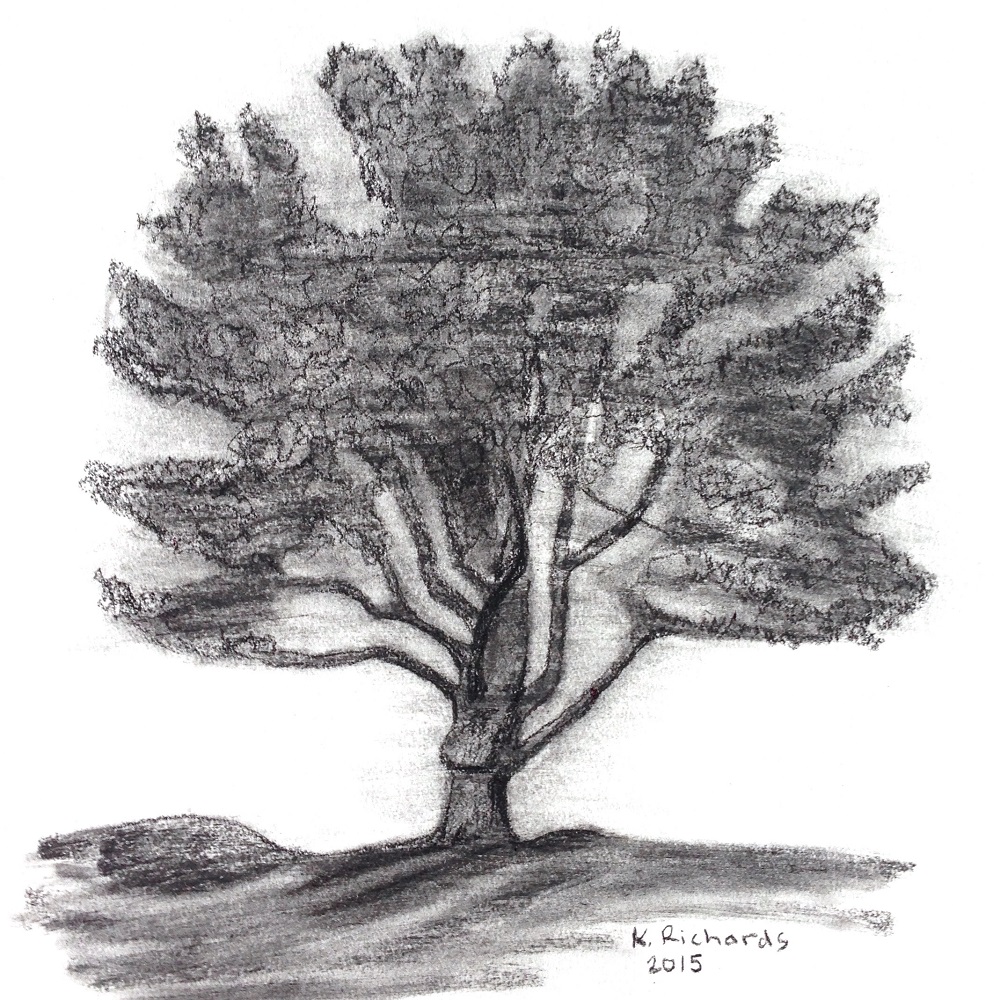
Now comes the exciting part—working with tonal values. Begin by using medium to soft charcoal to fill in the dark areas, particularly on the trunk and under any foliage. Establishing a strong contrast between light and dark will give your drawing depth and dynamism. Pay attention to how light interacts with your tree; where shadows naturally fall can help guide your shading process. Gradually build up layers of charcoal, allowing for rich textures to emerge.
Blending Techniques
Utilize a blending stump to smooth out transitions and create softer shadows where needed. The blending stump allows for subtle shifts between light and dark areas, enhancing the overall realism of your tree. Be mindful not to over-blend, as retaining some of the original texture can add character to your drawing. Utilizing your fingers can also create interesting textures, but be cautious about how much pressure you apply to maintain control over your desired look.
Adding Fine Details
Bark Texture and Leaf Definition
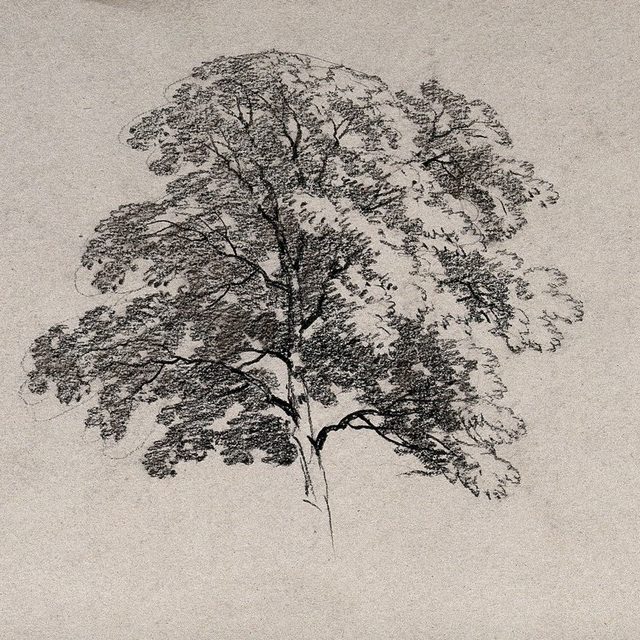
The beauty of trees lies in their intricate details, especially in the bark and leaves. Use a combination of compressed charcoal and erasers to define these textures. For the bark, apply short, directional strokes to hint at the roughness and patterns that characterize different types of trees. For leaves, consider their shapes and how they cluster around the branches, employing varying degrees of shading to distinguish between light and shadow.
Highlights and Finishing Touches
After establishing these details, step back to assess your drawing. You can use a kneaded eraser to create highlights, lifting charcoal in areas where light would hit—such as the tops of branches or the edges of leaves. This technique adds dimension and makes your drawing pop. Finally, review the overall composition, ensuring that the drawing feels balanced. Make any necessary adjustments to contrast and detail before adding a fixative to preserve your work.
Final Steps: Preservation and Display
Protecting Your Artwork
Once your charcoal drawing is complete, protecting it becomes essential. Charcoal can smudge easily, so applying a fixative spray makes sure your artwork remains intact. Hold the spray can about 12 inches away from the paper and apply a light, even coat. Always work in a well-ventilated area to avoid inhaling fumes. This will provide a protective layer without altering the richness of your work.
Displaying Your Tree Drawing
Finally, consider how you’ll display your artwork. Framing your drawing not only enhances its aesthetic appeal but also protects it from dust and damage. If possible, use a mat to create distance between the glass and your drawing, preventing smudging. Hang your artwork in a space where the natural light can bring out the textures and nuances in your tree drawing. This not only allows others to appreciate your work but reinforces your connection to the beauty of nature.
Embracing Nature Through Art
Creating stunning charcoal drawing tree is more than just a technical endeavor; it’s a celebration of nature’s beauty. Each tree tells its own story, and your drawing allows you to share that narrative with the world. As you develop your skills and explore charcoal techniques, remember to embrace the process and find joy in the creative journey. By combining observation, technique, and personal expression, you can create captivating art that reflects the magnificence of the natural world around you.