Introduction to Oil Pastels
Oil pastels are vibrant, versatile art mediums. Artists of all levels use them to create stunning works. They offer a unique blend of depth and ease of use. Unlike traditional pastels, oil pastels contain an oil binder. This makes them creamy and rich in texture. They stick to most drawing surfaces without need for a fixative. Blending oil pastels is a key skill for artists. It allows you to create new colors and gradients. Blending also adds dimension and nuance to your work. There are many ways to blend oil pastels. Each technique can give a different texture and effect to your art.
To get started with blending oil pastels, you don’t need expensive tools. Beginners and pros alike can blend with simple items like their fingers or a paper towel. Knowing various blending methods will give you greater control. It lets you achieve the precise look you’re aiming for.
In the following sections, we’ll delve into the tools you’ll need. We’ll also cover basic and advanced blending techniques. This includes the wet and dry blending approaches, stippling, and scumbling. We’ll also look at how to create smooth finishes and soft edges. Let’s begin our journey into the colorful world of oil pastels and unleash your creativity.
Essential Tools for Blending Oil Pastels
To master the art of blending oil pastels, you need the right tools. Whether it’s creating soft gradients or vibrant mixes, the tools you choose can make a big difference. While oil pastels are forgiving, good tools can elevate your artwork from good to great. Here, we explore some essential items for blending these creamy colors.
Fingers and Hands
Believe it or not, your fingers are one of the most accessible blending tools. The warmth of your hands helps to soften the oil pastels, making them easier to spread and blend. Try rubbing the pastels on the paper with varying pressure to mix the colors to your liking. Remember to clean your hands frequently to prevent unwanted color transfer.
Blending Stumps and Tortillons
Blending stumps and tortillons are great for precision. They are made of rolled paper and help to smudge small areas without getting your hands dirty. These tools are perfect for detailed work where you need more control.
Palette Knives
A palette knife isn’t just for painters; it’s also a valuable tool for those blending oil pastels. It can mix colors on a palette or directly on your paper, offering a range of textural possibilities.
Paper Towels and Cloths
For a quick and easy way to blend, use paper towels or a soft cloth. These can be dabbed or stroked over the pastels to merge colors smoothly. This method is also a clean approach that keeps your hands free of color stains.
Cotton Buds and Balls
When aiming for softer, subtler blends, cotton buds and balls dipped in baby oil can do wonders. They allow you to lighten the intensity of the colors and achieve a paint-like effect.
Using these tools, artists can experiment with different pressure, motion, and layering techniques. By selecting the right tool for the job, blending oil pastels can become a seamless and enjoyable part of the creative process.
Basic Blending Techniques
When working with oil pastels, mastering basic blending techniques is crucial. Each technique has its benefits and can be used to create different effects in your artwork.
Wet Blending Approach
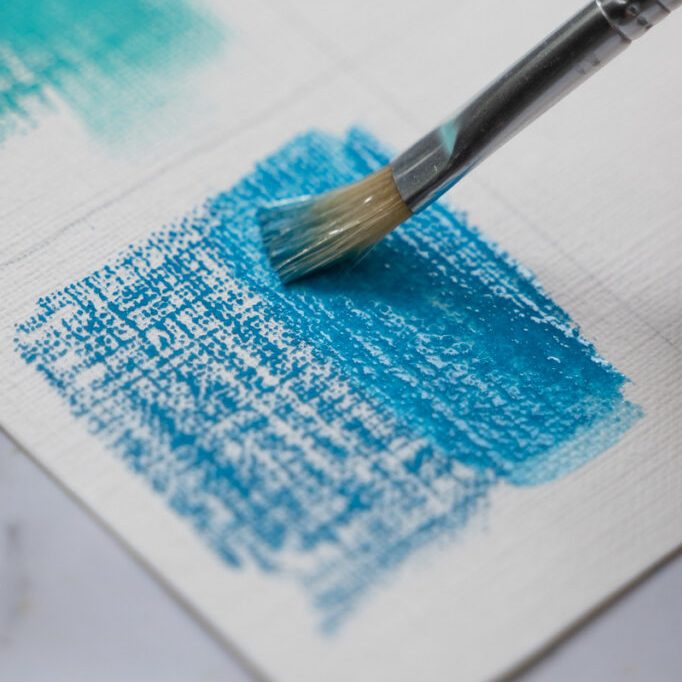
The wet blending approach involves adding a liquid medium to oil pastels. This method softens the pastels, allowing them to mix more easily on the paper. You can use baby oil or mineral oil. Apply a small amount with a cotton bud or ball. Then, gently blend the colors together. This technique results in smooth transitions and can mimic the look of oil paints. Be careful not to use too much oil, or it might soak through the paper.
Dry Blending Method
Dry blending is the most common way to mix oil pastels. Use tools like your fingers, a blending stump, or even a paper towel. Layer one color over another and blend them using gentle circular motions or back-and-forth strokes. This method allows for quick color mixing without any additional materials. It’s excellent for achieving a range of textures, from soft gradients to more bold and expressive strokes.
Advanced Texture Creation
Creating textures with oil pastels can take your artwork to new heights of creativity and expression. By mastering advanced texture creation techniques, you enable a more dynamic look in your compositions. I’ll introduce you to some powerful methods for texturizing.
Layering and Pressure Techniques
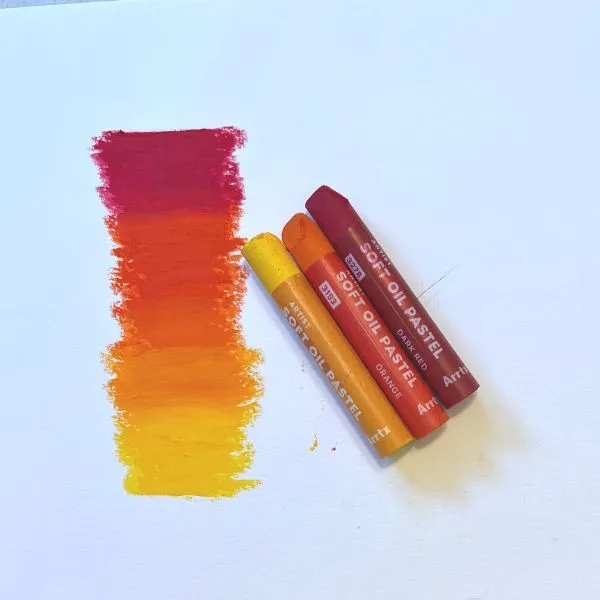
The layering technique is about stacking different colors to achieve depth. Start with lighter tones and progress to darker ones. Or, reverse this order to highlight certain areas. Experiment with layering until you find your desired blend.
Pressure techniques involve changing how hard you press the pastel against the paper. Press harder for more intense color and lighter for a softer look. This method is great for creating bold, intermixed effects.
Remember: each layer and pressure variation brings its own unique effect. So, don’t be afraid to experiment!
Stippling Method for Dynamic Effects
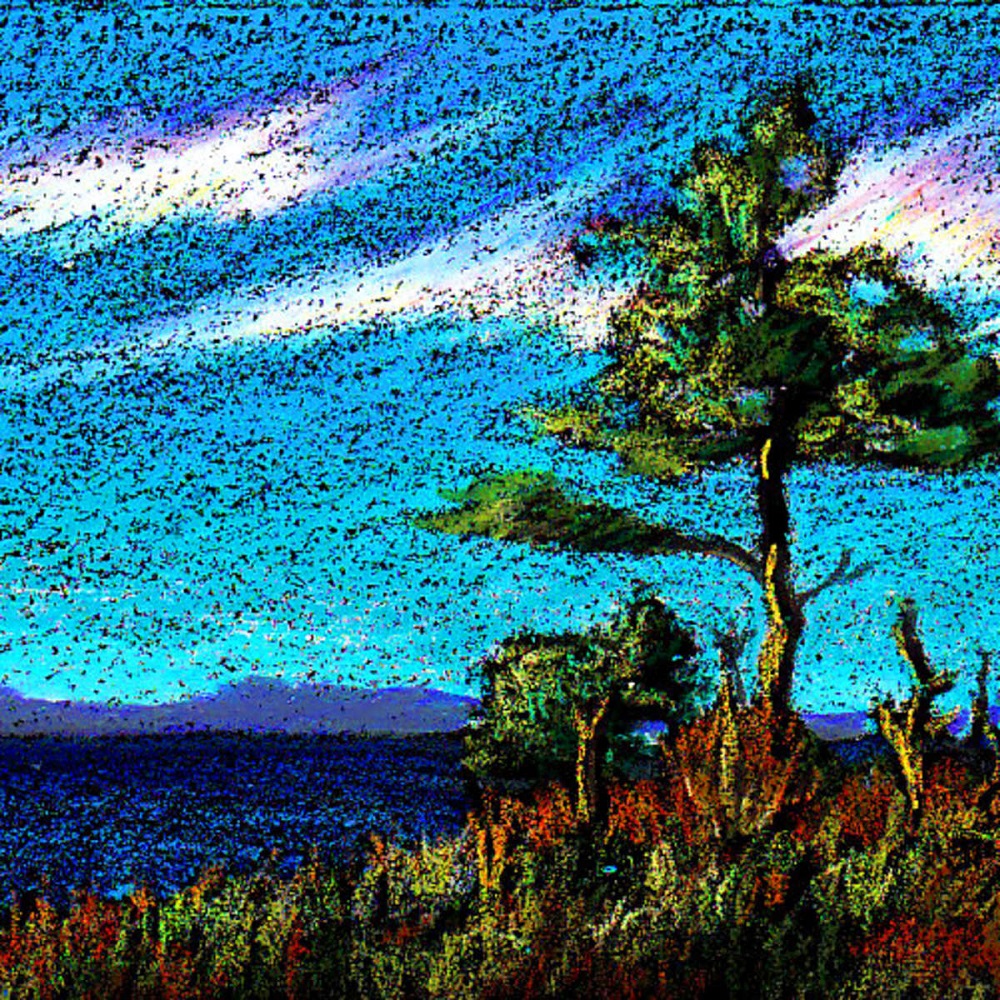
Stippling is a way to add texture by dotting colors on the paper. Use short, uneven strokes to layer colors for a shaded effect. This method works well for suggesting textures like foliage or fabric.
With stippling, patience is key. Build up the dots gradually and watch as a rich, dynamic texture forms. It’s an easy technique to learn and can be quite meditative.
As you practice these advanced techniques, your skill in blending oil pastels will grow. Soon, you’ll be adding texture to your artwork with ease and confidence.
Smooth Finish with Oil Blending
Achieving a smooth finish in oil pastel art can turn a good piece spectacular. This can be done using a technique known as oil blending. Oil blending not only smooths out the pastel marks but also provides enhanced control over the final hues.
How to Apply Oil Blending
Start by choosing your base colors and layer them on your paper. Take a cotton bud or ball and lightly dip it in baby oil or mineral oil. Then, dab the oil-soaked bud onto the pastel layers. Gently smear the oil and pastels together to blend. As you work, you create a polished appearance similar to paint. This method allows artists to direct the blend and ensure soft transitions between colors.
Remember to use just enough oil to merge colors without soaking the paper. If there’s too much oil, it could damage your artwork. Using short, controlled strokes will help you maintain the desired smoothness.
Oil blending is ideal for large areas needing uniformity or a soft, buttery background. With practice, you can achieve the sophisticated look that blending oil pastels with oil can provide.
Scumbling Technique for Depth and Texture
Scumbling is an advanced blending technique for oil pastels. It creates depth and rich texture in art pieces. Here’s how you can use scumbling in your artwork:
How to Scumble with Oil Pastels
To scumble, select your colors and lightly apply the first layer. Use a loose, scribble-like motion. Layer additional colors over the top using a similar approach. The key is to let the colors underneath show through. This layering brings depth and a sense of texture.
Creating Texture with Scumbling
Choose contrasting colors to highlight the scumbling effect. For example, place light colors over dark tones. The light colors will capture the peaks of the paper’s texture. The dark tones will remain in the grooves, enhancing the overall texture.
Scumbling works well for areas where a soft, fuzzy appearance is needed. It’s perfect for depicting things like animal fur or clouds. Remember, practice is essential. Experiment with pressure and movement until you achieve the effect you want.
Tips for Effective Scumbling
- Keep a light touch; too much pressure can make colors muddy.
- Use the side of the oil pastel stick to maximize texture.
- Work in layers, starting with a base and building up.
- Use your fingers or a blending tool to soften edges if necessary.
Scumbling elevates blending oil pastels to an artistic choice. It adds character and life to your artwork and is a technique worth mastering.
Edge Softening with Feathering
Feathering is a technique that smooths edges in an oil pastel artwork. It helps objects appear naturally blended within the scene. This method is simple and effective for artists at any level.
How to Feather with Oil Pastels
Start by applying your base color. Then, layer a second color along the edge you wish to soften. Using short, light strokes, create a pattern similar to cross-hatching. Keep the lines tight and in the direction you want to blend. The feathering method creates a soft transition between colors.
Achieving Natural Transitions
To soften the edges more, increase the pressure slightly. But, do not press too hard. The goal is to let colors intertwine without losing their integrity. Layer additional colors if needed. This adds depth to the soft edges.
Tips for Successful Feathering
- Use a light touch for the best feathering results.
- Practice to get a feel for the right pressure.
- Clean your oil pastel often to avoid color muddiness.
- Work slowly, building the transition gently layer by layer.
Edge softening with feathering is a valuable technique in blending oil pastels. It adds a delicate touch to your work and can make elements in your art seem more cohesive.
Blending Challenges and How to Overcome Them
Blending oil pastels can sometimes be tricky. Artists may face a few challenges along the way. Here, we will address common issues and provide tips to solve them.
Maintaining Color Integrity
Sometimes colors can mix too much and become muddy. To avoid this, always start with a light touch. Build up layers gradually. Clean your pastels to keep colors pure.
Preventing Over-Saturation
Overusing oil can soak paper and ruin art. Use just enough oil to blend. Dab oil lightly with a cotton bud or ball.
Blending Large Areas Evenly
For uniform blending in big spaces, work slowly. Apply color in sections. Blend each part before moving onto the next. This keeps the effect consistent.
Keeping Lines Sharp Where Needed
Blending can blur important lines. Use a tortillon or a blending stump to keep edges defined where necessary.
Avoiding Dust and Debris
Oil pastel bits may create unwanted texture. Gently brush away debris before it sticks to your piece.
Handling Streaky Blends
If blends look streaky, switch to a clean tool. Also, adjust the pressure or try another blending method.
Remember, practice makes perfect. Don’t be discouraged by these challenges. With time, blending oil pastels will become second nature.
Conclusion: Unleashing Your Creativity with Oil Pastels
As we wrap up this guide on blending oil pastels, remember the array of techniques at your disposal. You have learned about using your fingers and hands, as well as tools like palette knives and cotton buds, to blend and create new hues and textures.
From the wet blending approach to the scumbling technique, you can now add depth and layers to your artwork. Stippling and feathering have shown you new ways to bring dynamic effects and soft edges to life.
Blending oil pastels may have its challenges, but with the tips provided, you are well-equipped to tackle them. Keep a light touch to maintain the vibrant colors, and take your time to blend large areas evenly. Always use just enough oil to blend without saturating the paper and keep your lines sharp with precision tools where needed. Lastly, brush away any debris to keep your artwork clean.
Art is about exploration and expression, and blending oil pastels opens up a new realm of possibilities. With practice, you’ll refine these techniques, grow your artistic skills, and find your unique style. So, grab your oil pastels and start creating. Let the colors flow, and unleash your creativity within the rich, buttery textures of oil pastels.