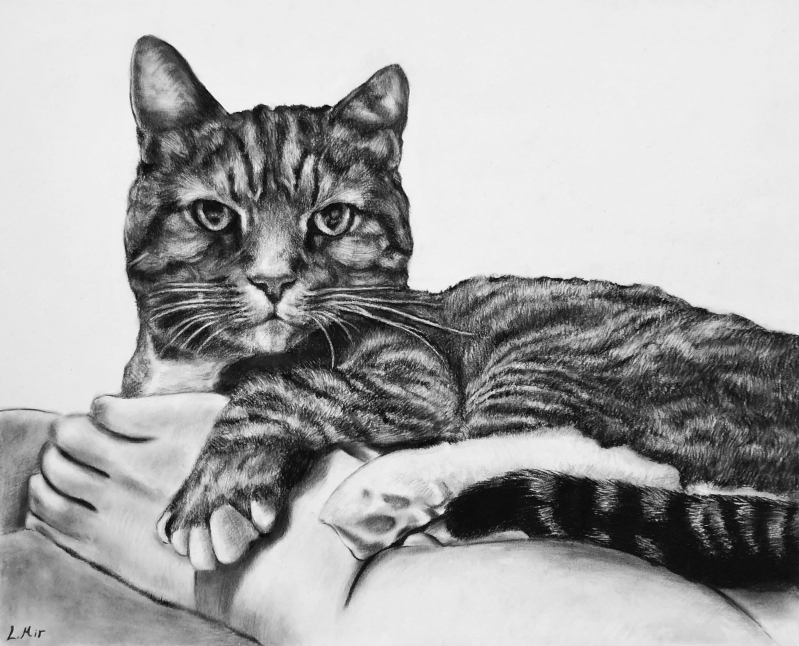
Creating captivating charcoal cat drawings can be an immensely satisfying pursuit, combining the beauty and mystery of our feline friends with the expressive potential of charcoal as a medium. Whether you’re a seasoned artist looking to explore new techniques or a hobbyist seeking to capture the essence of your beloved pet, this guide will walk you through the process in a clear, step-by-step manner. Let’s dive into the art of transforming simple charcoal and paper into a stunning representation of a cat.
Gathering Your Materials
Choosing the Right Charcoal and Paper
Before you begin, selecting the appropriate tools is crucial for achieving the desired outcome. A variety of charcoal types, including vine, compressed, and pencil, offer different textures and levels of darkness. Vine charcoal is great for light, preliminary sketches, while compressed charcoal suits darker, more defined lines. Additionally, choosing high-quality, thick drawing paper will ensure that it can withstand erasing and blending without tearing.
Essential Accessories for Detailing
Alongside your charcoal and paper, having a kneaded eraser, blending stumps, and a sharpener will significantly enhance your drawing experience. The eraser allows you to lift charcoal from the paper, creating highlights or correcting mistakes, while blending stumps help in smoothing out the charcoal for gradations in tone. A sharpener keeps your charcoal pencils pointed for fine details.
Sketching the Basic Outline
Laying the Groundwork
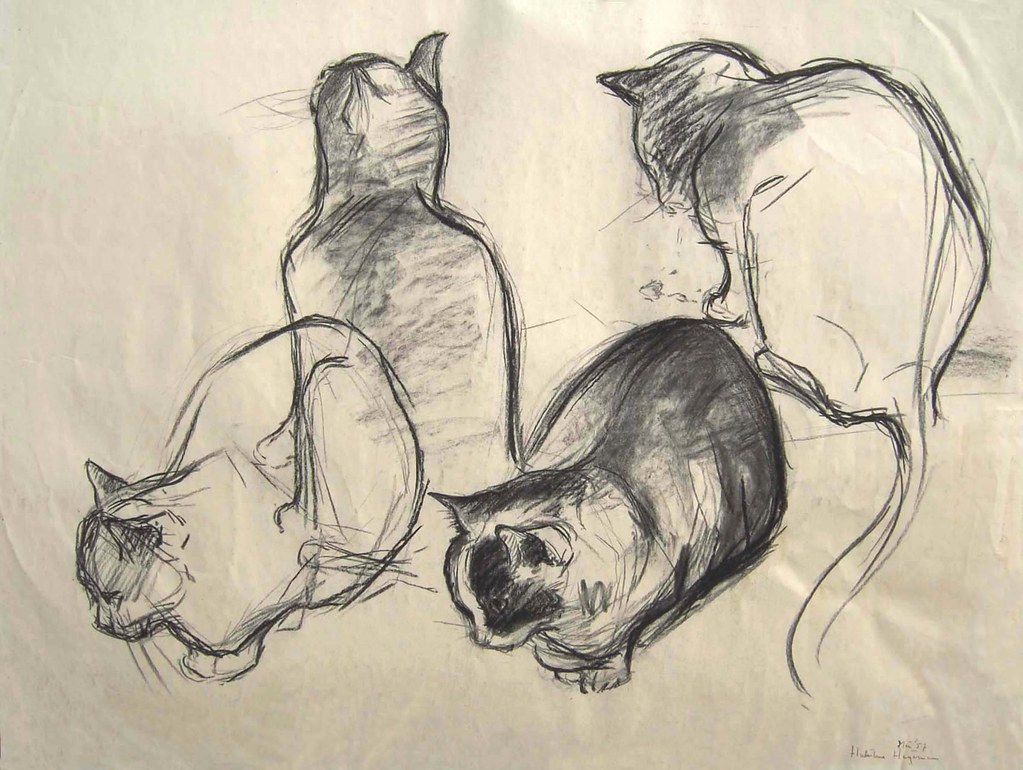
Begin by lightly sketching the basic shape of the cat using vine charcoal. Focus on creating a simple, geometric framework — circles for the head and body, lines to represent the limbs, and so on. This stage is about capturing the cat’s pose and proportions accurately, so don’t worry about details just yet. Remember, vine charcoal is easy to erase and adjust, making it perfect for this initial phase.
Refining the Outline
Once you’re satisfied with the basic layout, it’s time to refine the outline with a charcoal pencil. Start defining the cat’s features — the curving shape of the spine, the roundness of the paws, the angularity of the ears — all while keeping your strokes light and easily adjustable. This step solidifies the cat’s form, preparing it for the addition of details and textures.
Adding Depth and Texture
Building Up Shadows
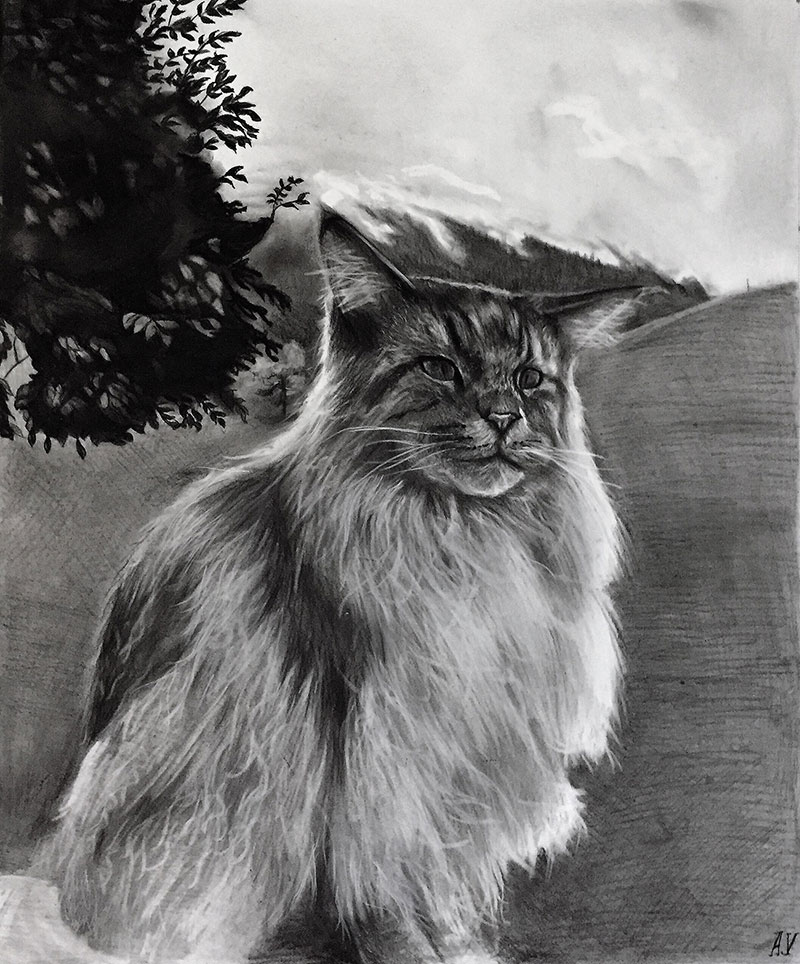
Creating depth in your drawing involves the strategic placement of shadows. Observe where the light naturally falls on your cat and darken the opposite areas using compressed charcoal. Use blending stumps to smooth out these shadows, creating a soft transition from light to dark. This technique adds volume and a sense of three-dimensionality to your cat drawing.
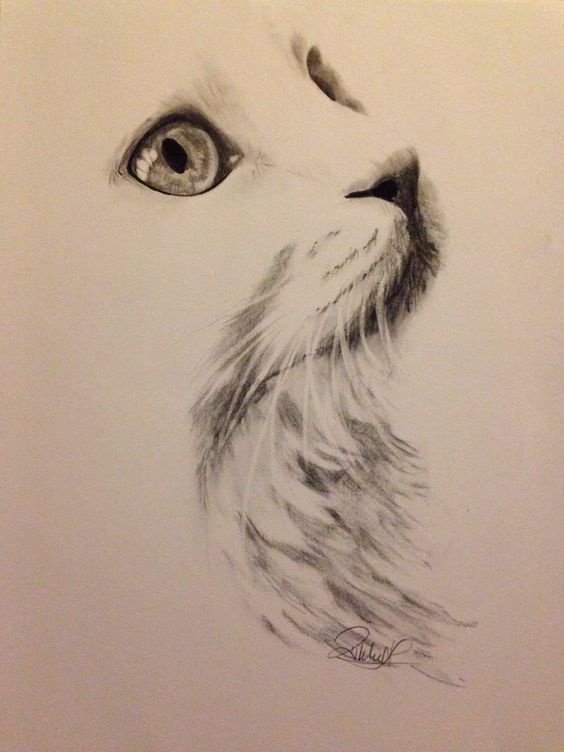
Texturing the Fur
Capturing the texture of cat fur requires a mix of patience and attention to detail. With a sharp charcoal pencil, draw individual fur strands, varying your pressure to create depth and texture. In areas of darker fur, apply more pressure; for lighter areas, use a lighter touch. Remember to always draw the fur in the direction it grows, which adds to the realism of your artwork.
Finalizing Your Masterpiece
Highlighting and Adjusting Details
As you approach the completion of your drawing, use your kneaded eraser to lift charcoal from the paper, creating highlights. Pay special attention to areas like the eyes, nose, and any reflective surfaces on the fur. Adjust any lines or shadows that need fine-tuning to ensure your cat looks lively and realistic.
Sealing Your Drawing
The final step in your drawing process is to protect your work. A fixative spray will prevent the charcoal from smudging or transferring, sealing your drawing and making it ready for display. Be sure to apply the fixative in a well-ventilated area, following the product’s instructions for the best results.
Mastering Charcoal Techniques
Developing Light and Shadow Control
One of the fundamental skills in working with charcoal is controlling the intensity of light and shadow in your drawing. Experiment with applying varying pressure to your charcoal pencils or sticks to produce different shades and tones. Practice this by creating a value scale—a gradient from light to dark—and apply this understanding to the cat’s form, emphasizing its musculature and fur texture with appropriate shading techniques.
Blending for Realism
Blending is essential for a realistic look, especially when depicting something as textured as cat fur. Use your fingers, a piece of cloth, or a blending stump to soften and diffuse the charcoal on the paper. The key to successful blending is to create gradations that reflect the natural curvature and fluffiness of the cat’s body. However, be careful not to over-blend, as you may lose some of the defining details that give the cat character.
Capturing the Cat’s Personality
Focusing on the Eyes and Facial Features
The eyes are the windows to a cat’s soul and capturing them accurately can make your drawing come alive. Pay close attention to the reflections and shapes within the eyes. Are they alert and wide or calm and contemplative? Don’t forget the whiskers and the texture of the fur around the face—these features add personality and uniqueness to your subject. Be sure to place the facial features correctly in relation to one another, which is vital to capturing the cat’s likeness.
Conveying Emotion and Posture
Cats express much of their emotion through body language. Whether it’s the arch of their back, the positioning of their tail, or the tilt of their head, each aspect contributes to their overall emotion and demeanor. As you draw, consider what mood you wish to convey and adjust the pose and muscles to match that. The curve of the spine, the bend of the limbs, and the direction of the ears can all suggest different feelings, such as curiosity, restfulness, or alertness.
Refining and Detailing
Cleaning Up the Edges
After you have the primary shapes and textures down, focus on the edges of your drawing. Clean, sharp edges can help define the cat’s shape against the background, while softer edges can make the fur look fluffy and natural. Use your eraser to clean up any unwanted smudges around the outline of the cat, sharpening the image and bringing it into focus.
Adding the Finishing Touches
With most of the drawing complete, it’s time for finishing touches. Revisit any areas that need more detail or texture, and reinforce the deepest shadows or brightest highlights. This is also the time to step back and look at the drawing as a whole. Make adjustments to ensure the composition is balanced and that the drawing reflects the character of the cat you’re portraying.
Drawing a captivating charcoal cat involves a blend of careful observation, understanding of the medium, and patience. By breaking down the process into manageable steps — from selecting the right materials to refining the outline, adding depth and texture, and finalizing the details — you can create a beautiful, lifelike charcoal drawing of a cat that captures the viewer’s interest. Remember, practice is key to mastering any art form, so don’t be discouraged by initial challenges. Each drawing you complete brings you closer to perfecting your skills and developing your unique artistic voice.