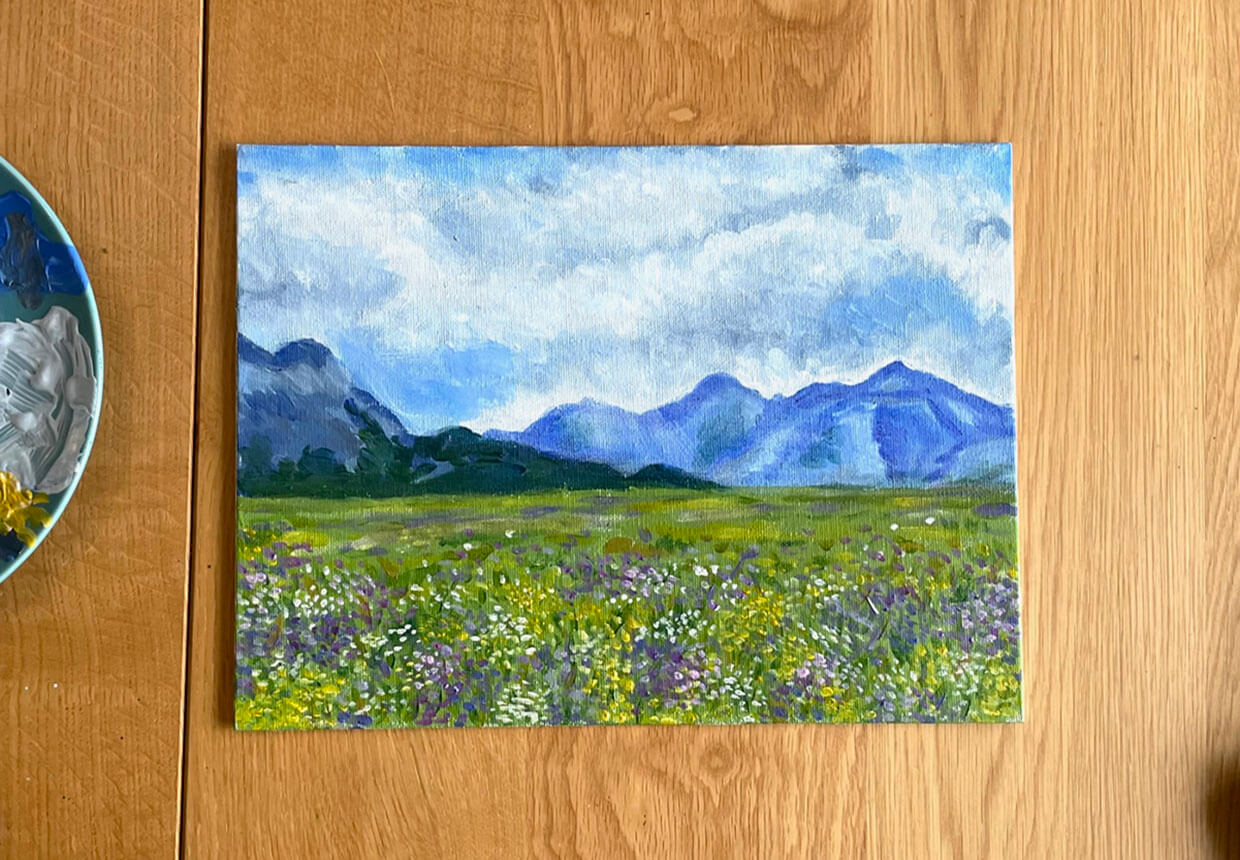
In the realm of art and DIY projects, acrylic paints are a beloved medium for their ease of use and bright, lasting colors. Yet, when it comes to ensuring these paints endure through exposure to moisture, waterproofing becomes a critical step in the creative process. This insightful guide details the strategies for securing the longevity of your acrylic masterpieces against water damage, allowing your artwork to sustain its vibrancy indoors and outdoors.
Choosing the Perfect Sealant for Full Coverage
Understanding Various Waterproof Sealants
The first key to establishing a waterproof barrier is selecting the right sealant. There’s a myriad of options in the market — from epoxy resin to spray-on or brush-on acrylic sealers — and each comes with its own set of characteristics concerning application, longevity, and finish. For pieces that will face the outdoors or heavy wear, a durable sealant such as a marine varnish may be the most suitable choice due to its UV resistant and tough waterproofing qualities.
Tips for a Successful Sealant Application
Accurate application ensures maximum protection. When using a spray sealant, shake the can thoroughly and hold it a consistent 6-12 inches away from the surface, applying in a sweeping motion to avoid drips or puddles. If using a brush-on sealer, opt for a quality synthetic brush, and apply the sealant with smooth, horizontal strokes. Overlap each pass slightly for even coverage, and be mindful to avoid over-applying, as too much product can lead to cloudiness or wrinkles after drying. Between coats, giving adequate drying time is crucial for a resilient seal.
Pre-Seal Preparations for Enhanced Protection
Thorough Cleaning is Key
Before adding any waterproofing layers, the surface of your artwork should be immaculately clean. Dirt, oils, and dust prevent sealants from adhering properly, leading to weak spots in the waterproofing. Use a gentle, soft cloth dipped in mild soapy water to wipe down your surface without saturating the paint. After cleaning, allow the surface to fully dry, leaving no residue behind.
The Merits of Sanding for Adhesion
An often overlooked yet vital step in preparation is a light sanding. With a fine-grit sandpaper (220 or higher), lightly buff the painted surface. This creates a texture that gives the sealant something to grip onto, promoting a stronger, more durable bond between the paint and sealant. Remember to follow sanding with another wipe-down to eliminate any abraded particles, as they can undermine the sealant’s efficacy.
Application Mastery for Unyielding Waterproofing
Strategizing for Even Sealant Distribution
When applying your chosen sealant, attention to detail means everything. Start from one end and work your way to the other in one smooth motion, and maintain a wet edge to prevent lap marks. This technique is essential in ensuring an even seal that won’t betray vulnerabilities to water intrusion.
Temperature and Environment Control
The environment can impact the drying and curing process. Too much humidity can extend drying times and potentially cloud the sealant, while too little might cause it to dry too quickly and crack. Aim for a moderate temperature and low humidity setting to create the perfect drying conditions. Where possible, choose an application area away from direct sunlight and protected from dust to further aid in achieving a flawless finish.
Post-Application Practices for Lasting Results
Respecting the Sealant’s Curing Phase
After the laborious application process, allowing the sealant to cure for the recommended duration is paramount in solidifying its waterproof properties. This curing phase varies with sealant type and layer thickness, so defer to the product’s guidelines to understand the minimum time required before the item goes back into use.
Routinely Checking for Integrity
To maintain the protective seal over time, schedule regular checks for any signs of wear or failure, especially on high-use or outdoor pieces. Some sealants may degrade over time or develop faults due to environmental stresses. When you spot any peeling, discoloration, or breaches, address them immediately: Clean the compromised area well and reapply the sealant. These active maintenance steps are foundational in safeguarding your artwork against the challenges posed by water exposure.
Streamlining the Sealing Process for Acrylics
Optimizing Sealant Layers for Longevity
To fortify your acrylic painting against water, applying multiple thin layers of sealant can be more effective than a single thick layer. Thinner applications reduce the risk of crazing or cracking and allow for a more controlled drying process. Each layer acts as an incremental barrier, enhancing the overall waterproof quality. Allow sufficient drying time between coats, as specified by the product’s instructions, to achieve optimal hardness and adhesion.
Weather and climate play crucial roles in the drying and curing of sealants. High humidity can impede the drying process, while direct sunlight can speed it up too much, affecting the finish. Plan your sealing project for a day with ideal conditions — low humidity and indirect sunlight. If indoor space is your only option, maintain good airflow without generating excessive dust, and keep the room at a consistent temperature to ensure steady curing.
Post-Application Do’s and Don’ts
Dealing with Drips and Runs
During the sealing process, drips and runs can occur, especially on vertical surfaces. It’s important to address these immediately before the sealant dries. Use a clean, damp brush or cloth to gently smooth out or absorb the excess. Always keep materials handy for such corrections and check the work from different angles to spot any issues promptly.
Avoiding Heavy Handling Post-Sealing
After you’ve applied your sealant, and while it’s curing, it is crucial to avoid handling the painted item too much. Not only can this introduce fingerprints or smudges, but it may also damage the seal before it’s fully set. For wall paintings or fixed installations, this might mean cordoning off the area or hanging a protective sheet to prevent accidental touches.
Embracing Routine Care for Protected Paintings
Integrating Protective Measures
Once your painting is sealed and fully cured, integrating preventive measures such as using UV-protective glass (for framed artworks) or positioning the painting out of direct sunlight can extend the waterproofing’s life and preserve the paint’s luminosity. For outdoor painted items, consider additional sheltering or bring them inside during inclement weather when possible.
The Importance of Cleaning Routines
Establish a gentle cleaning routine for your waterproofed paintings. Dust and grime can accumulate over time, potentially affecting the sealant’s integrity. Clean with a soft, dry cloth regularly, and if needed, a slightly damp cloth without harsh chemicals. Ingraining these simple maintenance practices will help waterproofed acrylic surfaces resist wear and tear much more effectively.
Waterproofing your acrylic artwork is a deliberate process that, when done correctly, amplifies the lifespan and resilience of your creations. Choosing the right sealant and adopting meticulous application procedures sets a strong foundation. By following through with considered environmental controls and robust maintenance habits, you effectively “seal the deal,” ensuring that the vibrancy and beauty of your acrylic pieces remain unspoiled through time and the elements.