Painting walls with acrylics can transform a room into a custom masterpiece. But to ensure the longevity and durability of your work, it’s important to seal and protect the acrylic paint once your design is complete. Without proper sealing, the paint could be prone to damage from moisture, dust, and fading. This article breaks down the key steps for sealing and protecting acrylic paints on walls, so your artistic efforts can be admired for years to come.
Choosing the Right Sealant for Durability
Types of Sealants for Acrylics
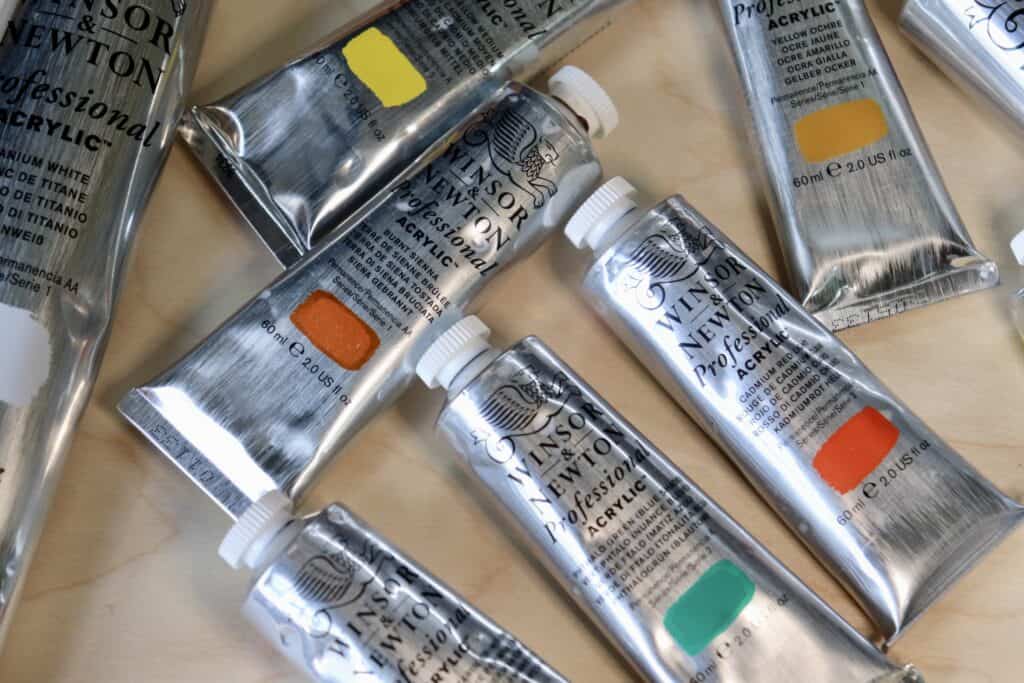
The type of sealant you choose plays a crucial role in the protection of your wall paintings. Options range from water-based varnishes to polyurethane sealants. When selecting, consider factors like the finish (glossy or matte) and the level of protection needed against UV rays or physical abrasion.
Application Strategies for Sealants
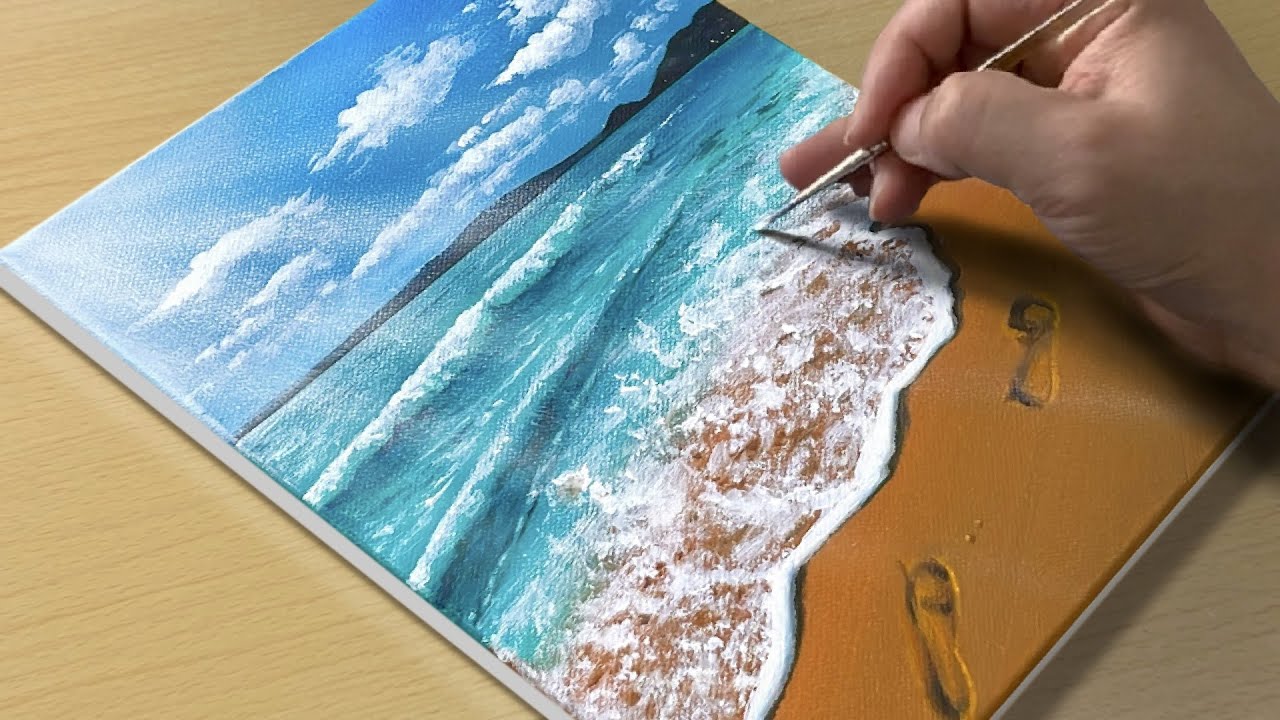
Apply your chosen sealant with a dedicated brush or roller that won’t shed fibers into the paint. Work in smooth, even strokes from top to bottom to avoid drips and uneven layers. Allow for proper ventilation during application and drying, as sealants may release strong fumes.
Cleaning and Preparing the Painted Wall
Ensuring a Clean Surface for Sealing
Before you seal the wall, ensure the surface is clean and free from dust or oils. Gently wipe the wall with a damp cloth and let it dry completely. Any debris on the wall could become trapped beneath the sealant and potentially degrade the finish or clarity of your artwork.
Taping Off the Work Area
Use painter’s tape to create clean edges and protect adjacent areas from sealant. Carefully press the tape down for a tight seal that prevents bleeding. This will keep the project neat and limit the sealant to just the painted area.
Applying Sealant for Long-Lasting Protection
Layering the Sealant Evenly
Start applying the sealant in thin layers, covering the entire painted area thoroughly. Avoid thick applications which can take longer to dry and might yellow over time. Wait for each layer to dry completely before applying the next, checking the product guidelines for recommended drying times.
Avoiding Common Mistakes
Beware of overworking the sealant, which can cause streaks or cloudiness. If using a spray sealant, maintain a consistent distance from the wall to prevent drips or areas with a heavier application. Test your sealing method on an inconspicuous area first to ensure it yields the desired result.

Maintenance Tips for Sealed Paintings
Regular Dusting and Cleaning
To preserve your sealed acrylic wall painting, maintain a regular dusting schedule using a soft, non-abrasive cloth. If necessary, you can wipe the wall with a damp cloth. Avoid using chemical cleaners, which could damage the sealant or the paint below.
Touch-Ups and Recoating
Over time, all coatings will wear down and may require a touch-up. Check the sealed wall periodically for any chips or peeling. In the case of damage, you can clean the affected area and reapply both paint and sealant as necessary.

Ensuring Optimal Sealant Adhesion
Testing the Product on a Sample Area
Before proceeding with the entire wall, it’s wise to test your sealant on a small, hidden section. This allows you to check the product’s compatibility with your acrylic paints and gives you an idea of the final finish. If the test spot dries to your satisfaction, you can confidently carry out the sealing process on a larger scale.
The Importance of a Dust-Free Environment
When ready to seal the wall, strive for a clean, dust-free setting. Minimizing airborne particles is crucial when applying sealant, as they can stick to the wet surface and become embedded. Turning off fans and closing windows can help to reduce the amount of dust settling on your freshly sealed artwork.
Techniques for Even Sealant Application
Using Reliable Tools
For an even coat, use quality tools such as a wide, soft-bristled brush or a foam roller tailored for use with sealants. These tools help distribute the product smoothly and reduce the risk of leaving brush marks or bubbles.
Roller or Brush? Making the Right Choice
The decision to use a roller or a brush can depend on the sealant type and the wall texture. Brushes may be better for reaching into textured surfaces or smaller areas, while rollers can cover large, smooth sections more efficiently. Be cautious with pressure and speed to ensure an even application without splattering the sealant.
Post-Sealing Practices for Acrylic Wall Art
Proper Cure Time
After applying the sealant, it’s imperative to allow enough time for it to fully cure. This period can vary based on the product, climate, and wall conditions, so refer to the manufacturer’s instructions for guidance. Prematurely touching or cleaning the sealed surface can lead to smudges or imperfections.
Protect Against Harsh Elements
If your acrylic wall painting is in an area exposed to harsh elements, extra care is necessary. Direct sunlight, excessive moisture, or fluctuating temperatures could compromise the sealant over time, so consider protective measures like curtains or controlled climate settings to add an extra layer of preservation.
By taking the time to test your sealant, ensuring a dust-free environment for application, using the right tools, and following through with post-sealing practices, your acrylic wall paintings will have the robust protection they need. These preventative measures contribute significantly to the art’s durability, enabling it to withstand daily wear and environmental factors while maintaining its original brilliance. Investing effort into these final stages of your painting project safeguards your creative expression and transforms your work into a lasting piece of art.
Protecting and sealing acrylic paints on your walls is the final yet crucial step in any mural project. By choosing the right sealant, preparing the painted surface thoroughly, carefully applying the sealant for an even coat, and conducting regular maintenance, your wall’s artwork will stand the test of time. Proper sealing not only enhances the vibrancy and depth of your colors but also acts as a defense against everyday wear and environmental factors. Take the time to seal your artwork properly, and you will ensure that it remains a focal point in the room for years to come.