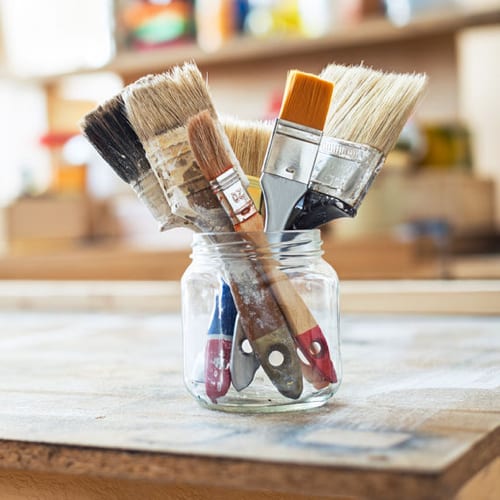
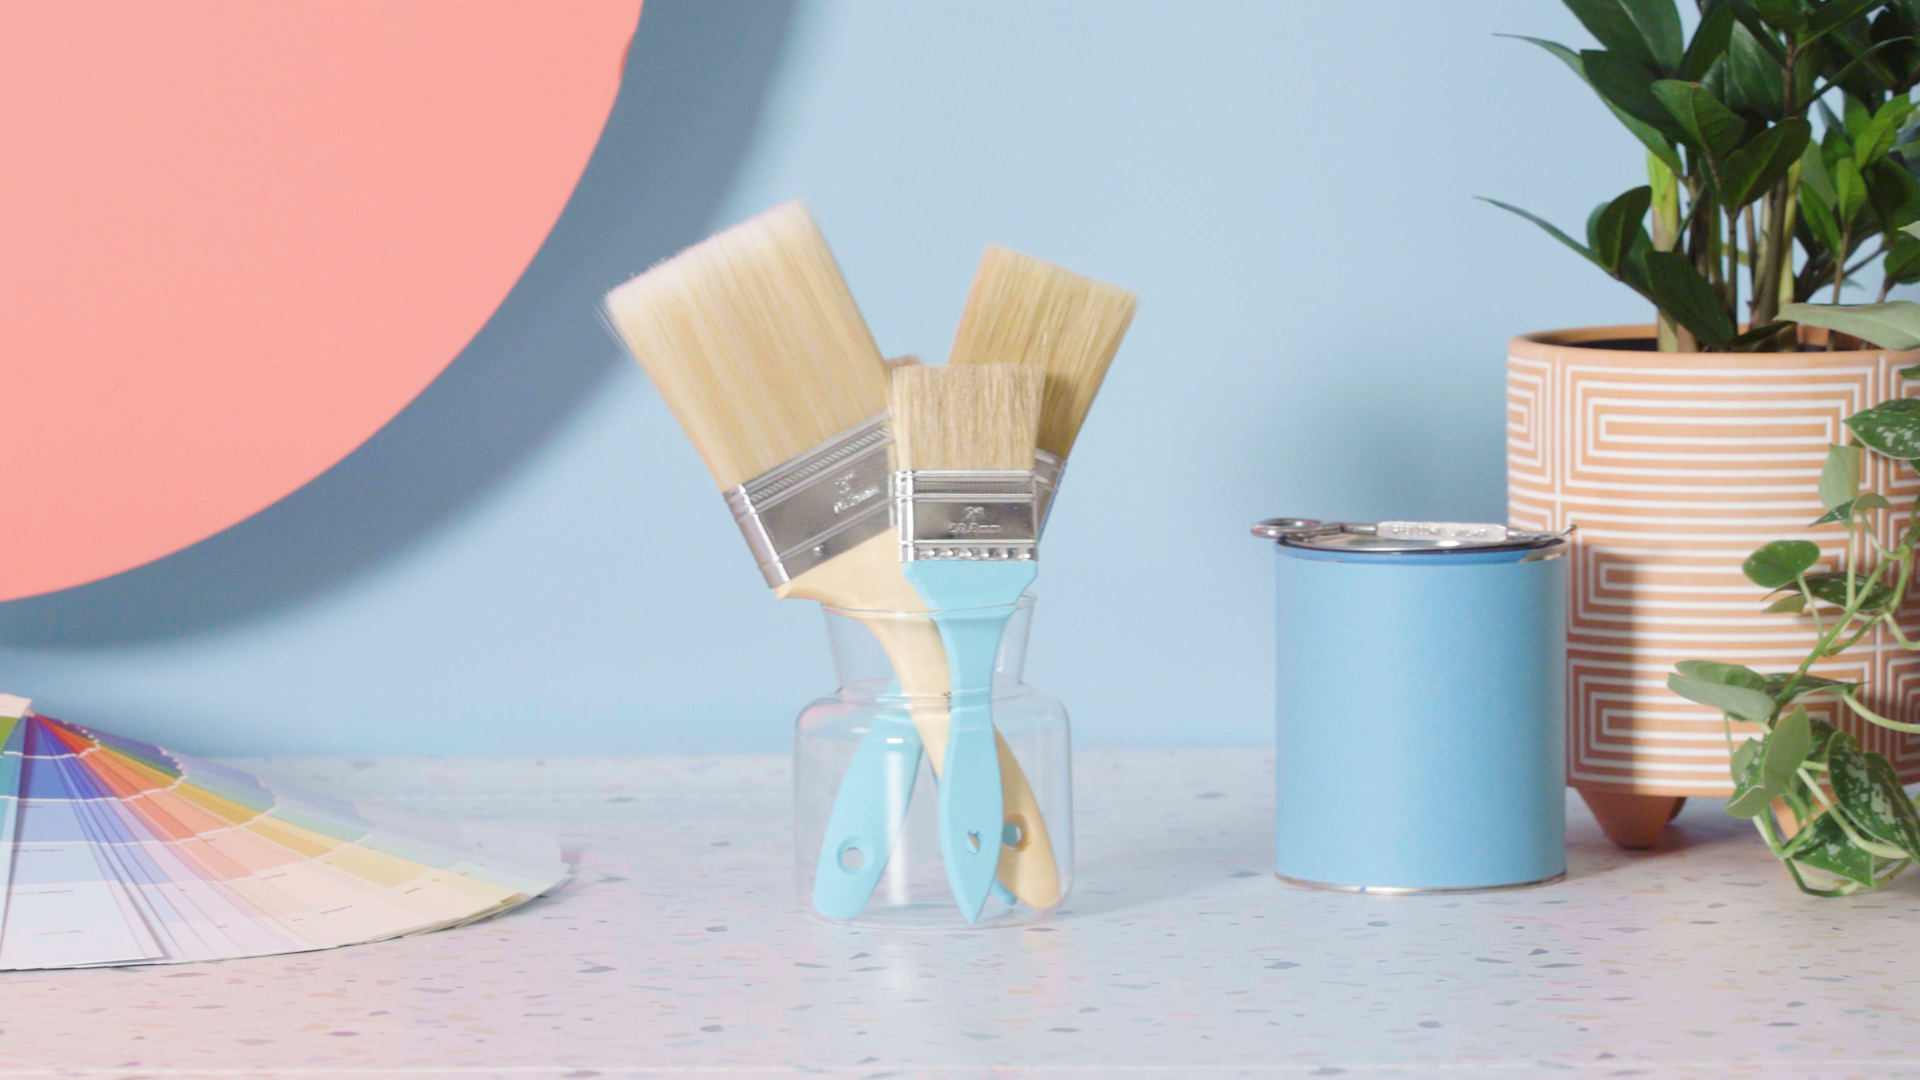
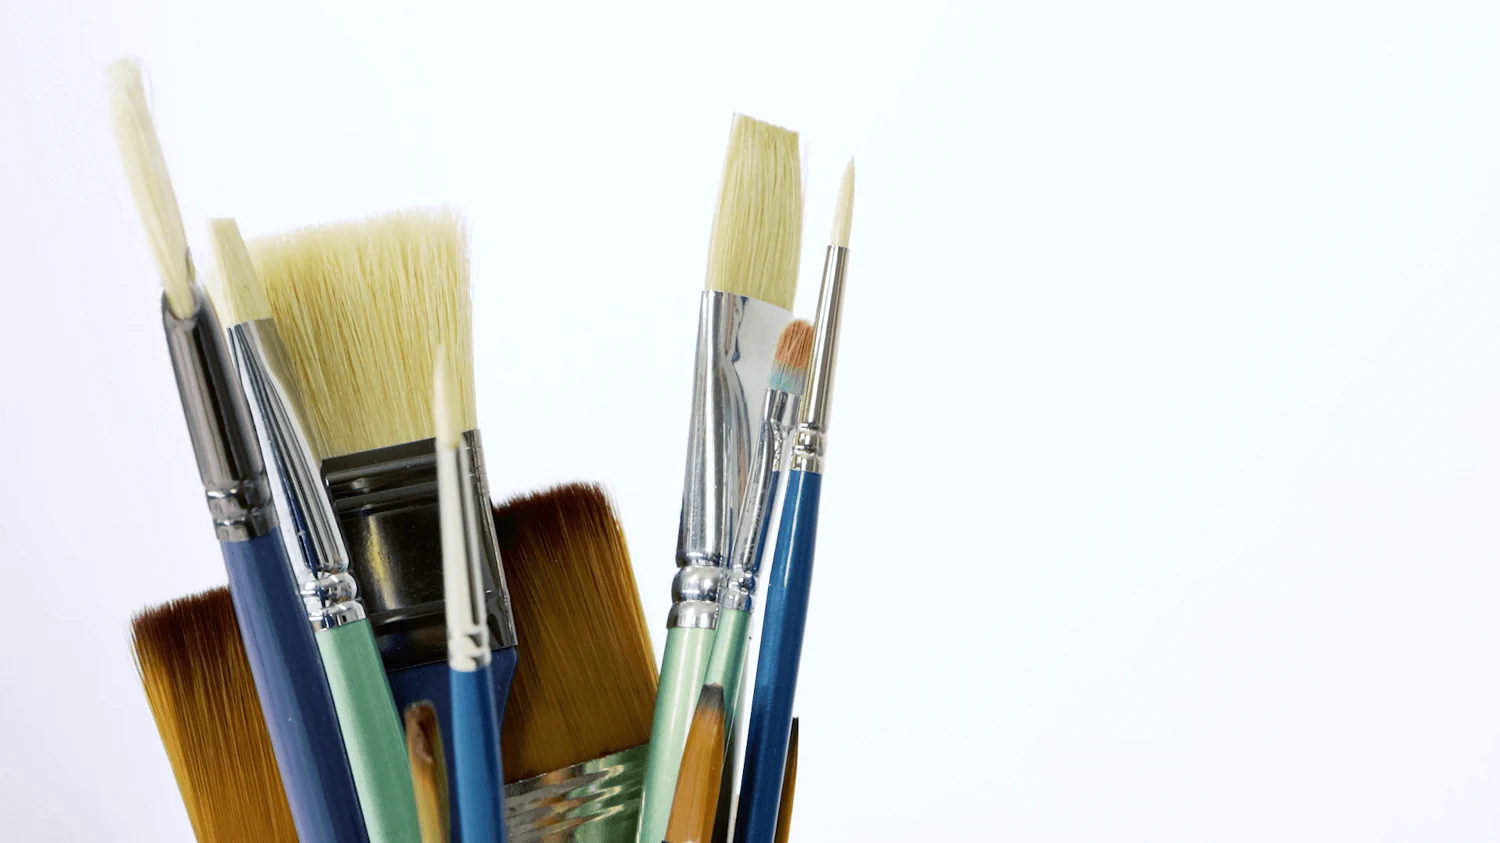
Cleaning oil paint brushes is an essential skill for artists, ensuring the longevity of their tools and the quality of their work. Oil paint, while providing vibrant colors and a versatile medium for artists, can be challenging to clean from brushes due to its sticky, viscous nature. However, with the right techniques and materials, maintaining your brushes in top condition becomes an effortless part of your artistic process. This article will guide you through the best practices for cleaning oil paint brushes, including immediate cleaning steps, deep cleaning methods, drying and storage tips, and troubleshooting common issues.
Immediate Cleaning Steps: Avoiding Paint Build-Up
Cleaning Right After Use
The key to maintaining your brushes starts with cleaning them immediately after use. Oil paint can dry and harden quickly, making it difficult to remove. Use a rag or paper towel to wipe away as much excess paint from the bristles as possible. This step reduces the amount of solvent needed and minimizes the exposure of your brushes to harsh chemicals.
Choosing the Right Solvent
For oil paints, solvents like turpentine or mineral spirits are effective in breaking down the oil. However, these can be harsh on both the brushes and your health. Opt for odorless mineral spirits where possible, as these are less toxic and more environmentally friendly. Dip your brush into the solvent and swirl gently to release the paint from the bristles. Repeat this process until the solvent remains clear, indicating that most of the paint has been removed.
Deep Cleaning for Long-Term Brush Health
Using Soap and Water
After removing the bulk of the paint with a solvent, a deep clean with soap and water can help remove any remaining residue. Use a mild soap or a specialized brush cleaner and gently massage the bristles under warm water. This step not only ensures that your brushes are thoroughly clean but also conditions the bristles, keeping them soft and flexible.
Reshaping the Bristles
Once your brushes are clean, it’s important to reshape the bristles to their original form. Use your fingers to gently shape the brush, ensuring that it dries in the correct shape. This prevents the bristles from splaying and maintains the brush’s point or edge, crucial for precise work. Leave the brushes to dry horizontally on a towel to prevent water from seeping into the ferrule, which can cause the handle to swell and the bristles to loosen.
Drying and Storage: Preserving Brush Quality
Proper Drying Technique
Proper drying is essential to prevent damage to the brush. After washing and reshaping your brushes, lay them flat on a dry towel in a well-ventilated area. Avoid standing brushes upright while they’re wet, as this can cause water to collect in the ferrule, leading to rust and deterioration of the brush.
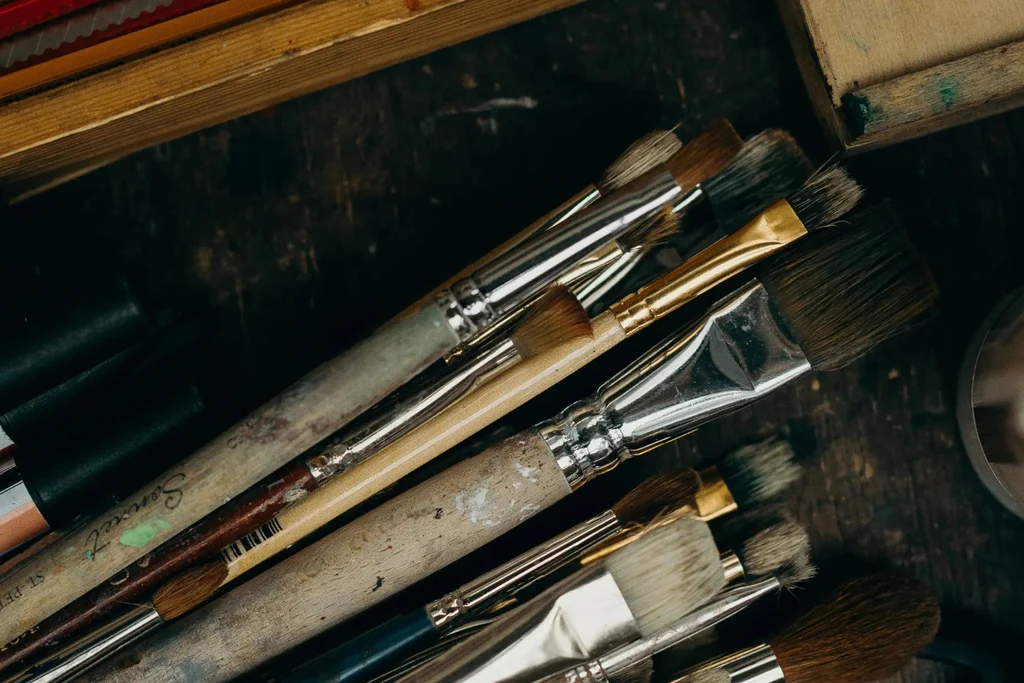
Safe Storage Solutions
Once your brushes are completely dry, store them in a brush holder or case. Keeping brushes in a well-organized and dedicated space prevents them from becoming damaged or deformed. If you’re using a roll-up brush case, make sure the bristles are fully dry before rolling them up to avoid mold growth.
Troubleshooting Common Brush Cleaning Issues
Handling Stiff Bristles
If you find that your brushes have become stiff after cleaning, it’s likely due to paint residue or soap being left in the bristles. To soften them, soak the brushes in a mixture of warm water and mild soap or brush restorer for up to an hour, then rinse thoroughly. For persistent stiffness, applying a brush conditioner or preserver can help restore their flexibility.
Dealing with Damaged Brushes
Sometimes, despite our best efforts, brushes can become damaged or frayed. While severely damaged brushes may need to be replaced, slight fraying can be trimmed carefully with scissors to prolong the brush’s usable life. Remember, even damaged brushes can still be useful for certain techniques or textural effects in your painting.
Maximizing Brush Potential Through Adequate Care
Regular Conditioning for Bristle Health
Just like hair benefits from conditioner, paint brushes can also enjoy rejuvenation through regular conditioning. After a deep cleaning session, and before you leave your brushes to dry, consider using a brush conditioner. These products are designed to keep bristles soft and pliable, making them less prone to breakage. Massage the conditioner into the bristles and rinse it out after a few minutes. This extra step can make a significant difference, especially for brushes that see heavy use.
Avoiding Harsh Chemicals
While solvents are necessary for cleaning oil paint from brushes, they can be harsh on bristles if used too frequently or left on for too long. Whenever possible, minimize the use of aggressive solvents, and never let your brushes soak in them for extended periods. This preserves bristle integrity and helps maintain the natural oils in animal hair brushes. As a bonus, it’s also better for your health and the environment to reduce solvent use.
The Importance of a Regular Cleaning Routine
Setting a Schedule
Developing a routine for brush cleaning can be as crucial as the painting process itself. Set aside time after every painting session for cleaning your brushes. This practice prevents the rush and forgetfulness that often leads to damaged brushes. By making maintenance a habit, you ensure that every time you come to paint, your brushes are ready and in optimal condition.
Keeping a Dedicated Cleaning Area
Having a space set aside for brush cleaning can streamline the maintenance process. This area should include all necessary cleaning materials—solvents, soaps, conditioners, and towels. A well-organized cleaning station encourages regular maintenance and keeps your painting area free from clutter and potentially harmful chemicals.
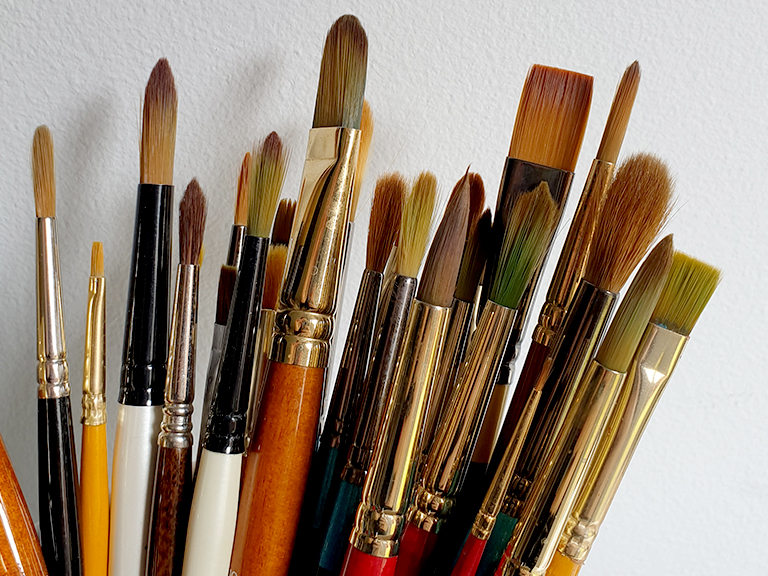
Investing in High-Quality Tools for Longevity
The Impact of Quality on Maintenance
Investing in high-quality paint brushes has a direct impact on maintenance ease and frequency. Higher quality brushes are often made with finer materials and construction, allowing them to withstand the rigors of cleaning better than their cheaper counterparts. While they may come with a higher upfront cost, the longer lifespan and superior performance of these brushes can make them more cost-effective in the long run.
Balancing Cost and Quality
While it’s beneficial to invest in high-quality brushes, it’s also important to balance cost with your needs as an artist. If you are just starting out or experimenting with a new style, it may be more practical to begin with mid-range brushes and upgrade as your technique improves and your style solidifies. No matter the quality, proper cleaning and care can extend the life of any brush, ensuring you get the most out of your investment.
Cleaning oil paint brushes like a pro requires timely and proper care, using the right solvents and techniques to ensure they remain in good condition. Remember to clean your brushes immediately after use, perform deep cleaning regularly, and store them properly once dry. Troubleshooting common issues promptly can save you from having to replace brushes frequently. By adopting these practices, you can maintain the quality and longevity of your brushes, allowing them to continue being an integral part of your artistic expression.